
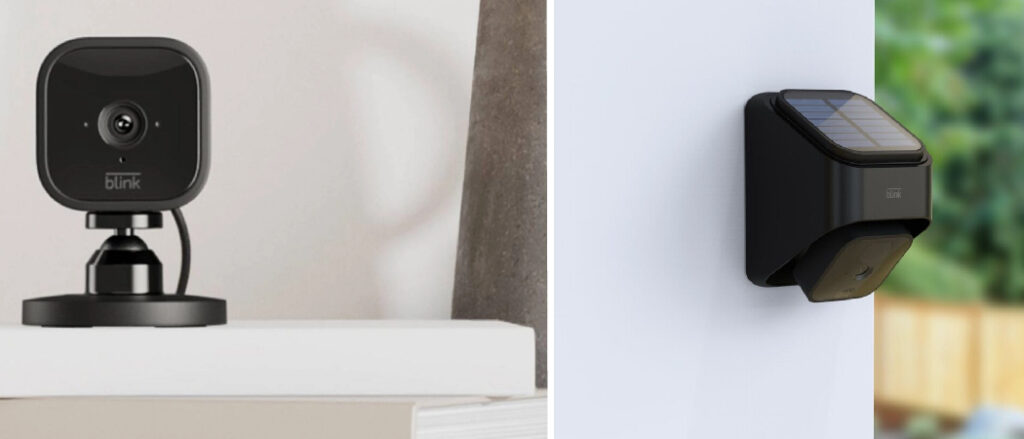
If you’ve just replaced the battery in your Blink camera and want to reset it, then you’ve come to the right place. In this blog post, we’re going to provide an in-depth look into all of the steps involved in properly resetting a Blink camera after replacing its battery with a new one.
We’ll explain why you should do a reset whenever changing your camera’s power source, walk through exactly how to perform each step correctly and answer any questions you might have about completing this process.
Whether or not you’re a savvy DIYer or are tackling something as complex as replacing a blink camera battery for the first time, we hope that our comprehensive guide will make getting up and running again with no hassle! So, keep reading to learn more about how to reset Blink camera after replacing battery.
Reasons Why You Need to Know About how To Reset Blink Camera After Replacing Battery
There are several reasons why it’s important to know how to reset a Blink camera after replacing the battery:
- Ensure Proper Functionality: Resetting the Blink camera after replacing the battery can help ensure that it functions properly. If the camera is not reset after a battery replacement, it may not be able to connect to the app or the Wi-Fi network, which can result in missed footage or an inability to view live video.
- Resolve Issues: Sometimes, the Blink camera may experience connectivity issues or other problems even after replacing the battery. Resetting the camera can help resolve these issues and get it back up and running smoothly.
- Maintain Security: Blink cameras are often used for home security purposes, and it’s important to ensure that they function properly to maintain your home’s security. By resetting the camera after a battery replacement, you can ensure that it continues providing the necessary security level.
- Save Time and Money: If you’re unaware of how to reset a Blink camera after replacing the battery, you may spend time and money troubleshooting or even replacing the camera unnecessarily. By knowing how to reset the camera, you can save time and money by quickly resolving any issues that may arise.
- Improve User Experience: By resetting the Blink camera after replacing the battery, you can ensure that you have a positive user experience with the camera. The camera will function properly, and you’ll be able to view live video, receive alerts, and access other features that make the Blink camera a valuable tool for home security and surveillance.
Knowing how to reset a Blink camera after replacing the battery is an important skill that can help ensure proper functionality, resolve issues, maintain security, save time and money, and improve the user experience.
Step by Step Guide on How to Reset Blink Camera After Replacing Battery
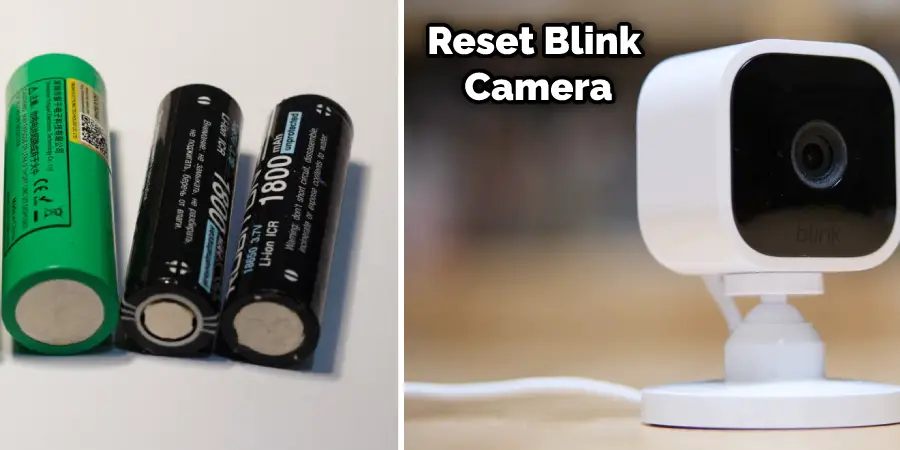
Step 1: Remove the Old Battery
First, you’ll need to remove the old battery from your Blink camera. To do this, locate the small clips on either side of the battery and gently press them inwards until they are released. Then carefully lift out the old battery and set it aside.
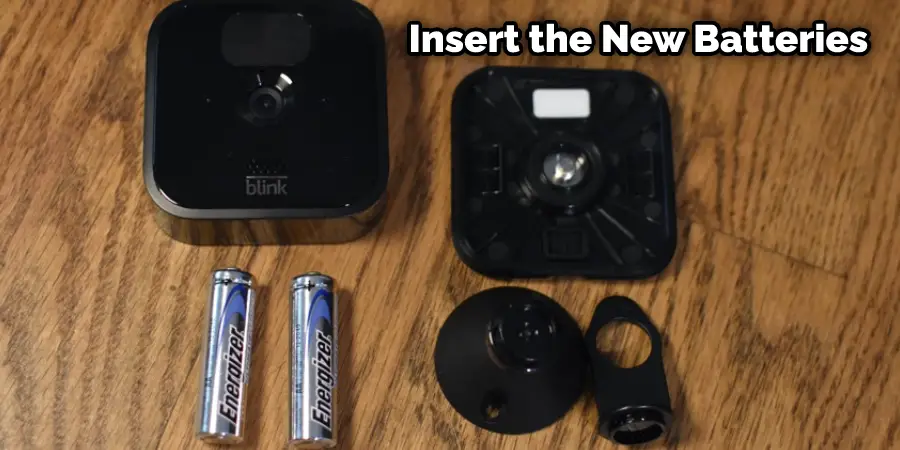
Step 2: Insert the New Battery
Next, insert the new battery into your Blink camera. Make sure that the positive and negative sides of the battery line up with the corresponding markings on the camera body, then press down firmly until it’s securely in place.
Step 3: Hold Down the Reset Button
Once you have inserted the new battery, locate the reset button on your Blink camera. It’s usually located at the back or side of the camera. Hold the reset button for a few seconds until you hear a clicking sound, indicating the reset is complete.
Step 4: Re-connect to Wi-Fi Network
Finally, re-connect your Blink camera to your home Wi-Fi network. Open the Blink app on your smartphone, select the camera from the list of devices, and follow the instructions to add it back onto your network.
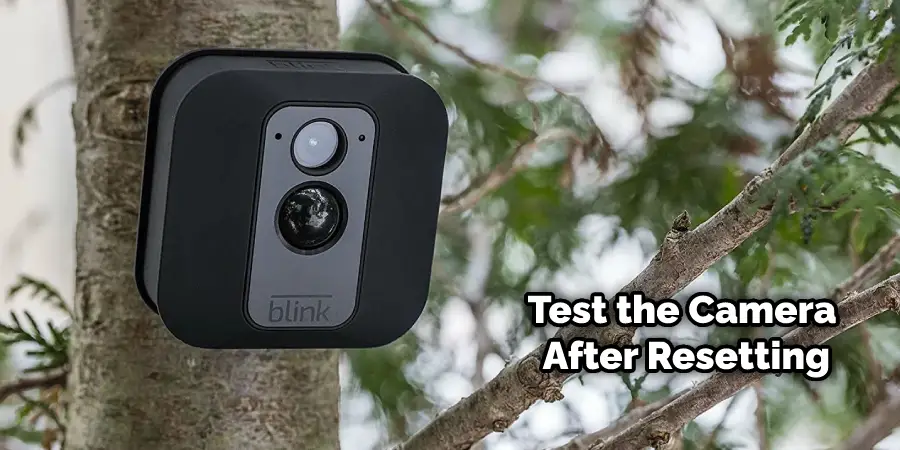
Step 5: Test the Camera
Once you have re-connected your Blink camera to the Wi-Fi network, it’s important to test it to make sure that it is functioning properly. Open the Blink app and attempt to view a live video stream from your camera. If the video appears sharp and clear, then you know that resetting your camera was successful.
Congratulations! You have now successfully reset your Blink camera after replacing the battery. Remember to test the camera regularly and replace the batteries as needed in order to ensure that it is functioning correctly. Following these steps will help you get the most out of your Blink home security system.
Tips and Tricks on How to Reset Blink Camera After Replacing Battery
1. Make Sure to Insert a Charged Camera While Replacing the Old One:
Make sure that the new battery you are inserting into your Blink camera is charged and ready to go. If the battery is not charged, the camera cannot reset correctly.
2. Use an Anti-Static Wipe Before Inserting the Battery:
Before inserting a new battery into your Blink camera, it’s important to use an anti-static wipe or cloth on the contacts of the battery and on the contacts of the camera. This will help prevent any static electricity from damaging your electronics.
3. Make Sure to Re-connect your Blink Camera to Wi-Fi Network:
After resetting your Blink camera, be sure to reconnect it back to your home’s Wi-Fi network. If you do not re-connect the camera, you cannot use it for live streaming or to receive alerts.
4. Test the Camera After Resetting:
Finally, make sure to test the camera after resetting it. Open up the Blink app and view a live video stream from your camera. If the video appears sharp and clear, then you know that you reset your camera correctly.
By following these steps and tips, you can easily reset a Blink camera after replacing the battery and ensure it functions properly. This will help maintain your home security system’s effectiveness and efficiency so that you can always keep your home safe.
Troubleshooting Tips for Resetting a Blink Camera
1. Make Sure the Battery is Inserted Correctly:
If your camera does not reset correctly, check to make sure that you have inserted the battery correctly. Double-check that the positive and negative sides of the battery are lined up with the corresponding markings on the camera body.
2. Check the Wi-Fi Connection:
Make sure your home’s Wi-Fi connection is working properly. If it isn’t, the camera will not be able to reset correctly or to your network. Try reb your router and re-connect your camera if necessary.
3. Check for Outside Interference:
Other Wi-Fi networks or electronic devices can cause interference and prevent your camera from resetting correctly. Try moving the camera away from other electronics to reduce this type of interference.
By following these troubleshooting tips, you should be able to resolve any issues you may have while trying to reset a Blink camera after replacing the battery. With a little bit of patience and troubleshooting, you can get your camera up and running again in no time.
Some Best Practices for Resetting a Blink Camera After Replacing the Battery
Here are some best practices for resetting a Blink camera after replacing the battery:
Wait a Few Minutes After Resetting:
It’s best to wait a few minutes after resetting the Blink camera before connecting it to the app or the Wi-Fi network. This will allow the camera to reboot and establish a stable connection fully.
Check Battery Contacts:
Make sure that the battery contacts are clean and properly connected. Dirty or loose contacts can cause connectivity issues and impact the camera’s functionality.
Ensure a Strong Wi-Fi Signal:
Place the Blink camera in an area where it can receive a strong Wi-Fi signal. Weak signals can cause connectivity issues and lead to missed footage or other problems.
Use the Latest Version of The Blink App:
Make sure you’re using the latest version of the Blink app. Outdated versions may not be compatible with the camera and can cause connectivity issues.
Reset the Sync Module if Necessary:
If the Blink camera still doesn’t connect to the app or the Wi-Fi network after resetting it, you may also need to reset the sync module. This can help establish a stable connection between the camera and the app.
By following these best practices, you can ensure that your Blink camera functions properly and provides the necessary level of security for your home. If you continue to experience issues after resetting the camera, don’t hesitate to contact Blink customer support for further assistance.
Warning Tips on How to Reset Blink Camera After Replacing Battery
1. Don’t Attempt to Reset the Blink Camera While It Is in Use:
The Blink camera should not be reset while actively recording or streaming footage. Doing so could cause the camera to malfunction and require a full reboot of the device.
2. Make Sure the Contact Points on The Battery Are Clean:
Before inserting a new battery into the Blink camera, ensure the contact points are clean and free of dirt or debris. Dirty contacts can cause poor connections between the battery and the camera, leading to inaccurate readings or other problems.
3. Don’t Force Insert The Battery:
Don’t attempt to force insert the battery into the camera. Doing so could damage the battery and prevent it from connecting to the device correctly. If you’re having trouble inserting the battery, make sure that it’s lined up properly before gently pushing it in place.
4. Wait A Few Minutes After Resetting:
After resetting a Blink camera, please wait for a few minutes before attempting to connect it to the app or the Wi-Fi network. This will allow the camera time to reboot and establish a stable connection fully.
By following these tips, you can ensure that your Blink camera resets properly after replacing the battery. With a little bit of patience and troubleshooting, you can get your camera up and running again in no time.
Conclusion
Resetting your Blink camera after replacing its battery is an easy process. First, ensure the new batteries are installed correctly and turn on the power switch at the back of the device. Then open up a web browser and go to where you will be prompted to enter your account information or create a new one if necessary.
From there, follow the steps provided by MyBlink until your camera has been successfully reset. It’s important to remember that once you have completed this procedure, all previously recorded videos will be erased from memory so it’s best to save them elsewhere before proceeding with any resetting activity.
With these tips in mind, now you know how to quickly get your Blink cameras working again after replacing their batteries! Thanks for reading this article about how to reset blink camera after replacing battery.
