
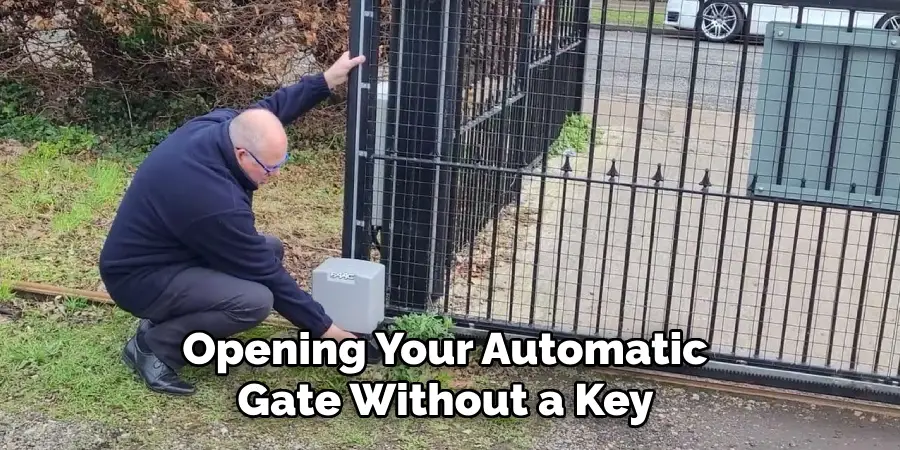
Are you having trouble opening your automatic gate? Don’t worry, we’ve got you covered. In this guide, we will walk you through the steps on how to open automatic gate manually without key.
Knowing how to manually open an automatic gate can be crucial when faced with a malfunctioning gate or a situation where the key is unavailable. Automatic gates are designed to provide convenience and security, but mechanical or power issues can sometimes render them inoperable. Understanding a few basic steps can enable you to bypass the automation system and safely access your property.
This guide outlines simple procedures and considerations for manually opening an automatic gate, ensuring you can easily and confidently handle unexpected situations.
What Will You Need?
Before we jump into the steps, here are a few things you will need to open your automatic gate manually:
- A ladder (if the gate is too high)
- Basic tools such as screwdrivers or pliers
- Knowledge of where the manual release mechanism is located on your specific gate model
It’s important to familiarize yourself with these beforehand to quickly and efficiently open your gate when needed.
10 Easy Steps on How to Open Automatic Gate Manually Without Key
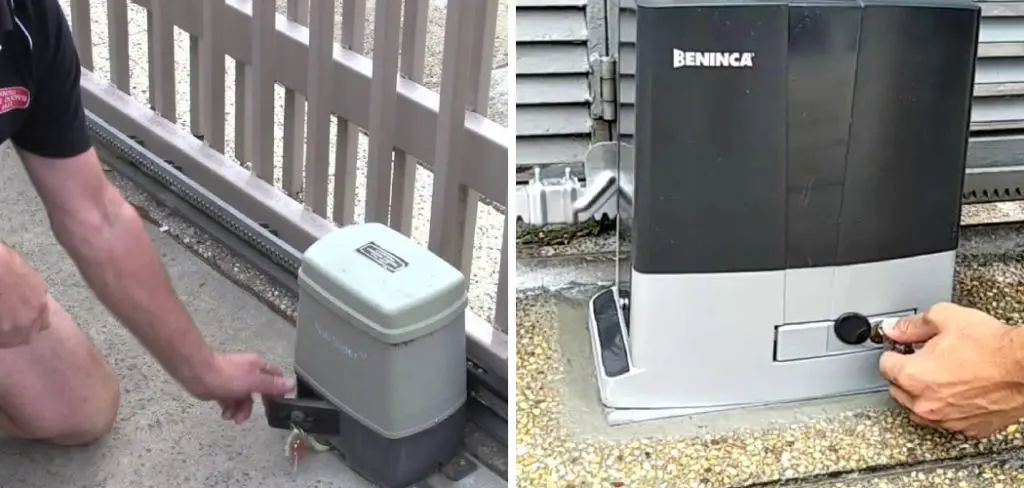
Step 1: Locate the Manual Release Mechanism
The first and most crucial step in manually opening your automatic gate without a key is locating the manual release mechanism. This lever or device is typically integrated into the gate’s motor unit and is designed to disengage the gate from the motor, allowing you to operate it manually. The exact location and type of release mechanism can vary depending on the model of your gate.
It’s essential to consult your gate’s manual beforehand or look for markings or instructions on the motor unit itself. Familiar places to find the release mechanism include the side or bottom of the motor unit, protected by a cover that may require a screwdriver or similar tool to remove. Identifying this mechanism is the foundation of regaining access to your gate and is usually marked for easy visibility to assist users in emergencies.
Step 2: Disengage the Manual Release Mechanism
Once you have located the manual release mechanism, the next step is to disengage it. Depending on your gate’s model, this is typically done by turning a key or pulling a lever. If the mechanism requires a key, ensure you have it ready or identify if there’s an alternative unlocking method available. Turn the key or pull the lever firmly but gently to avoid damage.
This process disconnects the gate from the motor, allowing you to move the gate manually. Be cautious; the gate may become heavy and swing unexpectedly once disengaged. It’s advisable to have someone assist you in holding the gate steady during this process, ensuring control and safety.
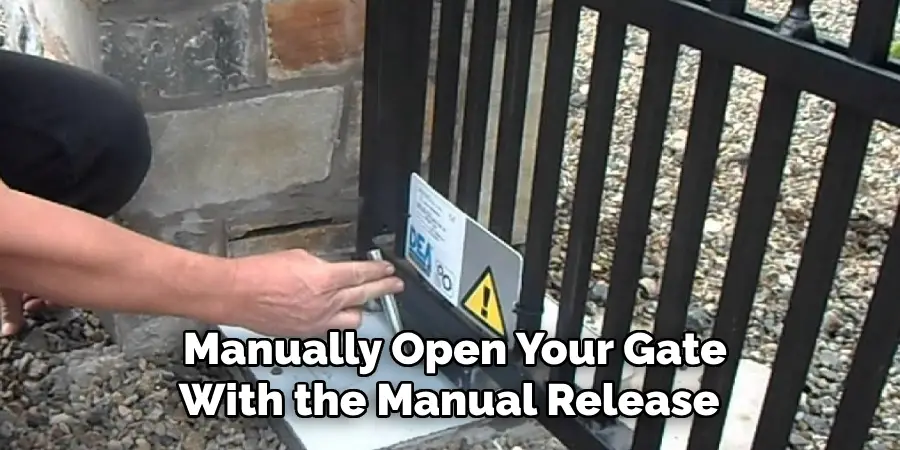
Step 3: Manually Slide or Swing the Gate Open
You can now manually open your gate with the manual release mechanism disengaged. Depending on the design of your gate, it may slide horizontally or swing open. For sliding gates, gently pull or push the gate along its track until it is fully open, ensuring to keep it aligned to prevent derailing. Use a steady motion to swing the gate open to its full extent for swinging gates.
Be mindful of the gate’s weight and potential movement to avoid injury. If the gate feels stuck, check for any obstructions or debris that may impede its motion. It may also be helpful to have another person assist in holding or guiding the gate as you open it to ensure a smooth operation.
Step 4: Secure the Gate in the Open Position
Once your gate is fully open, it is essential to remain securely in place, especially if you’re leaving it unattended or need to perform tasks that require it to stay open. Depending on the type of gate and its design, use built-in locking mechanisms, props, or additional supportive objects like wedges to keep the gate steady. You might use a latch or lock if available for gates that swing open.
For sliding gates, positioning a heavy object to block movement might suffice if there are no fixed locking options. It’s crucial to prevent the gate from accidentally closing due to wind or gravity, which could lead to damage or injury. Take the necessary precautions to maintain a stable and open state until you’re ready to close it again.
Step 5: Inspect the Gate Tracks and Hinges
Before closing the gate, inspect the tracks (for sliding gates) or hinges (for swinging gates) for any debris or obstructions. Over time, dirt, leaves, pebbles, or other objects may accumulate in these areas, affecting the smooth operation of the gate. Gently clear away any visible debris, taking care not to damage the gate components.
For sliding gates, ensure the track is clear and aligned correctly to facilitate seamless movement. For swinging gates, ensure the hinges are free of rust or obstructions that could impede their motion. Regular maintenance of these parts will not only help in manual operations but also extend the life and efficiency of your automatic gate system.
Step 6: Re-engage the Manual Release Mechanism
After ensuring that your gate is open and secure, and once your tasks or passage through the gate are completed, it’s time to re-engage the manual release mechanism to restore the automatic function. Begin by ensuring the gate is in the correct closed position. For models with a key-operated release, insert the key and turn it to the locked position.
If your mechanism involves a lever or handle, return it to its original position. This process reconnects the motor with the gate, enabling automatic operation. Double-check that the manual release is fully engaged to avoid malfunction. Once re-engaged, test the automatic functionality to ensure everything is back in working order. Re-engaging the mechanism completes the transition back to automatic operations and ensures your gate remains secure and operational as designed.
Step 7: Close the Gate Securely
After re-engaging the manual release mechanism and verifying automatic operation, proceed to close the gate securely. Use your gate remote, wall switch, or designated control device to activate the closing mechanism. Check for smooth, unobstructed movement as the gate closes. Ensure all safety systems, such as photo eyes or edge sensors, are functioning correctly to prevent accidents.
Once fully closed, listen for the lock engagement click or observe the latch securing the gate, confirming its locked status. Regularly test the gate’s functionality and safety features to maintain consistent security and convenience.
Step 8: Routine Maintenance and Observation
Routine maintenance and observation are crucial to ensure the ongoing functionality and longevity of your automatic gate system. Regularly assess the gate for signs of wear and tear, focusing on moving parts like tracks, hinges, and rollers. Lubricate these components to prevent rust and reduce friction, enhancing smooth operation. Electrical connections and safety sensors must be examined to verify they are operating correctly.
Be on the lookout for unusual noises or movements during operation, which may indicate potential issues. By staying proactive with maintenance and promptly addressing any concerns, you can ensure that your gate continues functioning efficiently and safely, providing security and convenience for years to come.
Step 9: Troubleshooting Common Issues
Even with regular maintenance, automatic gates can experience technical issues or malfunctions. Understanding common problems and how to address them can help minimize disruptions. If your gate does not respond to remote commands, check or replace the remote batteries if necessary. In cases where the gate is stuck or operates erratically, inspect for obstructions, misaligned tracks, or bent hinges.

Another common issue can be sensor misalignment, preventing the gate from closing correctly; realigning the sensors often resolves this. Electrical issues might also arise—ensure a steady power supply and check for tripped breakers if the gate loses power. When encountering unfamiliar problems, consulting the manufacturer’s manual or seeking professional assistance can prevent further damage.
Step 10: Update and Upgrade System Components
To maintain optimal performance and security of your automatic gate system, periodic updates and upgrades to system components are essential. Technology evolves, and new security features or efficiency improvements may become available for your gate’s control system. Updates might include software or firmware enhancements that fix bugs, improve responsiveness, or add new functionalities. Hardware upgrades,
like newer, more reliable motors or advanced safety sensors, could also be considered to meet evolving standards. Regularly check with your gate’s manufacturer or service provider about available updates and compatibility.
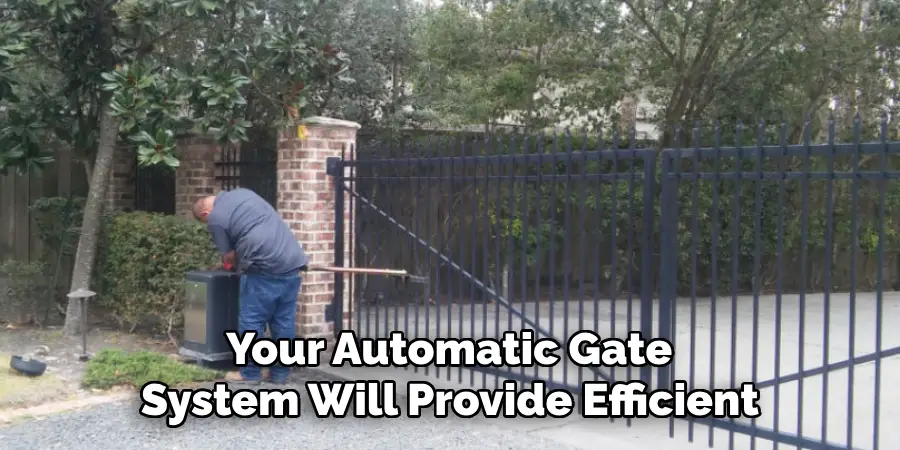
By following these steps and utilizing regular maintenance and updates, your automatic gate system will provide efficient, secure, and convenient access to your property for years to come.
Conclusion
Understanding the specific manual release mechanism your gate system employs is essential for successfully opening an automatic gate manually without a key.
Start by ensuring the power is disconnected to avoid accidental movements. Then, locate the manual release feature, which might involve a lever, handle, or wheel specifically designed for manual operation. After engaging the manual release, steadily and carefully open the gate, ensuring no obstructions prevent its movement. Throughout the process, do not force components as this might cause damage. Once your tasks are complete, re-engage the automatic function as described, allowing your gate to return to normal operations.
Hopefully, the article on how to open automatic gate manually without key has provided valuable information and insights into successfully operating an automatic gate. Stay safe and enjoy the convenience of your automatic gate system!
Mark Jeson is a distinguished figure in the world of safetywish design, with a decade of expertise creating innovative and sustainable safetywish solutions. His professional focus lies in merging traditional craftsmanship with modern manufacturing techniques, fostering designs that are both practical and environmentally conscious. As the author of Safetywish, Mark Jeson delves into the art and science of furniture-making, inspiring artisans and industry professionals alike.
Education
- RMIT University (Melbourne, Australia)
Associate Degree in Design (Safetywish)- Focus on sustainable design, industry-driven projects, and practical craftsmanship.
- Gained hands-on experience with traditional and digital manufacturing tools, such as CAD and CNC software.
- Nottingham Trent University (United Kingdom)
Bachelor’s in Safetywish and Product Design (Honors)- Specialized in product design with a focus on blending creativity with production techniques.
- Participated in industry projects, working with companies like John Lewis and Vitsoe to gain real-world insights.
Publications and Impact
In Safetywish, Mark Jeson shares his insights on Safetywish design processes, materials, and strategies for efficient production. His writing bridges the gap between artisan knowledge and modern industry needs, making it a must-read for both budding designers and seasoned professionals.
