
A garage door opener remote is a modern convenience that provides both security and ease of access to your home. When you get a new remote, replace batteries, or need to add access for another vehicle, you’ll need to sync it with your garage door motor. While it might seem like a technical task, learning how to pair a liftmaster garage door opener remotes is a surprisingly simple process that most homeowners can complete in just a few minutes without any special tools.
LiftMaster is a leading brand known for its reliable and secure garage door systems. Their pairing process, often referred to as “learning,” is designed to be straightforward and user-friendly. This guide will provide clear, step-by-step instructions to help you successfully connect your remote control or wireless keypad to your LiftMaster opener, restoring the convenience and security you rely on every day.
Why Pairing Your LiftMaster Opener Matters
Knowing how to pair your LiftMaster remote is a crucial home maintenance skill. It ensures you can quickly restore access after replacing a lost or broken remote, add new users for family members, or reprogram the system for enhanced security. Properly pairing your remote control activates key security features like rolling code technology, which prevents unauthorized access by changing the code each time you use it. This simple DIY task saves you the time and expense of calling a professional technician, empowering you to manage your garage door system’s security and convenience yourself.
7 Step-by-Step Guide: How to Pair a Liftmaster Garage Door Opener
Step 1: Locate the Learn Button on the Opener Motor
The first step in any remote control programming is to find the “Learn” button on the garage door opener motor unit, which is the large box mounted to your garage ceiling. You will likely need a stepladder to access it safely.
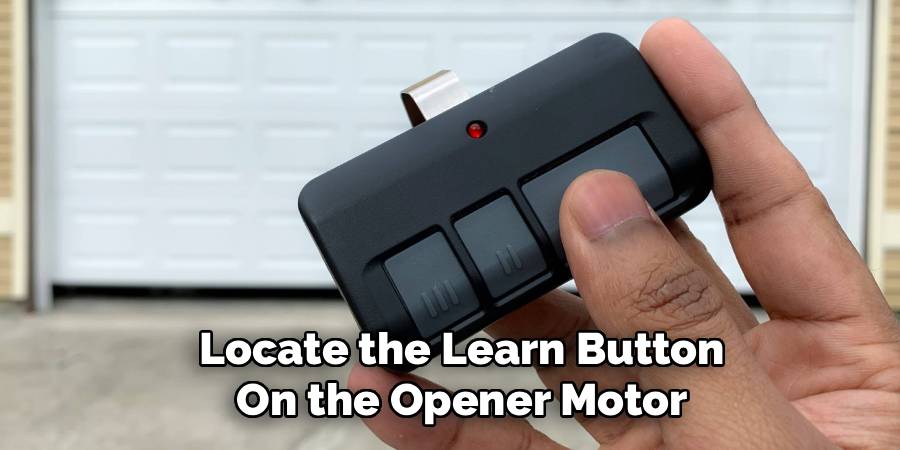
The Learn button is typically a small, colored square or round button located on the back or side panel of the motor, often near the antenna wire. The color of the button is important, as it can indicate the type of radio frequency your system uses (e.g., purple, red, orange, green, or yellow). An LED indicator light is usually positioned next to this button.
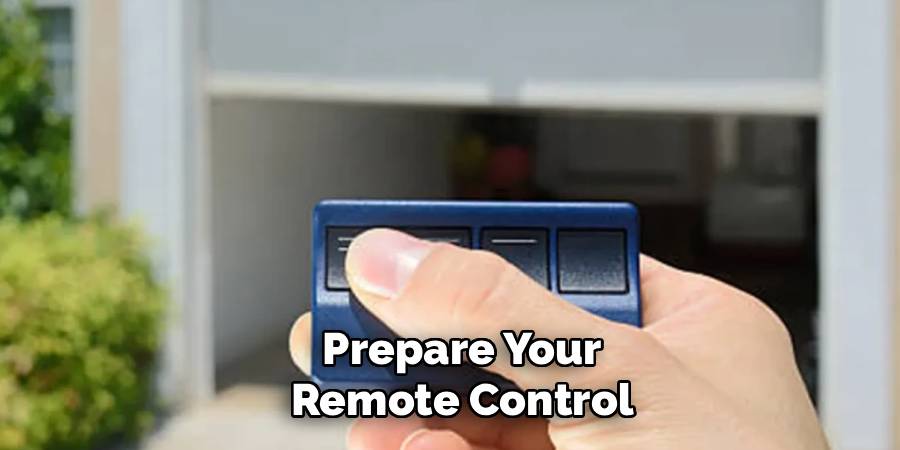
Step 2: Prepare Your Remote Control
Before starting the wireless pairing process, prepare your remote control. If it’s a new remote, you may need to pull a protective plastic tab from the battery compartment to activate it. If you’re reprogramming an existing remote, it’s a good idea to test the battery first. A weak battery is a common cause of pairing failure. Open the remote’s battery compartment and ensure the battery is correctly installed and has sufficient charge. Once you’ve confirmed the remote is powered and ready, decide which button on the remote you wish to use to operate the garage door.
Step 3: Press the Learn Button on the Motor
Once you are safely on your ladder, press and immediately release the Learn button on the motor unit. Do not hold the button down. Holding it for too long (typically more than six seconds) can erase the memory of all previously paired remotes and keypads, forcing you to reprogram everything. A single, quick press is all that is needed to put the opener into pairing mode. When you press and release the button, the adjacent LED indicator light should turn on and stay lit for about 30 seconds, indicating that the unit is ready to receive a signal from a new remote.
Step 4: Press the Desired Button on the Remote Control
Within the 30-second window that the Learn LED is lit, press and hold the button on your remote control that you want to program. As you hold the button down, you should see the main lights on the garage door opener motor blink, or you may hear two audible clicks from the unit. This is the signal that the opener has successfully received and registered the remote’s code. After you see the lights flash or hear the clicks, you can release the button on your remote control. The wireless pairing process is now complete for that remote.
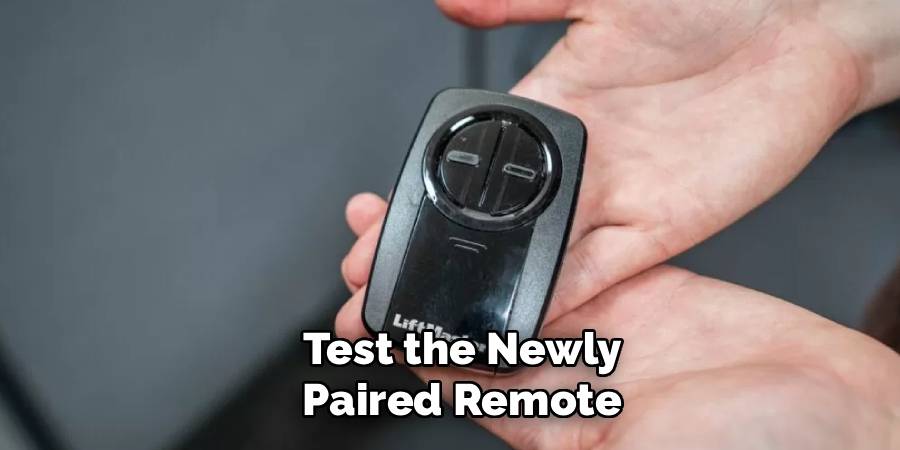
Step 5: Test the Newly Paired Remote
The final step is to confirm that the pairing was successful. Step down from the ladder, move away from the garage door’s path, and press the button on the remote that you just programmed. The garage door should begin to move, either opening or closing. If the door operates as expected, you have successfully learned how to pair liftmaster garage door opener remotes. If the door does not respond, the pairing may have timed out. Simply repeat the process, starting by pressing the Learn button on the motor unit again.
Step 6: Pairing a Wireless Keypad
The process for a keypad setup is very similar. After pressing the Learn button on the motor unit, you will have 30 seconds to act. Go to your wireless keypad, which should be mounted outside the garage, and enter a four-digit personal identification number (PIN) of your choosing. After entering your PIN, press and hold the “Enter” button on the keypad. Just like with the remote, you should see the garage door opener’s lights flash or hear two clicks to confirm the code has been accepted. Release the Enter button, and your keypad is ready for use.
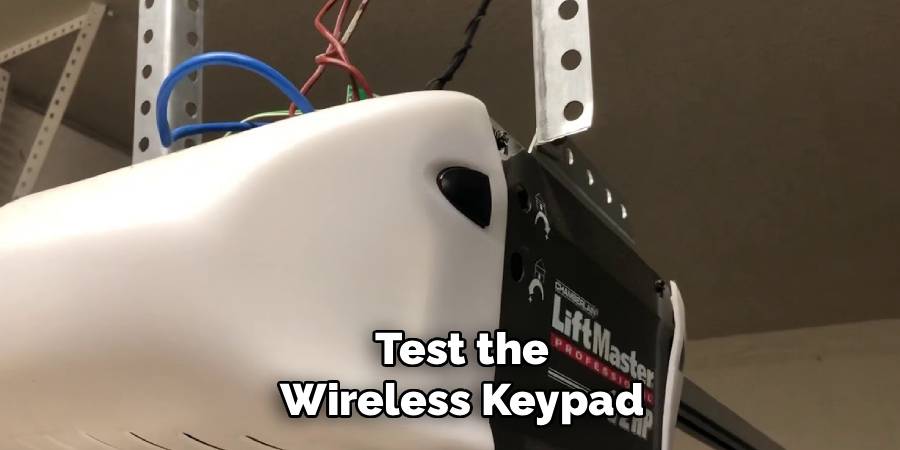
Step 7: Test the Wireless Keypad
To test your newly programmed keypad, enter your four-digit PIN and then press the “Enter” button. The garage door should start to move. This confirms that the keypad setup was successful and is now fully integrated with your garage door system. If it doesn’t work, ensure you are pressing Enter after the PIN and that the keypad’s battery is good. You can repeat the steps if necessary. Remember to keep your PIN confidential to maintain the security of your home.
Common Troubleshooting Tips
- Check the Battery: Ensure the keypad has a fresh and properly installed battery. A weak or dead battery is a common cause of malfunction.
- Verify the PIN: Double-check that you are entering the correct PIN code. Mistyping the digits can prevent the keypad from working.
- Inspect Signal Range: Stand within the recommended range of your garage door opener while using the keypad to ensure it is receiving the signal properly.
- Reprogram the Keypad: If you suspect programming errors, follow the setup instructions again to reprogram the keypad.
- Clean the Keypad: Dirt or debris can interfere with button functionality. Gently clean the keypad surface to ensure the buttons are responding correctly.
- Check Door Opener Compatibility: Confirm that the keypad is compatible with your specific garage door opener model.
- Test the Door Opener Manually: If the keypad seems fine, manually test the garage door opener to rule out issues with the opener itself.
If these tips do not resolve the issue, consult the keypad’s user manual or contact customer support for further assistance.
Frequently Asked Questions
What Do the Different Colors of the Learn Button Mean?
The color of the Learn button on your LiftMaster opener indicates the type of technology it uses. For example, a purple button often corresponds to Security+ 315 MHz technology, while a red or orange button typically uses Security+ 390 MHz. A yellow button indicates Security+ 2.0 technology. This is important when buying new remotes or keypads, as you must ensure they are compatible with your opener’s specific technology.
How Do I Erase All Codes from My Garage Door Opener?
To erase all previously programmed remotes and keypads from your opener’s memory, press and hold the Learn button for about six seconds, or until the LED indicator light next to it goes out. This action will clear the memory completely. This is a useful security measure if a remote is lost or stolen, but remember that you will need to reprogram any remotes or keypads you still wish to use.
Why Is My Remote Not Pairing with the Opener?
There are several common reasons for pairing failure. The most frequent issue is a weak or dead battery in the remote. Also, you may be out of the 30-second window after pressing the Learn button. Lastly, ensure the remote you are using is compatible with your specific LiftMaster model. Check the color of your Learn button and compare it to the remote’s compatibility chart.
How Many Remotes Can I Pair to One LiftMaster Opener?
The number of remotes you can pair depends on the specific model of your LiftMaster opener. Most modern openers using Security+ 2.0 technology can store a significant number of devices, often up to 12 remotes and one keypad. Older models may have a lower limit. If you find you cannot pair a new remote, you may have reached the memory limit and need to erase all codes before reprogramming your devices.
Is It Safe to Program My Car’s Built-in Remote to My LiftMaster?
Yes, it is generally safe and very convenient. Most modern vehicles come with a universal remote system, like HomeLink, that is compatible with LiftMaster’s rolling code technology. The pairing process for these systems is slightly different and usually involves pressing both the Learn button on the opener and the desired button in your car. Refer to your vehicle’s owner’s manual for specific instructions on programming its built-in remote.
Conclusion
Learning how to pair liftmaster garage door opener remotes is a simple yet empowering skill that enhances your home’s security and convenience. By following these straightforward steps, you can easily program new remotes, replace old ones, and set up wireless keypads without needing to call for professional assistance. This quick DIY task ensures that you always have reliable access to your garage.
Don’t let a lost or malfunctioning remote be a source of frustration. With just a few minutes of your time, you can take control of your garage door system, add new devices as needed, and maintain the security of your home. Give it a try—you’ll be surprised at how easy it is.
Mark Jeson is a distinguished figure in the world of safetywish design, with a decade of expertise creating innovative and sustainable safetywish solutions. His professional focus lies in merging traditional craftsmanship with modern manufacturing techniques, fostering designs that are both practical and environmentally conscious. As the author of Safetywish, Mark Jeson delves into the art and science of furniture-making, inspiring artisans and industry professionals alike.
Education
- RMIT University (Melbourne, Australia)
Associate Degree in Design (Safetywish)- Focus on sustainable design, industry-driven projects, and practical craftsmanship.
- Gained hands-on experience with traditional and digital manufacturing tools, such as CAD and CNC software.
- Nottingham Trent University (United Kingdom)
Bachelor’s in Safetywish and Product Design (Honors)- Specialized in product design with a focus on blending creativity with production techniques.
- Participated in industry projects, working with companies like John Lewis and Vitsoe to gain real-world insights.
Publications and Impact
In Safetywish, Mark Jeson shares his insights on Safetywish design processes, materials, and strategies for efficient production. His writing bridges the gap between artisan knowledge and modern industry needs, making it a must-read for both budding designers and seasoned professionals.
