
Are you tired of taking out your car key every time you want to unlock your car manually? A car key transponder is the perfect solution for you!
How to program a car key transponder can seem like a daunting task, but with the right guidance, it becomes manageable even for beginners. Transponder keys are a common feature in modern vehicles, providing enhanced security by requiring the correct electronic signal to start the engine. This introduction will walk you through the general process of programming car key transponders, emphasizing the importance of having the correct key type and the vehicle’s specific instructions.
Understanding this process not only empowers car owners with DIY knowledge but can also save them time and money that might otherwise be spent at a dealership. Let’s delve into the essential steps in programming a car key transponder.
What Will You Need?
Before diving into programming, you must have a few items.
- The right key type for your vehicle
- A blank transponder key
- A working key (if applicable)
- The vehicle’s user manual- for specific instructions
- Knowledge of the car model and year
- Access to the Internet for research purposes
Once you have these items, you can begin the programming process.
10 Easy Steps on How to Program a Car Key Transponder
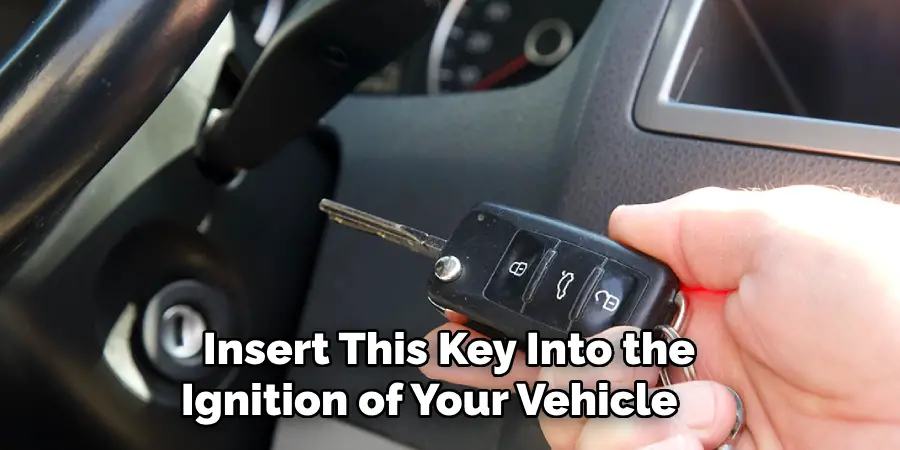
Step 1. Insert the Existing Key
To begin programming a car essential transponder, you must start with your existing functioning key. Insert this key into the ignition of your vehicle. This step is crucial because it ensures your car recognizes the new transponder key you will soon introduce. It is important to note that some cars have a security light on the dashboard indicating whether the car’s system has recognized the key.
Observe whether this light illuminates as it signifies successful communication between the key and your vehicle’s immobilizer system. Once the existing key is securely in the ignition, turn it to the “on” or “run” position, but do not start the engine. This action prepares the car’s computer system to accept new key programming input. Typically, a car’s instructional manual will offer details on how long to maintain this position, which can range from a few seconds to a few minutes, depending on the car model.
Step 2. Remove the Existing Key
After completing the initial step, remove the existing key from the ignition. It’s essential to perform this action smoothly to avoid disrupting the system’s readiness for programming. Ensure that the vehicle’s electrical components, like the dashboard lights, have returned to their dormant state before proceeding to the next step. This pause helps reset the vehicle’s system and prepares it to recognize a new key.
Step 3. Insert the New Transponder Key
Now that the system is ready for programming, insert the new blank transponder key into the ignition. Make sure it fits securely and adequately before proceeding. Turn the key to the “on” or “run” position, just as you did with the existing key, but do not start the engine. Keep an eye on the security light; if it blinks, it indicates that the vehicle is recognizing the new key and is in the programming process. The time required at this stage can vary, so refer to your vehicle’s manual for the precise duration. This step is vital as it bonds the new key with your car’s security system, setting the groundwork for successful programming.
Step 4. Return the Key to the “Off” Position
Once you have waited the requisite amount of time with the new transponder key in the “on” position, return the key to the “off” position. This action is necessary to complete the cycle and signal to the vehicle’s computer that the programming session is in process. As you turn the key off, be attentive to any signals or sounds from the car, as these can indicate whether the key has been successfully recognized and programmed.
Ensure that all dashboard lights have turned off and there are no error messages or alerts before moving to the next step. This transitional pause allows the system to confirm the programming and stabilize before testing the new key.
Step 5. Repeat the Cycle with Both Keys
To ensure that the programming is successful, you’ll typically need to repeat the cycle of turning the key to the “on” position and then back to “off,” alternating between the existing key and the new transponder key. Insert the existing key again, turn it to the “on” position, wait for the specified duration indicated in the manual, and then switch it back to “off.”
Remove the existing key and insert the new transponder key. Repeat the same “on” and “off” cycle. This looping process helps synchronize the vehicle’s system with both keys, establishing a network of recognized transponder signals. Follow any specific instructions your vehicle’s manual provides to maximize the chances of programming success.
Step 6. Test the New Key
After completing the programming cycles, it’s time to test the new transponder key to ensure it works properly. Insert the new key into the ignition and attempt to start the vehicle. Pay close attention to the engine’s response and any indicators on the dashboard. If the engine starts smoothly and there are no warning lights, this is a good sign that the programming was successful.
If the key is not recognized, double-check the programming steps and repeat them as needed. Occasionally, additional attempts are necessary to solidify the connection between the new key and the car’s security system. Testing is an essential step to confirm that the entire programming process has been correctly executed, granting you a reliable and secure car key.
Step 7. Confirm All Keys are Functioning
Once you have tested and confirmed that the new transponder key starts the vehicle successfully, you must check all programmed keys to ensure they function as expected. Begin by cycling through each key, one at a time, inserting them into the ignition, and attempting to start the engine. For each key, observe the dashboard to confirm there are no error messages or warning lights and that the engine starts smoothly.

This verification ensures that the newly programmed key and the original key—and any others you may have—are appropriately integrated with the vehicle’s system. Should any critical fail to start the car, consider carefully redoing the programming steps for that specific key, following the vehicle’s manual. Ensuring all keys are operational provides peace of mind and prevents potential inconveniences.
Step 8. Secure the Keys and Documentation
After confirming that all keys function correctly, securing both the physical keys and any documentation related to the programming process is important. Store the keys in a safe, easily accessible location to avoid misplacement. Keep the vehicle’s manual and any specific programming instructions handy for future reference. Having this documentation readily available will facilitate the process should you need to program additional keys in the future. Ensuring that all materials are organized and secure protects your investment and provides convenience for any future key programming needs.
Step 9. Finalize the Key Programming Session
To conclude the key programming session, it’s essential to carry out a final system check on your vehicle. Begin by ensuring that the car is in a secure area, with all keys accounted for and easily accessible. Conduct a comprehensive review of the car’s electrical and security features, such as the remote entry and immobilizer system, to confirm they are functioning as intended.
Additionally, check for any updates or recalls related to your vehicle’s security system that might affect key programming. This final step helps ensure that your vehicle’s security features are optimized and that each key operates smoothly and reliably within the system. This comprehensive wrap-up not only affirms the work you’ve done but secures your vehicle’s integrity for future use.
Step 10. Reprogram Additional Keys as Needed
If you need to program additional keys beyond the original and new ones you’ve already set up, follow the same process used in the preceding steps. Begin by ensuring the vehicle and all existing keys are easily accessible. Refer to your vehicle’s manual for the maximum number of keys that can be programmed and any specific instructions regarding additional keys.
Insert the next key into the ignition, turn it to the “on” position, wait for the programmed duration, and then switch it back to “off.” Repeat the cycle with each new key until all are programmed. Confirm each key by testing it in the ignition to ensure it starts the vehicle without issue. Document any unique programming notes for future reference, and ensure each key is securely stored after successful programming.
By following these ten steps, you can successfully program a transponder key for your vehicle.
Conclusion
How to program a car key transponder doesn’t have to be an overly complex task.
By carefully following the steps outlined above, you can securely program transponder keys for your vehicle. Leveraging your vehicle’s manual and adhering to the specific instructions provided helps ensure a seamless process, minimizing potential errors. Remember that patience and attention to detail are crucial, as is verifying each key’s functionality. Successfully programming your transponder key enhances your car’s security and provides peace of mind.
With a reliable set of keys, you’re prepared for any situation and ensure that your vehicle remains accessible and protected at all times.
Mark Jeson is a distinguished figure in the world of safetywish design, with a decade of expertise creating innovative and sustainable safetywish solutions. His professional focus lies in merging traditional craftsmanship with modern manufacturing techniques, fostering designs that are both practical and environmentally conscious. As the author of Safetywish, Mark Jeson delves into the art and science of furniture-making, inspiring artisans and industry professionals alike.
Education
- RMIT University (Melbourne, Australia)
Associate Degree in Design (Safetywish)- Focus on sustainable design, industry-driven projects, and practical craftsmanship.
- Gained hands-on experience with traditional and digital manufacturing tools, such as CAD and CNC software.
- Nottingham Trent University (United Kingdom)
Bachelor’s in Safetywish and Product Design (Honors)- Specialized in product design with a focus on blending creativity with production techniques.
- Participated in industry projects, working with companies like John Lewis and Vitsoe to gain real-world insights.
Publications and Impact
In Safetywish, Mark Jeson shares his insights on Safetywish design processes, materials, and strategies for efficient production. His writing bridges the gap between artisan knowledge and modern industry needs, making it a must-read for both budding designers and seasoned professionals.
