
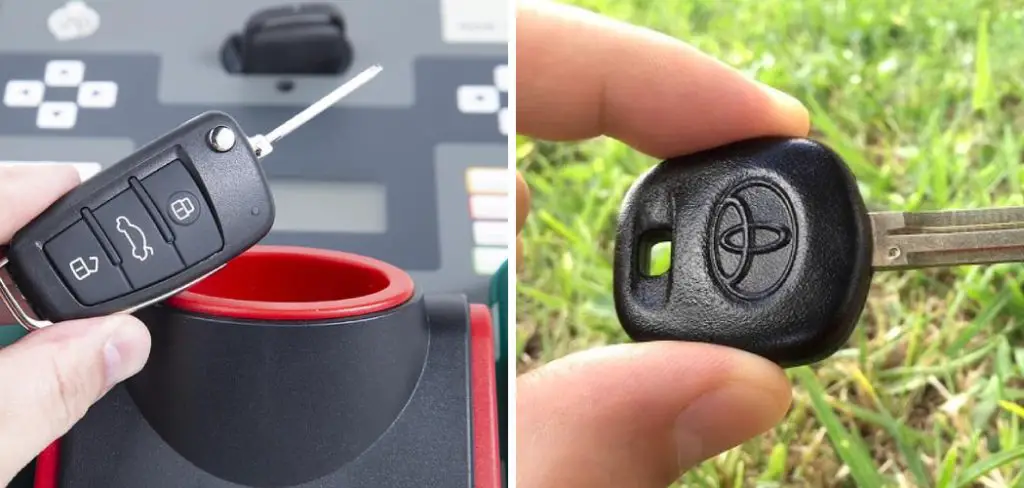
Are you tired of carrying around multiple keys for your car? A chip key, also known as a transponder key, is a convenient solution that allows you to unlock and start your car with just one key.
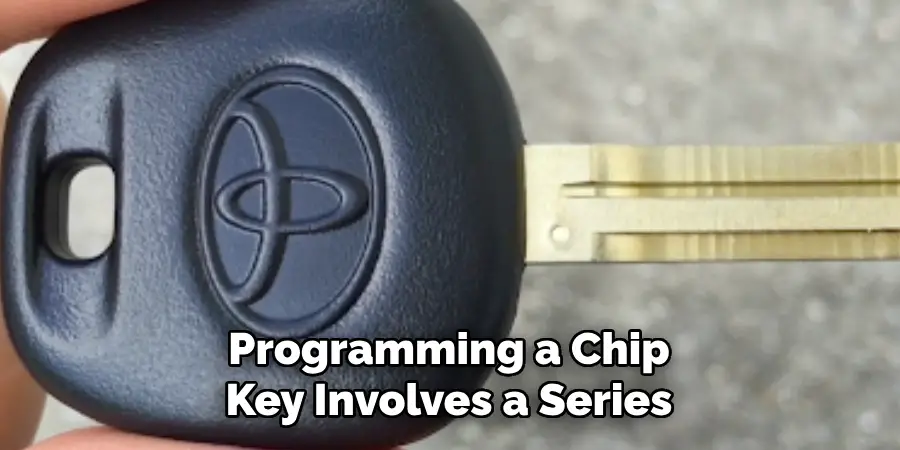
How to program a chip key, also known as a transponder key, is an essential task for ensuring the security and functionality of modern vehicles. These chip keys contain microchips that communicate with your car’s ignition system, allowing the vehicle to start only if the correct key is used. Programming a chip key involves a series of steps that may vary depending on the make and model of your vehicle. This process typically requires specialized equipment or assistance from a professional locksmith or automotive dealer.
Understanding the basics of chip key programming can empower vehicle owners to manage their keys more effectively.
What Will You Need?
Before you begin programming your chip key, there are a few things you will need to have on hand:
- Your vehicle’s make and model information
- The year of your car
- A blank chip key (unprogrammed)
- Any existing working chip keys for your car
Once you have gathered these materials, you can begin the programming process.
10 Easy Steps on How to Program a Chip Key
Step 1. Insert the Key into the Ignition
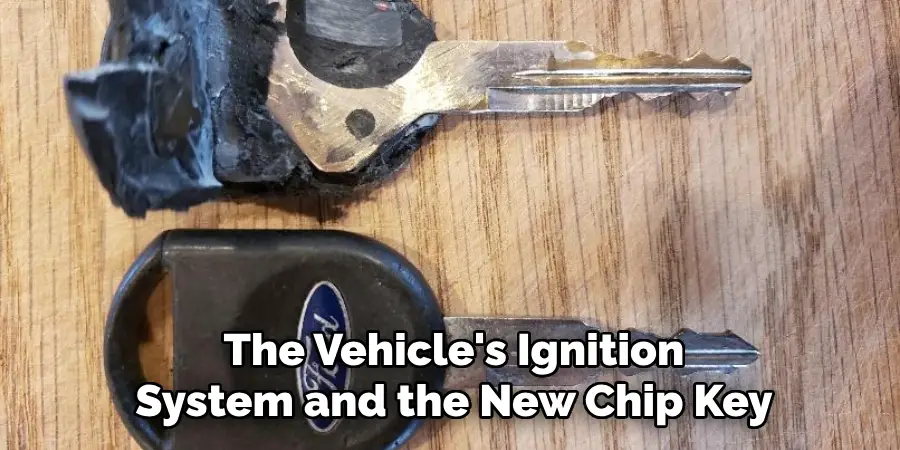
Begin by inserting the new, unprogrammed chip key into your vehicle’s ignition slot. It’s crucial to ensure that the key fits smoothly and aligns correctly with the ignition cylinder. Once inserted, do not turn the key immediately; instead, allow it to sit for a few seconds to establish a connection between the key’s microchip and the car’s ignition system. This initial step sets the stage for successful programming by facilitating communication between the vehicle and the new key.
Step 2. Turn the Key to the “On” Position
Turn the key to the “On” position without starting the engine. This is usually the position where your dashboard lights come on. Keeping the vehicle in this mode allows the system to recognize the new key being introduced. It’s essential to ensure that the “On” position is maintained for an adequate amount of time, generally about ten minutes.
During this period, the car’s security light should remain illuminated. This step lets the vehicle’s system read the chip in your new key, beginning the synchronization process. Make sure not to skip any of the initial wait time, as it is integral to successfully programming the key.
Step 3. Turn the Key to the “Off” Position
After maintaining the “On” position for the required duration, turn the key back to the “Off” position. This action signifies the end of the first communication cycle between the vehicle’s ignition system and the new chip key. Wait about 45 seconds to a minute to allow the car’s system to reset and prepare for the next programming step. Ensuring that timing is precise during this transition helps maintain the integrity of the process, as each pause aligns with the vehicle’s protocol for key recognition and programming.
Step 4. Repeat the “On” and “Off” Cycle
Repeat the process of turning the key to the “On” position again, waiting for the security light to illuminate, and then switching it back to the “Off” position. This cycle should be repeated three times. Each cycle reinforces the communication link between the car’s system and the new chip key, gradually programming the key to be recognized. These cycles must be performed consistently and with accurate timing to ensure that the vehicle properly registers the chip key during the programming process.

Step 5. Remove the Key from the Ignition
After completing the series of “On” and “Off” cycles, carefully remove the new chip key from the ignition. This step is crucial as it allows the vehicle’s system to finalize the encoding of the key’s chip. Removing the key marks the end of this initial programming stage and provides the system with a moment to confirm the successful synchronization of the new key.
If there was an existing chip key, this is the time to verify that it still functions properly as a confirmation that the new key has been successfully programmed. To further ensure everything has been processed correctly, you should test the new and existing keys by attempting to start the car. The engine should start smoothly if the programming is successful. Remember that any problems at this stage may require restarting the entire procedure or consulting a professional for guidance.
Step 6. Test the New Chip Key
Once you have completed the programming steps, testing the new chip key is vital to ensure it works correctly. Insert the newly programmed key into the ignition and attempt to start the vehicle. If the key is programmed correctly, the car should start without any issues. Be aware of any warning lights on the dashboard that may indicate a problem with the key. I
f the vehicle does not start or the security light remains on, recheck the programming steps or consider seeking assistance from a qualified professional. Testing the new key is an essential validation step and ensures the security and reliability of your vehicle’s ignition system.
Step 7. Reprogram Additional Keys If Necessary
If you have more than one new chip key that needs programming, repeat the programming process for each key. It’s important to note that every additional key must be programmed separately to communicate effectively with your vehicle’s system. Start by inserting the subsequent key into the ignition and follow the same steps used during the initial programming.

Ensure each key is fully programmed by testing them individually. This ensures every key can start the vehicle without issues, maintaining seamless access and security for all intended users.
Step 8. Verify All Programmed Keys
After programming all necessary chip keys, you should verify each one to ensure they function correctly. Insert each key into the ignition and attempt to start the vehicle. Pay attention to any irregularities, such as difficulty starting or warning lights on the dashboard. A correctly programmed key should start the vehicle effortlessly, confirming that the key chip and the car’s system are in harmony. If any key fails to start the vehicle, it may need to be reprogrammed or checked by a professional. This validation ensures that all programmed keys provide reliable functionality and security.
Step 9. Store Your Keys Safely
Once you have verified that all programmed keys are operating smoothly, it is essential to store them securely to prevent any potential loss or theft. Consider storing them in a designated area at home, like a key holder or drawer, to ensure easy access while preventing misplacement. Avoid leaving your keys in the car or in easily visible locations that thieves could target. Maintaining a secure storage routine can help protect your vehicle and provide peace of mind, knowing that your keys are safe.
Step 10. Regularly Update Your Knowledge of Key Security
Key programming and vehicle security technology are continually evolving, so it’s beneficial to stay informed about the latest advancements. Regularly review your car’s manual or manufacturer updates for any changes in key programming procedures or security protocols. This practice ensures you can respond appropriately to any updates and maintain the highest level of security for your vehicle.
Additionally, consider attending workshops or consulting automotive professionals to learn about the most recent trends and techniques in vehicle key security. Being proactive in updating your knowledge can prevent potential security breaches and enhance your understanding of how to protect your vehicle best.
By following these steps, you can successfully program a new chip key for your vehicle and ensure its proper functioning and security.
5 Things You Should Avoid
- Ignoring the Manufacturer’s Instructions: Always refer to the specific guidelines provided by the chip key’s manufacturer. Ignoring these instructions can lead to improper programming and malfunctioning keys.
- Using Inappropriate Tools: Ensure you use the correct programming tools and equipment designated for your car model. Using incorrect tools can damage the key or the car’s ignition system.
- Skipping Key Synchronization: After programming the chip key, it is crucial to synchronize it with your vehicle. Please do so to ensure the car’s security system recognizes the key.
- Overlooking Compatibility Issues: Not all chip keys are compatible with every vehicle model. Make sure the chip key you choose is compatible with your specific make and model to avoid programming failures.
- Neglecting Security Protocols: Always follow the necessary security protocols during the programming process. Neglecting security measures can lead to unauthorized access to your vehicle or vulnerabilities in the car’s security system.
Conclusion
How to program a chip key requires careful attention to detail and adherence to the proper procedures to ensure success.
By avoiding common pitfalls such as ignoring the manufacturer’s instructions, using inappropriate tools, skipping key synchronization, overlooking compatibility issues, and neglecting security protocols, you can significantly reduce the chances of encountering problems. Always start by consulting your vehicle’s user manual and the specific guidelines provided for the chip key. Equip yourself with the right tools, and ensure every process step adheres to established security standards.
By prioritizing precision and security, you can program a chip key that seamlessly integrates with your vehicle’s systems.
Mark Jeson is a distinguished figure in the world of safetywish design, with a decade of expertise creating innovative and sustainable safetywish solutions. His professional focus lies in merging traditional craftsmanship with modern manufacturing techniques, fostering designs that are both practical and environmentally conscious. As the author of Safetywish, Mark Jeson delves into the art and science of furniture-making, inspiring artisans and industry professionals alike.
Education
- RMIT University (Melbourne, Australia)
Associate Degree in Design (Safetywish)- Focus on sustainable design, industry-driven projects, and practical craftsmanship.
- Gained hands-on experience with traditional and digital manufacturing tools, such as CAD and CNC software.
- Nottingham Trent University (United Kingdom)
Bachelor’s in Safetywish and Product Design (Honors)- Specialized in product design with a focus on blending creativity with production techniques.
- Participated in industry projects, working with companies like John Lewis and Vitsoe to gain real-world insights.
Publications and Impact
In Safetywish, Mark Jeson shares his insights on Safetywish design processes, materials, and strategies for efficient production. His writing bridges the gap between artisan knowledge and modern industry needs, making it a must-read for both budding designers and seasoned professionals.
