
Do you crave smart home functionality yet don’t know where to begin? Sengled LED bulbs bring vibrant illumination and a host of helpful solutions to your home! By just using your smartphone, voice assistant, or other compatible device, you can get up and running with Sengled in no time.

To start taking advantage of all the features these bulbs offer, though, first, you will need to set them up in pairing mode. With this guide at hand, we’ll walk through all the steps necessary for successful installation so that your voice commands can control even more aspects of your house and answer any questions before they come up along the way. So keep reading to learn more about how to put a Sengled bulb in pairing mode.
Why It Is Important to Know how To Put a Sengled Bulb in Pairing Mode
Knowing how to set up a Sengled bulb in pairing mode is important for several reasons. Once your Sengled bulbs are connected, you can access a range of features that are not available when these lights are used solely as traditional lighting fixtures.
These include voice commands with compatible digital assistants like Alexa or Google Home, dimming and scheduling features, and the ability to pair with compatible devices for even more functionality.

You can also control your Sengled bulbs from anywhere using a compatible smartphone or tablet app. All of these things are dependent on being able to properly place the bulb in pairing mode.
Overall, if you want your Sengled bulbs to be at their maximum potential, then knowing how to put them in pairing mode is essential.
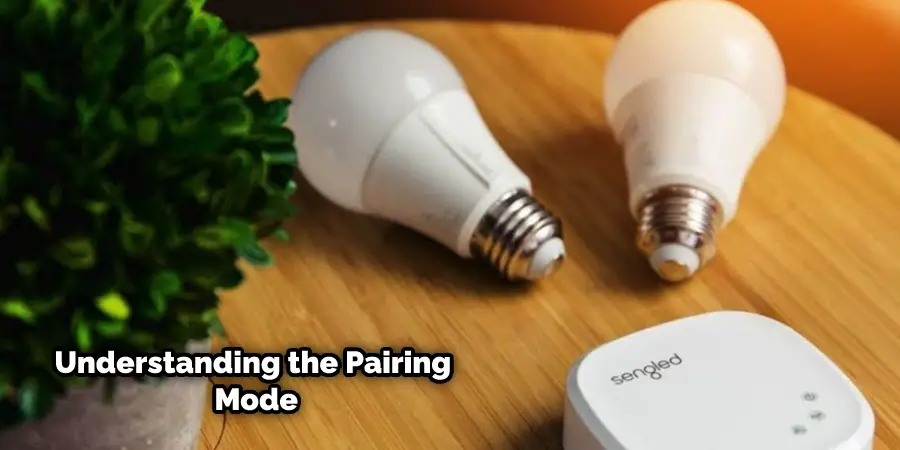
Understanding the Pairing Mode
Pairing mode is a feature that allows the Sengled bulb to connect to a hub or device. When a bulb is in pairing mode, it is actively searching for a connection to a hub or device that will allow it to function.
Pairing mode is important because it allows the Sengled bulb to communicate with the other devices in your smart home system, such as a smart hub or voice assistant. Without pairing mode, the Sengled bulb would not be able to receive commands from these other devices and would not function as intended.
To put a Sengled bulb in pairing mode, you will need to follow the specific instructions for your bulb model. Generally, the process involves turning on the bulb and then either pressing a button on the bulb or using the Sengled app to initiate pairing mode. Once the bulb is in pairing mode, it will start searching for a hub or device to connect to.
It’s important to note that the Sengled bulb will only stay in pairing mode for a limited time. If it does not find a hub or device to connect to within that time, it will exit pairing mode and return to normal operation. Therefore, it’s important to have your hub or device ready and in pairing mode before initiating the pairing process with your Sengled bulb.
In summary, pairing mode is a crucial feature of the Sengled bulb that allows it to connect to other devices in your smart home system. By understanding how the pairing mode works, you can ensure that your Sengled bulb is properly connected and functioning as intended.
10 Step-By-Step Guides on How to Put a Sengled Bulb in Pairing Mode
Step 1: Ensure Your Sengled Bulb Is in The Correct Socket:
The first step in setting up your Sengled bulb is to make sure it is plugged into the correct socket. Depending on your model, you may need to use an adapter or a different socket type. Make sure everything is correctly connected before continuing with the setup process.
Step 2: Go Into The App And Select the “Pair” Option:
Once your Sengled bulb is in the correct socket, go into the Sengled app and select the “Pair” option. This will begin the pairing process for your bulb.
Step 3: Select Your Hub or Device That You Want to Connect To:
After selecting the “Pair” option, select the type of hub or device that you would like to connect to your Sengled bulb. This can be a compatible smart home hub such as SmartThings, or it could be a compatible digital assistant such as Alexa or Google Home.
Step 4: Hold Down The On/Off Button For 3 Seconds:
Once you have selected the type of hub or device with which you would like to pair your Sengled bulb, hold down the on/off button for 3 seconds. This will put the bulb into pairing mode, and it will start searching for a connection.
Step 5: Wait Until The Bulb Is Connected:
Once the bulb is in pairing mode, it will start searching for a connection. This process can take up to a few minutes, so be patient. Once the bulb is connected, you’ll receive an on-screen notification that it has been successful.
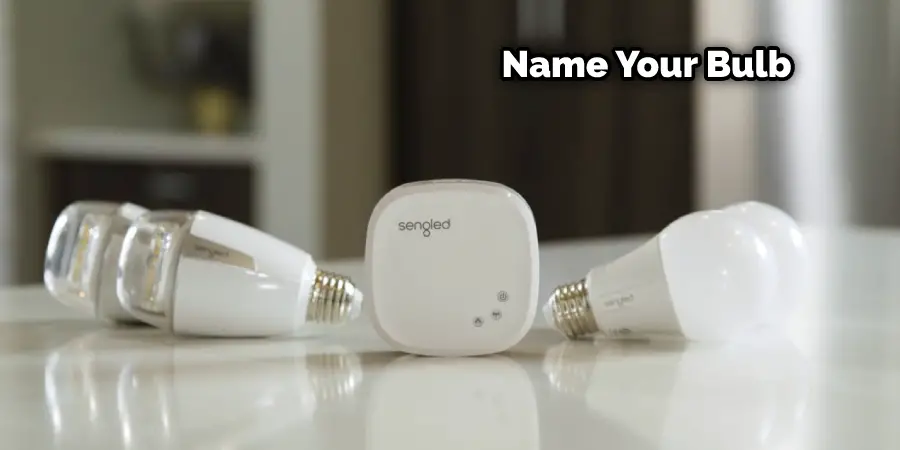
Step 6: Name Your Bulb:
Now that your Sengled bulb is successfully connected, it’s time to name it. Give your bulb a unique name that will help you recognize it and differentiate it from other bulbs in the network.
Step 7: Set The Brightness And Color Of Your Bulb:
Once your Sengled bulb is properly named, you can now adjust its brightness and color. This can be done in the Sengled app or with compatible digital assistants like Alexa or Google Home.
Step 8: Connect Your Bulb To Other Smart Devices:
Now that your Sengled bulb is properly set up, you can connect it to other home smart devices. Depending on your model and the type of devices you have, this could include connecting your bulb to a compatible motion sensor or security camera.
Step 9: Program Automation And Routines:
Now that your Sengled bulbs are connected, you can start programming automation and routines. This allows you to set up conditions for when certain lights should turn on and off or how they should respond to motion or other triggers.
Step 10: Enjoy Your Smart Home System:
Now that you have successfully put your Sengled bulb in pairing mode and connected it to your smart home system, you can now enjoy the convenience of having a full-fledged smart home. Enjoy controlling your lights, setting automation and routines, and making full use of all the features that a Sengled bulb has to offer.
Congratulations! You have now successfully put your Sengled bulb into pairing mode and connected it to your smart home system. Enjoy the convenience of having a fully integrated set-up with reliable connections.
8 Common Issues Might Arise While Putting a Sengled Bulb in Pairing Mode and How to Solve Them
1. Bulb Won’t Turn On:
Check the power connection and make sure it is securely plugged in. If that doesn’t work, reset the bulb by turning off the power for 30 seconds and then turning it back on.
2. the Bulb Won’t Pair:
Ensure you have the latest version of the Sengled app installed and your device is compatible. If there are no issues, try resetting the bulb again by turning off the power for 30 seconds and then turning it back on.
3. Connection Error:
Check your Wi-Fi connection and make sure it is working properly. Also, make sure that you have chosen the right hub or device to pair with your Sengled bulb.
4. Bulb Is Unresponsive:
Make sure your device is compatible and that you are using the latest version of the Sengled app. If there are no issues, try resetting the bulb again by turning off the power for 30 seconds and then turning it back on.
5. Bulb Is Not Showing Up In The App:
Make sure your device is compatible and that you are using the latest version of the Sengled app. Try resetting the bulb again by turning off the power for 30 seconds and then turning it back on.
6. Bulb Not Connecting To Other Devices:
Make sure your device is compatible and that you are using the latest version of the Sengled app. Try resetting the bulb again by turning off the power for 30 seconds and then turning it back on. Additionally, make sure that both devices (Sengled bulb and another device) are connected to the same Wi-Fi network.
7. Bulb Randomly Turning Off and On:
Make sure your device is compatible and that you are using the latest version of the Sengled app. Try resetting the bulb again by turning off the power for 30 seconds and then turning it back on. Additionally, check to make sure that there are no other devices or appliances in the area emitting interference.
8. Bulb Not Responsive to Voice Commands:
Make sure your device is compatible and that you have linked it with your digital assistant (Alexa or Google Home). Additionally, check to make sure that both the Sengled bulb and the digital assistant are connected to the same Wi-Fi network.
By following these steps, you should now have a fully working Sengled bulb that is securely connected to your smart home system.
Frequently Asked Questions
Q: How Long Does the Sengled Bulb Stay in Pairing Mode?
A: The Sengled bulb will stay in pairing mode for a limited time, typically around 60 seconds. If it does not find a hub or device to connect to within that time, it will exit pairing mode and return to normal operation.
Q: Can I Put Multiple Sengled Bulbs in Pairing Mode at The Same Time?
A: Yes, you can put multiple Sengled bulbs in pairing mode at the same time. However, it’s important to ensure each bulb is within range of the hub or device you are trying to pair it with.
Q: Does the Sengled Bulb Work With Other Smart Home Systems?
A: Yes, the Sengled bulb is compatible with many other popular smart home systems as well, including Apple HomeKit and Samsung SmartThings. However, you may need to install additional hubs or devices in order for your Sengled bulbs to work with these systems.
Q: Is It Safe to Use the Sengled Bulb?
A: Yes, the Sengled bulb is safe to use and has been tested for compatibility and safety standards. However, it’s important to follow all instructions in the user manual to ensure your device operates as advertised.
Conclusion
Putting your Sengled Bulb in pairing mode is a simple process that can be done quickly and efficiently. All you need to do is press the button on the bulb for five seconds, then follow the instructions in the app or manual to complete the setup.
Once it’s set up, your new Sengled Bulb will provide bright light with customizable settings so you can enjoy more efficient lighting solutions at home. With this guide as a reference, you should have no trouble getting your Sengled bulbs paired and ready to go! Thanks for reading this article about how to put a Sengled bulb in pairing mode.
