
Ring door sensors are a vital part of many modern home security systems, helping to keep your home safe by detecting when doors or windows are opened. However, there may come a time when you need to remove one. Whether you’re upgrading your security system, relocating, or simply troubleshooting an issue, knowing how to remove ring door sensor correctly can save you time and prevent damage to your device or property.
Before removing the Ring door sensor, it’s important to ensure the system is disarmed to avoid triggering any alarms. Start by opening the Ring app on your smartphone and navigating to the device settings for the specific sensor you want to remove. Next, carefully inspect the sensor’s placement. Most Ring door sensors are secured using adhesive strips or screws. If adhesive was used, gently pry the sensor away from the surface using a flat tool.
For sensors secured with screws, use an appropriate screwdriver to carefully unscrew and detach the device. Take care not to apply excessive force to avoid damaging the sensor or the mounting surface. Once removed, you can either store the sensor or prepare it for reinstallation in a new location.
This guide will walk you through the process of removing your Ring door sensor step by step. Even if you’re a beginner, these instructions are straightforward and easy to follow, ensuring a smooth and successful process.
Why You Might Need to Remove a Ring Door Sensor
There are several reasons why you might find yourself needing to remove a Ring door sensor. For instance, if you’re upgrading to a more advanced model, relocating your home, or repositioning the sensor for optimal performance, you’ll need to know how to safely detach it without causing any damage. Other common scenarios include routine maintenance, troubleshooting sensor malfunctions, or even returning a product under warranty.
Understanding the exact reason behind removal can help you prepare for the task appropriately. For example, if you’re moving the sensor to a new location, you’ll also need to consider how to reinstall it securely.
By knowing the “why,” you can approach the process with confidence and care.
10 Step by Steps Guides on How to Remove Ring Door Sensor
Removing a Ring door sensor involves a few key steps to ensure the device is detached correctly without impairing its functionality or damaging the surface it’s mounted on. Follow these steps carefully to complete the process.
Step 1: Gather the Necessary Tools
Before beginning, make sure you have the right tools on hand. For most Ring door sensors, a screwdriver (usually a Phillips-head) will suffice. Additionally, you may want to have a putty knife or adhesive remover handy if the sensor is mounted using adhesive tape. A microfiber cloth might also come in useful for cleaning up any residue left behind.
Step 2: Disarm Your Alarm System
If your Ring door sensor is part of a home alarm system, always start by disarming the alarm. Log into your Ring app, locate the device settings, and deactivate or disarm the sensor. Skipping this step could accidentally trigger an alert during removal, creating unnecessary hassle for you.
Step 3: Identify the Mounting Mechanism
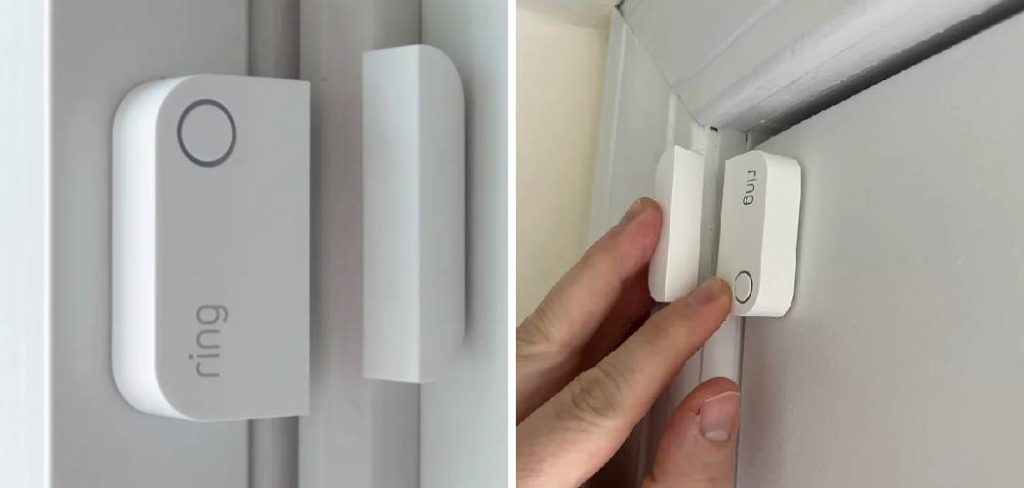
The next step is to understand how your sensor is attached. Ring door sensors are typically mounted using either screws or adhesive tape. Check the edges for visible screws or signs of mounting tape. If you’re unsure, gently lift one edge of the sensor to reveal the mounting mechanism.
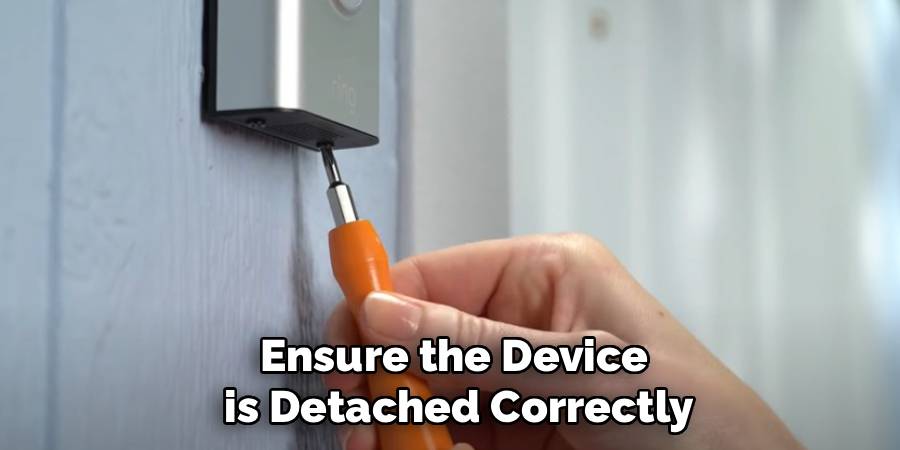
Step 4: Remove the Sensor from the Mount
If the sensor is held with screws, use your screwdriver to unscrew each fastener carefully. For adhesive-mounted sensors, slowly slide a putty knife or similar object underneath the device. Apply light pressure to loosen the adhesive, helping the sensor detach without leaving any marks.
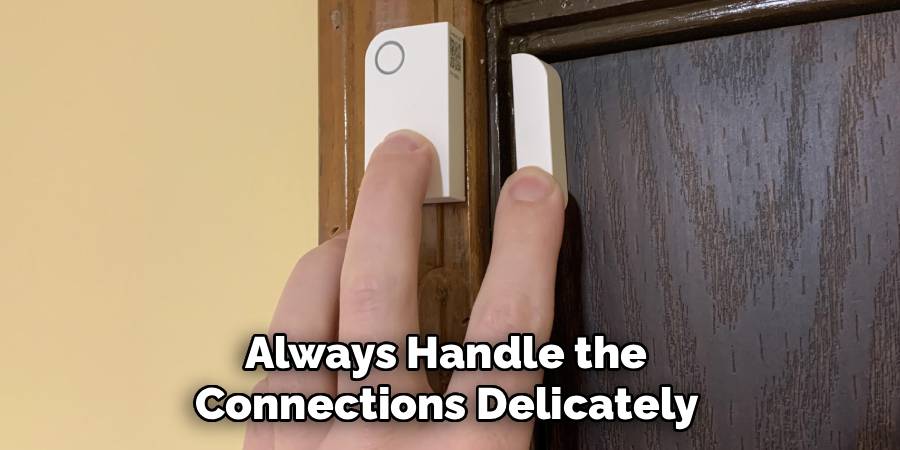
Step 5: Disconnect the Sensor from Power
Once you’ve removed the main housing, locate the power source. For battery-powered sensors, take out the batteries. If your sensor is wired, you may need to gently disconnect the wiring from the terminal. Always handle the connections delicately to avoid damaging the hardware.
Step 6: Inspect the Area for Residue
After removing the sensor, inspect the area where it was mounted. If adhesive residue remains, use an adhesive remover or a damp cloth to clean the surface. Be gentle to avoid damaging paint or finishes on doors or walls during this step.
Step 7: Store or Dispose of the Sensor Responsibly
If you plan on reusing the sensor, store it in a safe, dry place along with its screws and hardware. Alternatively, if you’re discarding the sensor, ensure it is disposed of properly according to electronic waste guidelines.
Step 8: Reconfigure the System Settings
Log back into the Ring app and update the device settings to reflect the removal of the sensor. This step ensures the app and your security system are correctly updated to avoid false alerts or malfunctions.
Step 9: Test Your Security System
Finally, test your alarm system to confirm it is functioning as expected without the removed sensor. This step helps verify that the removal process hasn’t disrupted other parts of your home security setup.
Step 10: Consider Reinstallation or Replacement
If the removal was temporary, take some time to reinstall the sensor in the desired location. For those upgrading their devices, follow manufacturer instructions for setting up your new sensor while keeping the system functional.
Benefits of Sensor Maintenance
Regular maintenance of your sensors is crucial to ensuring your home security system operates at peak efficiency. Well-maintained sensors are more reliable, reducing the likelihood of false alarms or system failures. This upkeep extends the lifespan of the devices, saving you money on replacements in the long run.
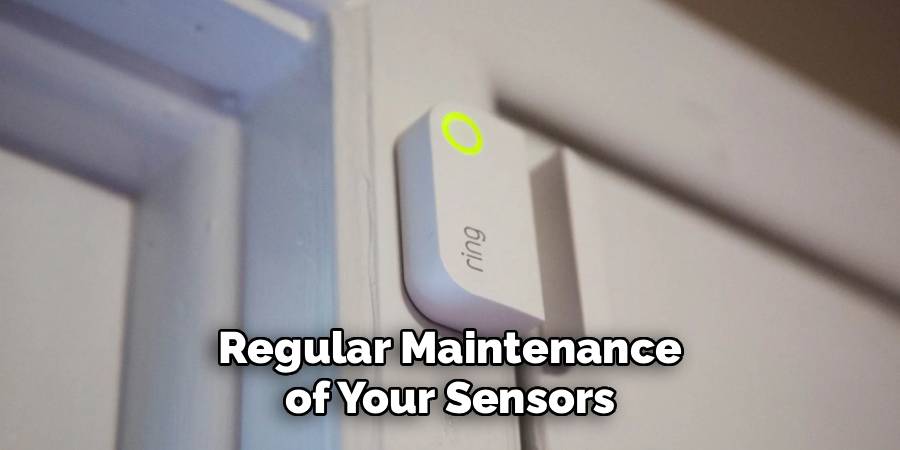
Additionally, routine checks and cleaning help identify issues early, such as low battery levels or sensor misalignment, which can prevent potential vulnerabilities in your security system. Proper maintenance also ensures that your system remains responsive and effective in safeguarding your home and loved ones.
Maintenance Tips for Sensors
To keep your sensors in optimal condition, consider the following maintenance tips:
Regular Cleaning: Dust and debris can accumulate on sensors over time, disrupting their functionality. Use a soft, dry cloth or a gentle cleaning solution to clean the surface of your sensors regularly.
Test Functionality: Most security systems provide an option to test sensors for proper operation. Conduct these tests at least once a month to ensure they are working as intended.
Check Batteries: Low battery levels can compromise the effectiveness of wireless sensors. Replace batteries promptly when the system alerts you, or establish a schedule to check and replace them periodically.
Inspect for Damage: Look for visible signs of wear and tear, such as cracks or loose connections, and repair or replace damaged sensors immediately.
Avoid Obstructions: Ensure that sensors are not blocked by furniture, curtains, or other objects. Clear any obstructions that might limit their field of detection.
Calibrate Sensors: For motion or specialized sensors, follow the manufacturer’s instructions on recalibration to maintain accuracy and sensitivity.
Routine care and attention to these details will go a long way in ensuring your security system functions reliably.
Frequently Asked Questions
1. Can I remove a Ring door sensor without damaging my wall or door?
Yes, you can remove a Ring door sensor without causing damage if you follow the correct steps. For adhesive-mounted sensors, use a putty knife or adhesive remover to loosen the glue gently. If screws were used, carefully unscrew them without applying excessive force. Cleaning up adhesive residue with a damp cloth or commercial cleaner can also help protect the surface.
2. Do I need to disarm my entire security system before removal?
It’s highly recommended to disarm the alarm system before removing the sensor to prevent accidental alerts. You can do this through the Ring app by disabling or bypassing the specific sensor being removed. If you fail to disarm the alarm, removing the sensor could trigger a system-wide alert.
3. What should I do if I’m upgrading to a newer sensor?
If you’re upgrading, start by removing your current sensor following the steps in this guide. Once it’s removed, proceed with installing the new sensor according to the manufacturer’s guidelines. Ensure the new device is compatible with your current Ring system for seamless integration.
4. How do I know if a sensor is defective and needs removal?
A defective sensor may exhibit signs such as inconsistent performance, failure to connect with the Ring app, or false alerts. Before removing it, try troubleshooting issues via the app or checking the device for visible damage. If problems persist, removal and replacement are usually the next steps.
5. What is the best way to dispose of an old Ring sensor?
Ring sensors contain electronic components that should not be discarded with regular trash. Look for local recycling programs or electronic waste disposal facilities to recycle your old sensor in an environmentally friendly manner.

Conclusion
Removing a Ring door sensor doesn’t have to be a daunting task. By following the steps outlined in this guide, you can safely and effectively detach the sensor while keeping your security system intact. Whether you’re upgrading, relocating, or simply repositioning your sensor, knowing how to remove a Ring door sensor ensures a smoother process and better results.
Proper maintenance and care of your Ring devices can extend their lifespan and ensure optimal performance. Regularly checking your sensors, updating firmware, and addressing any issues promptly can help you maximize the value of your security system. Additionally, staying informed about new updates or features from Ring can enhance your overall user experience.
Now that you’re equipped with the knowledge to handle this task, roll up your sleeves and give it a try. Properly managing your home security devices is a crucial step in keeping your space safe and secure!
Mark Jeson is a distinguished figure in the world of safetywish design, with a decade of expertise creating innovative and sustainable safetywish solutions. His professional focus lies in merging traditional craftsmanship with modern manufacturing techniques, fostering designs that are both practical and environmentally conscious. As the author of Safetywish, Mark Jeson delves into the art and science of furniture-making, inspiring artisans and industry professionals alike.
Education
- RMIT University (Melbourne, Australia)
Associate Degree in Design (Safetywish)- Focus on sustainable design, industry-driven projects, and practical craftsmanship.
- Gained hands-on experience with traditional and digital manufacturing tools, such as CAD and CNC software.
- Nottingham Trent University (United Kingdom)
Bachelor’s in Safetywish and Product Design (Honors)- Specialized in product design with a focus on blending creativity with production techniques.
- Participated in industry projects, working with companies like John Lewis and Vitsoe to gain real-world insights.
Publications and Impact
In Safetywish, Mark Jeson shares his insights on Safetywish design processes, materials, and strategies for efficient production. His writing bridges the gap between artisan knowledge and modern industry needs, making it a must-read for both budding designers and seasoned professionals.
