
It’s no secret that home security is a priority for most homeowners, and with the invention of things like the cover nest door lock, keeping your house secure has become even easier. But what happens when you want to remove or replace this type of lock? Well, we’re here to help!
In this blog post, we’ll provide step-by-step instructions on how to remove the cover nest door lock so that you can ensure your home remains safe and sound. Whether you’re gearing up for a move or just need to switch out an old lock for a new one, our guide has got you covered. Read on to find out more!
Supplies You Will Need to Remove the Cover Nest Door Lock
Before we dive into the steps, let’s make sure you have all the necessary supplies on hand. Here’s a list of things you’ll need to successfully remove your cover nest door lock:
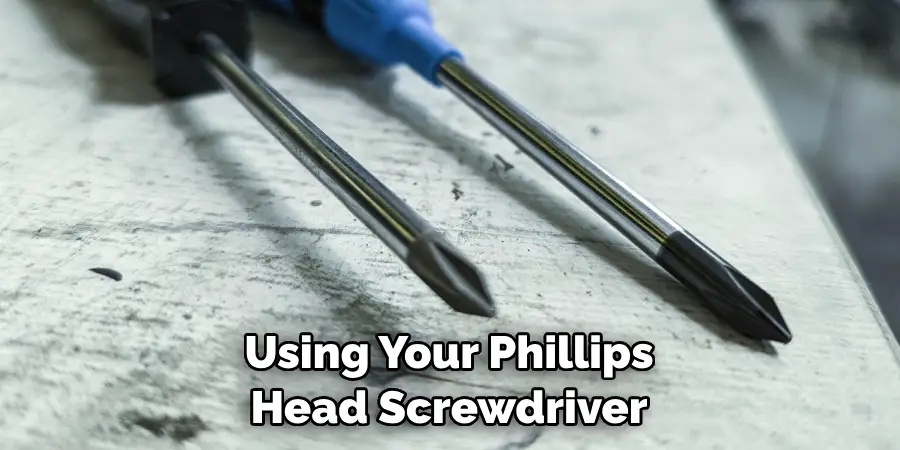
- Phillips head screwdriver
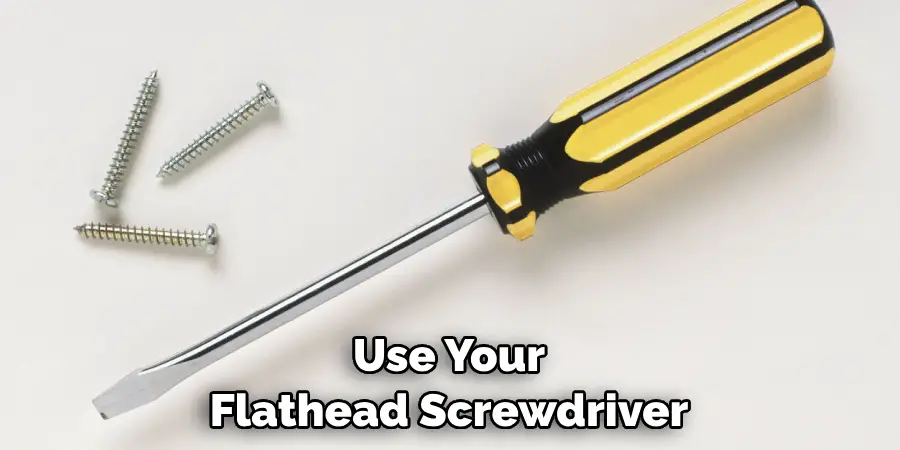
- Flathead screwdriver (optional)
- Replacement door lock (if needed)
- Tape measure (optional)
Step-by-step Guidelines on How to Remove the Cover Nest Door Lock
Step 1: Gather all Necessary Tools
As mentioned above, you’ll need a Phillips head screwdriver to remove the cover nest door lock. You may also want to have a flathead screwdriver on hand in case any of the screws are too tight or difficult to remove with just the Phillips head. Of course, if you’re replacing your lock, make sure you have the new one ready to go.
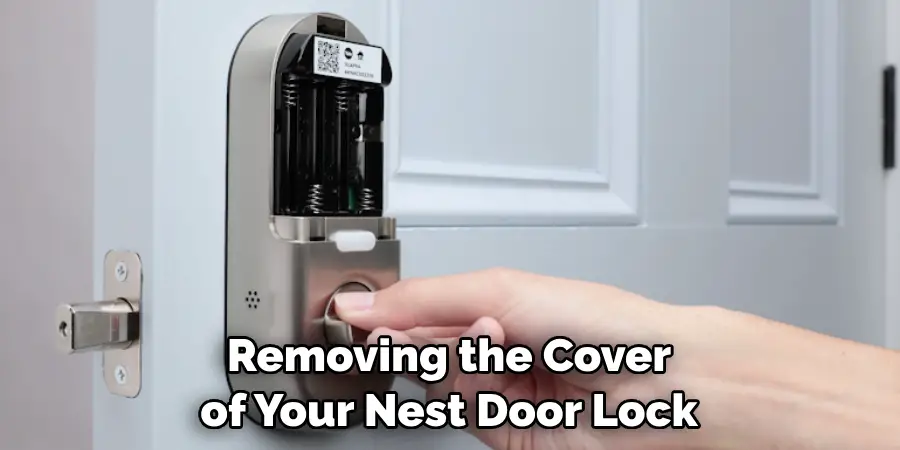
Step 2: Locate the Screws
Using your Phillips head screwdriver, locate and unscrew the two screws on either side of the door lock mechanism. These are typically located on the interior side of the door, so you may need to open it up first. Once these screws are removed, you’ll be able to pull the cover nest door lock away from the door.
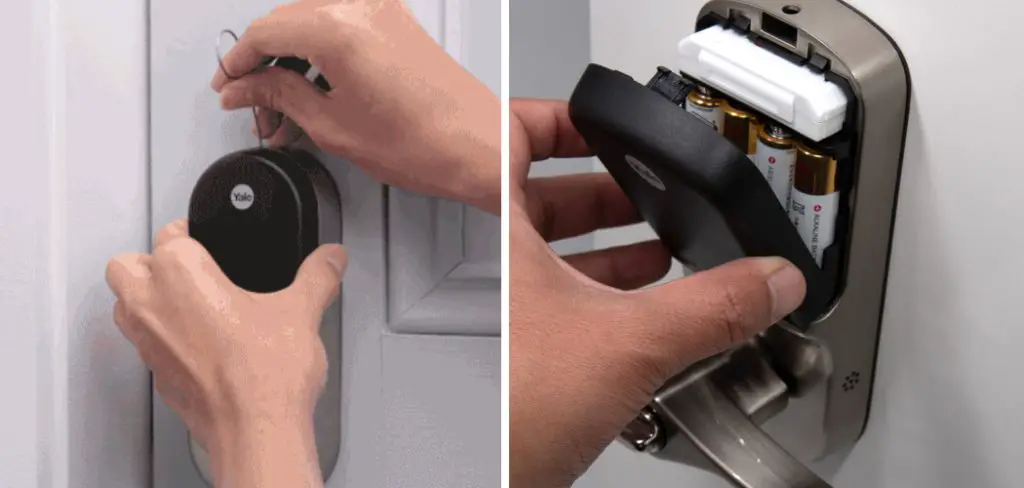
Step 3: Remove the Battery Compartment (If Applicable)
Some models of cover nest door locks have a battery compartment that needs to be removed before you can access the screws underneath it. If your lock has this, use your flathead screwdriver to gently pry it off.
Then, unscrew the screws underneath to release the lock. While removing the battery compartment may seem like an extra step, it’s important to ensure that you don’t damage any internal wiring or mechanisms.
Step 4: Remove the Screws Holding the Lock to the Door
Once you’ve removed the cover nest door lock and its battery compartment (if applicable), you can now remove any screws holding the lock itself to your door. Depending on the type of lock you have, there may be more screws to remove. Make sure you have removed all of them before attempting to pull the lock away from your door.
Step 5: Disconnect Any Cables or Wires (If Applicable)
If your cover nest door lock is connected to any cables or wires, you’ll need to carefully disconnect them before fully removing the lock. Again, this may seem like an extra step, but it’s better to be safe than sorry when it comes to preventing damage. While disconnecting any cables or wires, be sure to keep track of where they go so that you can easily reconnect them when installing a new lock.
Step 6: Replace with Your New Lock (If Needed)
Now that your old cover nest door lock has been successfully removed, you can replace it with your new one. Simply follow the above steps in reverse order to install the new lock. Make sure to secure any screws tightly and reconnect any cables or wires before testing the new lock to ensure it’s functioning properly.
Following these simple steps, you can easily remove a cover nest door lock without any hassle. Remember to always take your time and be cautious when removing or installing locks, as they are an important part of keeping your home secure.
If you encounter any difficulties during this process, don’t hesitate to reach out to a professional locksmith for assistance. Stay safe!
Additional Tips and Tricks to Remove the Cover Nest Door Lock
1. Use a screwdriver with the right size and shape – When removing the cover of your Nest door lock, it is important to use a screwdriver that fits perfectly into the screws. Using a wrong-sized or shaped screwdriver can damage the screws and make it difficult to remove.
2. Apply gentle pressure when unscrewing – The cover of your Nest door lock is attached with screws that may be tightly screwed in. Applying too much force can cause the screwdriver to slip and potentially damage the screws or cover. Apply gentle, consistent pressure when unscrewing to avoid any mishaps.
3. Use a magnetic screwdriver – If possible, it is recommended to use a magnetic screwdriver when removing the cover of your Nest door lock. This will prevent the screws from dropping and potentially getting lost.
4. Have a container ready for screws – It is always a good idea to have a small container or tray nearby when removing screws from your Nest door lock cover. This will ensure that you don’t lose any screws and they are easily accessible when it’s time to put the cover back on.
5. Check the battery level – Before removing the cover, make sure to check the battery level of your Nest door lock. If it is low, replace the batteries before proceeding with removing the cover. This will prevent any inconvenience or potential damage to your lock in case it gets stuck in an open position due to a low battery.
6. Follow manufacturer’s instructions – Every lock may have slightly different instructions for removing the cover, so it is always best to refer to the manufacturer’s manual or website for specific directions. This will ensure that you remove the cover correctly without causing any damage.
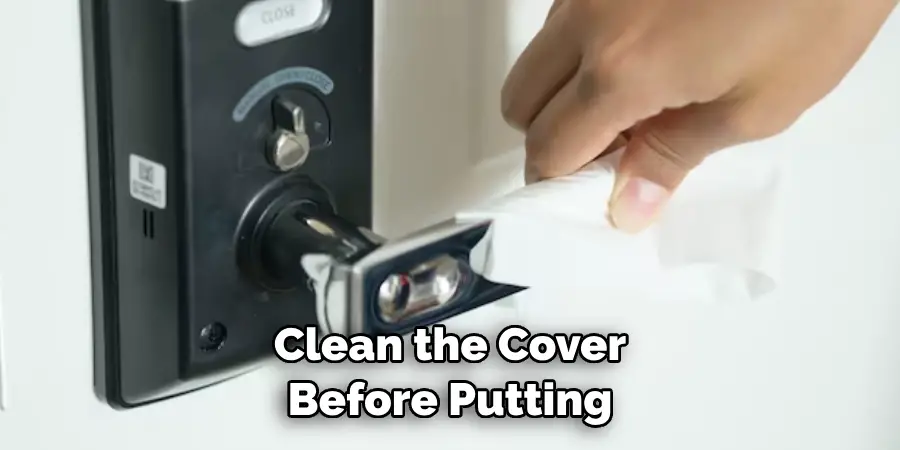
7. Clean the cover before putting it back – While you have removed the cover, take this opportunity to clean it with a mild cleaner and wipe off any dust or debris that may have accumulated. This will help keep your lock looking clean and functioning smoothly.
8. Inspect the cover for any cracks or damage – Before putting the cover back on, check it for any cracks or signs of damage. If you notice any, it may be time to replace the cover to ensure the proper functioning of your Nest door lock.
9. Use caution when reattaching the cover – When putting the cover back on, make sure to line up the screws correctly and tighten them securely. Avoid over-tightening as it may cause damage to the cover or lock.
10. Seek professional help if unsure – If you are not confident in removing the cover of your Nest door locks yourself, it is always better to seek professional help. This will ensure that the cover is removed and replaced correctly without any damage.
Following these tips and tricks will help you safely and successfully remove the cover of your Nest door lock. Remember to always proceed with caution and refer to the manufacturer’s instructions for best results. So, if you ever need to remove the cover of your Nest door lock, don’t be afraid to follow these tips and tackle it like a pro!
Frequently Asked Questions
What Should I Do if I Can’t Find the Small Screw?
If you are unable to locate the small screw at the bottom of your Nest door lock, it is possible that it may be hidden under a cover or cap. Use a flathead screwdriver to gently pry off any caps or covers on the bottom of the lock to reveal the small screw.
Can I Remove the Cover Without a Screwdriver?
No, it is not recommended to attempt removing the cover of your Nest door lock without a screwdriver. Using other tools or attempting to force off the cover may cause damage to the lock and void its warranty.
Do I Need to Remove the Cover to Change the Batteries?
Yes, you will need to remove the cover in order to access and change the batteries in your Nest door lock. Follow the steps mentioned above to safely remove the cover and replace the batteries.
Is It Safe to Remove and Reattach the Cover Multiple Times?
It is generally safe to remove and reattach the cover of your Nest door lock multiple times. However, as with any electronic device, it is important to handle the cover and lock mechanism gently and not apply excessive force during removal or reattachment.
What Should I Do if I Accidentally Break the Cover?
If you accidentally break the cover of your Nest door lock while attempting to remove it, do not panic. Contact Nest customer support for assistance in obtaining a replacement cover.
In the meantime, you can still use your door lock by carefully placing the broken cover back on and securing it with the screw. However, this is only a temporary solution and it is recommended to get a replacement cover as soon as possible.
Conclusion
All in all, knowing how to remove the cover nest door lock is an important skill for any Nest door lock owner. By following the steps mentioned above and handling the cover and lock mechanism gently, you can safely remove and reattach the cover whenever needed.
In case of any difficulties, it is always best to reach out to Nest customer support for assistance. Remember, proper maintenance and care will ensure that your Nest door lock continues to function smoothly for years to come. So, stay informed and always refer back to this guide whenever needed. Happy unlocking!
Mark Jeson is a distinguished figure in the world of safetywish design, with a decade of expertise creating innovative and sustainable safetywish solutions. His professional focus lies in merging traditional craftsmanship with modern manufacturing techniques, fostering designs that are both practical and environmentally conscious. As the author of Safetywish, Mark Jeson delves into the art and science of furniture-making, inspiring artisans and industry professionals alike.
Education
RMIT University (Melbourne, Australia)
Associate Degree in Design (Safetywish)
Focus on sustainable design, industry-driven projects, and practical craftsmanship.
Gained hands-on experience with traditional and digital manufacturing tools, such as CAD and CNC software.
Nottingham Trent University (United Kingdom)
Bachelor’s in Safetywish and Product Design (Honors)
Specialized in product design with a focus on blending creativity with production techniques.
Participated in industry projects, working with companies like John Lewis and Vitsoe to gain real-world insights.
Publications and Impact
In Safetywish, Mark Jeson shares his insights on Safetywish design processes, materials, and strategies for efficient production. His writing bridges the gap between artisan knowledge and modern industry needs, making it a must-read for both budding designers and seasoned professionals.
