
Are you having trouble with your Nissan key fob battery running low? This guide will walk you through the steps to replace the battery on your Nissan key fob.
How to replace battery on Nissan key fob is a straightforward task that can save you both time and money. A fully functional key fob is essential for the security and convenience of your vehicle, ensuring seamless keyless entry and ignition. If you’ve noticed a decrease in range or the need to press buttons multiple times, it may be time to change the battery.
Following a few simple steps and minimal tools can quickly restore your key fob to like-new condition, keeping your Nissan operating smoothly. This guide will provide clear instructions to help you successfully change the battery, regardless of your technical experience.
What Will You Need?
Before you get started, make sure you have the following items on hand:
- New battery (CR2032 3-volt lithium coin cell)
- Small flathead screwdriver or essential fob opening tool
- Clean cloth or paper towel
If you do not have a new battery, purchase one before continuing with the replacement process. Different Nissan models may require a specific type of battery, so be sure to check your vehicle’s manual for the correct type.
10 Easy Steps on How to Replace Battery on Nissan Key Fob
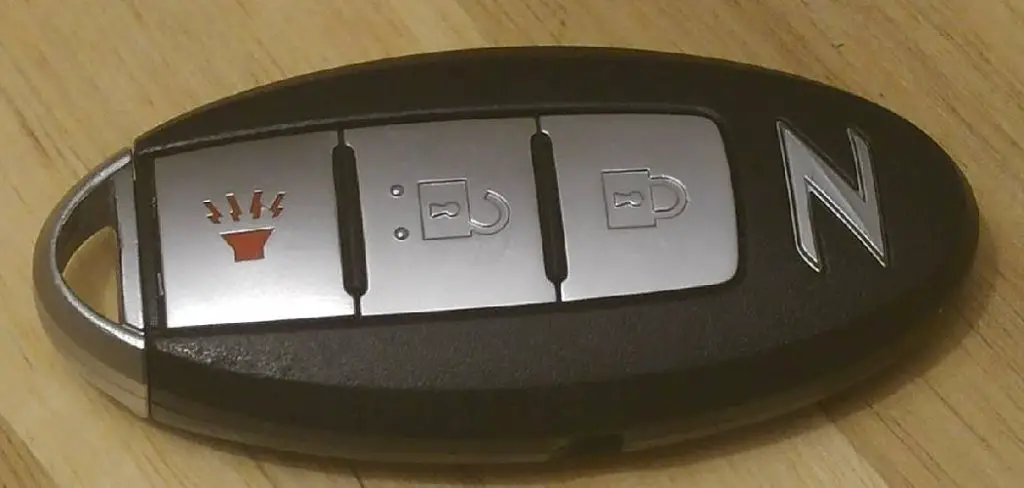
Step 1. Locate the Seam on the Key Fob:
Begin by examining your Nissan key fob to find the seam where the two halves of the fob meet. This seam is typically located along the side or edge of the key fob. You may notice a small indentation or notch along the seam, indicating where the fob can be pried open.
Carefully inspect the fob under good lighting to ensure you identify the seam accurately, as this will be the point where you apply the tool to open the key fob. Supporting the fob firmly in one hand, avoid using excessive force that could damage the device. This first careful step will ensure the remaining process is smooth and damage-free.

Step 2. Insert the Flathead Screwdriver or Opening Tool:
Once you have located the seam, take your small flathead screwdriver or essential fob opening tool and gently insert it into the notch or indentation on the seam. Apply gentle pressure while twisting the tool to separate the two halves of the key fob. Be careful not to use too much force to avoid damaging the casing.
As the fob opens, you can carefully work the tool around the perimeter until the two halves separate entirely. Keep the tool steady and use a slow, consistent motion to prevent scratches or breakage. This step should reveal the battery compartment inside the fob.
Step 3. Remove the Old Battery:
After the key fob is open, locate the battery compartment. The old battery will usually be placed in a shallow holder, which can be easily accessed once the fob is open. Use your fingers or a non-metallic tool, like a plastic spudger, to carefully lift and remove the old battery from its holder.
Be cautious not to damage any components or dislodge any small parts during this step. Keep the area clean and ensure no debris is left behind that might interfere with the new battery. Dispose of the old battery according to your local guidelines for battery disposal.
Step 4. Insert the New Battery:
With the old battery removed, take your new CR2032 3-volt lithium coin cell battery and position it in the battery compartment, ensuring the positive (+) side is facing up. Press the battery into place, ensuring it sits flat and is securely seated in its holder.
Verify that the battery is correctly aligned with the contact points to ensure proper functionality. Once in position, double-check that no components are out of place and that the area remains free from dust or debris. This step is crucial for properly operating the key fob, so take your time to ensure accuracy.
Step 5. Reassemble the Key Fob:
Now that the new battery is securely placed, you are ready to reassemble the key fob. Carefully align the two halves of the fob, ensuring that all internal components, such as buttons and any small parts, are correctly positioned. Press the halves together, starting from one end and working your way around the perimeter until they snap back into place. You should hear a series of clicks as the casing locks shut. Be gentle to avoid snapping or bending any delicate parts. Once fully assembled, double-check that the fob is sealed tightly and that the seams are aligned uniformly. This ensures that the fob remains water-resistant and operational in everyday conditions.
Step 6. Test the Key Fob:
With the key fob reassembled, testing its functionality is essential to ensure the new battery is working correctly. Stand close to your Nissan vehicle and try unlocking and locking the doors using the key fob buttons. If the fob functions properly, the car should respond promptly to your commands.
Additionally, test the ignition feature, if applicable, to verify that the fob is communicating effectively with the vehicle’s systems. If there are any issues, double-check that the battery is correctly installed and the fob is appropriately assembled. A successful operation confirms that the replacement process has been completed correctly.
Step 7. Clean Up and Secure:
After confirming that your key fob is working correctly, it’s a good practice to take a moment to clean up your workspace and properly store your tools. Return the small flathead screwdriver or key fob opening tool to its designated place, and dispose of any used materials like the old battery and packaging from the new battery. It’s advisable to clean the critical fob’s outer surface with a clean cloth to remove any fingerprints or smudges that may have been left during the process.

Once everything is tidied up, secure the newly assembled and tested vital fob to ensure that it’s ready for regular use. This concludes the battery replacement task, leaving your key fob ready to provide convenient and reliable performance.
Step 8. Maintain and Check Regularly:
To ensure the longevity and reliability of your Nissan key fob, it’s vital to maintain and perform regular checks on the device. Periodically inspect the fob for physical damage, signs of wear, or any decreased responsiveness. Make it a habit to replace the battery annually or whenever the fob is not performing optimally. Additionally, ensure the fob is kept dry and clean, avoiding exposure to extreme weather conditions, which can affect its operation. Regular maintenance prevents unexpected malfunctions and guarantees that the key fob remains a dependable tool for vehicle access.
Step 9. Troubleshoot Common Issues:
Even after carefully following all the steps, there might be instances where your key fob doesn’t function as expected. Common issues include weak signal range, unresponsive buttons, or faulty fob. First, confirm that the battery is correctly installed and the contacts are clean with no corrosion.
If the problem persists, try reprogramming the key fob by following the vehicle’s manual instructions. In some cases, interference from other electronic devices might affect the fob’s performance, so check your surroundings. If these efforts don’t resolve the issue, consult your vehicle’s dealership for further diagnostics, as more complex electronic concerns might be at play.
Step 10. Seek Professional Assistance:
If you’ve exhausted all troubleshooting methods and your Nissan key fob fails to operate correctly, it may be time to seek professional assistance. Licensed technicians at a Nissan dealership are equipped with advanced diagnostic tools to determine underlying issues beyond essential repair efforts.
They can provide software updates, reprogram the fob, or address component failures that require special attention. Seeking help from professionals ensures that your key fob returns to optimal working condition and helps prevent further complications arising from unresolved issues.

By following these steps, you can easily replace the battery in your Nissan key fob and maintain its functionality for years.
5 Things You Should Avoid
- Forcing the Key Fob Open: Avoid using excessive force or sharp objects to open the key fob, as this might damage the casing or internal components.
- Touching the Circuitry with Bare Hands: Do not touch the circuit board inside the key fob with your bare hands, as this can lead to static discharge or contamination.
- Using the Wrong Battery Type: Do not use a battery type that is not compatible with your Nissan key fob, as this could cause malfunction or damage.
- Incorrect Battery Placement: Ensure the battery is placed correctly with the positive and negative terminals aligned as indicated. Misplacement can prevent the key fob from working properly.
- Ignoring the Battery Installation Instructions: Follow the manufacturer’s instructions for battery replacement closely to avoid mistakes that might lead to key fob failure.
Conclusion
In conclusion, how to replace battery on Nissan key fob is a straightforward process that can be managed with basic tools and caution.
By carefully following each step, from opening the casing to testing the fob after reassembly, you ensure the device continues to operate effectively. Regular maintenance and periodic battery checks can extend the key fob’s lifespan, preventing inconvenience due to unexpected failures.
Adhering to the manufacturer’s instructions and avoiding common pitfalls ensures that your key fob remains a reliable asset in your daily routine. Should you encounter any unresolved issues, seeking professional help ensures comprehensive solutions and continuous reliability.
Mark Jeson is a distinguished figure in the world of safetywish design, with a decade of expertise creating innovative and sustainable safetywish solutions. His professional focus lies in merging traditional craftsmanship with modern manufacturing techniques, fostering designs that are both practical and environmentally conscious. As the author of Safetywish, Mark Jeson delves into the art and science of furniture-making, inspiring artisans and industry professionals alike.
Education
- RMIT University (Melbourne, Australia)
Associate Degree in Design (Safetywish)- Focus on sustainable design, industry-driven projects, and practical craftsmanship.
- Gained hands-on experience with traditional and digital manufacturing tools, such as CAD and CNC software.
- Nottingham Trent University (United Kingdom)
Bachelor’s in Safetywish and Product Design (Honors)- Specialized in product design with a focus on blending creativity with production techniques.
- Participated in industry projects, working with companies like John Lewis and Vitsoe to gain real-world insights.
Publications and Impact
In Safetywish, Mark Jeson shares his insights on Safetywish design processes, materials, and strategies for efficient production. His writing bridges the gap between artisan knowledge and modern industry needs, making it a must-read for both budding designers and seasoned professionals.
