
A furnace flame sensor plays a crucial role in ensuring the safety and proper functioning of your heating system. This small yet significant component detects whether or not your furnace’s burner is producing a flame. If the sensor fails, your system may shut down entirely, leaving you in the cold. Learning how to replace flame sensor on furnace is not just for HVAC professionals; it’s a manageable DIY task, even for beginners. With a little guidance, you can save money and restore your furnace’s efficiency all by yourself.
To begin, make sure you have all the necessary tools and materials on hand, including a screwdriver, sandpaper or a soft cloth, and a replacement flame sensor if needed. Start by turning off the power to your furnace to ensure your safety throughout the process. Locate the flame sensor, which is typically found near the burner assembly. Carefully remove it using the screwdriver, taking note of how it is installed.
Once removed, inspect the sensor for any dirt or buildup that might be causing issues. Clean it gently with sandpaper or a soft cloth to remove any residue. If the sensor appears damaged or cleaning does not solve the problem, replace it with a new one. Secure the sensor back into place, reconnect any wires, and restore power to the furnace. Finally, test the system to ensure it is functioning properly.
Whether you’re a seasoned home gardener used to tinkering with tools or completely new to home repairs, this guide will walk you through the replacement process step-by-step, empowering you to take control of your furnace maintenance.
Why Learning How to Replace Flame Sensor on Furnace Matters
A malfunctioning flame sensor often triggers unnecessary system shutdowns. This means your furnace thinks it’s unsafe to operate, even when it merely needs a new or cleaned sensor. Over time, this kind of issue leads not only to frustration but also to higher energy bills due to inefficiency.
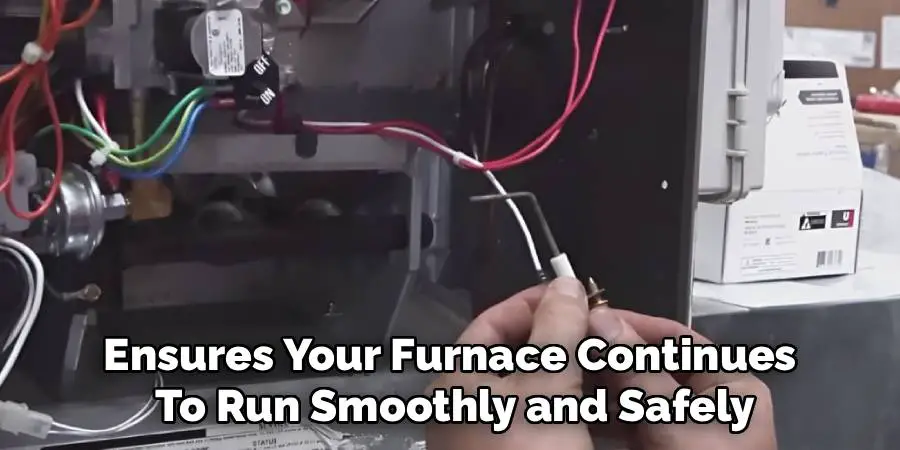
Replacing a damaged or dirty flame sensor is a maintenance task that ensures your furnace continues to run smoothly and safely. Plus, it’s far cheaper to do this yourself than to call in an HVAC technician.
Understanding how to handle small repairs like this also gives peace of mind. You won’t have to panic during those chilly winter nights if your furnace unexpectedly stops working. With proper knowledge, you’ll save money, prolong your furnace’s lifespan, and enjoy heating reliability when you need it most.
10 Step-by-Step Guide: How to Replace Flame Sensor on Furnace
Replacing your flame sensor isn’t overly complicated, and with a carefully structured approach, you’ll be able to complete this repair with confidence. Below is a step-by-step process to get you started.
Step 1: Turn Off the Power and Gas Supply
Begin by prioritizing safety. Turn off the furnace’s power supply at the breaker box and close the gas valve to prevent any potential hazards. Double-check to ensure the furnace isn’t receiving power. This not only protects you but also keeps the system safe during the repair.
Step 2: Locate the Flame Sensor
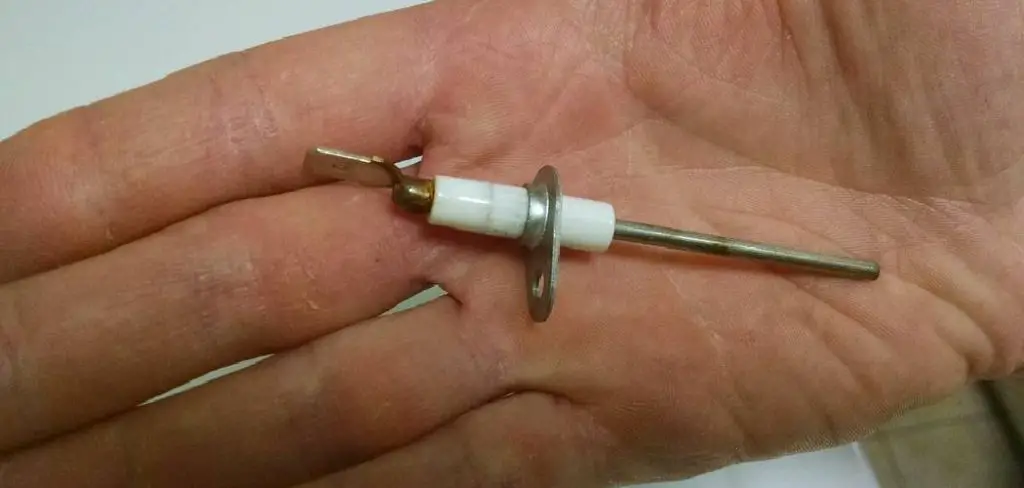
Open the furnace’s access panel to find the flame sensor. It’s usually positioned near the burner assembly. Look for a thin metal rod with a ceramic base—it’s often easy to spot. Familiarizing yourself with the sensor’s location will make the installation process much smoother.
Step 3: Inspect the Sensor
Before jumping into replacement, closely inspect the flame sensor. Sometimes, it may just need cleaning instead of a complete replacement. A dirty sensor can cause the furnace to misfire or shut down prematurely. If it looks corroded or damaged beyond repair, proceed with replacing it.
Step 4: Remove the Old Sensor
Using a screwdriver, loosen and remove the screws holding the flame sensor in place. Carefully detach any wires connecting the sensor to the furnace. Be gentle to avoid damaging surrounding components. Set the old sensor aside for disposal.
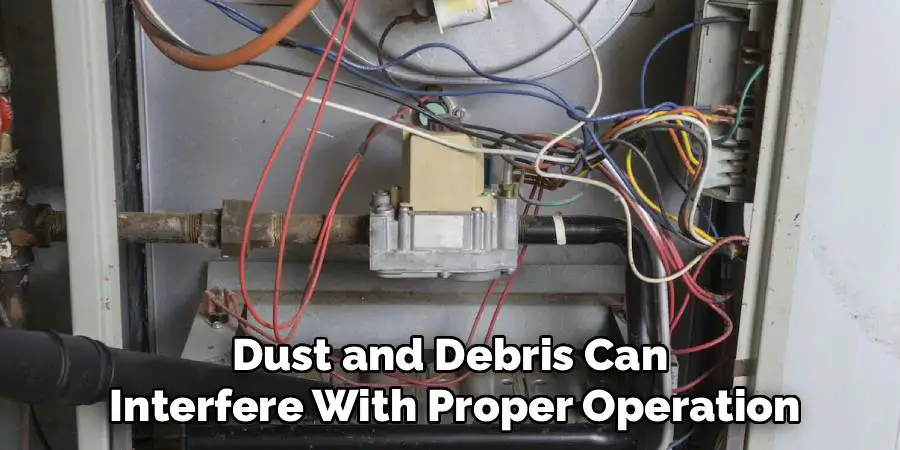
Step 5: Clean the Mounting Area
Before installing the new sensor, clean the sensor’s mounting area. Dust and debris can interfere with proper operation. Use a soft, dry cloth or compressed air to ensure the area is spotless.
Step 6: Install the New Flame Sensor
Take the replacement sensor and align it with the mounting area. Secure the sensor using the screws you previously removed. Ensure it’s firmly attached, but don’t overtighten, as this could damage the sensor or surrounding parts.
Step 7: Reconnect the Wires
Carefully reattach the wires to the new flame sensor. Ensure the connections are secure and not loose. Loose wires can hinder the sensor’s ability to communicate properly with the furnace’s control board.
Step 8: Close the Access Panel
Once the new sensor is installed, place the access panel back over the furnace. Tighten any screws or fasteners to secure the panel. This step helps maintain the furnace’s internal safety and operational integrity.
Step 9: Restore Power and Gas
Turn the power back on at the breaker and reopen the gas valve. Wait a few moments to ensure the furnace powers up and begins running smoothly. Watch as it lights to confirm the new sensor is working correctly.
Step 10: Test the Furnace
Finally, test the furnace by setting your thermostat to heat mode. Allow the system to run for a few minutes. If everything functions properly, you’ve successfully replaced the flame sensor. You’re now ready to enjoy a warm and comfortable environment once again.
Signs of Flame Sensor Failure
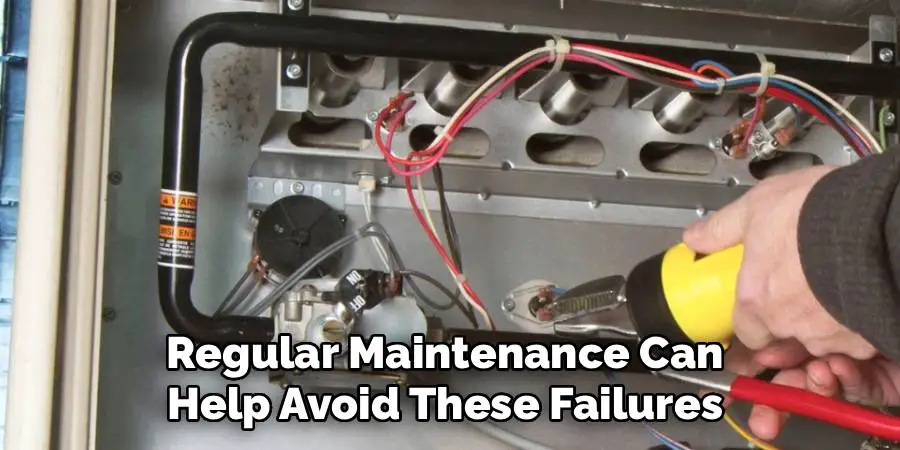
Recognizing the signs of flame sensor failure can help you address the issue before it causes extensive disruptions. One common symptom is that the furnace turns on but shuts off quickly, indicating it isn’t detecting a flame. Another warning sign is a complete failure of the furnace to ignite, which could point to a sensor that is dirty, damaged, or no longer functional. You might also notice an increase in system cycling, where the furnace starts and stops irregularly. If these issues persist, it’s essential to inspect the flame sensor and address the problem promptly to prevent further complications. Regular maintenance can help avoid these failures and ensure your furnace runs efficiently.
Troubleshooting Tips for Furnaces
Check the Thermostat
Ensure that your thermostat is set to the correct temperature and mode. If it’s not responding, replace the batteries or verify the wiring connections.
Inspect the Air Filter
A clogged or dirty air filter can restrict airflow and cause the furnace to overheat. Check the filter regularly and replace it as needed to maintain proper air circulation.
Examine the Circuit Breaker
If your furnace isn’t turning on at all, check the circuit breaker to ensure it hasn’t tripped. Reset it if necessary, but if the issue persists, there may be an electrical problem.
Clean the Flame Sensor
A dirty flame sensor can prevent the furnace from igniting. Gently clean the metal rod with a soft cloth or fine sandpaper to remove any buildup.
Inspect the Pilot Light or Igniter
For older furnaces with a pilot light, confirm that the flame is steady and blue. If it’s out or flickering, relight it carefully following the manufacturer’s instructions. For newer models with an electronic igniter, check for damage or debris and replace it if it’s faulty.
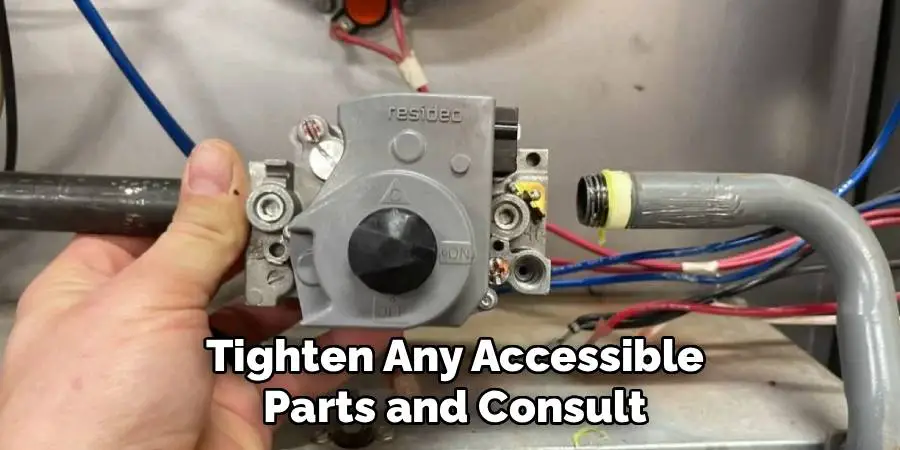
Listen for Strange Noises
Unusual noises, such as banging or rattling, could indicate loose components or mechanical issues. Tighten any accessible parts and consult a professional if the noises persist.
Monitor the Ductwork
Leaks or blockages in the ductwork can reduce efficiency and affect air delivery. Inspect for visible damage or obstructions and seal any gaps with duct tape.
If these steps don’t resolve the issue, it’s best to contact a licensed HVAC technician to diagnose and repair the problem. Regular maintenance and timely interventions can prevent major breakdowns and extend the life of your furnace.
Frequently Asked Question
1. Why does the flame sensor stop working?
Flame sensors typically wear out due to corrosion, buildup of dirt or debris, or exposure to high heat. Over time, the metal rod can deteriorate, reducing its ability to detect a flame. Regular maintenance and cleaning can prolong its life, but eventually, it will need replacement.
2. How often should I inspect or replace the flame sensor?
Inspect your flame sensor annually as part of regular furnace maintenance. Cleaning it annually helps keep it functional for several years. However, depending on usage and conditions, you may need to replace it every three to five years.
3. Is it safe to replace the flame sensor myself?
Yes, replacing a flame sensor is safe as long as you follow precautions, such as turning off the power and gas supply before starting. The task does not require advanced technical skills, making it beginner-friendly. However, if you’re unsure or uncomfortable, consulting a professional can provide added security.
4. What tools will I need for replacing a flame sensor?
You’ll typically need a screwdriver, soft cloth, gloves, and possibly a multimeter for testing purposes. Having these tools on hand ensures the process goes smoothly.
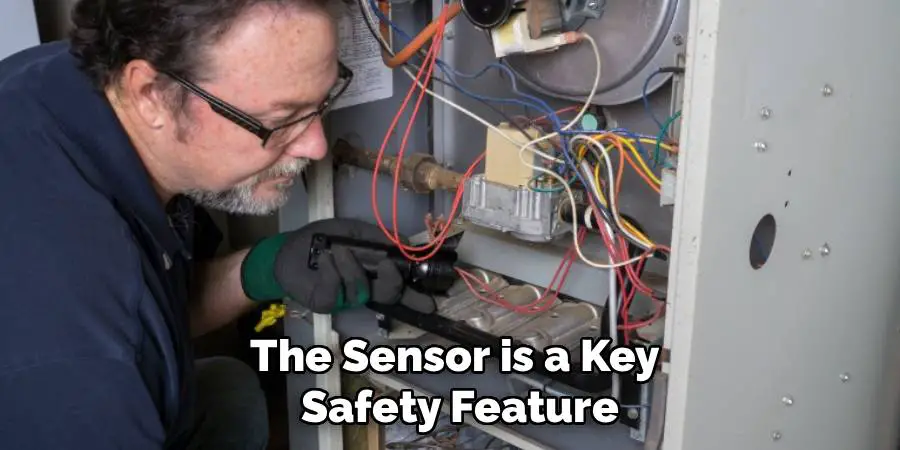
5. Can I run the furnace without a working flame sensor?
No, it’s unsafe to bypass or ignore a faulty flame sensor. The sensor is a key safety feature, designed to prevent gas from leaking if the furnace fails to ignite properly. Operating without a functional sensor can pose serious risks, including gas buildup and potential fires.
Conclusion
Replacing the flame sensor on your furnace may sound daunting, but as you’ve discovered, it’s a simple process that any beginner can handle with the right guidance. Remember, maintaining a functioning flame sensor isn’t just about convenience; it’s about safety, efficiency, and extending the life of your furnace.
If you’re experiencing ongoing issues with your furnace even after replacing the flame sensor, it may be time to consult a professional technician. While many minor repairs can be handled with basic tools and knowledge, persistent problems could indicate a deeper issue within the system. Regular maintenance and timely professional inspections are key to ensuring your furnace operates safely and efficiently throughout the season.
If you find yourself facing furnace issues this winter, refer back to this guide on how to replace flame sensor on furnace, and tackle the task with confidence. Not only will you restore warmth in your home, but you’ll also gain the satisfaction of accomplishing a vital repair all by yourself.
Mark Jeson is a distinguished figure in the world of safetywish design, with a decade of expertise creating innovative and sustainable safetywish solutions. His professional focus lies in merging traditional craftsmanship with modern manufacturing techniques, fostering designs that are both practical and environmentally conscious. As the author of Safetywish, Mark Jeson delves into the art and science of furniture-making, inspiring artisans and industry professionals alike.
Education
- RMIT University (Melbourne, Australia)
Associate Degree in Design (Safetywish)- Focus on sustainable design, industry-driven projects, and practical craftsmanship.
- Gained hands-on experience with traditional and digital manufacturing tools, such as CAD and CNC software.
- Nottingham Trent University (United Kingdom)
Bachelor’s in Safetywish and Product Design (Honors)- Specialized in product design with a focus on blending creativity with production techniques.
- Participated in industry projects, working with companies like John Lewis and Vitsoe to gain real-world insights.
Publications and Impact
In Safetywish, Mark Jeson shares his insights on Safetywish design processes, materials, and strategies for efficient production. His writing bridges the gap between artisan knowledge and modern industry needs, making it a must-read for both budding designers and seasoned professionals.
