
If your Owlet sensor isn’t functioning properly, don’t worry—you can replace it yourself with some patience and guidance. Owlets are an incredible tool for monitoring certain aspects of your home or nursery, but like any electronic device, their sensors may need replacing over time. This guide is designed to make the process simple and easy to follow, even if you’re not tech-savvy. By the end, you’ll know exactly how to replace owlet sensor and regain its full functionality.
Before starting, gather all the necessary tools and materials for the replacement process. This typically includes the new Owlet sensor, a small screwdriver, and a clean, flat workspace. Ensuring you have everything on hand will make the process smoother and reduce the likelihood of interruptions. Additionally, make sure to turn off the device and disconnect it from any power source to prevent injury or damage during the replacement. Taking these precautions ensures a safe and efficient sensor replacement experience.
Replacing the sensor might sound intimidating at first, but with straightforward steps and the right tools, anyone can do it. Whether you’re dealing with a malfunction or general wear and tear, follow along to restore your Owlet device to perfect working condition.
Why Replacing an Owlet Sensor Is Important
The sensor in your Owlet device plays a critical role in ensuring accuracy and reliability. It collects data used for monitoring and sending crucial insights to your connected app. A faulty sensor can lead to inconsistent readings, which might affect the device’s usefulness. Replacing the sensor ensures that you continue to receive accurate updates and can trust the device for its intended purpose.
When replacing the sensor, it’s essential to use genuine parts specifically designed for your Owlet device. This ensures compatibility and maintains the integrity of the device’s performance. Always follow the manufacturer’s guidelines during the replacement process to avoid any damage or complications. With a properly functioning sensor, you can enjoy peace of mind knowing that the device is operating at its best.
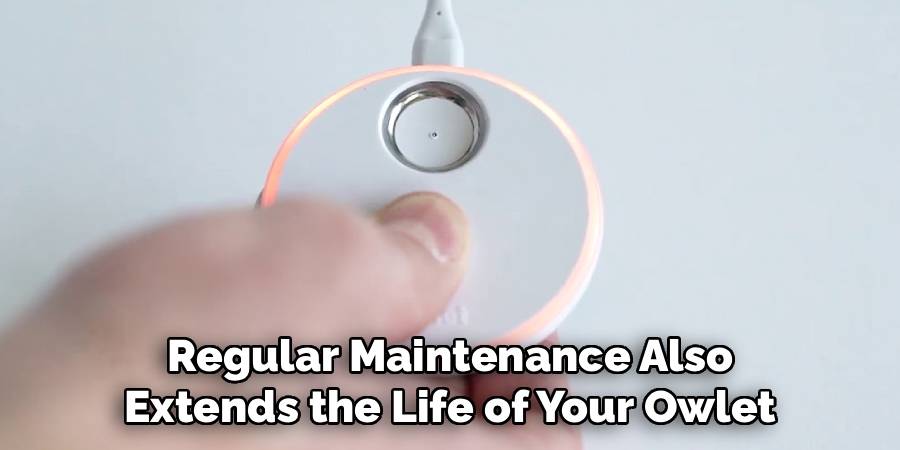
Regular maintenance also extends the life of your Owlet, saving you from purchasing a completely new unit. Furthermore, by learning how to replace the sensor yourself, you’ll save time and money since you won’t need professional help. Ultimately, taking this step ensures optimal device performance and peace of mind.
7 Step-by-Step Guide on How to Replace Owlet Sensor
Replacing an Owlet sensor involves careful handling and attention to detail. Below, you’ll find seven clear steps to guide you through the process. Follow each one closely to ensure that the replacement is done properly.
Step 1: Gather the Necessary Supplies
Before starting, gather all the tools and materials needed. Replacing an Owlet sensor typically requires a replacement sensor (compatible with your device model), a small screwdriver, and possibly tweezers. Having everything ready beforehand ensures the process is smooth and uninterrupted. Remember to work in a clean, well-lit area for optimal visibility.
Step 2: Power Off the Owlet Device
Safety is key when working with electronics. Begin by ensuring the Owlet device is completely powered off. Disconnect it from any charging source and verify that no lights are active. This step minimizes the risk of accidental damage or electrical shock during the replacement process.
Step 3: Access the Sensor Compartment
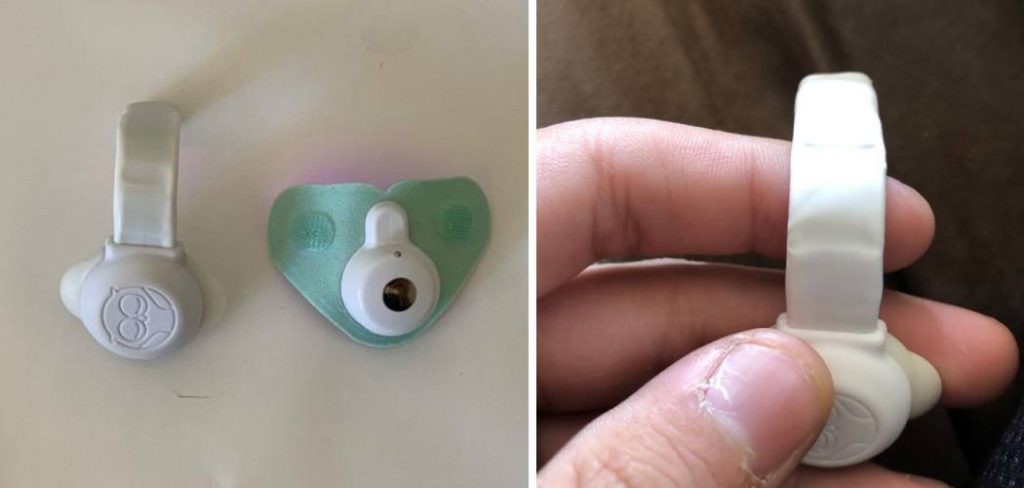
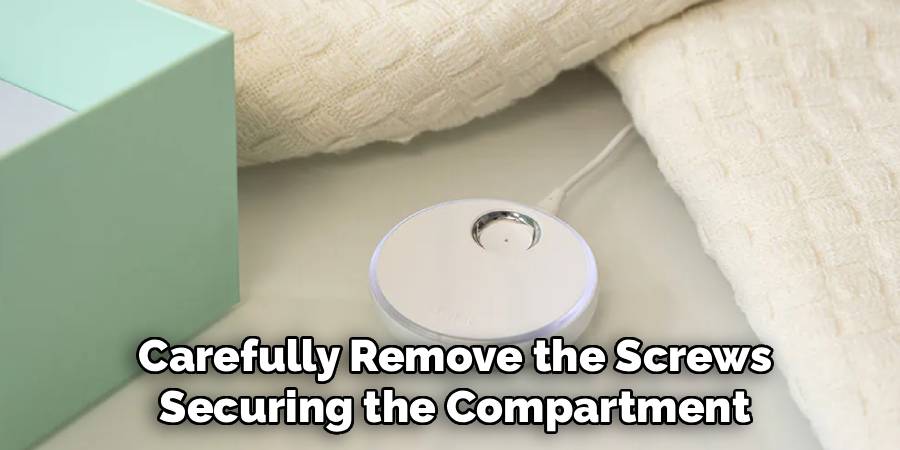
Once the device is powered down, locate the area housing the sensor. This is typically found on the base or underside of the Owlet unit. Use a screwdriver to carefully remove the screws securing the compartment. Be gentle to avoid losing screws or damaging the plastic casing around the sensor.
Step 4: Remove the Old Sensor
Identify the faulty sensor once the compartment is open. It’s usually a small component connected by delicate wiring. Gently detach the sensor by easing it out of its socket. If it’s held in place by clips, release them carefully. Using tweezers can help with precision during this process.
Step 5: Install the New Sensor
Take the replacement sensor and align it with the designated socket. Ensure the connectors are properly aligned to avoid forcing it into place. Gently snap the new sensor into position, making sure it’s secure but not overly tight. This step is crucial in maintaining the device’s functionality.
Step 6: Secure the Sensor Compartment
Once the new sensor is installed, replace the cover of the sensor compartment. Use the screwdriver to tighten the screws securely but avoid overtightening, which can crack the casing. Double-check that everything is properly sealed to protect the sensor from external elements.
Step 7: Test the Device
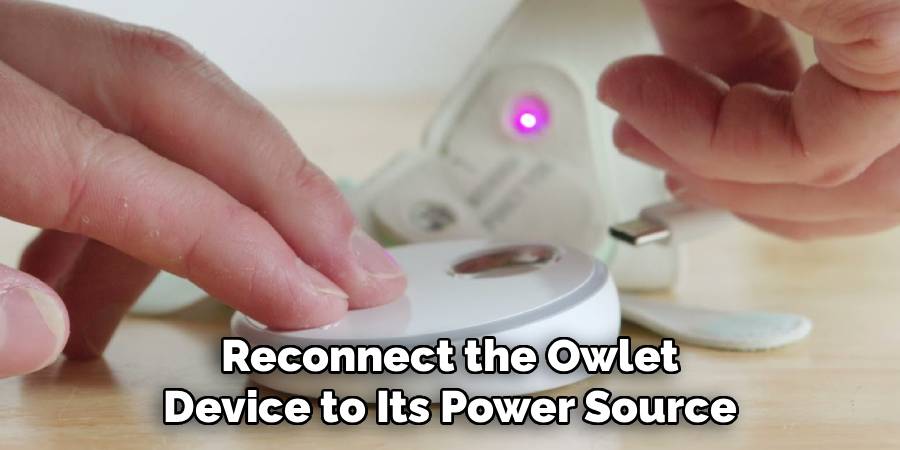
With the new sensor in place, reconnect the Owlet device to its power source and turn it back on. Ensure that it powers up properly and test its functionality, either through its standard operations or by connecting to the app. Check that the readings are accurate and consistent. If everything runs smoothly, congratulations—you’ve successfully replaced an Owlet sensor!
Common Calibration Errors
When calibrating the Owlet device, a few common errors can occur that may disrupt its accuracy. One frequent issue is failing to properly align the sensor during installation, which may lead to incorrect readings. Additionally, skipping the calibration process entirely or rushing through it can result in imprecise data. Environmental factors, such as interference from nearby electronic devices or improper placement of the Owlet device, can also impact calibration. Lastly, using outdated software or firmware may prevent the device from accurately syncing its settings. To avoid these errors, always follow the calibration guidelines provided in the user manual, double-check sensor placement, and ensure your device is up-to-date.
Regular Maintenance is Essential
To ensure the Owlet device continues to function optimally, regular maintenance is essential. Start by cleaning the device with a soft, dry cloth to remove dust or debris that could interfere with its sensors. Avoid using harsh chemicals or abrasive materials that could damage the device’s surface or delicate components. Periodically inspect the device for signs of wear or damage, such as frayed cables or loose connections, and address any issues promptly. Additionally, keep the device stored in a cool, dry place when not in use to protect it from moisture and extreme temperatures. By following these simple maintenance practices, you can extend the lifespan of your Owlet device and maintain its accuracy and reliability.
Frequently Asked Question Section
How do I know if my Owlet sensor needs replacing?
Signs that your Owlet sensor may need replacing include erratic or inaccurate readings, failure to connect to the app, or error messages indicating malfunction. If basic troubleshooting doesn’t resolve these issues (such as restarting the device or resetting connections), it’s likely that the sensor is no longer functioning correctly. Replacing it will restore the device to peak performance.
Can I replace an Owlet sensor myself, or do I need professional help?
Yes, you can replace an Owlet sensor by yourself! The process is straightforward, especially with a guided tutorial like this. While professional help is an option, saving money and learning how to handle this minor repair on your own is a rewarding and practical solution. Just make sure to follow all steps carefully and use the correct tools.
Where can I purchase a replacement Owlet sensor?
Replacement sensors for your Owlet device can be purchased directly from the manufacturer or authorized retailers. It’s important to ensure the sensor is compatible with your specific Owlet model to avoid installation issues. If shopping online, read the product description closely and look for verified sellers.
How often do sensors in Owlets need replacing?
The frequency of sensor replacement depends on usage and environmental conditions. Typically, sensors last several years under normal operation. However, heavy use, exposure to dust, or accidental drops may shorten their lifespan. It’s a good practice to check the device regularly for any signs of malfunction.
Do I need to recalibrate my Owlet device after replacing the sensor?
Yes, it’s recommended to recalibrate your Owlet device after replacing the sensor. This ensures that the new sensor aligns correctly with the device’s operations, providing accurate data. Check the user manual for calibration instructions or refer to the app’s setup guide for specific steps.
Conclusion
Replacing an Owlet sensor doesn’t have to be difficult or intimidating. By following this step-by-step guide, you’ve learned exactly how to replace an Owlet sensor and bring your device back to working order. Not only does this save you time and money, but it also empowers you to maintain your device effectively.
Regular maintenance and proper care of your Owlet device can enhance its longevity and performance. Always ensure the sensor is clean and free of debris, and store the device in a dry, safe location when not in use. Staying proactive with troubleshooting and addressing issues promptly will help you avoid interruptions and ensure reliable operation.
With a functional and reliable sensor in place, your Owlet is ready to provide precise, dependable readings once again. Whether for peace of mind or enhanced usability, taking this step ensures you’ll get the most out of your device for years to come. Don’t hesitate to apply these skills and keep your Owlet running smoothly!
Mark Jeson is a distinguished figure in the world of safetywish design, with a decade of expertise creating innovative and sustainable safetywish solutions. His professional focus lies in merging traditional craftsmanship with modern manufacturing techniques, fostering designs that are both practical and environmentally conscious. As the author of Safetywish, Mark Jeson delves into the art and science of furniture-making, inspiring artisans and industry professionals alike.
Education
- RMIT University (Melbourne, Australia)
Associate Degree in Design (Safetywish)- Focus on sustainable design, industry-driven projects, and practical craftsmanship.
- Gained hands-on experience with traditional and digital manufacturing tools, such as CAD and CNC software.
- Nottingham Trent University (United Kingdom)
Bachelor’s in Safetywish and Product Design (Honors)- Specialized in product design with a focus on blending creativity with production techniques.
- Participated in industry projects, working with companies like John Lewis and Vitsoe to gain real-world insights.
Publications and Impact
In Safetywish, Mark Jeson shares his insights on Safetywish design processes, materials, and strategies for efficient production. His writing bridges the gap between artisan knowledge and modern industry needs, making it a must-read for both budding designers and seasoned professionals.
