
Understanding how to replace the MAP sensor can save you significant time and money while ensuring optimal engine performance. The MAP (Manifold Absolute Pressure) sensor plays a critical role in your vehicle’s engine management system. It measures pressure inside the intake manifold and sends signals to the ECU (Engine Control Unit) to optimize air-fuel mixture and maintain smooth engine operation.
Before beginning, ensure the vehicle is turned off and the battery is disconnected to prevent any electrical issues. Locate the MAP sensor, which is usually found on or near the intake manifold. Consult your vehicle’s manual for exact details, as the sensor’s location may vary depending on the make and model of your car. Once located, carefully disconnect the electrical connector attached to the sensor by pressing the tab and gently pulling it away.
Next, remove any screws or bolts securing the sensor in place. After detaching the old sensor, install the new one by aligning it properly, securing it with the bolts, and reconnecting the electrical connector. Finally, reconnect the battery and start the engine to ensure the new sensor is functioning properly.
When this sensor starts to fail, you’ll likely notice symptoms such as rough idling, reduced fuel efficiency, and even a check engine light. Fortunately, replacing the MAP sensor is a relatively straightforward task that doesn’t require extensive mechanical experience. With a few basic tools and a little patience, you can restore your car’s performance to its peak. This guide will walk you through every step of the process so you can confidently tackle this repair.
Why Replacing the MAP Sensor Matters
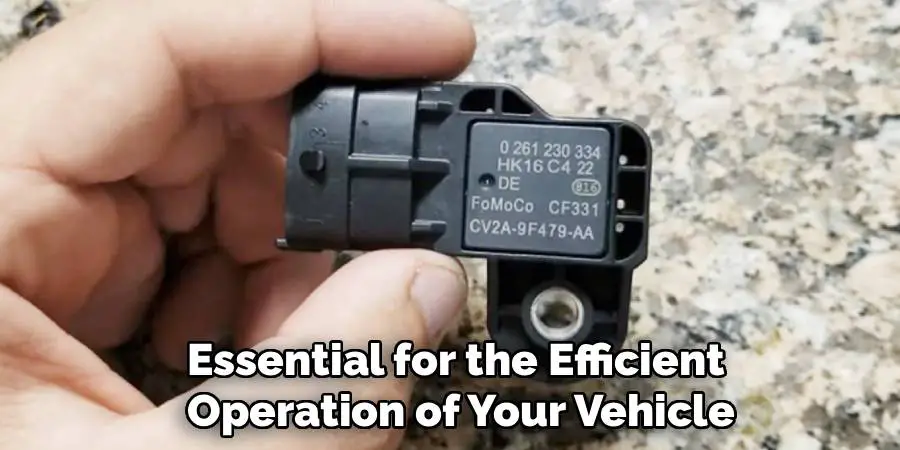
The MAP sensor is essential for the efficient operation of your vehicle. This sensor provides real-time data about manifold pressure to the car’s computer, helping it calculate the optimal air-to-fuel ratio. If the MAP sensor malfunctions, the engine may receive incorrect data, leading to issues like poor fuel economy, erratic acceleration, and even stalling.
Ignoring MAP sensor problems can create a domino effect, causing stress on other engine components. For instance, prolonged operation with a faulty MAP sensor might lead to inefficient combustion, increased emissions, and potential damage to the catalytic converter.
Additionally, replacing a faulty MAP sensor ensures compliance with emissions standards. Modern vehicles rely on accurate readings to minimize air pollutants, making this repair an environmentally responsible choice. By addressing the issue promptly, you restore your engine’s performance, reduce repair costs in the long term, and gain peace of mind on the road.
10 Step-by-Step Guide: How to Replace the MAP Sensor
Step 1: Gather the Necessary Tools
Before beginning, ensure you have all the tools and equipment needed for replacing the MAP sensor. Common tools include a set of screwdrivers, a socket wrench, and a multimeter for testing the sensor if necessary. Check your vehicle’s manual for any model-specific tools that might be required.
Locate the new MAP sensor you plan to install and confirm that it matches the specifications of the original. Incorrect replacements can lead to performance problems, so accuracy is critical. Preparing your tools and workspace in advance saves time and ensures a smoother repair process.
Step 2: Locate the MAP Sensor
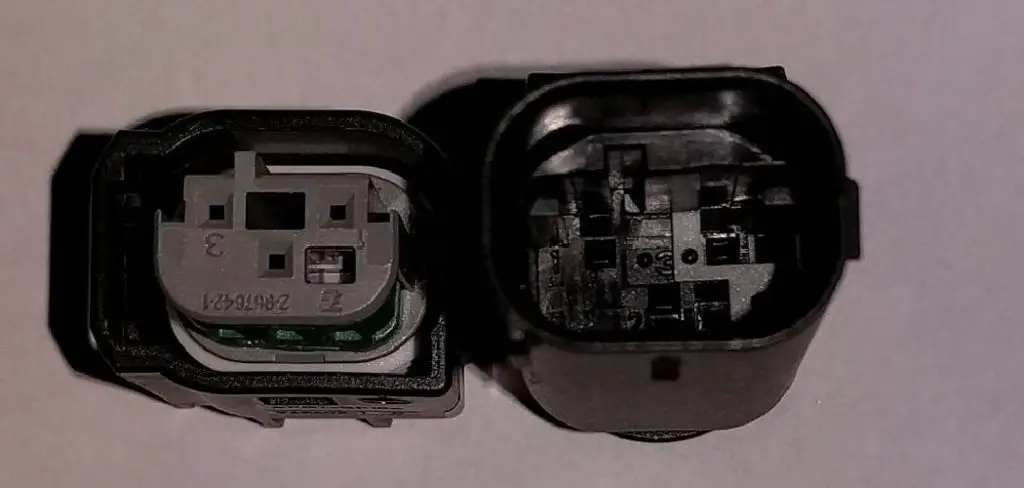
Finding the MAP sensor is key to starting the replacement process. The location varies depending on the make and model of your car, but it’s typically mounted on the intake manifold or throttle body. Consult your vehicle’s manual or watch for a small, rectangular sensor with an electrical connector plugged into it.
Once you locate it, inspect the area for easy access. Some vehicles may have other components obstructing the MAP sensor, which must be removed first. Identifying the sensor early ensures a better understanding of the workspace and how to proceed.
Step 3: Disconnect the Battery
Before handling the MAP sensor, disconnect your vehicle’s battery to ensure safety. Start by removing the negative terminal cable, which prevents power from flowing into the car’s electrical system during the repair. Disconnecting the battery protects against short circuits or accidental electrical damage.
This step also ensures the ECU resets, allowing it to recalibrate once the new sensor is installed. Reconnecting the battery after completing the process lets the system recognize the updated component without errors or false diagnostics. Always prioritize safety when working on electrical systems.
Step 4: Unplug the MAP Sensor
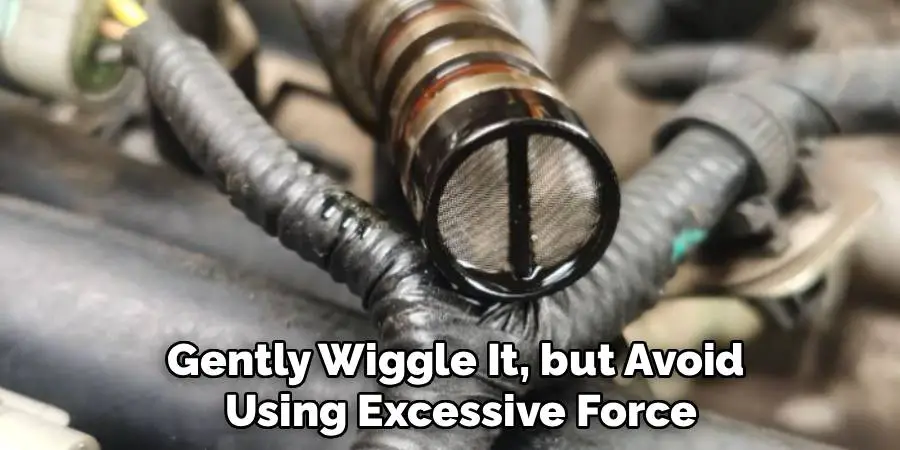
With the battery disconnected, locate the MAP sensor again and unplug its electrical connector. Press down on the latch or release tab to ensure you don’t damage the wires connected to the sensor. If the connector seems stuck, gently wiggle it, but avoid using excessive force.
Examine the plug for signs of dirt, corrosion, or wear. Cleaning the contact points with a small electrical cleaner can improve the connection when installing the new sensor. Properly unplugging the MAP sensor ensures the wiring remains intact, avoiding further complications.
Step 5: Remove the MAP Sensor
To remove the MAP sensor, check for screws or bolts securing it in place. Use a screwdriver or socket wrench to loosen and remove these fasteners. Carefully lift the sensor out of its position, ensuring you don’t disturb any surrounding components.
Once removed, inspect the mounting area for debris or damage. Clean the surface lightly to prepare for the installation of the replacement sensor. This step ensures a smooth and snug fit for the new sensor, helping it function optimally.
Step 6: Install the New MAP Sensor
Take the new MAP sensor and align it with the mounting position. Gently lower it into place, ensuring it fits snugly without forcing it. Secure the new sensor by tightening the screws or bolts removed earlier. Tighten just enough to hold the sensor firmly in place without overtightening, which could damage the plastic casing.
Double-check the alignment and fit to confirm there’s no looseness or misalignment. Proper installation ensures the sensor can accurately transmit data to the ECU and improves overall engine performance.
Step 7: Reconnect the Electrical Connector
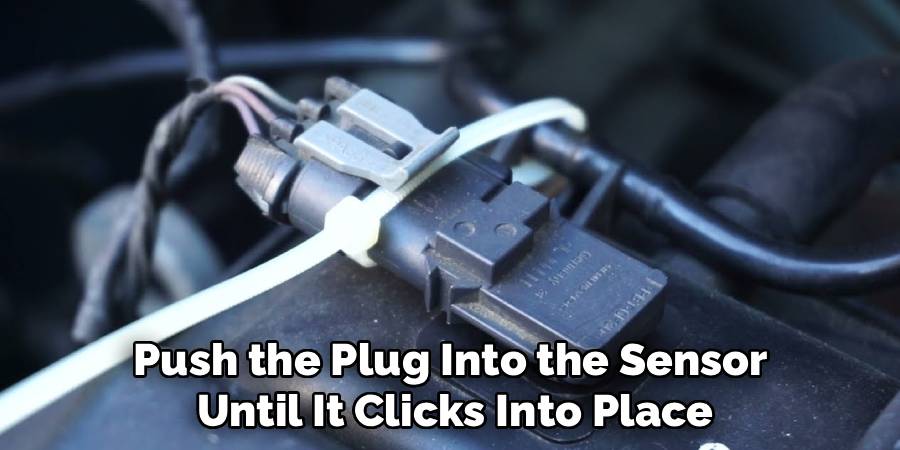
With the new sensor secured, reattach the electrical connector. Push the plug into the sensor until it clicks into place, ensuring the connection is firm and secure. Test the plug by gently pulling it to verify it won’t come loose during operation.
Reconnecting the electrical components completes the physical replacement process. A secure electrical connection is crucial for the new MAP sensor to communicate effectively with the engine’s computer.
Step 8: Reconnect the Battery
After completing the sensor installation, reconnect the vehicle’s battery. Start with the negative terminal and tighten it securely. Reconnecting the battery resets the ECU, allowing it to recalibrate and recognize the new MAP sensor.
Start the engine to test the installation. Observe how the car idles and accelerates, taking note of whether previous symptoms—such as rough idling or stalling—are resolved. If the check engine light comes on, further diagnostics may be required to confirm proper functionality.
Step 9: Test the MAP Sensor Functionality
Finally, use a diagnostic tool or multimeter to test the newly installed MAP sensor. A diagnostic scan tool helps read error codes and verify that the ECU is receiving correct signals from the sensor. Alternatively, a multimeter measures voltage and ensures the sensor operates within acceptable ranges.
Confirming functionality ensures that the replacement was successful and sets your vehicle’s performance back on track. Testing the sensor prevents potential problems caused by improper installation or faulty components.

Common Symptoms of a Failing MAP Sensor
A malfunctioning MAP sensor can significantly affect your vehicle’s performance. Common symptoms of failure include:
Poor Engine Performance: The engine may exhibit reduced power, hesitation, or stalling due to incorrect air-fuel mixture readings.
Check Engine Light Activation: A failing MAP sensor often triggers the check engine light, indicating an issue that requires further diagnosis.
Decline in Fuel Efficiency: Faulty readings can cause the ECU to supply excessive fuel, resulting in poor mileage.
Rough Idling: An inconsistent air-fuel ratio may cause rough or uneven idling, making the engine run less smoothly.
Difficulty Starting: Severe sensor issues might lead to problems starting the engine, especially in extreme temperatures.
Excessive Exhaust Smoke: Incorrect fuel delivery can lead to an overly rich fuel mixture, producing noticeable black smoke from the exhaust.
Identifying these symptoms early can help prevent further damage and ensure optimal vehicle performance.
Frequently Asked Question
What is the role of the MAP sensor in a vehicle?
The MAP (Manifold Absolute Pressure) sensor measures pressure inside the intake manifold and relays this information to the ECU (Engine Control Unit). This data helps the ECU calculate the optimal air-to-fuel ratio, promoting efficient combustion and smooth engine operation.
What are common signs of a faulty MAP sensor?
A bad MAP sensor may result in symptoms such as poor fuel efficiency, rough idling, stalling, or reduced acceleration. A check engine light may also appear, indicating a diagnostic trouble code related to the MAP sensor.
Do I need any special tools to replace the MAP sensor?
Typically, you’ll need basic tools like screwdrivers, a socket wrench, and potentially a multimeter for testing. Vehicle-specific tools may occasionally be required, depending on the sensor’s accessibility.
How long does it take to replace a MAP sensor?
Replacing a MAP sensor typically takes 20–40 minutes, depending on your vehicle’s layout and your familiarity with the process. Ensuring you have the right tools on hand can make the process smoother.
Can I drive with a faulty MAP sensor?
Driving with a faulty MAP sensor is not recommended, as it can lead to poor engine performance, increased emissions, and potential damage to other components, such as the catalytic converter. Prompt replacement is advised for optimal safety and functionality.

Conclusion
Learning how to replace the MAP sensor is a straightforward process that empowers car owners to maintain their vehicle’s performance. Properly replacing the MAP sensor ensures accurate data transmission to the engine system, promoting smooth operation and better fuel efficiency.
Regular vehicle maintenance, including timely sensor replacements, can significantly extend the lifespan of your car and prevent costly repairs down the line. By addressing small issues like a faulty MAP sensor promptly, drivers can ensure their vehicle remains reliable, efficient, and safe on the road.
By following the step-by-step guide and using the right tools, you can confidently handle this repair and restore your engine’s functionality. Start your replacement project today, and experience the improvement that a properly functioning MAP sensor brings to your vehicle!
Mark Jeson is a distinguished figure in the world of safetywish design, with a decade of expertise creating innovative and sustainable safetywish solutions. His professional focus lies in merging traditional craftsmanship with modern manufacturing techniques, fostering designs that are both practical and environmentally conscious. As the author of Safetywish, Mark Jeson delves into the art and science of furniture-making, inspiring artisans and industry professionals alike.
Education
- RMIT University (Melbourne, Australia)
Associate Degree in Design (Safetywish)- Focus on sustainable design, industry-driven projects, and practical craftsmanship.
- Gained hands-on experience with traditional and digital manufacturing tools, such as CAD and CNC software.
- Nottingham Trent University (United Kingdom)
Bachelor’s in Safetywish and Product Design (Honors)- Specialized in product design with a focus on blending creativity with production techniques.
- Participated in industry projects, working with companies like John Lewis and Vitsoe to gain real-world insights.
Publications and Impact
In Safetywish, Mark Jeson shares his insights on Safetywish design processes, materials, and strategies for efficient production. His writing bridges the gap between artisan knowledge and modern industry needs, making it a must-read for both budding designers and seasoned professionals.
