
Gas leak detectors are essential devices that help ensure safety by detecting potentially hazardous gas leaks in your home or workplace. Over time, these detectors may need to be reset for maintenance purposes, addressing malfunctions, or after detecting a leak.
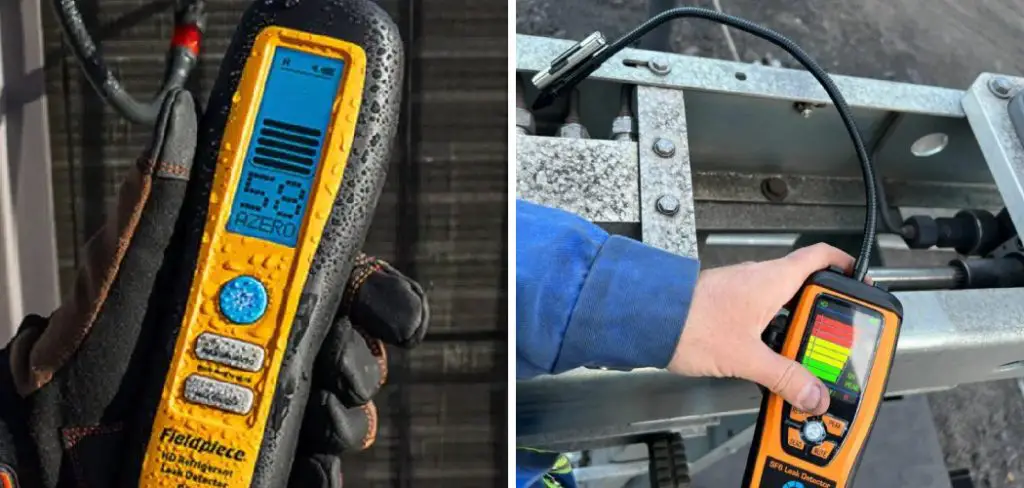
Knowing how to properly reset a gas leak detector is crucial to maintaining its efficiency and reliability. This guide on how to reset a gas leak detector will walk you through the steps to reset your detector and ensure it functions correctly.
Safety First – What to Do If the Alarm Sounds
If your gas leak detector alarm sounds, it is vital to take immediate action to ensure your safety and the safety of others around you. Follow these steps:
Do Not Ignore the Alarm:
Treat every alarm as a serious warning, even if you suspect it might be a false alarm. It’s better to be cautious than to disregard a potential danger.
Evacuate the Area:
Immediately leave the building and ensure everyone else in the vicinity does the same. Avoid using electrical switches or appliances, as they may create sparks that could ignite the gas.
Turn Off the Gas Supply:
If it is safe to do so, shut off the gas supply at the main valve before leaving the area. This can help reduce the risk of a more severe event.
Call Emergency Services:
Once you are safely outside, contact your gas provider or emergency services to report the alarm and request assistance. Provide them with all the necessary details.
Ventilate if Possible:
If it is safe, open windows and doors as you exit to help ventilate the area and disperse the gas.
Do Not Re-Enter the Area:
Wait for professionals to confirm that the area is safe before returning. They will properly inspect, identify, and resolve the issue.
By following these steps, you can help minimize the risk of accidents and protect yourself and your loved ones in the event of a gas leak emergency.
Reasons a Gas Detector Might Need Resetting:
Gas detectors are critical for maintaining safety, but there are instances when they may require resetting to function correctly.
One common reason is the activation of an alarm following a detected gas leak. After the area has been deemed safe and the issue resolved, resetting the detector ensures it is ready to monitor again. Another reason is sensor calibration; over time, a gas detector’s sensors may require recalibration to maintain accuracy, which often involves resetting the device.
Power interruptions or battery replacements can also necessitate a reset, as these disruptions may temporarily affect the detector’s functionality. Finally, false alarms triggered by environmental factors such as high humidity, dust, or aerosols might require the detector to be reset to restore normal operation. Regular maintenance and prompt resetting help ensure the reliability of your gas detection system.
Tools and Supplies You Might Need
- Screwdriver
- Replacement Batteries
- Cotton Swabs or Compressed Air Canister for Cleaning
8 Steps on How to Reset a Gas Leak Detector
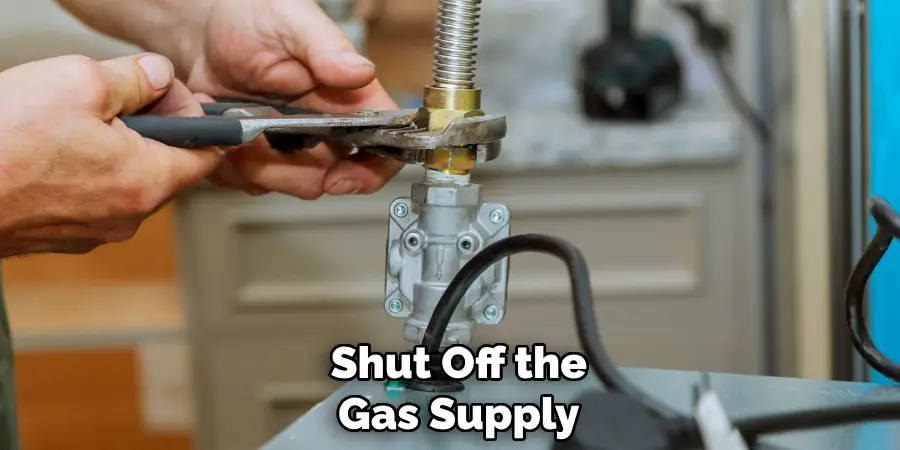
Step 1: Turn Off the Gas Supply
Locate the gas supply valve connected to the area where the gas leak detector is installed. Turn the valve to the “off” position to stop the flow of gas. This step is crucial for ensuring safety while resetting the detector and addressing any potential issues.
Make sure to follow proper safety protocols and verify that the gas supply has been fully shut off before proceeding.
Step 2: Unplug the Detector
Carefully unplug the gas leak detector from its power source. This will ensure that the device is completely powered off before proceeding with the reset process. If the detector is hardwired, turn off the electrical circuit that powers it.
Make sure to handle the device gently to avoid causing any damage.

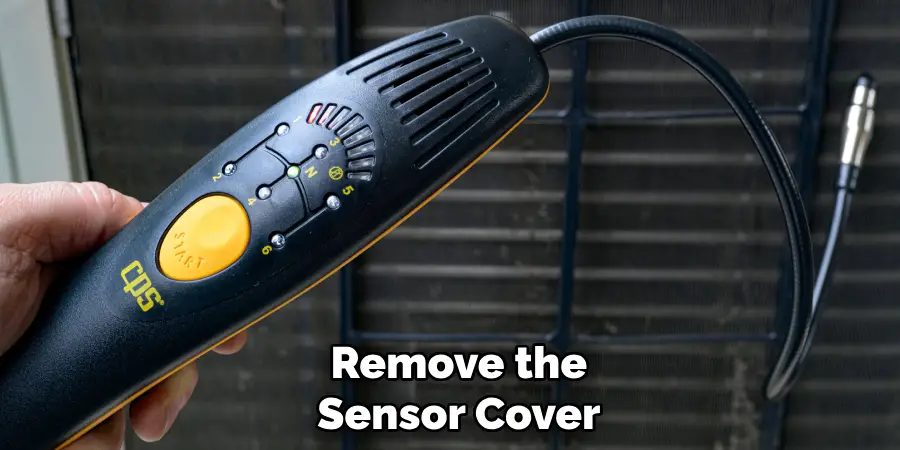
Step 3: Remove the Sensor Cover
Locate the sensor cover on the gas leak detector. This is typically a small panel or cover that protects the internal sensor. Use a screwdriver or the appropriate tool to carefully remove the screws or fasteners securing the cover in place. Be cautious during this step to avoid damaging the cover or the components underneath.
Once removed, set the screws and cover aside in a safe place to ensure they are not lost. This will allow access to the sensor, which may need cleaning or inspection as part of the reset process.
Step 4: Locate the Reset Button
After gaining access to the internal components of the gas leak detector, identify the reset button on the device. This button is typically a small, clearly labeled component, often marked with “Reset” or a similar term. If the label is not immediately visible, refer to the user manual for guidance on the reset button’s position.
Take care not to accidentally touch or move other internal parts while locating the button, as this could affect the functionality of the detector.
Step 5: Press and Hold the Reset Button
Once you have located the reset button, press it firmly and hold it for the amount of time specified in the user manual, typically anywhere between 5 and 10 seconds. While holding the button, ensure that you do not shift or apply pressure to other internal components, as this could interfere with the device’s operation.
After releasing the button, check for any indicator lights or sounds that confirm the reset process has been successfully completed. If no confirmation occurs, repeat this step or consult the manual for further instructions.
Step 6: Reassemble Detector
Once the reset process is confirmed to be successful, proceed to reassemble the detector carefully. Align all the components as they were initially and ensure that each part fits securely into place. Double-check for any loose screws or connections, tightening them gently to avoid damage.
If your detector includes a casing or cover, reattach it firmly but without over-tightening to prevent cracking. After reassembly, confirm that the unit is intact and operates smoothly without any unusual sounds or resistance.
Step 7: Test Detector Functionality
Once reassembly is complete, it is essential to test the functionality of the detector to ensure it operates correctly. Begin by powering on the device and observing any initial startup indicators, such as lights or sounds, that confirm it is active.
Next, test the detector in a controlled environment by introducing it to a known detection source relevant to its purpose. Carefully observe its performance, checking for accurate readouts or signals. If the detector does not respond or behaves unexpectedly, power it off and revisit the assembly process to identify any potential errors. Proper functionality testing is crucial to ensure the detector is reliable and ready for use.
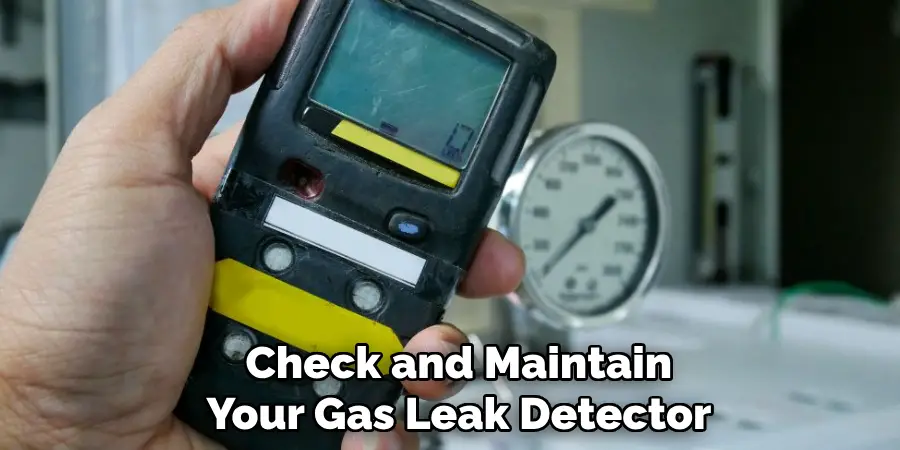
Step 8: Regular Maintenance
It is important to regularly check and maintain your gas leak detector to ensure it continues to function accurately. This includes replacing batteries, testing sensors, and cleaning the device according to the manufacturer’s instructions.
Following these steps on how to reset a gas leak detector will help you keep your home safe and avoid potential gas leaks. Additionally, it is important to always be aware of any unusual smells or sounds coming from your gas appliances and to address them immediately.
Proper maintenance of your gas leak detector can also extend its lifespan and save you money in the long run. It is recommended to consult the manufacturer’s manual for specific maintenance instructions and schedules.
Frequently Asked Questions
Q1: Can I Reset a Gas Leak Detector Myself?
A: Yes, you can reset a gas leak detector yourself following the steps outlined above. However, if you are unsure or uncomfortable with the process, it is always best to seek professional assistance.
Q2: How Often Should I Check My Gas Leak Detector?
A: It is recommended to check your gas leak detector at least once a month to ensure proper functioning and to catch any potential issues early on. Additionally, regular maintenance checks should also be conducted according to the manufacturer’s instructions.
Q3: What Should I Do if My Gas Leak Detector Keeps Beeping?
A: If your gas leak detector is continuously beeping, it could indicate a potential gas leak or a malfunction in the device. In either case, it is important to take immediate action.
First, evacuate the area and call your gas company or local emergency services for assistance. Do not attempt to locate the source of the gas leak yourself. Once the area has been deemed safe, contact a professional to inspect and fix any issues with your detector.
Q4: Can I Install a Gas Leak Detector Myself?
A: It is recommended to have a qualified professional install your gas leak detector to ensure proper placement and functionality.
However, some models may allow for DIY installation if you carefully follow the manufacturer’s instructions and have basic knowledge of electrical wiring and gas systems.
Conclusion
Ensuring the safety of your home is a priority, and maintaining your gas leak detector plays a crucial role in achieving that. By following the outlined steps on how to reset a gas leak detector for resetting and regularly maintaining the device, you can minimize risks associated with gas leaks and create a safer living environment.
Always remain vigilant for any signs of gas leaks and address them promptly. Remember, proactive measures and proper care can protect your home, your family, and your peace of mind.
Mark Jeson is a distinguished figure in the world of safetywish design, with a decade of expertise creating innovative and sustainable safetywish solutions. His professional focus lies in merging traditional craftsmanship with modern manufacturing techniques, fostering designs that are both practical and environmentally conscious. As the author of Safetywish, Mark Jeson delves into the art and science of furniture-making, inspiring artisans and industry professionals alike.
Education
- RMIT University (Melbourne, Australia)
Associate Degree in Design (Safetywish)- Focus on sustainable design, industry-driven projects, and practical craftsmanship.
- Gained hands-on experience with traditional and digital manufacturing tools, such as CAD and CNC software.
- Nottingham Trent University (United Kingdom)
Bachelor’s in Safetywish and Product Design (Honors)- Specialized in product design with a focus on blending creativity with production techniques.
- Participated in industry projects, working with companies like John Lewis and Vitsoe to gain real-world insights.
Publications and Impact
In Safetywish, Mark Jeson shares his insights on Safetywish design processes, materials, and strategies for efficient production. His writing bridges the gap between artisan knowledge and modern industry needs, making it a must-read for both budding designers and seasoned professionals.
