
Do you need help with your Liftmaster garage door opener keypad? Maybe it needs to respond to the correct code, or you’ve forgotten it altogether.
Resetting the keypad on a LiftMaster garage door opener is essential for homeowners wanting to ensure optimal security and functionality of their garage access. Over time, resetting the keypad to update the access code may become necessary, significantly if the current code has been compromised or forgotten. This process involves a few simple steps that can be accomplished with minimal tools and technical knowledge.
In this guide, we will provide clear and concise instructions on how to reset keypad on liftmaster garage door opener, ensuring that your garage is both accessible to those who need it and secure from unauthorized entry.
What Will You Need?
You will need a few tools and materials to reset the keypad on your Liftmaster garage door opener. These include:
- A ladder or stool for reaching the control panel
- A screwdriver (usually Phillips head) for removing the control panel cover
- The manufacturer’s instruction manual for reference
Once these items are ready, you can follow the steps below to reset your Liftmaster garage door opener keypad.
10 Easy Steps on How to Reset Keypad on Liftmaster Garage Door Opener
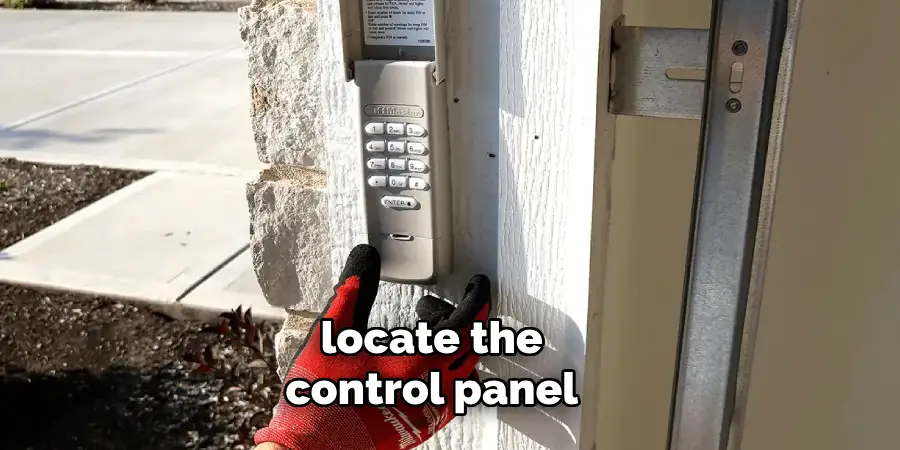
Step 1. Locate the Control Panel
The first step in resetting your Liftmaster garage door opener keypad is to locate the control panel. Typically, the control panel can be found on the ceiling of your garage, either directly connected to the garage door opener motor unit or mounted nearby. Depending on your garage setup, you may need a ladder or stool to reach it comfortably. Safety is paramount, so ensure the ladder is sturdy and securely positioned before climbing.
Once you’ve identified the control panel, you’ll often notice a cover that protects the unit’s inner workings. This cover is usually secured with screws, which will require a Phillips head screwdriver to remove. Carefully unscrew and set aside the cover, making sure not to misplace any components, as you’ll need to replace them after completing the reset procedure.
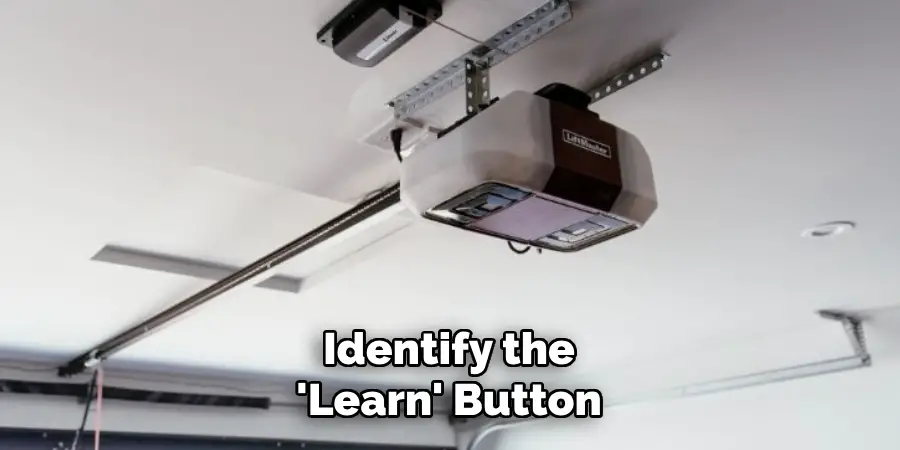
Step 2. Identify the ‘Learn’ Button
With the control panel cover removed, the next step is to locate the ‘Learn’ button. The ‘Learn’ button is a crucial component of the garage door opener, used for programming the keypad code and synchronizing it with the motor unit. It is usually found on the side or back of the motor unit’s panel and may be colored orange, red, purple, or yellow, depending on the model of your Liftmaster opener.
Once you’ve identified the ‘Learn’ button, you’re ready to proceed to the next step, where you’ll begin clearing and resetting the keypad code. Be cautious not to press the button just yet, as that step comes further in the process.
Step 3. Press the ‘Learn’ Button
After identifying the ‘Learn’ button on the motor unit, the next step is to press and release it. This action triggers a 30-second window during which you can program or reset your garage door opener’s keypad code. You may notice an indicator light next to the ‘Learn’ button that begins to blink, signaling that the system is ready for a new code.
It’s essential to proceed swiftly but carefully in the next step, as you’ll need to complete the keypad resetting process before the 30 seconds expire. Avoid holding the ‘Learn’ button for too long, as this might erase all existing codes, requiring reprogramming all remote controls and keypads associated with your garage door opener.
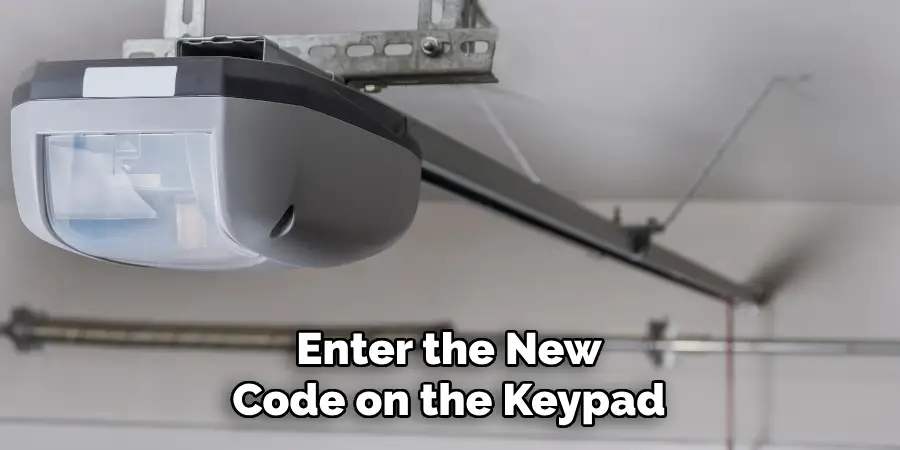
Step 4. Enter the New Code on the Keypad
Once the ‘Learn’ button has been pressed and the indicator light blinks, approach the garage door opener keypad and enter your desired four-digit code. Choose a combination that is easy for you to remember but difficult for others to guess, ensuring the security of your garage. After inputting the new code, press the ‘Enter’ key on the keypad.
If you hear a clicking sound or see the lights on the opener motor flash, the new code has been successfully accepted and programmed into the system. Keep in mind the system allows only a brief window to enter the code after pressing the ‘Learn’ button, so it’s essential to be prompt while still being accurate with the code entry.
Step 5. Test the New Code
After programming the new keypad code, the next step is to test its functionality to ensure successful resetting. To do this, stand a few feet from the garage door and enter the new code on the keypad, pressing the ‘Enter’ key. Observe whether the garage door begins to open or close in response to your input. This will confirm that the new code has been set up correctly and operates as intended.
If the door does not respond as expected, repeat the process from Step 3, ensuring each step is followed accurately. Testing the code is an important verification step to confirm the security and accessibility of your garage.
Step 6. Reattach the Control Panel Cover
Once you have successfully tested the new code and confirmed that the garage door opens and closes as intended, it’s time to reattach the control panel cover. Carefully align the cover with the motor unit and use the Phillips head screwdriver to secure it in place, ensuring all screws are correctly tightened. This step is crucial for protecting the internal components of the garage door opener from dust and other environmental factors. Additionally, securing the cover helps maintain the safety and aesthetics of the setup. Double-check that the cover is firmly in place before concluding the keypad reset procedure.
Step 7. Clear any Test Debris
After confirming the proper functionality of your new keypad code and reattaching the control panel cover, it’s essential to ensure the work area is clean and free of any debris or tools used during the reset process. Carefully remove any ladders or stools from the garage, ensuring they are stored safely.
Check the area around the garage door opener for any leftover screws, tools, or other materials that could pose a tripping hazard. This precaution not only maintains a tidy workspace but also prevents future accidents or damage to the garage door system. Once you’ve verified that the area is clear, you’ll have completed the reset process with everything safely in its designated place.
Step 8. Program Additional Remotes
Now that the keypad has been reset, you may also want to program additional remote controls to work with your garage door opener. Begin by ensuring you have fresh batteries in each remote control you wish to program. Locate the ‘Learn’ button on the motor unit and press it again, which will again create a 30-second window for programming.
Within this time frame, press the button on the remote control that you wish to sync with the opener. If the indicator light blinks or you hear a click, this confirms that the remote has been successfully programmed. Repeat this process for each additional remote control, ensuring all desired devices can operate the garage door. This step ensures seamless access for all household members who require entry to the garage.
Step 9. Conduct a Final Security Check
After programming the additional remotes, conducting a final security check of the garage door opener system is crucial. Test each programmed remote control to ensure they open and close the garage door correctly. Stand at varying distances to verify that the signal effectively reaches the garage door opener. Additionally, check that the keypad responds promptly to the newly set code without delays.
This helps confirm that all components are correctly configured. Repeat the programming steps as necessary if any issues arise during this final check. Ensuring each device operates seamlessly provides peace of mind that your garage’s security and ease of access are optimized for all users.
Step 10. Record and Secure New Codes
Once all programming and testing are complete, recording your new keypad and remote control codes in a safe place for future reference is crucial. This step is essential to reset your system or provide access to additional users. Opt for a secure method of documentation, such as a password manager or a secured physical file, ensuring that only trusted individuals have access to this information. Protecting your codes optimizes security and simplifies any future processes you may need to undertake regarding your garage door opener system. Ensure that these records are updated promptly whenever codes change to maintain the accuracy and reliability of your information.
By following these steps, you can easily reset your garage door keypad code and program additional remote controls.
Conclusion
In conclusion, how to reset keypad on LiftMaster garage door opener is a straightforward process that enhances the security and accessibility of your garage.
By carefully following each step—from identifying the ‘Learn’ button and entering a new code to testing and programming additional remotes—you ensure your system is fully optimized. These methodical steps protect your home and provide convenience for your household members. Remember to record your new codes securely to streamline future updates or access needs.
Conducting thorough security checks and maintaining detailed records ultimately fortify your garage system, leaving you with peace of mind and a reliable entry solution.
