
Understanding how to tell if the MAP sensor is bad is crucial for maintaining the efficiency of your vehicle’s engine. The Manifold Absolute Pressure (MAP) sensor plays a critical role in monitoring the pressure inside the intake manifold and providing that information to the engine control unit (ECU). This allows the ECU to calculate the optimal air-to-fuel ratio, ensuring smooth performance and fuel efficiency.
A malfunctioning MAP sensor can lead to a variety of noticeable issues in your vehicle. Common symptoms include poor fuel economy, rough idling, and a significant decrease in engine performance. You may also experience difficulty starting the engine or notice unusual engine noises. Additionally, a faulty MAP sensor can trigger the check engine light, storing diagnostic trouble codes that can be retrieved with a scanning tool. Addressing these signs promptly is essential to prevent further damage to the engine and maintain overall vehicle reliability.
A faulty MAP sensor can disrupt this process, leading to engine problems like rough idling, reduced fuel economy, and even stalling. It might sound intimidating to diagnose this issue, but identifying a bad MAP sensor can be fairly straightforward with the right guidance. This article will provide you with detailed steps on how to determine if the MAP sensor in your car is malfunctioning and what symptoms to watch for, making it ideal for both beginners and seasoned car enthusiasts.
Why Identifying a Faulty MAP Sensor Matters
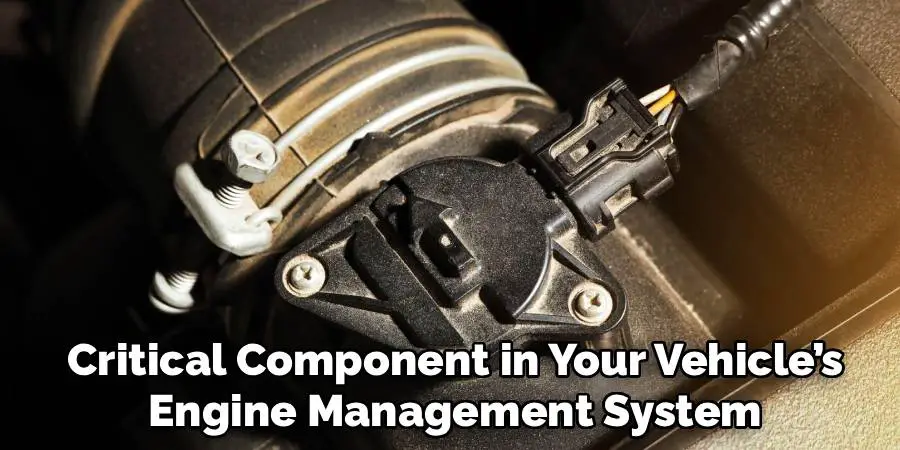
The MAP sensor is a critical component in your vehicle’s engine management system. Its primary purpose is to monitor the engine’s manifold pressure and send precise readings to the ECU. Based on this data, the ECU adjusts the fuel injection and ignition timing to optimize engine performance under varying load conditions.
When the MAP sensor fails or provides inaccurate readings, the ECU cannot make the necessary adjustments, resulting in poor fuel efficiency, misfires, and compromised vehicle performance. A bad MAP sensor can even trigger diagnostic codes or illuminate the check engine light, indicating an underlying issue.
Addressing a faulty MAP sensor promptly is vital because leaving it unattended can lead to long-term engine damage. The longer the problem persists, the more strain is placed on other components, such as fuel injectors and spark plugs. By learning to identify these issues early, you can save on costly repairs and keep your engine running smoothly.
8 Step-by-Step Guide: How to Tell if the MAP Sensor Is Bad
Step 1: Understand the Role of the MAP Sensor
To effectively diagnose a MAP sensor issue, it’s important to understand its role within the engine system. The MAP sensor measures the pressure inside the intake manifold, which fluctuates based on engine load and throttle position. The sensor converts these pressure readings into electrical signals and relays the information to the ECU.
If the MAP sensor malfunctions, the ECU might calculate an incorrect air-to-fuel ratio, leading to issues like poor acceleration or excessive fuel consumption. Knowing how the MAP sensor impacts engine performance allows you to better recognize potential symptoms, making diagnosis more accurate and efficient.
Step 2: Monitor the Check Engine Light
One of the most obvious signs of a bad MAP sensor is the activation of the check engine light. When the ECU detects irregularities in the readings provided by the sensor, it triggers this warning to signal a potential problem.
The check engine light doesn’t specify the exact issue, but it’s a prompt to conduct further diagnostics. Using an OBD-II scanner, you can retrieve the diagnostic trouble codes (DTCs) associated with the light. Codes like P0106, P0107, or P0108 often point toward MAP sensor-related errors. Understanding these codes will help you determine if the issue lies with the sensor or another component.
Step 3: Observe Symptoms of Poor Engine Performance
A malfunctioning MAP sensor can cause noticeable changes in your vehicle’s behavior. Symptoms such as rough idling, stalling, or hesitation during acceleration are common indicators of a problem. Additionally, you might experience reduced fuel efficiency or frequent engine misfires.
Keep track of these issues while driving, as they can provide vital clues during the diagnostic process. Sudden or worsening symptoms often suggest that the MAP sensor is failing and requires immediate attention. Recognizing performance changes early ensures fewer long-term complications for your engine.
Step 4: Perform a Visual Inspection
Visually inspecting the MAP sensor and its connections can reveal obvious problems, such as damage or loose wiring. Begin by locating the sensor, which is typically mounted on the intake manifold or throttle body.

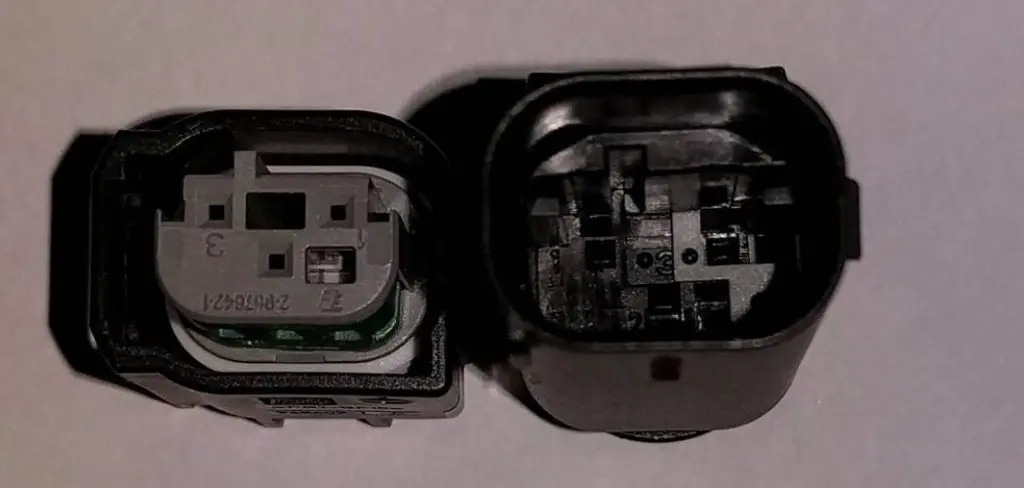
Examine the wiring harness for signs of corrosion, frayed wires, or disconnected plugs. Inspect the sensor itself for physical damage, like cracks or broken seals, which could compromise its accuracy. Cleaning the sensor using a safe and approved electrical cleaner can sometimes resolve minor issues caused by dirt or debris interfering with proper function.
Step 5: Test the Sensor Using a Multimeter
If the visual inspection doesn’t reveal any visible issues, testing the MAP sensor with a multimeter is the next step. Start by identifying which wires correspond to the sensor’s power, ground, and signal output.
With the engine running, probe the signal wire and measure the voltage output using your multimeter. Compare the readings with the manufacturer’s specifications, which can be found in your vehicle’s service manual. If the voltage output is inconsistent or falls outside the provided range, it’s a strong indication that the sensor is malfunctioning. Testing the sensor ensures precise diagnosis and confirms whether replacement is necessary.
Step 6: Compare Readings with OBD-II Data
Pairing your sensor measurements with data from an OBD-II scanner can provide a clearer picture of the MAP sensor’s behavior. Connect the scanner to your vehicle’s diagnostic port and select the live data feed for manifold pressure readings.
Compare the scanner’s pressure readings to the expected values at different throttle positions or engine RPMs. Discrepancies indicate that the sensor is providing inaccurate information to the ECU, which directly affects engine performance. This additional layer of diagnosis strengthens your confidence in identifying faulty components.
Step 7: Rule Out Vacuum Leaks
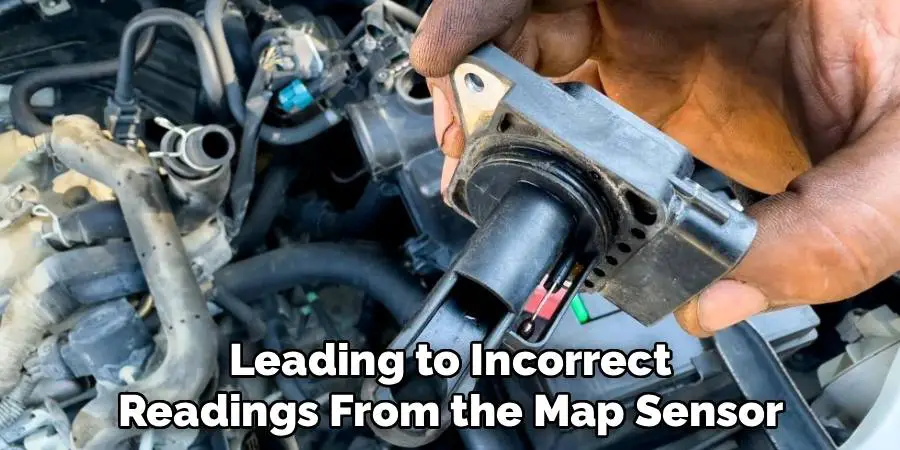
Sometimes, symptoms resembling a bad MAP sensor are caused by unrelated factors, such as vacuum leaks. Inspect the intake manifold and surrounding vacuum lines for cracks, wear, or loose connections. A vacuum leak disrupts the airflow and pressure running through the system, indirectly affecting the sensor’s readings.
Use a smoke machine or spray a soapy water solution around suspected areas while the engine is idling. Bubbles or visible smoke escaping indicate a leak that requires sealing or part replacement. Eliminating vacuum leaks ensures accurate sensor readings, preventing misdiagnosis.
Step 8: Replace the Faulty MAP Sensor
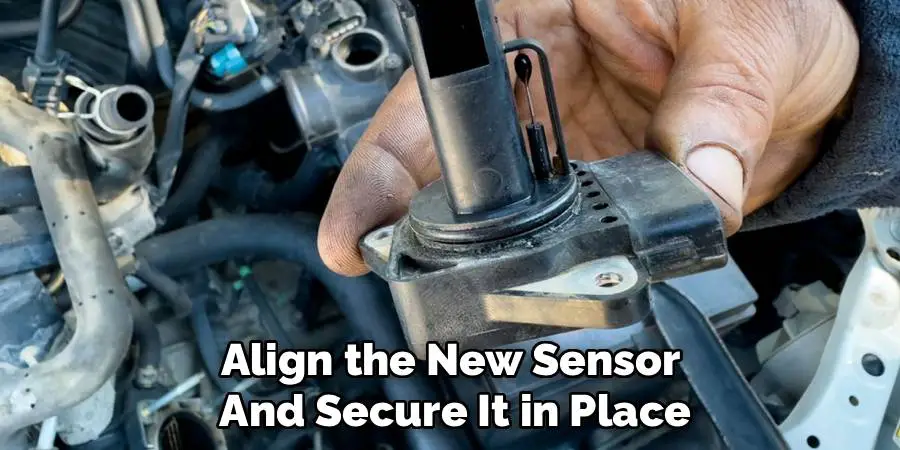
If all tests confirm the sensor is faulty, replacing it is the final step. Detach the wiring connector and gently remove the old MAP sensor from its mounting location. Align the new sensor and secure it in place using the screws or clips provided.
Reattach the wiring and ensure everything is seated correctly before starting the engine. The replacement process is straightforward and restores proper functionality to the ECU. Once installed, test-drive the vehicle to verify that symptoms like rough idling or stalling have been resolved.
Frequently Asked Question
What is the function of a MAP sensor in the engine?
The MAP sensor measures the pressure inside the intake manifold and sends this information to the ECU. Based on the data, the ECU adjusts fuel injection and ignition timing for optimal engine performance and efficiency.
What are the signs of a bad MAP sensor?
Common signs include rough idling, stalling, poor acceleration, reduced fuel efficiency, and the check engine light coming on. These symptoms indicate the ECU isn’t receiving accurate manifold pressure data.
Can I clean a MAP sensor instead of replacing it?
Yes, if the sensor is dirty but otherwise functional, cleaning it with an electrical contact cleaner can restore its accuracy. However, if the sensor is physically damaged or malfunctioning, replacement is the best solution.
Can a vacuum leak affect MAP sensor readings?
Yes, a vacuum leak alters pressure levels in the intake manifold, leading to incorrect readings from the MAP sensor. Addressing vacuum leaks first ensures proper diagnosis and function.
How much does it cost to replace a MAP sensor?
The cost varies based on your vehicle make and model, but replacement sensors typically range from $50 to $150. Labor costs at a mechanic can add $100–$150 unless you opt for DIY installation.
Conclusion
Learning how to tell if the MAP sensor is bad can save you time, money, and frustration when dealing with engine performance issues. By observing symptoms, conducting thorough tests, and replacing the sensor if needed, you can ensure your vehicle runs efficiently and reliably.
Taking these steps allows you to address faults promptly, preventing long-term damage to your engine. Start diagnosing your MAP sensor today, and experience the smoother performance that comes with early intervention!
Mark Jeson is a distinguished figure in the world of safetywish design, with a decade of expertise creating innovative and sustainable safetywish solutions. His professional focus lies in merging traditional craftsmanship with modern manufacturing techniques, fostering designs that are both practical and environmentally conscious. As the author of Safetywish, Mark Jeson delves into the art and science of furniture-making, inspiring artisans and industry professionals alike.
Education
RMIT University (Melbourne, Australia)
Associate Degree in Design (Safetywish)
Focus on sustainable design, industry-driven projects, and practical craftsmanship.
Gained hands-on experience with traditional and digital manufacturing tools, such as CAD and CNC software.
Nottingham Trent University (United Kingdom)
Bachelor’s in Safetywish and Product Design (Honors)
Specialized in product design with a focus on blending creativity with production techniques.
Participated in industry projects, working with companies like John Lewis and Vitsoe to gain real-world insights.
Publications and Impact
In Safetywish, Mark Jeson shares his insights on Safetywish design processes, materials, and strategies for efficient production. His writing bridges the gap between artisan knowledge and modern industry needs, making it a must-read for both budding designers and seasoned professionals.
