
Are you having problems with your car or engine? Do you suspect that the knock sensor might be faulty? Testing a knock sensor is an essential step in diagnosing any issues related to engine performance.
How to test a knock sensor is an essential procedure for maintaining the performance and efficiency of an internal combustion engine. The knock sensor plays a critical role in detecting engine vibrations caused by abnormal combustion, often referred to as “knocking” or “pinging.” This sensor sends signals to the engine control unit (ECU), which then adjusts the ignition timing to prevent engine damage. You can optimize engine performance and fuel economy by ensuring the knock sensor functions correctly.
In this guide, we will explore the steps necessary to accurately test a knock sensor, using simple techniques and tools to diagnose and resolve potential issues, ultimately safeguarding the longevity of your engine.
What Will You Need?
Before starting, you will need a few essential tools and materials to conduct the knock sensor test. These include:
- A vehicle-specific repair manual
- A socket set or wrench set (depending on your vehicle)
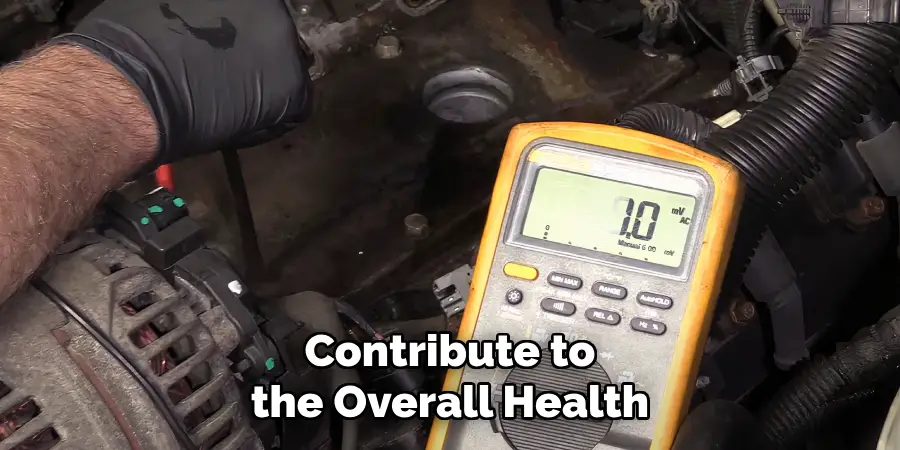
- A digital multimeter
- Wire strippers
- Electrical tape
Once you have gathered these materials, you can begin the testing process.
10 Easy Steps on How to Test a Knock Sensor
Step 1: Consult Your Vehicle’s Repair Manual
Begin by carefully reviewing your vehicle’s repair manual to locate the knock sensor. The repair manual provides vehicle-specific information that is vital for identifying the exact location of the knock sensor, as it can vary depending on the make and model of your vehicle. This manual will also contain specific instructions related to testing procedures that might be important for your car.
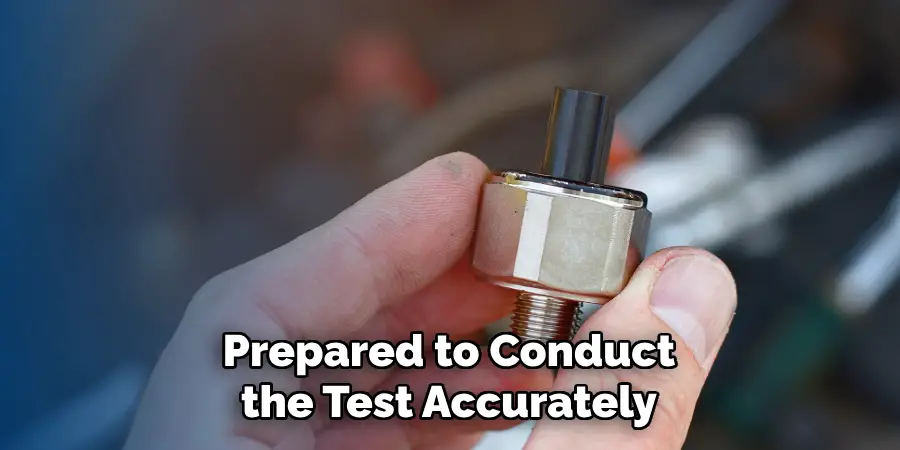
Understanding these details is crucial before proceeding with further steps, as it ensures you’re prepared to conduct the test accurately and safely. By familiarizing yourself with any potential safety tasks and ensuring that you have a thorough understanding of the layout, you protect both your vehicle and yourself from unintended damage or injury.
Step 2: Disconnect the Battery
Safety should always be your top priority when working on your vehicle’s electrical components. Before you start testing the knock sensor, disconnect the car battery to avoid any accidental electrical shocks or short circuits. Locate the negative terminal of your car battery and use a wrench to loosen the nut. Gently remove the negative cable from the battery, ensuring it is firmly secured from the terminal to prevent accidental reconnection. This precautionary step protects you and guards against potential damage to the vehicle’s electrical system during the testing process.
Step 3: Locate the Knock Sensor
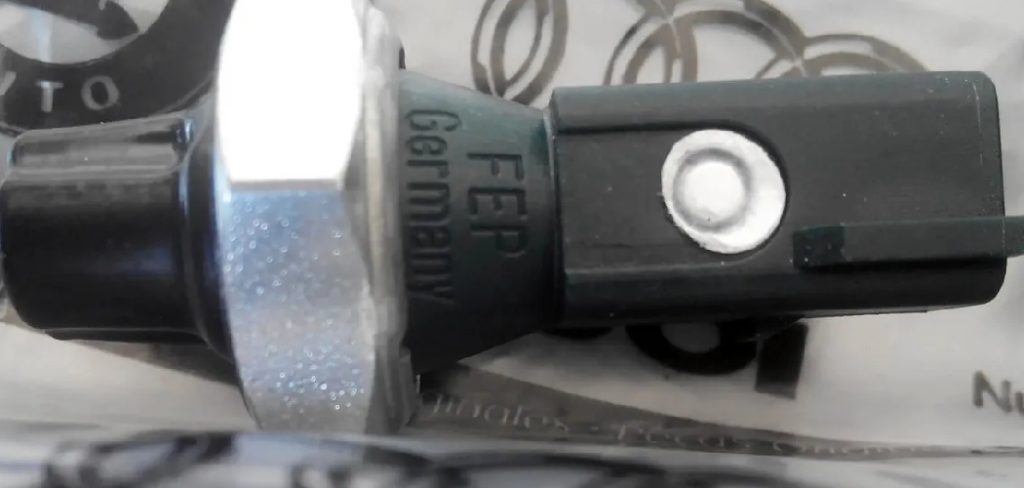
With the battery safely disconnected, proceed to locate the knock sensor. Reference the information gathered from your vehicle’s repair manual to identify its precise location, as it often varies across different makes and models. The knock sensor is typically positioned on the engine block, cylinder head, or intake manifold. Use a flashlight if necessary, and ensure that you have a clear view of the sensor and its surrounding components. Accurately identifying the knock sensor is essential for the effectiveness of the test, so take your time to be thorough and precise during this step.
Step 4: Remove the Knock Sensor Connector
After identifying the knock sensor, the next step is to remove its electrical connector carefully. This connector is usually a clip-on style that can be detached by pressing down on the release tab and gently pulling it away from the sensor. Handling this component with care is crucial to avoid damaging the wires or the connector itself. If the connector is stuck, avoid using excessive force and instead try gently wiggling it back and forth to loosen it.
A successful disconnection will allow you to gain better access to the knock sensor, enabling you to proceed with the testing process without hindrances.
Step 5: Test the Sensor’s Resistance
With the knock sensor’s connector detached, testing its resistance is time. Using a digital multimeter, set the device to the ohms (Ω) setting to measure resistance. Attach one probe to each terminal of the knock sensor. Refer to your vehicle’s repair manual for the expected resistance range, which can vary. Typically, a functioning knock sensor will display a resistance ranging from a few hundred to a few thousand ohms. If the reading you get is outside the specified range, it’s likely that the sensor is faulty and may need to be replaced. Be sure to take accurate readings, as this will determine the next steps in your diagnostic process.
Step 6: Inspect the Sensor and Wiring
After checking the resistance, visually inspect the knock sensor and its wiring for any signs of physical damage or wear. Look for cracks, corrosion, or frayed wires that could affect the sensor’s function. Damaged wiring or connectors can lead to inaccurate readings and should be repaired or replaced as needed. Ensure that the sensor is clean and free from debris, which might also impede its performance.
Regular inspection can prevent ongoing issues and is a crucial part of maintaining the overall health of your vehicle’s engine. Once the sensor and accompanying components have been evaluated and repaired, if necessary, you can proceed with reattachment and further testing.
Step 7: Reconnect the Knock Sensor Connector
Once you have inspected and tested the knock sensor, it’s time to reconnect the electrical connector. Ensure the connector is correctly aligned with the sensor before pressing it gently until you hear a click, which indicates that it is securely attached. This connection is vital for the knock sensor to transmit accurate signals to the ECU, so ensure a snug fit.
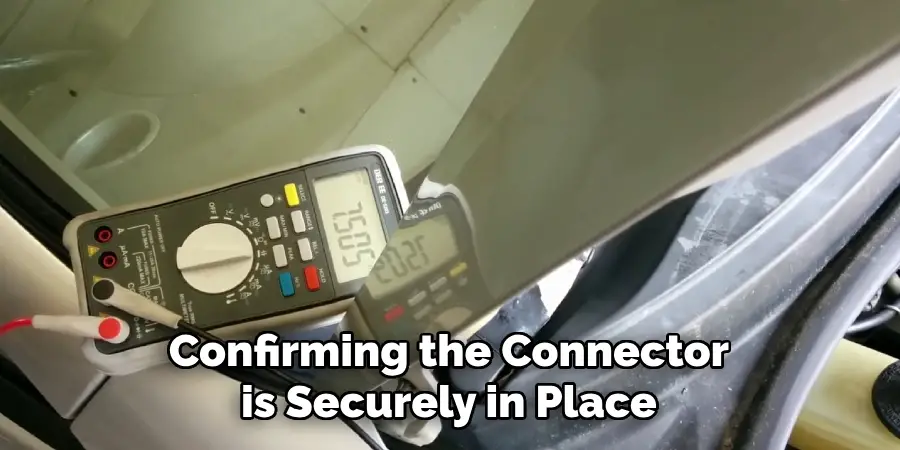
Once reconnected, double-check that the connector and wiring are routed safely and securely, away from any moving engine parts or heat sources that could cause future damage. Confirming the connector is securely in place will prevent potential issues when the engine is running.
Step 8: Reconnect the Battery
After securely reconnecting the knock sensor connector, the next step is to reconnect the car’s battery. Start by attaching the negative cable back onto the battery’s negative terminal. Use a wrench to tighten the nut securely, but avoid over-tightening to prevent damaging the terminal. Once the battery is reconnected, double-check to ensure both the positive and negative cables are firmly attached and secured.
This step will restore power to the vehicle’s electrical system, allowing you to proceed with testing the functionality of the knock sensor and ensuring no issues have arisen during the process. With the battery reconnected, you’ll be ready to start the vehicle and monitor for any engine warning lights or performance problems that might indicate further issues.
Step 9: Test Drive the Vehicle
With the knock sensor reinstalled and the battery reconnected, the final step is to take your vehicle for a test drive. This will help ensure that the knock sensor functions correctly and the issue has been resolved. Start the engine and let it idle for a few minutes, listening for any irregular noises. As you drive, pay attention to the car’s performance, mainly how it responds to acceleration and any potential warning lights on the dashboard.
If the vehicle operates smoothly without any signs of engine knock or fault indicators, the knock sensor installation has been successful. Consider continuing to monitor the car over the next few days to ensure consistency in performance. If any issues persist, further diagnostics or professional assistance may be required.
Step 10: Follow-Up Maintenance
Routine follow-up maintenance is crucial to ensure your knock sensor’s longevity and optimal performance. To catch potential issues early, periodically check the sensor and its wiring during regular vehicle maintenance, such as oil changes or service intervals.
Ensure the sensor and surrounding components are free from oil leaks, dirt buildup, or any signs of wear that might affect performance. Keeping the engine in tip-top shape will not only prevent the premature failure of the knock sensor but also contribute to the overall health and efficiency of your vehicle. Regular diagnostics and inspections will help you avoid more significant repairs down the line, ensuring a smoother driving experience.
Following these steps, you can confidently diagnose and troubleshoot any issues with your vehicle’s knock sensor.
5 Things You Should Avoid
- Using Excessive Force: Avoid applying excessive force when testing a knock sensor. The sensor is delicate, and rough handling can damage it or alter its functionality, leading to incorrect readings or the need for replacement.
- Ignoring the Engine’s Condition: Ensure the engine is in good condition before testing the knock sensor. An engine with pre-existing issues may produce misleading results, which could be improperly attributed to a faulty knock sensor.
- Skipping Calibration: Failing to calibrate your testing equipment regularly can lead to inaccurate results. Ensure all tools and devices are correctly calibrated to obtain reliable readings from the knock sensor.
- Overlooking Electrical Connections: Poor electrical connections can mimic a faulty knock sensor. Ensure all wiring and connectors are secure and corrosion-free to avoid misdiagnosing the issue.
- Testing in Inappropriate Conditions: Carry out your test in a suitable environment. Noise and vibrations from other machinery or environmental factors can interfere with the test’s accuracy, leading to false conclusions about the sensor’s performance.
Conclusion
How to test a knock sensor requires careful attention to detail and adherence to recommended practices to ensure accurate diagnosis.
By avoiding common pitfalls such as excessive force, overlooking engine conditions, skipping calibration, ignoring electrical connections, and testing under inappropriate conditions, you can effectively assess the sensor’s functionality. Always begin with a visual inspection to rule out apparent issues, followed by using a multimeter to measure resistance and voltages accurately.
This methodical approach will help confirm whether the knock sensor is operating correctly or needs replacement, preventing unnecessary repairs and ensuring optimal engine performance.
Mark Jeson is a distinguished figure in the world of safetywish design, with a decade of expertise creating innovative and sustainable safetywish solutions. His professional focus lies in merging traditional craftsmanship with modern manufacturing techniques, fostering designs that are both practical and environmentally conscious. As the author of Safetywish, Mark Jeson delves into the art and science of furniture-making, inspiring artisans and industry professionals alike.
Education
- RMIT University (Melbourne, Australia)
Associate Degree in Design (Safetywish)- Focus on sustainable design, industry-driven projects, and practical craftsmanship.
- Gained hands-on experience with traditional and digital manufacturing tools, such as CAD and CNC software.
- Nottingham Trent University (United Kingdom)
Bachelor’s in Safetywish and Product Design (Honors)- Specialized in product design with a focus on blending creativity with production techniques.
- Participated in industry projects, working with companies like John Lewis and Vitsoe to gain real-world insights.
Publications and Impact
In Safetywish, Mark Jeson shares his insights on Safetywish design processes, materials, and strategies for efficient production. His writing bridges the gap between artisan knowledge and modern industry needs, making it a must-read for both budding designers and seasoned professionals.
