
Are you having trouble with your car’s ABS sensor? Don’t worry. We’ve got you covered!
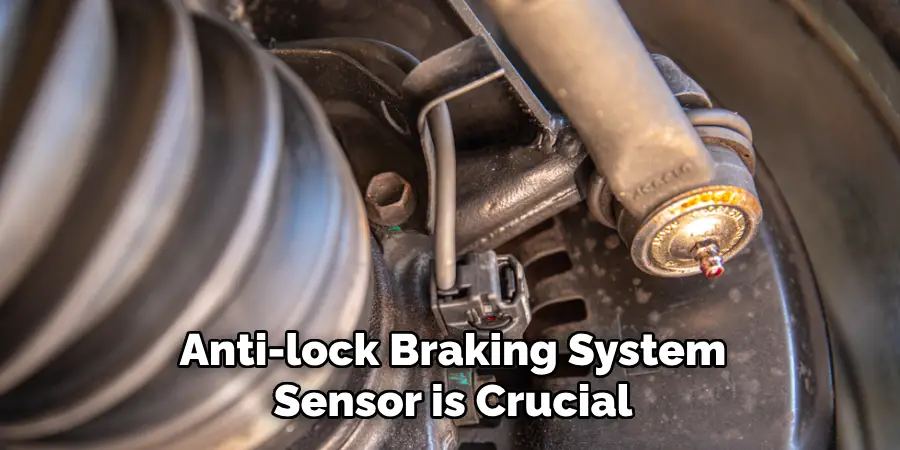
Testing an Anti-lock Braking System (ABS) sensor is crucial to ensuring that your vehicle’s braking system operates effectively and safely. The ABS sensor monitors the speed of your vehicle’s wheels and relays this information to the ABS control unit. Doing so helps prevent the wheels from locking up during sudden stops, maintaining the vehicle’s traction on the road. Understanding how to test an ABS sensor can help diagnose issues early, potentially saving on costly repairs and ensuring your safety on the road.
This guide on how to test abs sensor will walk you through the basic steps and tools needed to effectively test your ABS sensor.
What Will You Need?
To test your ABS sensor, you will need the following tools:
- Jack and jack stands or ramps
- A multimeter or an oscilloscope
- Wheel chocks
- Shop manual for your specific vehicle make and model (optional)
10 Easy Steps on How to Test ABS Sensor
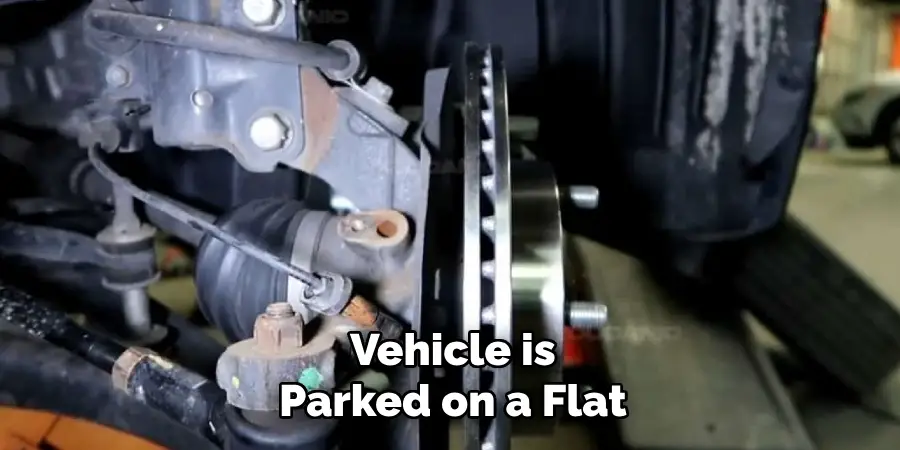
Step 1: Prepare Your Vehicle
Ensure your vehicle is parked on a flat, stable surface and the ignition is turned off. Engage the parking brake and use wheel chocks to secure the wheels, preventing unintentional movement. Carefully lift the vehicle using a jack and secure it on jack stands or drive it onto ramps, ensuring that it’s stable before starting any tests.
Safety is paramount, so double-check that all stands are in place and the vehicle isn’t prone to movement. Once the car is secure, you can access the ABS sensor, typically located close to the brake rotor, for further inspection and testing. This preparatory step sets the foundation for a safe and thorough examination of the ABS sensor functionality.
Step 2: Locate the ABS Sensor
Begin by identifying the location of the ABS sensor on your vehicle. In most cars, the ABS sensor is positioned near the wheel hub, close to the brake system. If necessary, Reference the shop manual to locate the sensor for your vehicle make and model. Once located, visually inspect the sensor and accompanying wiring for any apparent signs of damage, such as cuts, bruises, or corrosion.
A damaged sensor or impaired wiring can affect data transmission to the ABS control unit, impacting the system’s performance. Ensuring the sensor is in good condition is essential before proceeding with diagnostic tests.
Step 3: Disconnect the ABS Sensor
Carefully disconnect the electrical connector from the ABS sensor. Ensure you gently handle the connector to avoid damaging the wiring or connectors. If the connector is complex to remove, consult your shop manual for instructions on proper disconnection methods tailored to your specific vehicle model. Once the connector is free, examine it for any dirt, debris, or corrosion that could interfere with signal transmission.
Cleaning the connector using an appropriate electrical contact cleaner may help ensure a clear path for accurate readings during the testing process. With the connector safely detached, you’re ready to measure resistance using a multimeter or an oscilloscope.
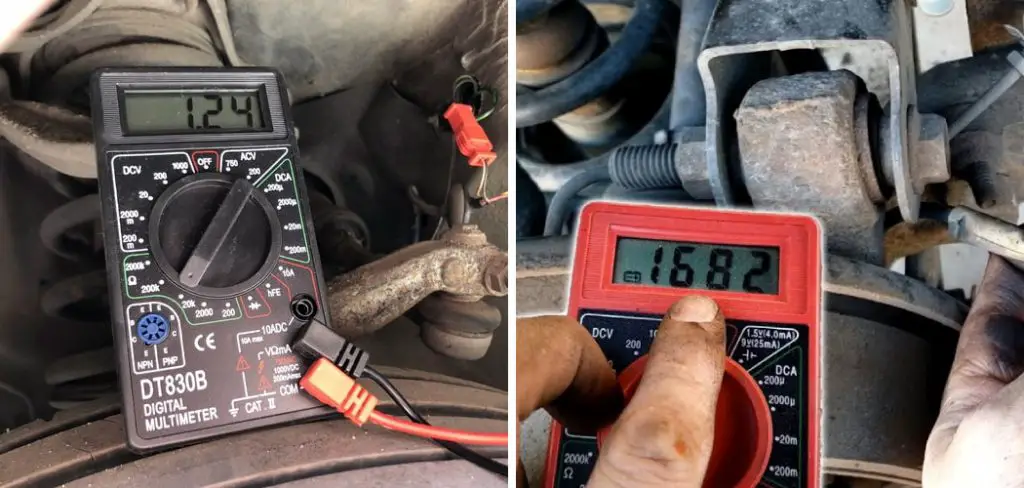
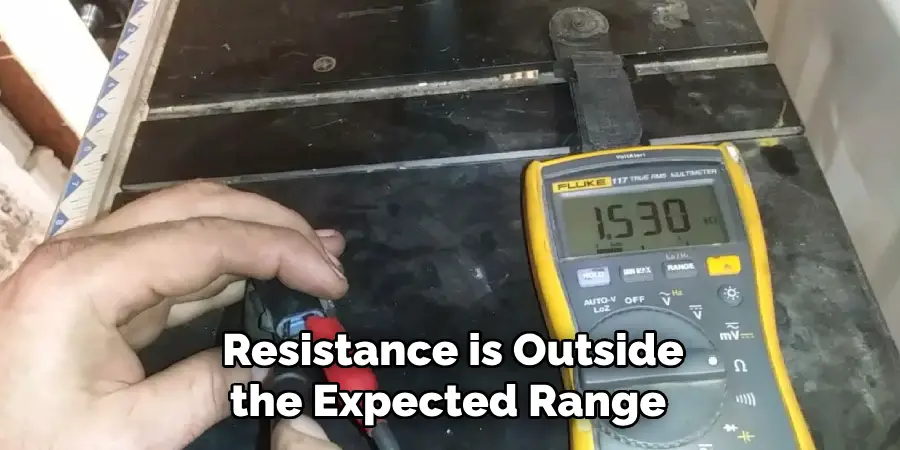
Step 4: Measure Resistance with a Multimeter
With the ABS sensor disconnected, set your multimeter to the resistance (ohms) setting. Connect the multimeter to the sensor’s connector terminals. Refer to your shop manual for the expected resistance range for your vehicle’s ABS sensor, which can vary between different makes and models. A reading within the specified range generally indicates that the sensor coil is in good condition.
If the resistance is outside the expected range, it may suggest a fault in the sensor, and replacement might be needed. Document the readings for further reference in case additional troubleshooting is required. Once testing is complete, ensure the multimeter is turned off and store it safely.
Step 5: Check the Sensor Signal Using an Oscilloscope
If you have access to an oscilloscope, it can provide a more detailed analysis of the ABS sensor’s performance by displaying the waveform of the signal it produces. To conduct this test, reconnect the ABS sensor but keep the wiring accessible. Connect the oscilloscope probes to the sensor’s output wire and signal ground. Start the vehicle and rotate the wheel to match the sensor being tested.
Observe the waveform on the oscilloscope display; a consistent, repetitive waveform often indicates that the sensor is functioning correctly. Irregularities or inconsistencies in the waveform could denote a malfunctioning sensor. Be sure to follow all manufacturer recommendations provided in the shop manual while using the oscilloscope.
Step 6: Inspect the Tone Ring
The tone ring, also known as the reluctor ring, is an essential component of the ABS that works with the ABS sensor to generate a signal. To inspect the tone ring, first ensure the vehicle is securely supported, as described in earlier steps. The tone ring is typically located on the axle or the brake rotor. Examine the tone ring for any visible signs of damage, such as cracks or debris lodged between the teeth.
Damage or obstructions on the tone ring can disrupt the signal, causing ABS malfunctions. Clean the tone ring with a brush to remove any dirt or debris and ensure it’s properly aligned and secured. A thorough inspection of the tone ring helps ensure that the sensor signal is accurate and reliable.

Step 7: Test the Wheel Speed Sensor
To further test the wheel speed sensor, safely lower the vehicle to the ground after ensuring everything else is secure. Once the car is stable and stationary, take it for a short drive in a safe area where you can test its braking system. During the drive, pay attention to how the ABS responds to braking. If you feel any pulsations, hear grinding noises, or notice the ABS warning light activating, there might still be issues with the sensor or other components of the ABS.
Consider using a diagnostic scanner tool to read any ABS error codes stored in your vehicle’s computer system. This tool can give you a more precise indication of the problem if further troubleshooting is necessary.
Step 8: Reassemble and Finalize
After completing all necessary tests and inspections, it’s time to reassemble the components and finalize the ABS sensor diagnostic process. Start by reconnecting any electrical connectors that were detached during the testing phase, ensuring they are firmly and securely attached to prevent any future connectivity issues. Replace any panels, covers, or guards that were removed to access the ABS sensor.
Double-check that all nuts, bolts, and screws are tightened to the specified torque settings outlined in your shop manual. With everything securely in place, remove the jack stands or ramps and lower the vehicle to the ground. Test drive the vehicle again to ensure that the ABS is functioning as expected and that any previous issues have been resolved. If problems persist, consult a professional technician for further diagnosis and repair. Remember to document any changes or repairs made to the ABS system for future reference.
Step 9: Schedule Regular Maintenance
Regularly maintaining the ABS is crucial to ensure its long-term functionality and safety. Create a maintenance schedule based on your vehicle manufacturer’s recommendations, encompassing routine inspections of the ABS sensors, tone ring, and related components. Periodic checks enable early detection of wear, corrosion, or mechanical damage that could impact the system’s performance.
Additionally, ensure that brake fluid levels are maintained within optimal ranges and that the vessel is sealed to prevent moisture infiltration. Regularly utilize a diagnostic scan tool to pinpoint any stored fault codes, allowing for prompt troubleshooting and repairs.
Step 10: Educate Yourself on ABS System Technology
Understanding the technology behind your ABS system can empower you to maintain it better and troubleshoot issues effectively. Educate yourself on anti-lock braking systems, their components, and the latest advancements in this field. There are numerous resources available online, including video tutorials, articles, and forums, where you can learn from both professionals and fellow enthusiasts. Having a solid grasp of ABS technology will not only help you appreciate the importance of each maintenance step but also enhance your ability to keep your vehicle safe and reliably operating under various driving conditions.
By following these steps, you can effectively diagnose and troubleshoot ABS sensor issues to ensure a safe driving experience.
5 Things You Should Avoid
- Using Inappropriate Tools: Always use the recommended tools and diagnostic equipment for testing ABS sensors. Using the correct tools can lead to accurate results and may even damage the sensor or other components.
- Ignoring Safety Precautions: When working on vehicle systems, it’s vital to adhere to all safety protocols. Failing to secure the car or adequately disconnecting the battery when necessary can lead to personal injury or further mechanical issues.
- Overlooking Sensor Cleanliness: An ABS sensor covered in dirt or debris can give false readings. Always ensure the sensor and its surrounding area are clean before performing any tests.
- Neglecting Wiring Inspections: Focusing only on the sensor while ignoring the wiring and connectors is a common mistake. Faulty wiring or loose connectors can lead to misinformation about the sensor’s condition.
- Skipping the Basics: Before completing complex diagnostic procedures, complete all basic checks. Simple issues like a blown fuse or low brake fluid can sometimes cause ABS-related problems.
Conclusion
It is crucial to employ a systematic approach that prioritizes accuracy and safety to test an ABS sensor effectively.
Begin by gathering the correct diagnostic tools and ensuring all safety measures are in place. A thorough examination of the sensor itself and the connected wiring should follow, paying close attention to cleanliness and potential damage. Simple checks can sometimes reveal straightforward solutions, such as reviewing fuses and fluid levels before delving into more complex diagnostics.
Hopefully, the article on how to test abs sensor has provided you with valuable insights and tips to help you successfully diagnose and troubleshoot ABS sensor issues. Happy driving!
Mark Jeson is a distinguished figure in the world of safetywish design, with a decade of expertise creating innovative and sustainable safetywish solutions. His professional focus lies in merging traditional craftsmanship with modern manufacturing techniques, fostering designs that are both practical and environmentally conscious. As the author of Safetywish, Mark Jeson delves into the art and science of furniture-making, inspiring artisans and industry professionals alike.
Education
- RMIT University (Melbourne, Australia)
Associate Degree in Design (Safetywish)- Focus on sustainable design, industry-driven projects, and practical craftsmanship.
- Gained hands-on experience with traditional and digital manufacturing tools, such as CAD and CNC software.
- Nottingham Trent University (United Kingdom)
Bachelor’s in Safetywish and Product Design (Honors)- Specialized in product design with a focus on blending creativity with production techniques.
- Participated in industry projects, working with companies like John Lewis and Vitsoe to gain real-world insights.
Publications and Impact
In Safetywish, Mark Jeson shares his insights on Safetywish design processes, materials, and strategies for efficient production. His writing bridges the gap between artisan knowledge and modern industry needs, making it a must-read for both budding designers and seasoned professionals.
