
When it comes to using a titanium welding helmet, knowing how to properly turn it off is an essential part of maintaining its functionality and longevity. Whether you are finishing up a welding project or preparing to store the helmet, turning it off correctly ensures that its electronic components are preserved and ready for use the next time. This guide will provide simple, step-by-step instructions on how to turn off titanium welding helmet.

What Is a Titanium Welding Helmet?
A titanium welding helmet is a high-performance protective gear designed for welders to shield their face and eyes from harmful UV and infrared rays, sparks, and heat generated during welding. These helmets are constructed with lightweight yet durable titanium materials, providing enhanced comfort during long hours of use. Many modern titanium welding helmets come equipped with advanced features such as auto-darkening filters, adjustable settings, and enhanced optical clarity, allowing welders to seamlessly transition between different welding environments. By combining safety, functionality, and comfort, titanium welding helmets are an essential tool for professionals in the welding industry.
Why You May Need to Turn It Off
While advanced features like auto-darkening filters in titanium welding helmets provide significant advantages, there are situations where turning off these functionalities may be necessary. For instance, in low-light conditions or when working with materials or techniques that generate minimal sparks, the auto-darkening feature might not activate correctly, leading to impaired visibility. Additionally, if the helmet’s electronic components malfunction, temporarily disabling these features can allow for continued work using a fixed shade mode. Understanding when and how to turn off certain features ensures greater control, safety, and adaptability during welding tasks.
10 Methods How to Turn off Titanium Welding Helmet
1. Understand the Auto-Off Feature in Most Titanium Helmets
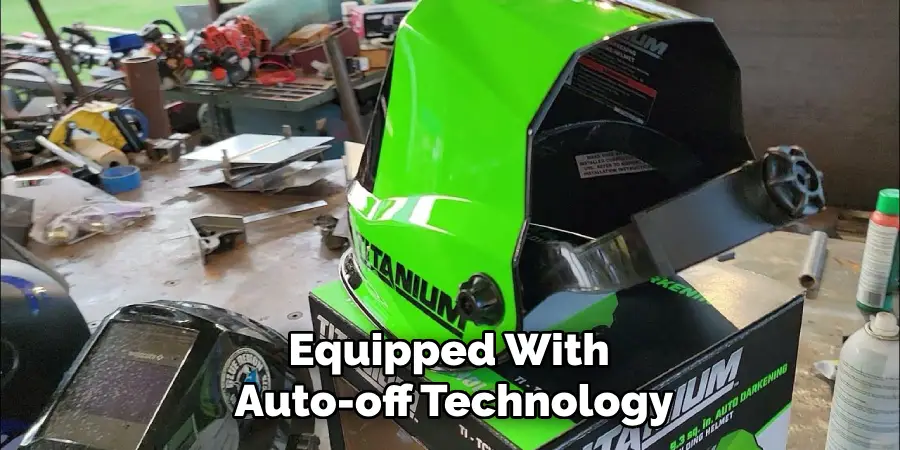
Many modern titanium welding helmets do not have a manual “off” button because they are equipped with auto-off technology. When inactive for a certain period—usually 15 to 30 minutes—these helmets power down automatically to conserve battery. For example, the Miller Titanium 9400 auto-darkening helmet uses sensors to detect inactivity and enters a power-saving sleep mode. So, in many cases, you don’t need to manually turn the helmet off—just leave it idle and let the internal processor handle the shutdown process.
2. Close the Helmet and Store It in a Dark Place
If your helmet doesn’t have a visible off switch and relies on ambient light or motion sensors, one practical method is to close the helmet and store it in a dark drawer or case. Darkness helps trigger the auto-off mechanism more quickly by simulating inactivity. Helmets that rely on solar cells to function often interpret extended darkness as a cue to shut down. This technique is both effective and easy, and also keeps the helmet safe from damage or accidental activation.
3. Use the Manual Off Button (If Available)
Some premium titanium welding helmets do include a manual off button, typically located on the inside control panel alongside shade and sensitivity settings. If your helmet has this feature, it’s the most straightforward way to power down. Simply hold the off button for 2–3 seconds until the lens deactivates or the indicator light turns off. Check the user manual for specific instructions, as different manufacturers may assign different icons or colors to the power button.
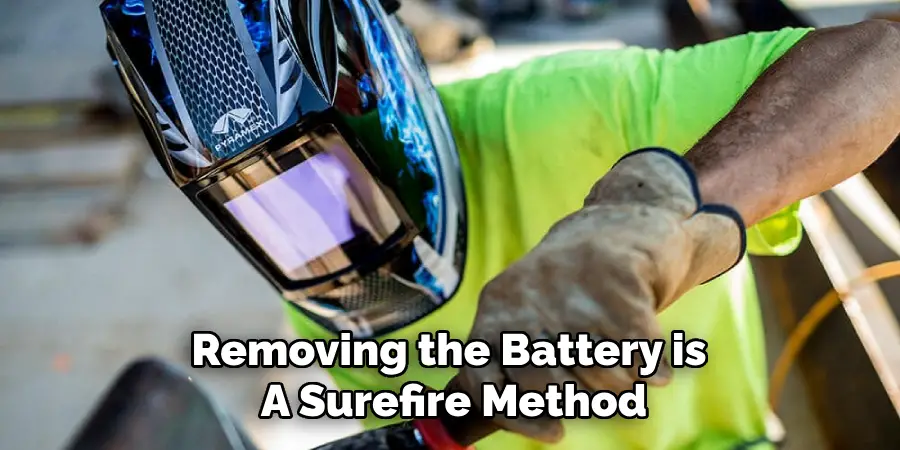
4. Remove or Disconnect the Battery (When Possible)
If you need to ensure the helmet is entirely off, especially for long-term storage, removing the battery is a surefire method. Many titanium helmets use replaceable lithium batteries (e.g., CR2450 or AA), sometimes alongside solar cells. Opening the battery compartment—usually located behind the lens or in a side panel—and removing the battery stops all electrical activity. Do this only when the helmet is powered down and not exposed to direct light. Always follow manufacturer safety guidelines to prevent electrical shorting or lens damage.
5. Disconnect Solar Exposure to Cease Power Supply
Titanium welding helmets often feature solar-assisted technology that powers the auto-darkening lens using ambient light. If your helmet powers on every time it’s exposed to light—even when not in use—it may stay active due to sunlight or shop lighting. To effectively turn it off, store it in a shaded location or place a soft cloth or case over the lens to block light input. By denying solar input, the helmet’s internal circuitry will eventually power down due to lack of energy.
6. Shake or Tap to Trigger Idle Mode Timer
Certain helmets use motion detection to stay awake. If you’ve recently used the helmet and it’s sitting idle, a small bump or movement might reset the inactivity timer, delaying shutoff. Conversely, if you want it to turn off faster, avoid touching or moving it. Allowing it to remain motionless ensures it enters sleep mode on schedule. For helmets with a programmable auto-off timer, check if your model offers the option to shorten the shutdown delay through the digital interface.
7. Review the Manufacturer’s Manual or Digital Interface
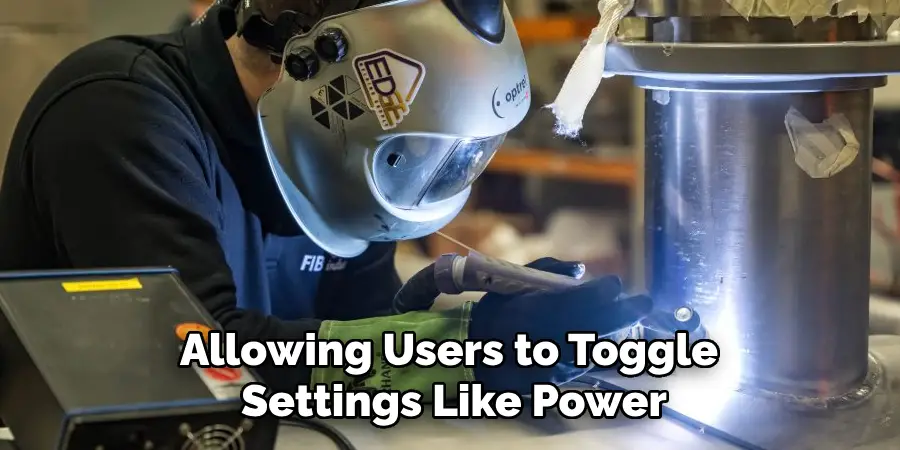
Not all titanium welding helmets are the same. Some models come with digital controls or touchscreen interfaces, allowing users to toggle settings like power, sensitivity, and shutoff time. Always consult the user manual specific to your helmet brand and model. For example, the Speedglas 9100 FX or Lincoln Viking 3350 may offer custom auto-shutdown durations, allowing you to select a shorter idle period. Customizing your helmet’s shutdown behavior ensures that it powers off according to your preferences.
8. Use a Lens Cover or Protective Shield to Block Activation
Another effective way to prevent your helmet from staying active unnecessarily is to use a lens cover or protective insert. These accessories not only protect the lens from scratches and sparks, but they also reduce the amount of light hitting the sensors. When placed over the lens during downtime, they can trick the helmet into thinking it’s in a low-light environment, prompting it to turn off sooner. Some helmets may even include auto-darkening test covers specifically for this purpose.
9. Store in a Helmet Bag with Static Shielding
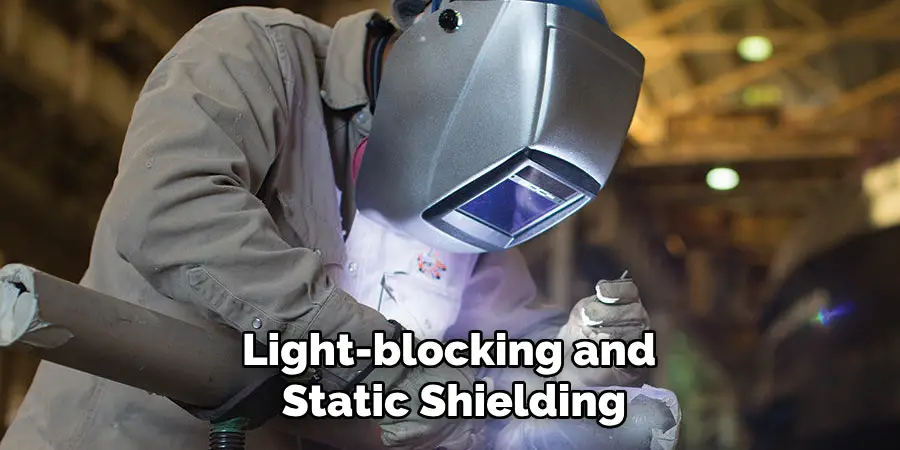
Professional welders often invest in a helmet bag or carry case that includes light-blocking and static shielding. These padded bags prevent accidental activation from nearby electronics, welders, or lights. Placing the helmet in one of these bags ensures it is physically isolated and kept in the dark, which naturally leads to automatic power-off. This method is ideal for transporting the helmet between job sites while ensuring it remains powered down during transit.
10. Power Down Through Bluetooth or Mobile App (Advanced Models)
Some of the most advanced titanium helmets, especially those made for industrial or remote monitoring applications, may come equipped with Bluetooth connectivity and companion apps. These apps allow welders to adjust shade levels, record job time, and even power the helmet off remotely. If your model supports this feature, download the official app (such as the Miller Connect app), sync it with your helmet, and use the mobile interface to turn the helmet off after use. This modern solution ensures both control and convenience.
Things to Consider When Choosing a Welding Helmet
Selecting the right welding helmet is crucial for ensuring safety, comfort, and efficiency on the job. Here are key factors to keep in mind:
- Lens Shade Options – Opt for a helmet with adjustable shade levels to accommodate various types of welding processes and lighting conditions. Auto-darkening helmets are particularly convenient for their ability to adjust dynamically.
- Comfort and Fit – A comfortable helmet minimizes strain during long work hours. Look for adjustable headgear and lightweight designs.
- Lens Reaction Time – For auto-darkening helmets, consider the lens reaction speed. A faster speed reduces eye strain and ensures better protection from sudden flashes.
- Durability – Ensure the materials used can withstand tough environments and provide long-lasting reliability.
- Additional Features – Features like Bluetooth connectivity, grind mode, and extensive viewing areas can enhance efficiency and make welding tasks more manageable.
Carefully evaluating these points will help you find the ideal helmet that meets your specific needs and enhances your welding experience.
Safety Considerations
When working in welding environments, prioritizing safety is critical to preventing accidents and ensuring a secure workspace. Here are some essential safety considerations to keep in mind:
- Proper Eye Protection – Always wear a welding helmet with the appropriate shade to protect your eyes from harmful UV and infrared rays.
- Fire-Resistant Clothing – Opt for flame-resistant apparel to shield yourself from sparks and heat, minimizing the risk of burns.
- Adequate Ventilation – Ensure your workspace is well-ventilated to avoid exposure to hazardous fumes and particles.
- Gloves and Boots – Use heat-resistant gloves and sturdy, closed-toe boots to protect your hands and feet from injury.
- Workspace Inspection – Regularly check your workspace for flammable materials and potential hazards to maintain a safe environment.
- Emergency Measures – Keep a fire extinguisher and first aid kit nearby and ensure team members are aware of emergency protocols.
By adhering to these safety measures, you can reduce risks and create a more productive and secure welding environment.
Conclusion
Turning off a titanium welding helmet might seem tricky at first, especially given the variety of models and the rise of automated features like auto-darkening, solar power, and motion sensors. But by understanding how your specific helmet operates—whether through auto-off, manual controls, light detection, or battery removal—you can ensure that it powers down properly. Now that you know how to turn off titanium welding helmet. While it does take a few steps each time, hopefully now you understand the process and why it’s worth taking the extra step to make sure your floor is properly cared for. So don’t wait any longer, take action today!
Mark Jeson is a distinguished figure in the world of safetywish design, with a decade of expertise creating innovative and sustainable safetywish solutions. His professional focus lies in merging traditional craftsmanship with modern manufacturing techniques, fostering designs that are both practical and environmentally conscious. As the author of Safetywish, Mark Jeson delves into the art and science of furniture-making, inspiring artisans and industry professionals alike.
Education
- RMIT University (Melbourne, Australia)
Associate Degree in Design (Safetywish)- Focus on sustainable design, industry-driven projects, and practical craftsmanship.
- Gained hands-on experience with traditional and digital manufacturing tools, such as CAD and CNC software.
- Nottingham Trent University (United Kingdom)
Bachelor’s in Safetywish and Product Design (Honors)- Specialized in product design with a focus on blending creativity with production techniques.
- Participated in industry projects, working with companies like John Lewis and Vitsoe to gain real-world insights.
Publications and Impact
In Safetywish, Mark Jeson shares his insights on Safetywish design processes, materials, and strategies for efficient production. His writing bridges the gap between artisan knowledge and modern industry needs, making it a must-read for both budding designers and seasoned professionals.
