
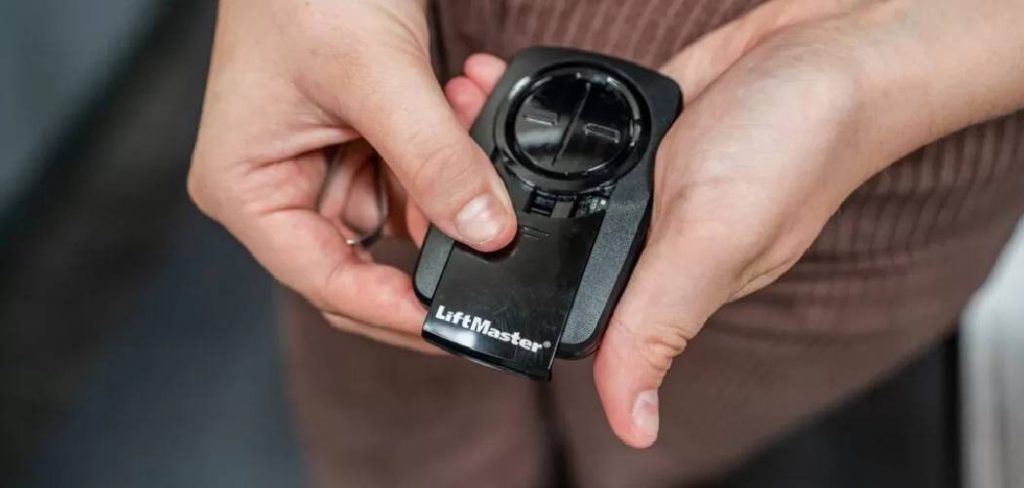
A universal garage door opener remote, like the popular Clicker model, offers a convenient solution for operating multiple garage doors or replacing lost or broken remotes. These devices are designed to be compatible with most major garage door opener brands, making them a versatile and cost-effective choice for homeowners. Learning how to use a clicker garage door opener is a straightforward process that can be completed in just a few minutes with no special tools required.
This guide will provide clear, step-by-step instructions for programming and using your Clicker remote. We will cover everything from identifying your garage door opener’s “learn” button to troubleshooting common programming issues. By the end of this article, you will have the confidence to set up your universal remote quickly and get your garage door system back to full, convenient functionality.
Why Using a Clicker Garage Door Opener Matters
Knowing how to program a universal remote like a Clicker is a valuable skill that enhances home security and convenience. Instead of managing multiple remotes for different garage doors, a single universal remote can control them all. This is especially useful for homeowners with multi-car garages or properties with separate garage structures. Furthermore, if you lose a manufacturer’s remote, a Clicker provides a quick, affordable replacement, preventing security vulnerabilities and restoring easy access to your home without the high cost or long wait times associated with ordering a specific brand’s replacement.
7 Step-by-Step Guide: How to Use a Clicker Garage Door Opener
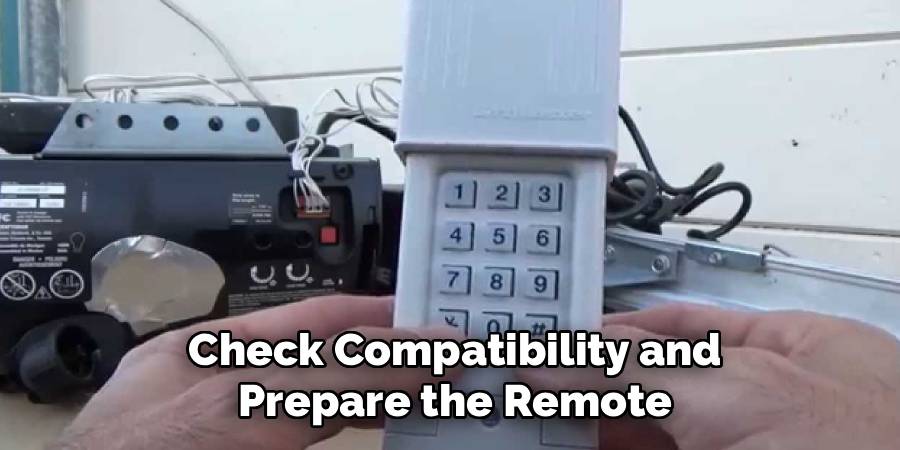
Step 1: Check Compatibility and Prepare the Remote
Before starting the remote programming process, ensure your Clicker universal remote is compatible with your garage door system. Most Clicker models work with openers manufactured after 1993 that have safety sensors. Check the product’s packaging or manual for a list of compatible brands, such as Chamberlain, LiftMaster, Craftsman, Genie, and others. Next, prepare the remote by inserting a fresh battery. Open the battery compartment, typically on the back of the remote, and install the battery according to the polarity markings. A new battery ensures a strong signal during programming and reliable operation afterward.
Step 2: Locate the Learn Button on Your Garage Door Motor
The “learn” or “program” button is the key to syncing your Clicker remote with your garage door opener. This button is located on the motor unit mounted on your garage ceiling. You will likely need a stepladder to access it. The button is usually a small, square button, and its color can vary (often purple, red, orange, green, or yellow), which can sometimes indicate the opener’s technology type. It might be located next to an LED indicator light. Pressing this button puts the opener into programming mode, allowing it to receive the signal from your new universal remote.
Step 3: Clear the Garage Door Opener’s Memory
If you are replacing a lost or stolen remote, it is a crucial security step to first clear the memory of your garage door opener. This will erase all previously programmed remotes, ensuring the old one can no longer be used to access your garage. To do this, press and hold the “learn” button on the motor unit for about six seconds, or until the adjacent LED light goes out. This action deactivates all remotes, so you will need to reprogram any other remotes you still wish to use, in addition to programming your new Clicker.
Step 4: Program the Clicker Remote to the Opener
With your garage door opener in programming mode, you can now sync your Clicker remote. The process is time-sensitive, as the opener typically only stays in programming mode for about 30 seconds. First, press and release the “learn” button on the motor unit. The LED indicator light should turn on and stay lit. Now, from your stepladder, point the Clicker remote at the motor and press and hold the button on the remote that you wish to use to operate the door. Continue holding the button until the lights on the garage door opener blink or you hear two clicks.
Step 5: Test the Newly Programmed Remote
After you see the lights blink or hear the clicks, release the button on your remote. The programming should now be complete. To confirm that the remote is working correctly, step away from the garage door opener and press the button you just programmed. The garage door should move.
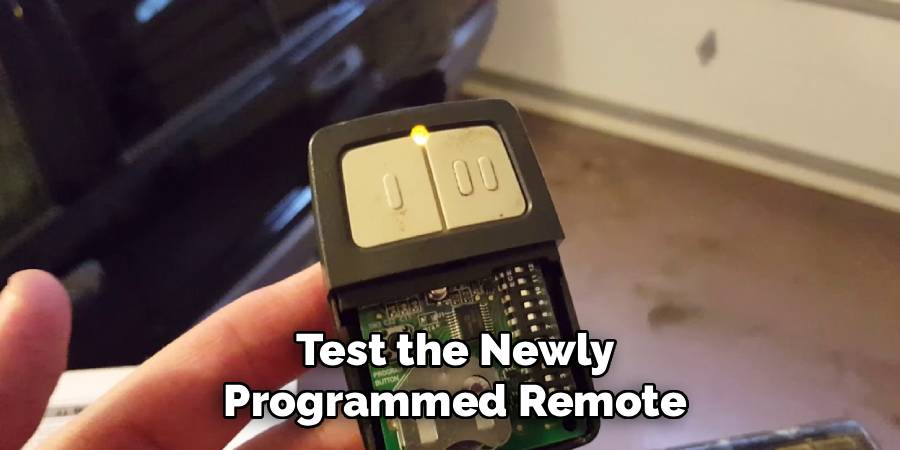
Test it to both open and close the door fully. If the door does not respond, the programming may not have been successful. In this case, you will need to repeat the programming steps, ensuring you press the remote button within the 30-second window after pressing the learn button.
Step 6: Set Up Additional Buttons for Multiple Doors
One of the main advantages of a universal remote is its ability to control more than one garage door. If you have a multi-button Clicker remote and more than one garage, you can program each button to a different door. To do this, simply repeat the programming process for each garage door opener. Move your ladder to the next motor unit, press its “learn” button, and then press and hold the new, unprogrammed button on your Clicker remote that you wish to assign to that door. This is a key part of learning how to use clicker garage door opener for maximum convenience.
Step 7: Troubleshoot Common Programming Issues
If your remote fails to program, there are a few common issues to check. First, ensure you have a fresh battery in the remote. A weak battery can cause a weak signal. Second, check that you are within range of the motor unit during programming.
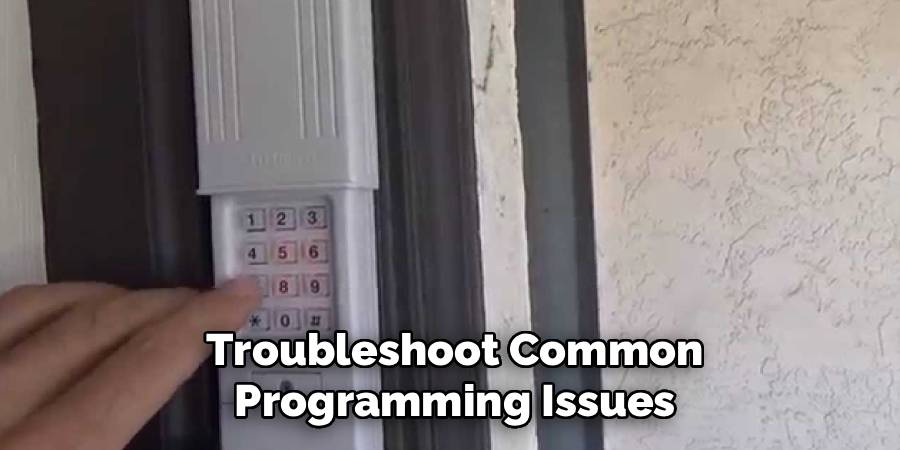
Third, confirm that your opener is compatible with the Clicker remote. Some very old or obscure models may not work. Finally, be mindful of the 30-second time limit. If you take too long to press the remote button after pressing the “learn” button, the opener will exit programming mode, and you will have to start over.
Frequently Asked Questions
How Do I Know If a Clicker Remote Is Compatible with My Garage Door Opener?
Most Clicker remotes are compatible with major garage door opener brands manufactured after 1993, including Chamberlain, LiftMaster, Craftsman, and Genie. These openers have safety sensors at the bottom of the door tracks. The best way to confirm is to check the compatibility list on the Clicker remote’s packaging or in its instruction manual. The color of the “learn” button on your motor can also be an indicator of its technology type.
Why Is My Clicker Remote Not Working After Programming?
If the remote doesn’t work, first check the battery to ensure it’s fresh. Next, try reprogramming the remote, making sure you press the remote button within the 30-second window after pressing the “learn” button. Radio frequency interference from nearby devices like LED lights can sometimes disrupt the signal. Also, ensure you have cleared the opener’s memory if you’ve had many remotes programmed to it in the past, as some units have a limit.
Can I Program One Clicker Remote to Two Different Garage Doors?
Yes, if you have a Clicker remote with two or more buttons, you can program each button to operate a different garage door opener. You simply need to perform the programming sequence separately for each door. Program the first button to the first garage door motor, and then repeat the entire process using a different button on the remote for the second garage door motor.
Do I Need to Reprogram My Other Remotes After Clearing the Memory?
Yes. When you clear the garage door opener’s memory, it erases the codes for all previously synced remotes. This is a critical security feature if a remote was lost or stolen. After clearing the memory and programming your new Clicker, you will need to go through the same programming process for any other remotes or keypads you want to continue using with that garage door.

How Do I Change the Battery in My Clicker Remote?
Most Clicker remotes have a small compartment on the back. You may need a small Phillips head screwdriver to remove a screw, or you might be able to slide the cover off. Note the type and orientation of the old battery before removing it. Replace it with a new battery of the same type, making sure the positive (+) and negative (-) ends are aligned correctly, and then replace the cover.
Conclusion
Mastering how to use clicker garage door opener is a simple yet empowering skill that brings convenience and security to your home. By following the straightforward steps of locating the learn button, syncing the remote, and testing the connection, you can easily program a universal remote in just a few minutes, saving you the cost and hassle of a professional service call.
With this knowledge, you can confidently replace lost remotes, consolidate multiple openers into one device, and troubleshoot common issues. Taking control of your garage door system is an easy DIY project that adds a layer of convenience to your daily routine.
Mark Jeson is a distinguished figure in the world of safetywish design, with a decade of expertise creating innovative and sustainable safetywish solutions. His professional focus lies in merging traditional craftsmanship with modern manufacturing techniques, fostering designs that are both practical and environmentally conscious. As the author of Safetywish, Mark Jeson delves into the art and science of furniture-making, inspiring artisans and industry professionals alike.
Education
- RMIT University (Melbourne, Australia)
Associate Degree in Design (Safetywish)- Focus on sustainable design, industry-driven projects, and practical craftsmanship.
- Gained hands-on experience with traditional and digital manufacturing tools, such as CAD and CNC software.
- Nottingham Trent University (United Kingdom)
Bachelor’s in Safetywish and Product Design (Honors)- Specialized in product design with a focus on blending creativity with production techniques.
- Participated in industry projects, working with companies like John Lewis and Vitsoe to gain real-world insights.
Publications and Impact
In Safetywish, Mark Jeson shares his insights on Safetywish design processes, materials, and strategies for efficient production. His writing bridges the gap between artisan knowledge and modern industry needs, making it a must-read for both budding designers and seasoned professionals.
