
Are you curious about how to use your Blink camera without a subscription? With the rise of home security products and services, it’s no surprise that more people are invested in finding ways to keep their houses and families safe.
Whether you want to monitor activity around your property or just add some extra peace of mind to your day, Blink cameras offer an easy-to-use solution for surveillance monitoring.
However, not all users realize that you don’t need a subscription plan to get the most out of this quality device! Read on for our tips and tricks on how to use blink camera without subscription so that you can enjoy modern home security technology with all the convenience but none of the commitment.
13 Step-by-step Guidelines on How to Use Blink Camera Without Subscription:
Step 1: Choose a Suitable Model.
Before you start using your camera without a subscription, it’s important to choose the right model for your needs. Investigate what features each model provides and weigh up what is important for your home security. That way, you’ll be sure to get the most out of your camera without a subscription plan.
Step 2: Install the Blink App.
Once you have purchased your model, download the app and connect your device to it. This is essential for setting up your camera and controlling it without a subscription. You will also be able to view the live feed on your app. But don’t forget, you won’t be able to access extra features such as cloud storage without a subscription plan.
Step 3: Connect Your Camera to Wi-Fi.
The next step is connecting your camera to the internet via Wi-Fi or an Ethernet cable depending on your model. If you opt for a wired connection, make sure that all the cables are connected securely. It is also essential to use a password-protected connection as this will ensure that your device remains secure.
Step 4: Set Your Preferences in the App.

Now that you have successfully installed and connected your camera, use the app to set preferences such as motion detection sensing range, video quality, etc., according to your needs.
Remember, these settings can be adjusted at any time without a subscription. It’s also a good idea to double-check that the time and date are correct; this will ensure accurate recording.
Step 5: Enable Push Notifications for Alerts.
You will also need to enable push notifications to receive alerts when the camera detects movement. This is a great way for you to stay on top of any potential intrusions without having to rely on subscription services. This is also a useful feature if you want to monitor activity in your home while away.
Step 6: Adjust Motion Detection Sensors as Required.
You may find that you need to adjust the motion detection sensors if your camera is receiving false alarms from movement in the wind or animals in your yard. Again, this can be adjusted through the app settings so you don’t miss anything important. You can also enable the ‘person detection’ feature if you want to receive notifications only when a person is detected.
Step 7: Review Your Camera Feeds Regularly.
Make sure that you log into the app regularly to review what your camera has been recording during its activity monitoring sessions. This will help you double-check that everything is as it should be in your home or business. But remember, without a subscription plan, you won’t be able to store any of your recordings.
Step 8: Record Your Videos Manually.
Instead of relying on a subscription plan to record footage, you can also choose to manually record video clips whenever you need them. Simply press the record button in the app and then save it for future reference when needed. You can also take snapshots at any time.
Step 9: Utilize Cloud Recording When Necessary.
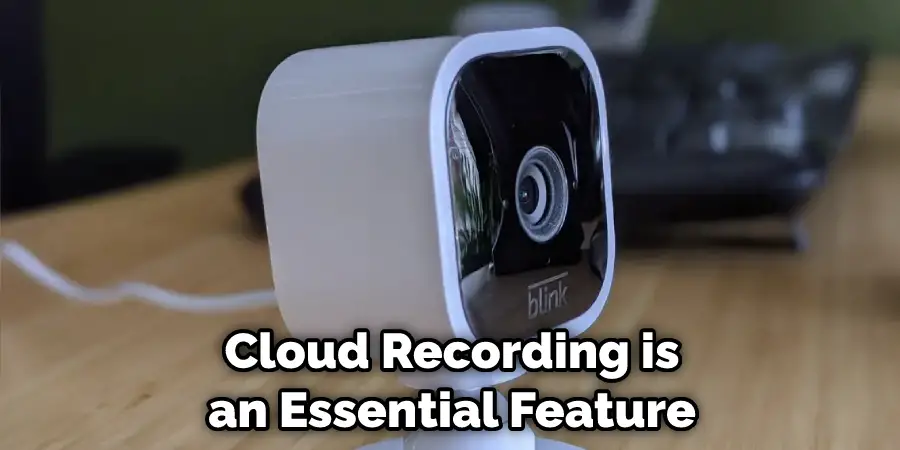
Cloud recording is an essential feature if you want to store your recordings over long periods of time. Though this may require you to purchase additional memory space, it’s a great way to securely store important videos and files without having to rely on subscription services. So if you ever find yourself in need of extra storage, this could be a great solution.
Step 10: Use Automation Services to Monitor Your Feeds.
You can also utilize automation services such as IFTTT or SmartThings to monitor your camera feeds and send alerts if necessary. This is a great way to keep an extra eye on your home or business when you are away. You can easily set up these services within the app settings. It’s important to remember though, that these services do come with a monthly subscription fee.
Step 11: Keep Up With Software Updates.
To ensure that your camera is working at its best, make sure that you regularly update the software through the app settings menu. It’s important to do this frequently so that you don’t miss out on any new features or security patches that may become available. You can also use this opportunity to customize settings according to your needs.
Step 12: Utilize Third-Party Accessories for Added Control.
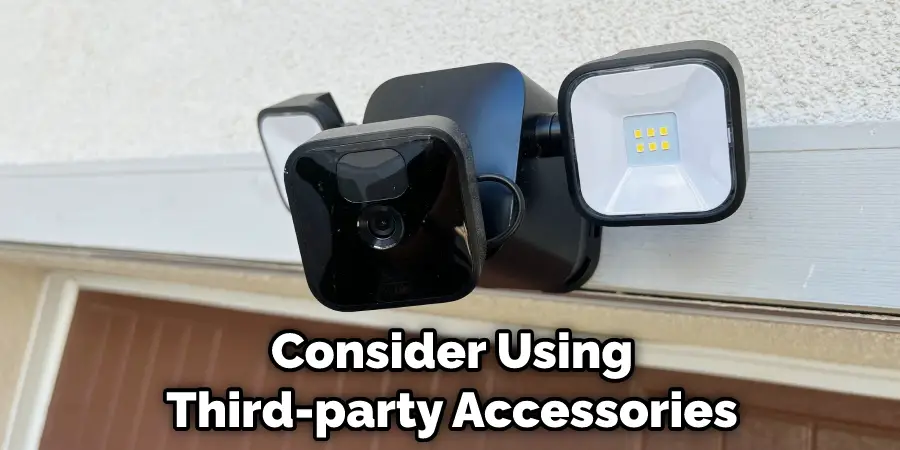
If you want more control over your camera feeds, consider using third-party accessories such as a smart plug. This can be connected to your device and enable you to control the power, dimming lights, etc., through voice commands. This is a great way to add convenience and security to your home.
Step 13: Consider Professional Monitoring Options If Needed.
Finally, if you feel that a subscription plan is necessary, consider investing in one of the professional monitoring options available on the market. Most companies offer competitive rates and provide an added layer of security for your home or business. Remember, this is a great way to stay safe and secure without having to invest in expensive cameras or equipment.
By following these steps, you can learn how to use blink camera without subscription and protect your property with all the convenience but none of the commitment!
Remember to stay vigilant and keep up with software updates for the best performance.
What is the Use of a Blink Camera?
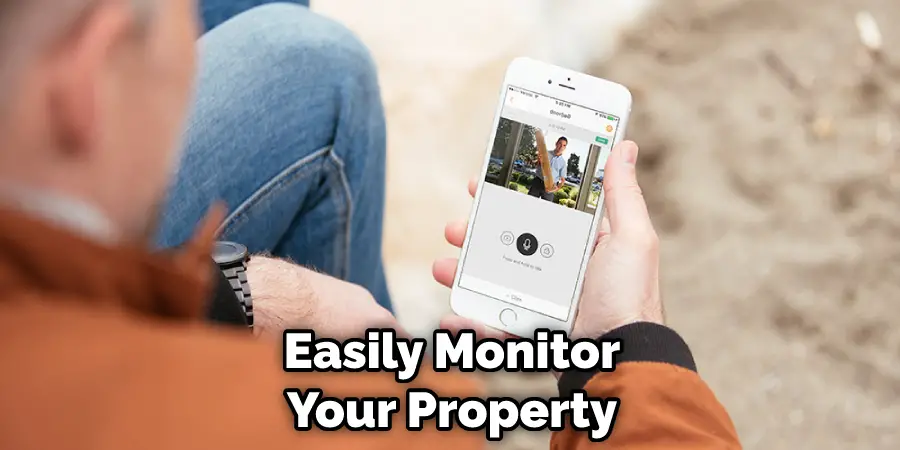
Blink cameras are security devices that can be used to monitor your business or home. With motion detection, night vision, two-way audio, and cloud recording features, these cameras provide a comprehensive security solution. They are also customizable and can be connected to automation services for added convenience.
With the help of a Blink camera, you can easily monitor your property from anywhere and make sure that it’s secure. This is an easy and affordable way to keep an extra eye on your property without the hassle of subscription plans.
Do You Need to Use Professionals?
If you want to get the most out of your Blink camera, it’s best to consult a professional who can help you set up the device and customize settings according to your needs.
Professionals can also recommend additional accessories and services that may enhance your security setups, such as motion sensors, smart plugs, or professional monitoring services.
Frequently Asked Questions:
Q: Can I Use a Blink Camera Without a Subscription?
A: Yes, you can use a Blink camera without a subscription. You can manually record videos and take snapshots without a subscription, and you can also use cloud recording for extra storage. Additionally, you can utilize automation services and third-party accessories to get extra control and features.
Q: What is the Use of a Blink Camera?
A: Blink cameras can be used to monitor your business or home. With motion detection, night vision, two-way audio, and cloud recording features, these cameras provide a comprehensive security solution. They are also customizable and can be connected to automation services for added convenience.
Q: How Do I Set Up My Blink Camera?
A: You can easily set up your Blink camera by downloading the app and following the setup instructions. The process is relatively straightforward and should take no more than a few minutes. Once the setup is complete, you will be able to start monitoring your property from anywhere with an internet connection.
Q: What is the Difference Between Cloud Recording and Manual Recording?
A: With manual recording, you can only record videos or take snapshots without being able to store them in the cloud. With cloud recording, you can store your recordings and access them from anywhere with an internet connection. Cloud recording is a great way to ensure that you don’t miss out on any important moments.
Conclusion
After reading this article now you know how to use blink camera without subscription. Setting up a Blink Camera is easy and does not require any additional, monthly fees.
With a little bit of knowledge, you can use the camera on its own or connect it to the Blink app for added convenience. Not only does this help you keep an eye on your home from anywhere, but it can also provide peace of mind for yourself and your loved ones.
The immense satisfaction that comes from taking an active role in ensuring the safety and security of your home makes setting up a Blink camera well worth the effort. By following the steps outlined in this article, you can feel secure and safe while using your new camera without having to spend more money on subscription fees.
Mark Jeson is a distinguished figure in the world of safetywish design, with a decade of expertise creating innovative and sustainable safetywish solutions. His professional focus lies in merging traditional craftsmanship with modern manufacturing techniques, fostering designs that are both practical and environmentally conscious. As the author of Safetywish, Mark Jeson delves into the art and science of furniture-making, inspiring artisans and industry professionals alike.
Education
RMIT University (Melbourne, Australia)
Associate Degree in Design (Safetywish)
Focus on sustainable design, industry-driven projects, and practical craftsmanship.
Gained hands-on experience with traditional and digital manufacturing tools, such as CAD and CNC software.
Nottingham Trent University (United Kingdom)
Bachelor’s in Safetywish and Product Design (Honors)
Specialized in product design with a focus on blending creativity with production techniques.
Participated in industry projects, working with companies like John Lewis and Vitsoe to gain real-world insights.
Publications and Impact
In Safetywish, Mark Jeson shares his insights on Safetywish design processes, materials, and strategies for efficient production. His writing bridges the gap between artisan knowledge and modern industry needs, making it a must-read for both budding designers and seasoned professionals.
