
Are you looking for a way to accept Arlo Invite? If so, look no further! In this detailed and comprehensive blog post, we will be guiding you through the entire process of accepting an invite sent via Arlo and providing helpful tips as to what that involves along the way.
We know it can sometimes be difficult to figure out how exactly you go about joining someone else’s event on Arlo but fear not – by following our step-by-step instructions and advice below, before long you will have successfully accepted your invitation with ease! So, keep on reading to know more about how to accept Arlo invite.
What an Arlo Invite Is and Why Someone Might Receive One
An Arlo invite is a special invitation to join a private network of wealthy and influential people. Invitations are only extended by those in the network, usually to select individuals who have particular skills or experience that would be an asset to the group.
Those who receive an Arlo invite typically come from different social circles, backgrounds, and interests but find opportunity and great value in being connected with others in the exclusive club.

It could open up new networking contacts or business opportunities, create access to certain resources, and provide exclusive insights, making it an attractive prospect for anyone looking for something beyond the usual career or social limits.
Benefits of Accepting Arlo Invite or Adding Someone
Adding someone or accepting an Arlo invite can bring a world of possibilities. It allows individuals to grow their professional network, increase visibility by sharing new content, and receive endorsements for skills needed in the job market.
Whether it’s looking for work, making new contacts, or finding opportunities outside of one’s current employment status, having a robust technology platform like Arlo encourages users to meet their full potential and make business dreams come true.
Additionally, when users accept an invite or add someone via Arlo they engage in meaningful dialogue and show support for progress– something that may open the doors to future collaboration and more creative ideas than would be available in more limited settings.
Step-By-Step Guide on How to Accept Arlo Invite
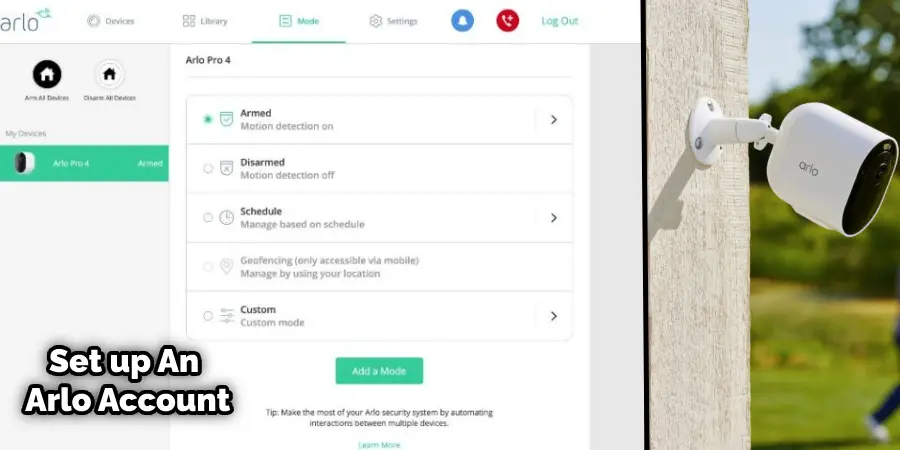
Step 1: Set up An Arlo Account
Before you can accept an Arlo invite, you need to have an Arlo account of your own. To create an Arlo account, you need to have a valid email address and a password. You can sign up for an Arlo account on the Arlo website or through the Arlo app on your mobile device.
To sign up on the Arlo website, follow these steps:
– Go to https://my.arlo.com/#/login
– Click on “New to Arlo?”
– Enter your email address and create a password
– Agree to the terms of service and privacy policy
– Click on “Create Account”
To sign up on the Arlo app, follow these steps:
– Download and install the Arlo app from the App Store or Google Play Store
– Open the app and tap on “New to Arlo?”
– Enter your email address and create a password
– Agree to the terms of service and privacy policy
– Tap on “Create Account”
Step 2: Check Your Email for The Invitation
Once you have an Arlo account, you can accept an Arlo invite from someone who has granted you access to their devices. The person who invited you will send you an email from [email protected] with a link to accept the invitation. The email will look something like this:
Subject: You’ve been invited to access [name]’s Arlo devices
Hi [your name],
[name] has invited you to access their Arlo devices.
To accept this invitation and view their devices, click here.
If you don’t have an Arlo account yet, you’ll need to create one first.
If you have any questions, please contact [name] directly.
Thank you for choosing Arlo!
The Arlo Team
Make sure to check your inbox, spam, or junk folder for this email. If you don’t see it, ask the person who invited you to resend it.
Step 3: Click on The Link and Follow the Instructions
When you receive the email with the invitation link, click on it and follow the instructions on the screen. If you haven’t already, you will be asked to log in to your Arlo account. Then, you will see a screen showing which devices and features are being shared with you. You can also choose a nickname for yourself that will appear on the owner’s account.
To accept the invitation, click on “Accept.” You will see a confirmation message that says, “You’re all set!” and a button that says, “Go to Devices.” Click on it, and you will be taken to your device list to see and access the shared devices.
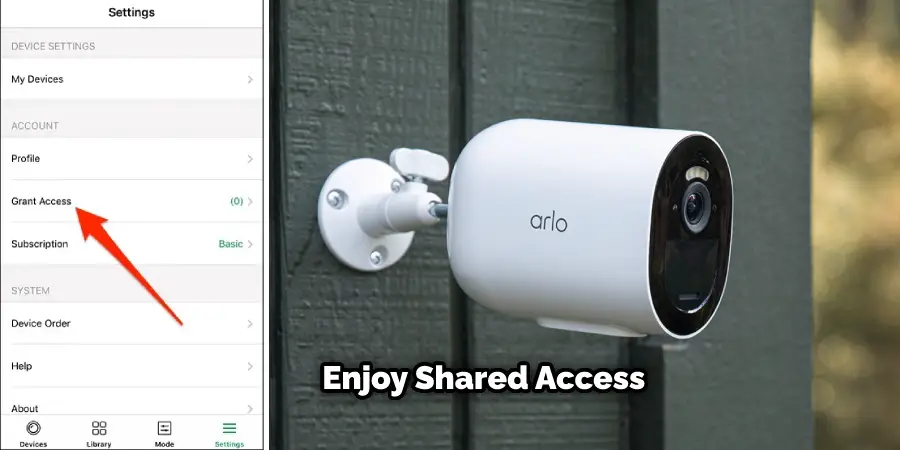
Step 4: Enjoy Shared Access
Now that you have accepted the invitation, you can enjoy shared access to the owner’s devices. Depending on what permissions they have given you, you can do things like:
– View live video streams and recordings
– Receive motion alerts and notifications
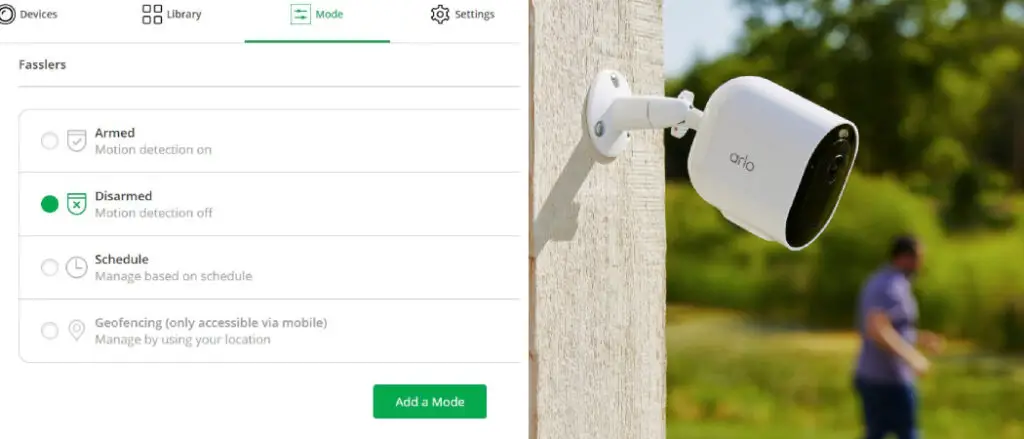
– Control camera settings and modes
– Speak through two-way audio
– Activate sirens or lights
– Create custom modes and rules
You can manage your shared access using Settings > Profile > Grant Access. Here, you can see who shared their devices with you and what permissions they gave you. You can also remove yourself from their account if you no longer want shared access.
Common Issues that People Might Encounter when Accepting an Arlo Invite and Instructions on How to Troubleshoot Them
If you have trouble accepting an Arlo invite, here are some common issues and solutions:
- If you can’t find the email with the invitation link, ask the person who invited you to resend it.
- Make sure that you have a valid Arlo account before accepting the invitation.
- Double-check your login information if you are having trouble logging in.
- If you can’t see the devices after accepting the invitation, make sure that the owner has permitted you to view them.
- Contact the owner directly if there is an issue with a specific device or feature.
- Contact Arlo Support if you need additional help (support.arlo.com).
By following these steps, you will be able to easily accept an Arlo invite and enjoy shared access to the owner’s devices. With Arlo, it has never been easier to keep your home secure. Enjoy!
Tips for Managing Access and Administrative Rights Once You Have Accepted an Arlo Invite
Once you have accepted an Arlo invite and are granted access to the owner’s devices, there are a few things that you should keep in mind.
First of all, make sure to check the permissions that have been given to you by the owner. You can do this by going to Settings > Profile > Grant Access. This will show you which devices and features you are allowed to access.
You should also be aware of your administrative rights. Typically, only the owner has administrative rights, so if you need to make changes to a specific device or feature, contact them directly.
Finally, remember that you can always remove yourself from their account if you no longer want shared access. To do this, go to Settings > Profile > Grant Access and select the “Remove” button next to your name.
By following these tips, you will be able to manage your access and administrative rights in Arlo more effectively. Have fun exploring all that Arlo has to offer!
How to Add Multiple Accounts to Your Arlo Account
Adding multiple accounts to your Arlo account is a great way to save time and control information more easily. With the ability to add additional accounts, you have access to multiple cameras and identity information that can be modified using one central location.
To get started, simply log into your Arlo account and select the “Profile” tab. Once there, you can click on “Add User” where you can enter an email address or mobile number for what will become the new user’s login credentials. From there it’s easy to assign permissions for each device as well as personal settings such as activity alerts or scheduling profiles.
And best of all, these changes will sync across all devices so that everyone has easy access without any hassle. Managing multiple accounts can definitely help make managing security data much easier and with Arlo, it’s simple too!
Frequently Asked Questions
Can Someone Hack the Arlo Cameras?
No, the Arlo cameras are designed to be secure and use encryption technology to keep your data safe.
Can I Accept an Arlo Invite on My Phone?
You can accept an Arlo invite on Android and iOS devices by downloading the app from their respective app stores.
How Many Accounts Can I Add to My Arlo Account?
You can add up to 10 accounts to your Arlo account.
I Can’t Log in To My Camera, What Should I Do?
If you are unable to log in to your camera, make sure that you have entered the correct login information and double-check your network settings. If you are still having trouble, contact Arlo support for assistance.
Conclusion
Adding multiple accounts and accepting Arlo Invites are great ways to save time, customize settings, and take advantage of the many features that Arlo has to offer. Whether you’re adding additional accounts or granting someone access to view your devices, these simple steps will make managing Arlo easier than ever! So don’t wait – get started. Thanks for reading our article about how to accept Arlo invite.
