
Ring Floodlight Camera can help you monitor your property and deter intruders with its smart features and alerts. However, there may be situations where you need to remove your Ring Floodlight Camera from its mounting plate, such as when you want to relocate it, replace it or troubleshoot it. In this blog post, we will show you how to remove Ring Floodlight Camera safely and easily.
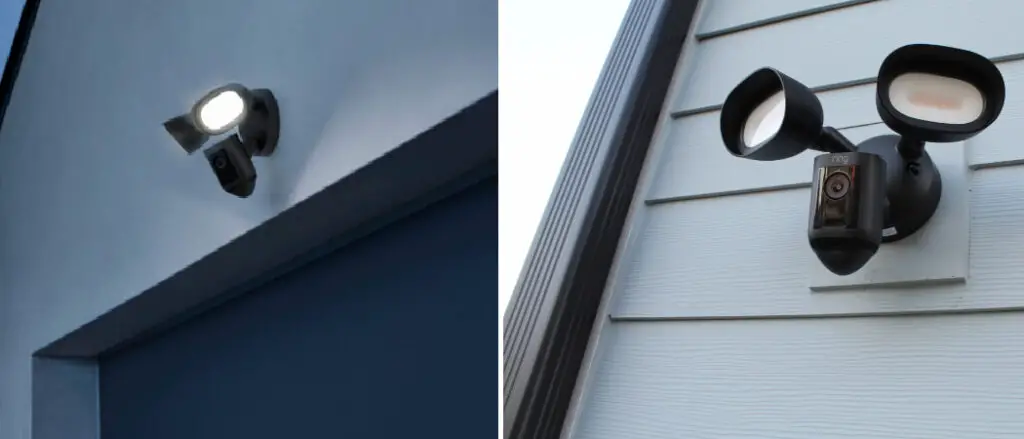
What Are Ring Floodlight Cameras
Ring Floodlight Cameras are new and innovative security devices that provide homeowners with an unprecedented level of protection. These cameras utilize the latest in motion-detecting technology to detect suspicious movements, automatically triggering floodlights and recording any activity seen with 1080p HD video.
The notifications it sends to your phone keep you informed of everything happening so that you will be aware if there is ever an issue. The two-way audio feature even allows you to communicate directly with visitors, enabling a conversation without leaving the comfort of your home. Its complete security mechanism monitoring allows for increased safety and added peace of mind knowing that you can view footage at any time, both day and night.
Why You Should Need to Know how To Remove Ring Floodlight Camera
The Ring Floodlight Camera is a powerful security system that offers great protection for your home, but sometimes you have to be able to remove it too. Knowing how to do this safely is important for several reasons.
- First, you need to know the mechanism for proper deactivation so that the system won’t keep running and creating potential liabilities.
- Second, without a proper understanding of the process, removing the Ring Floodlight Camera could result in damage to property or injury due to incorrect installation procedures.
- Lastly, when moving or replacing parts of the system, having a complete understanding of how they interact with each other ensures that everything runs smoothly and safely in the long run.
In short, it’s essential to have knowledge of how to remove a Ring Floodlight Camera in case you ever need or want to do so.
Disadvantages of Ring Floodlight Camera
Ring Floodlight Cameras are often touted as the ultimate tool for keeping your home safe, but there are a few drawbacks to consider before installing one. Despite the range of advanced security features they offer, it’s important to recognize that the mechanics behind these devices can sometimes be unreliable or difficult to access if something goes wrong.
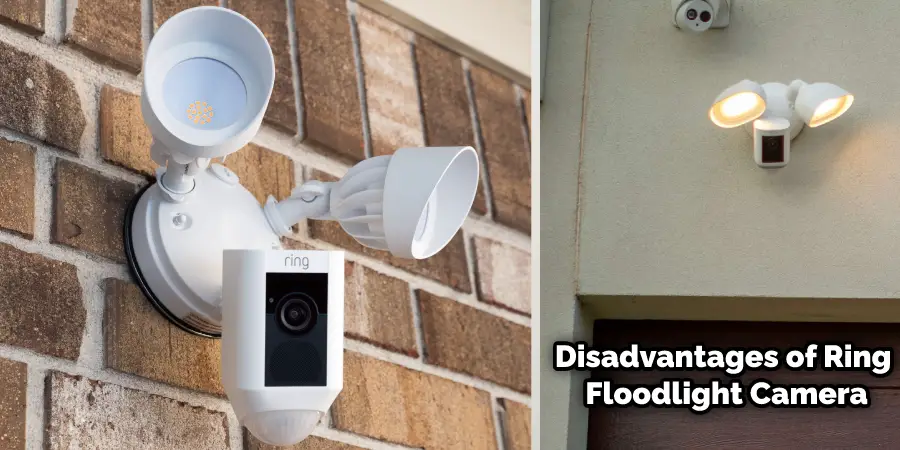
Furthermore, although there is undoubtedly a sense of reassurance that comes with knowing you’ve got eyes and ears on your property, many people feel uncomfortable with having their homes constantly monitored in this way.
Plus, not everyone has the luxury of being able to invest in or maintain such an expensive surveillance mechanism. All of these potential drawbacks really should be considered carefully before you commit to using Ring Floodlight Cameras as your primary home security solution.
Tools and Materials for Removing Ring Floodlight Camera
Before you start, make sure you have the following tools and materials:
- A screwdriver with a Phillips bit and a socket bit
- A ladder or a stool to reach the camera
- A hook or a wire hanger to hang the camera while wiring
- A pair of gloves to protect your hands from electrical shocks
Step by Step Guide on How to Remove Ring Floodlight Camera
Step 1: Turn Off the Power
The first and most important step is to turn off the power supply to your Ring Floodlight Camera. You can do this by switching off the circuit breaker or the wall switch that controls the camera. You can also use a voltage tester to confirm that there is no electricity running through the wires.
Step 2: Loosen the Cap Nuts
Next, you need to loosen the two cap nuts that secure the camera to the mounting bracket. You can use the socket bit on your screwdriver to do this. Once you loosen the cap nuts, you can slide the camera off the bracket and hang it on a hook or a wire hanger while wiring.
Step 3: Disconnect the Wires
Now, you must disconnect the wires connecting the camera to the power source. You can use the Phillips bit on your screwdriver to unscrew the three wire nuts that cover the wire connections. Then, you can separate the wires by color: black (hot), white (neutral), and green (ground). Be careful not to touch any exposed wires or metal parts.
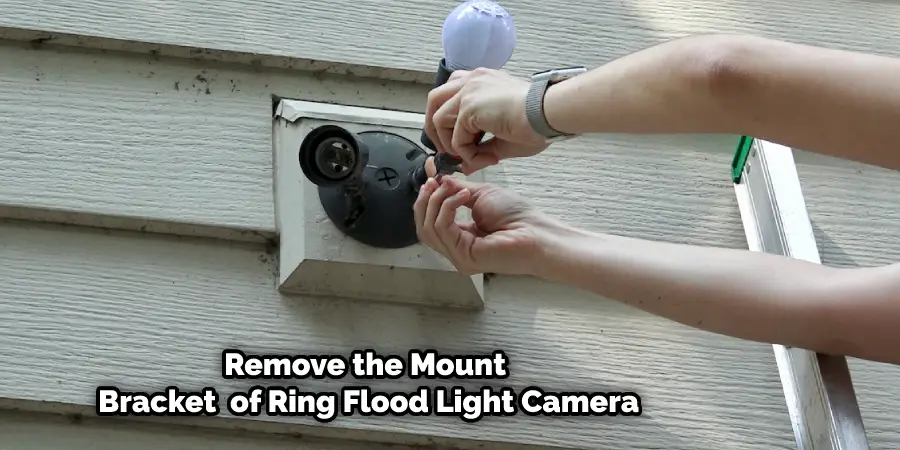
Step 4: Remove the Mounting Bracket
Finally, you need to remove the mounting bracket from the wall or ceiling. You can use the Phillips bit on your screwdriver to unscrew the five bracket screws that hold it in place. Then, you can pull out the bracket and cover any holes with caulk or paint.
Congratulations! You have successfully removed your Ring Floodlight Camera from its mounting plate. You can now install it in a new location, replace it with a new device, or contact Ring support for further assistance.
Common Issues that People May Face While Removing a Ring Floodlight Camera and Their Solutions
Some common issues that people may face while removing a Ring Floodlight Camera are:
- The LED lights are flashing or not working properly due to water damage or faulty wiring. To fix this, you may need to replace the LED lights with new ones from a compatible motion sensor security flood light. You may also need to apply silicone to prevent water from getting inside the camera. Make sure to turn off the circuit breaker before doing any repairs.
- The camera is not responding to app control or motion alerts due to a weak or lost connection with the bridge or the wifi. To fix this, you may need to check your device settings in the Ring app and ensure the motion sensors are enabled, the alert option is on, and the device is not in a group or linked to another device that may cause interference. You may also need to check your bridge and wifi to ensure they are working and close enough to the camera.
- The camera is not turning on or off due to incorrect settings or a power outage. To fix this, you may need to check your auto shut-off control in your device settings in the Ring app and make sure you have set the time correctly. You may also need to leave the area for 10 minutes to give the lights time to reset without triggering them and then return and check the lights.
- The camera is not communicating with other lights due to a low battery or a faulty group. To fix this, you may need to replace the camera’s battery or ungroup all of the lights with the malfunctioning light in it and see if the problem persists.
People may face some common issues while removing a Ring Floodlight Camera and how to fix them. If you need more help, you can contact Ring customer support or visit their website for more information.
Safety Precautions While Removing Ring Floodlight Camera
A Ring Floodlight Camera is a smart device that provides security and illumination for your home. However, if you need to remove it for any reason, you should follow some safety precautions to avoid any electrical hazards. Here are some steps to safely remove a Ring Floodlight Camera:
- – Before you start, ensure you have the necessary tools and equipment, such as a screwdriver, ladder, and gloves.
- Turn off the power to the circuit that supplies electricity to the camera. You can do this by locating the circuit breaker panel and flipping the switch that corresponds to the camera. You can also use a voltage tester to confirm that the wires have no power.
- Carefully climb the ladder and reach the camera. Use the screwdriver to loosen the screws that secure the camera to the mounting bracket. Be careful not to drop the camera or damage the wires.
- Disconnect the wires from the camera by unscrewing the wire nuts and separating the wires. Make sure you do not touch any exposed wires or metal parts with your bare hands. Wrap the wire ends with electrical tape or wire caps to prevent any short circuits or shocks.
- Remove the camera from the bracket and place it in a safe location. You can also remove the bracket if you do not plan to install another device in its place.
- Restore the power to the circuit and check that everything is working properly.
By following these safety precautions, you can remove a Ring Floodlight Camera without any risk of electrical hazards. Remember to always consult a professional electrician if you are unsure about any step or encounter any difficulty.
Conclusion
Removing a Ring Floodlight Camera is not complicated if you follow the steps mentioned above. However, it is important to take safety precautions when handling any electrical devices. Always turn off the power before starting, use the proper tools and equipment, and make sure to store the camera in a safe place. Feel free to contact Ring customer support or visit their website for more information if needed.
Now that you know how to remove a Ring Floodlight Camera, you can be sure your home remains illuminated and secure. Good luck!
