
Securing a security camera to vinyl siding might initially seem like a daunting task, but with the right approach, it can be a straightforward endeavor. Vinyl siding offers a smooth and durable surface that can be utilized for discreetly mounting cameras, ensuring optimal surveillance coverage while maintaining the exterior aesthetics of your property.
Whether you’re aiming to enhance home security or monitor outdoor spaces, understanding the proper steps to attach a security camera to vinyl siding is crucial. In this article, we will delve into how to attach security camera to vinyl siding that will enable you to securely and effectively affix your security camera to vinyl siding without causing any damage or compromising the integrity of the siding material.
From selecting the right mounting hardware to positioning the camera for optimal coverage, you’ll gain insights that will empower you to undertake this task with confidence.
The Growing Popularity of Security Cameras for Home and Business Surveillance
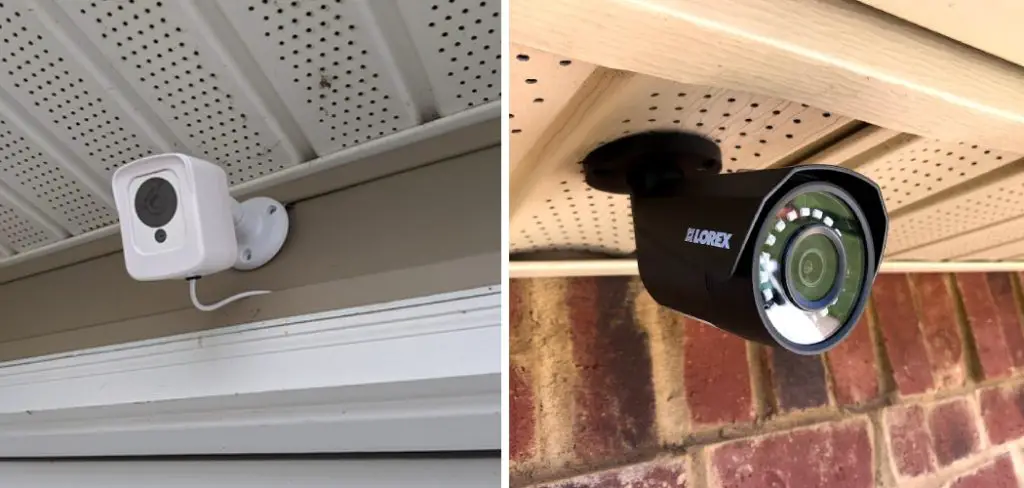
As security concerns continue to rise in today’s world, more and more people are investing in home security cameras. Security cameras come in all shapes and sizes, but one of the most popular types is a camera installed on vinyl siding.
Vinyl siding is a common type of exterior house facing material, so attaching a camera to it offers an easy way to monitor your home or business. This article will discuss the steps you need to take to successfully mount your security camera on vinyl siding.
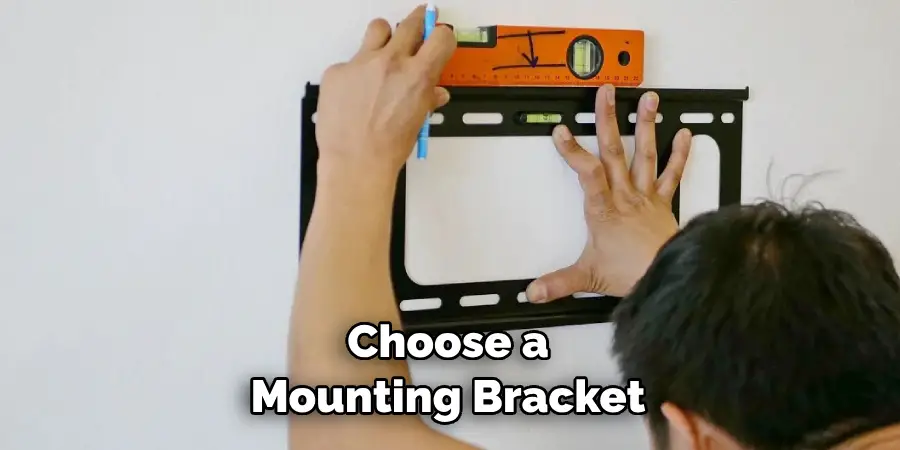
First, select an appropriate mounting bracket for your camera. To ensure a secure installation, choose a bracket that is designed specifically for the type of siding you’re using. It should also be able to support the weight of your camera and offer a strong connection to the siding itself.
Next, mark the area where you plan to mount the camera and drill pilot holes for mounting screws. When drilling your pilot holes, make sure to go no deeper than the depth of the mounting bracket. This will help ensure that your camera is securely mounted to your vinyl siding and won’t become loose over time.
The Topic of Securely Installing a Security Camera on Vinyl Siding
Attach your security camera to vinyl siding the right way and stay safe while keeping an eye on your home. Security cameras can be a great addition to any home, but many people think they are difficult to install. This isn’t necessarily true; with a few simple tools you can attach a camera to your vinyl siding quickly and securely.

First, start by choosing a location for the camera. You should place it in an area that offers a clear view of your property but isn’t too easy to access from the ground. Once you’ve chosen a spot, measure and mark where you want to attach the camera on the siding.
Next, use a power drill and masonry bit to make holes into the vinyl siding. Make sure the holes are big enough for the mounting screws or anchors. If you’re using self-tapping screws, be careful not to drill too deep as this could cause damage to the siding.
Place the camera over the holes and mark where you need to make additional pilot holes for the mounting hardware. Again, use a power drill and masonry bit to make the holes. Then, insert the screws or anchors and securely fasten the camera in place.
Finally, attach the power cable of your camera to an outdoor outlet or a surge protector if necessary. You should also plug the video cable into your security system so you can monitor what’s happening around your home. If you’re having trouble connecting it, consult the instructions that came with your security system.
10 Steps How to Attach Security Camera to Vinyl Siding
Step 1: Gather the Necessary Tools and Materials
Before embarking on the installation process, ensure that you have all the required tools and materials at hand. These may include the security camera and its mount, a measuring tape, a level, a power drill, appropriate screws, anchors, a screwdriver, and a pencil.
However, you will likely need more or fewer materials depending on the type of security camera and vinyl siding that you have. Although it may be tempting, do not use a hammer and nails to attach the camera.
Step 2: Choose the Optimal Camera Location
Selecting the right location for your security camera is crucial for achieving optimal surveillance coverage. Identify areas that require monitoring, such as entry points, driveways, or outdoor gathering spaces. Take into consideration factors like the camera’s field of view and potential obstructions.
Additionally, consider both interior and exterior lighting conditions. Areas with low light can be difficult for cameras to capture, so if possible, mount your camera in a spot that is well-lit or install additional lighting fixtures.
Step 3: Measure and Mark the Mounting Points
Using a measuring tape and a pencil, mark the spots where you plan to attach the camera mount. Ensure that the marks are level and appropriately spaced. Double-check the positioning to avoid unnecessary adjustments during installation. Once you are sure of the placement, use a drill and screws to attach the mount to the siding.
For extra security, consider using mounting anchors or masonry screws to secure your camera. These can be purchased at any local hardware store. Make sure that each anchor is inserted directly into an underlying wall stud for optimal stability.
Step 4: Prepare the Mounting Hardware
Depending on the weight of the camera and the mounting surface, select suitable screws and anchors. If your vinyl siding has a wooden sheathing beneath it, you may be able to attach the camera directly to it. Alternatively, if the siding is hollow, you’ll need to use wall anchors to provide sufficient support.
Step 5: Drill Pilot Holes
Carefully drill pilot holes into the marked spots on the vinyl siding. Ensure that the holes are slightly smaller than the screws you intend to use. This prevents any potential cracking or damage to the siding.
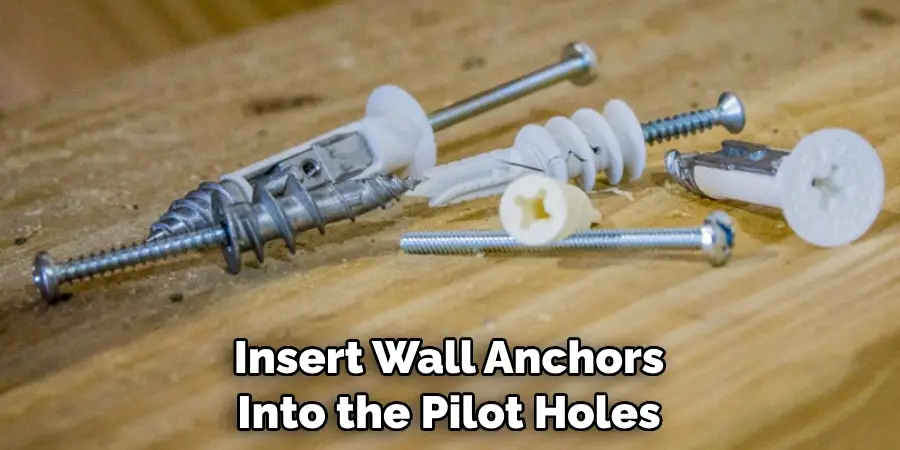
Step 6: Install Wall Anchors (if applicable)
If your vinyl siding lacks a solid substrate, insert wall anchors into the pilot holes. Wall anchors provide a secure foundation for screws to hold onto, ensuring stability and preventing any damage to the siding.
Step 7: Attach the Camera Mount
Securely attach the camera mount to the vinyl siding using the appropriate screws or screws with wall anchors. Ensure that the mount is level and firmly in place, as this will directly impact the camera’s stability and the quality of surveillance footage.
Step 8: Mount the Camera
With the camera mount in place, attach the security camera to the mount according to the manufacturer’s instructions. Make sure the camera is oriented in the desired direction to capture the intended area of surveillance.
Step 9: Conceal Wiring (if necessary)
If your security camera requires wiring, carefully route the wires to the nearest power source or recording device. To maintain the aesthetics of your vinyl siding, consider using cable clips or adhesive cable organizers to neatly secure and conceal the wiring along the siding’s grooves or seams.
Step 10: Test and Adjust
Once the camera is securely attached and the wiring is in place, power on the camera and test its functionality. Check the camera’s field of view and the quality of the captured footage. If necessary, make any adjustments to the camera’s angle or positioning to ensure optimal surveillance coverage.
Things to Consider When Attaching Security Camera to Vinyl Siding
If you have vinyl siding on your home, it can be tricky to figure out the best way to attach a security camera without damaging your siding. Luckily, there are several ways you can safely mount a security camera on vinyl siding while still ensuring that it stays secured in place. Here are some tips to consider when attaching security cameras to vinyl siding:
- Choose a mounting bracket that is designed to work with vinyl siding. Make sure the bracket has clips or hooks specifically made to attach the camera to your siding without damaging it.
- Check for electrical outlets nearby so you can power the security camera when it’s installed. If there isn’t an outlet near where you’d like to attach the camera, you may need to run an extension cord.
- Make sure there are no trees or overhanging branches near where you plan to install the security camera as they can block its view and make it less effective.
- Double check that your bracket is securely fastened and that all wires are properly connected before turning on the power for your security camera.
- If you need to drill holes in your vinyl siding, make sure the drill bit is the right size and that it has a stop feature so you don’t accidentally damage the siding when drilling. Use a countersink bit for added protection.
- Consider using silicone caulk around any holes or gaps in the siding to prevent moisture from getting inside and damaging your home.
- Make sure that your security camera is pointed in the right direction and angle for an optimal view of the area you want to monitor.
By following these tips, you can easily install a security camera on vinyl siding without damaging it or compromising its safety features. With a properly installed security camera, you can ensure that your home is secure and protected from any unexpected intruders.
Conclusion
Taking the initiative to install a security camera on your house’s vinyl siding is a great choice that will bring the peace of mind you need. With all the detailed steps, and insight into what supplies are necessary, it should be much easier for you to tackle this project on your own. Make sure you take your time and don’t rush any step of the process as it could lead to additional issues down the line.
Furthermore, if at any point during the installation, you find yourself hesitant or confused, we strongly encourage you to reach out to an expert in this field who can help give guidance.
Hopefully, this article gave you some helpful tips about how to attach security camera to vinyl siding successfully, so now that you have the proper knowledge on how to get the job done, why not give it a try today?
Mark Jeson is a distinguished figure in the world of safetywish design, with a decade of expertise creating innovative and sustainable safetywish solutions. His professional focus lies in merging traditional craftsmanship with modern manufacturing techniques, fostering designs that are both practical and environmentally conscious. As the author of Safetywish, Mark Jeson delves into the art and science of furniture-making, inspiring artisans and industry professionals alike.
Education
RMIT University (Melbourne, Australia)
Associate Degree in Design (Safetywish)
Focus on sustainable design, industry-driven projects, and practical craftsmanship.
Gained hands-on experience with traditional and digital manufacturing tools, such as CAD and CNC software.
Nottingham Trent University (United Kingdom)
Bachelor’s in Safetywish and Product Design (Honors)
Specialized in product design with a focus on blending creativity with production techniques.
Participated in industry projects, working with companies like John Lewis and Vitsoe to gain real-world insights.
Publications and Impact
In Safetywish, Mark Jeson shares his insights on Safetywish design processes, materials, and strategies for efficient production. His writing bridges the gap between artisan knowledge and modern industry needs, making it a must-read for both budding designers and seasoned professionals.
