
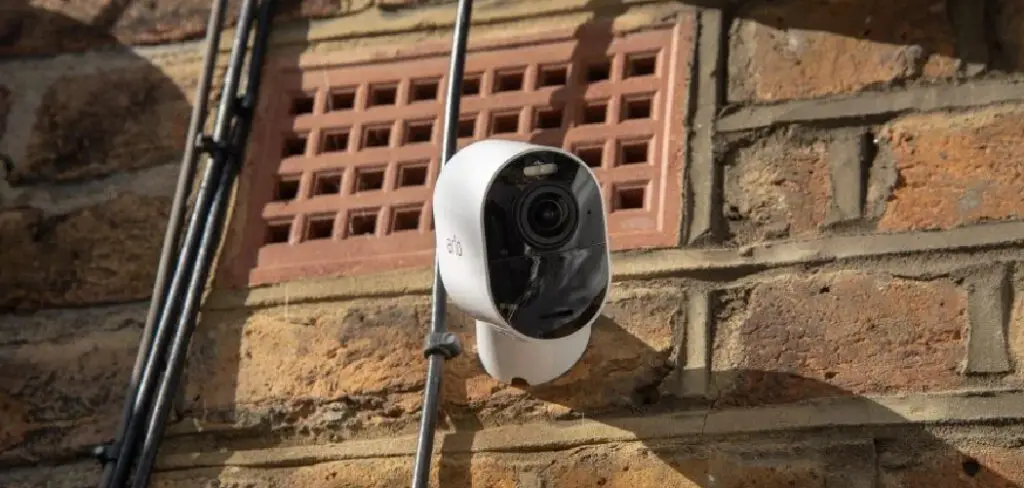
If you’re like most people, your home is filled with devices that require wifi connectivity. But what happens when one of those devices stops working how it’s supposed to?
This can be useful if you are experiencing connection issues or want to change your network name or password. We will also show you how to change wifi on arlo camera if you encounter any problems. Hopefully, this information will help you get your device up and running again as quickly as possible. So let’s get started!
When Should You Change Wifi on Arlo Camera?
If your Arlo wifi Camera isn’t working as it should, or you’re experiencing issues, you may need to change your wifi network. There are some possible reasons that you might need to do this:
- You’ll need to update the wifi connection if you move your Arlo wifi Camera to a new location.
- Changing to a different wifi network may improve performance if you’re experiencing connectivity issues, such as your Arlo wifi Camera disconnecting from the network or having poor video quality.
- If you’re setting up a new Arlo wifi Camera, you’ll need to connect it to your wifi network.
- If you’ve forgotten your wifi password, you can reset it and then update the Arlo wifi Camera with the new password. When your Arlo wifi Camera is connected to a new wifi network, you’ll need to update the Arlo app with the new network information.
6 Common Issues Found When Connecting Arlo Camera With Wifi:
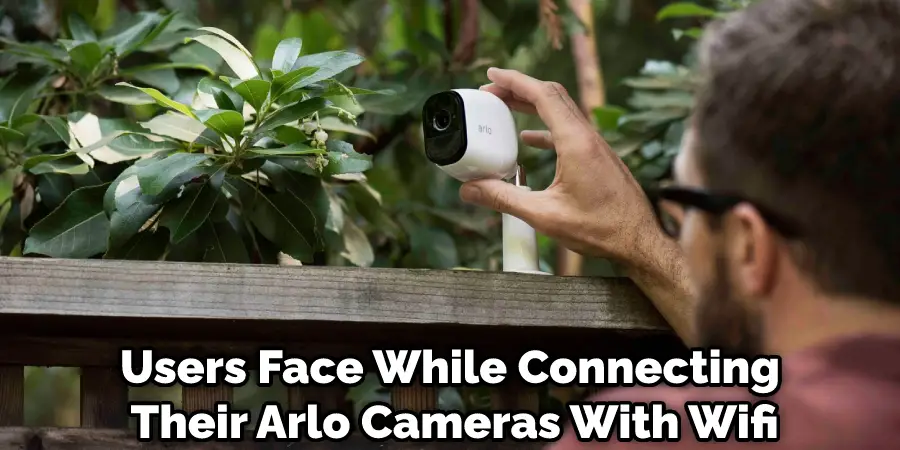
1. Arlo Camera is Not Appearing in the List of Wifi Networks:
This is the most common problem users face while connecting their Arlo cameras with wifi. This can be caused by several reasons, such as the camera being too far away from the router or interference from other electronic devices.
If you are facing this issue, try moving the camera closer to the router or resetting both the router and the camera. If your camera still does not appear in the list of wifi networks, you may need to factory reset the camera and start the setup process again.
2. Unable to Connect to Arlo Camera Via Wifi:
If you can see the Arlo camera in the list of wifi networks but cannot connect to it, this could be due to an incorrect password. Make sure that you are entering the correct password for the camera. If you cannot connect, try resetting the router and camera and then start the setup process again.
3. Arlo Camera Keeps Disconnecting From Wifi:
If your Arlo camera keeps disconnecting from wifi, there could be several reasons for this. First, ensure that the camera is placed within range of the router. Then, if the problem persists, try resetting both the router and the camera. You may also need to factory reset the camera and start the setup process again.
4. Arlo Camera Not Recording Video:
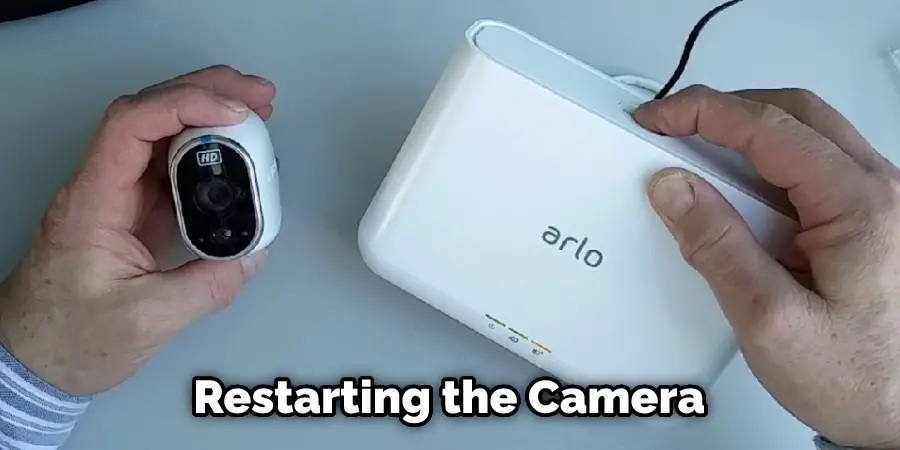
If your Arlo camera is not recording video, there could be several reasons for this. First, ensure that the camera is connected to wifi and that you have set up the recording schedule. If the problem persists, try restarting the camera or resetting it to factory settings. You can also try manually starting and stopping video recording to see if that works. If none of these solutions work, there may be a problem with your Arlo account or subscription.
5. The Arlo Camera’s Image is Fuzzy or Distorted:
Experiencing a fuzzy or distorted image could be caused by low lighting or poor signal strength, or your camera may be too far from the base station. To fix this problem, try moving your camera closer to the base station, increasing the amount of light in the area, or resetting your camera. If you are still experiencing issues, don’t hesitate to contact customer support.
6. Lot of Lagging Issues When Viewing Live Feed From Arlo Camera:
If you are experiencing a lot of lag when viewing the live feed from your Arlo camera, this could be due to poor wifi signal strength. Try moving the camera closer to your router or changing the wifi channel your router is using. You can also try connecting the camera to the 5GHz band if your router supports it.

Step by Step Process: How to Change wifi on Arlo Camera
Step 1: Locate Your wifi Router
The first step is to find your wifi router. This is typically located in or near your home office. Once you have found it, take note of the name and password for the network. You may also need to find the IP address of your router. This can typically be found on the bottom or back of the router.
Step 2: Check the Connection Mode.
The second step is to check the connection mode of your router. Many routers have both an 2.4 GHz and 5 GHz network. Most Arlo cameras will work with either network, but we recommend using the 2.4 GHz network if possible. To check the connection mode, log into your router’s web interface.
This can typically be done by entering your router’s IP address into a web browser.
If you see both a 2.4 GHz and 5 GHz network listed, your router is in dual-band mode, and you can proceed to the next step. If you only see one network listed, check your router’s documentation to see if it supports dual-band mode.
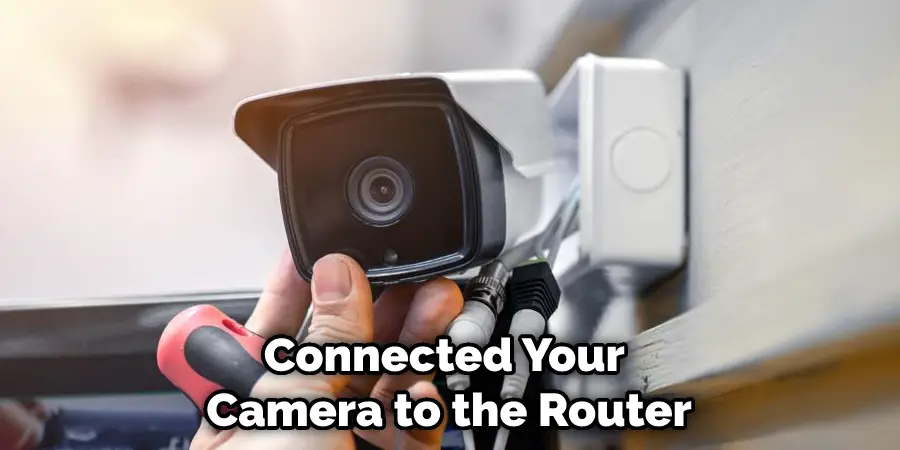
Step 3: Connect Your Camera to the Router
Once you have located your wifi router, the next step is to connect your camera to it. To do this, follow the instructions that came with your camera. This typically involves connecting the camera to power and then using the Arlo app to connect it to your wifi network. If you are having trouble connecting your camera, make sure you use the correct name and password for your wifi network. You may also need to restart your router and camera.
Step 4: Access Your Arlo Camera Settings
Open up the Arlo app and log in with your username and password. Next, tap on the menu icon in the top left corner of the screen and select “My Devices.” Next, select your camera from the list of devices and tap on the gear icon to access the settings.
Step 5: Change Your Wifi Network
In the settings menu, tap “Network” and “Wifi Network.” You can select your new wifi network from the list of available networks. Find the 2.4 GHz network from the available list and enter the password. Once you have entered the correct password for your wifi network, tap “Done” to save the changes. Your camera will now be connected to your new wifi network!
Step 6: Check the Camera’s Connection
Once you have connected your camera to the router, the next step is to check the connection. To do this, open the Arlo app and the Devices tab. If your camera is connected, you should see it listed here. If not, try restarting your router and camera. Please get in touch with Arlo Support for assistance if you still have trouble connecting your camera.
Tips to Avoid Wifi Issues on Your Arlo Camera
1. Place your Arlo camera within range of your router.
2. Use a 2.4 GHz wifi network instead of a 5 GHz wifi network.
3. Reduce the number of devices that are connected to your router.
4. Move your Arlo camera closer to your router.
5. Update the firmware on your Arlo camera if your firmware is still on an older version.
6. Check if your wifi password is correct by trying to connect to your wifi network using another device, such as your smartphone.
7. Perform a factory reset on your Arlo camera and set it up again from scratch.
How to Connect Arlo Base Station to New Router?
If you are moving your Arlo base station to a new router or want to connect your Arlo base station to a different router, you need to change the wifi settings. To do this, follow these steps:
1. Log in to my Arlo account from a computer or mobile device.
2. Click or tap the Settings icon.
3. Select Arlo Settings from the drop-down menu.
4. Scroll down to the Advanced Features section and click or tap Manage Wireless Networks.
5. Click or tap the name of your current network next to the Base Station you want to change.
6. Select the new network from the list of available networks and enter the password, if required.
7. Click or tap Join to save your changes.
Troubleshooting Wifi Connection Issues
If you are having trouble connecting your camera to the new wifi network, make sure you have entered the correct password. You may also need to restart your router and camera. If these steps do not work, check if there is an available firmware update for your Arlo camera.
To check for updates, open up the Arlo app and tap Settings > Firmware Updates. If there is an available update, install it to ensure your camera is running the latest version of the firmware.
If you are still having trouble connecting your Arlo camera, try unplugging the power cable from your router for a few seconds and then plug it back in. This will reset the router, and then you can try connecting your camera again.
If you are still having trouble after following these steps, contact Arlo support for further assistance. They will be able to help you troubleshoot any connection issues you may be experiencing.
Final Thoughts
Arlo cameras are a great way to keep an eye on your property, but what happens when you want to change the wifi network the camera is connected to? This guide has shown you how to change wifi on Arlo cameras in just a few minutes.
If you have followed all the steps listed in this blog post, you should now know how to change your wifi network on the Arlo camera. We hope that you have found this information helpful and easy to follow. If you have any questions or run into any problems while trying to make these changes, please don’t hesitate to reach out to us for help. Thanks for reading!
