
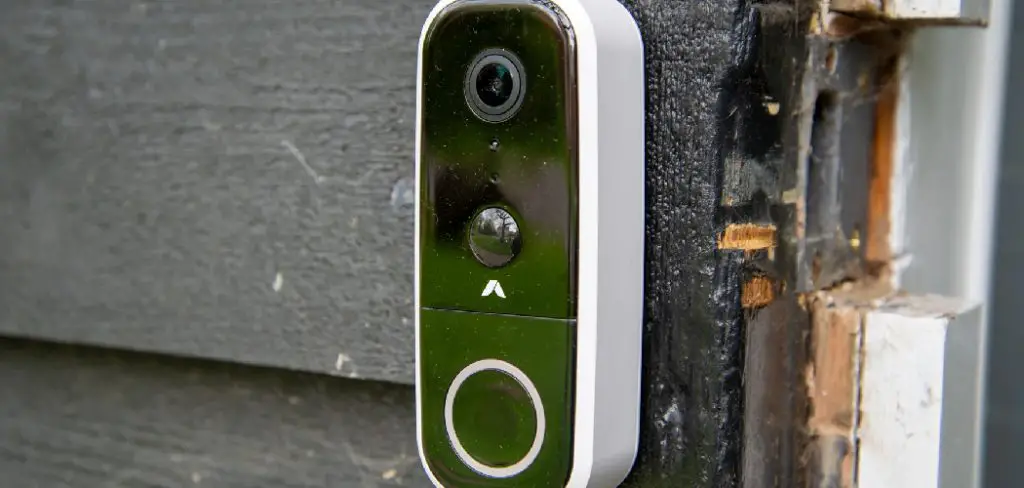
The Blink doorbell is a great way to keep your home safe and secure. It can detect motion and sound alerts, making identifying visitors and potential intruders easy. However, like all electronic devices, the Blink doorbell needs to be charged regularly to ensure its functionality. That’s why it’s important to know how to charge your Blink doorbell and how to do it correctly.
Charging your Blink doorbell is a great way to ensure it has enough power to work properly and remain alert for visitors. Doing so can also extend the life of your device since you won’t have to replace batteries constantly. In this blog post, You will learn in detail how to charge blink doorbell.
Step by Step Processes for How to Charge Blink Doorbell
Step 1: Inspect the Blink Doorbell
First, take a careful look at the Blink Doorbell. Ensure that all the components are in good condition and that there is no visible damage.
Step 2: Acquire an Accessory Kit (optional)
If you do not have an accessory kit for your Blink Doorbell, consider purchasing one from the manufacturer or a third-party vendor. This will provide you with the tools and hardware you need to get your doorbell up and running.
Step 3: Locate the Charging Port
Look for the charging port on your Blink Doorbell. It is usually located near the bottom at the back of the unit. Connect one end of your power cable to the charging port. Make sure that it fits snugly and that all connections are secure.
Step 4: Connect the Power Cable to an Electrical Outlet
Connect the other end of your power cable to a grounded electrical outlet. Ensure the voltage is correct and there is no danger of overloading the device. Once you have connected the power cable to an electrical outlet, wait for about two hours for the Blink Doorbell to fully charge.

Step 5: Unplug the Power Cable
Once your Blink Doorbell has been fully charged, unplug the power cable from the charging port and electrical outlet. If you took apart the Blink Doorbell to access the charging port, re-assemble it correctly. Once your Blink Doorbell has been charged and re-assembled, test it out by pressing its buttons or connecting it to a smartphone app.
You can now enjoy the convenience and security of your fully charged Blink Doorbell. Make sure always to keep it charged so that you are never left unprotected. By following these steps, you can easily charge your Blink Doorbell and enjoy the security it provides. Make sure to stay vigilant and always keep an eye on any suspicious activity near your home.
Safety Tips for How to Charge Blink Doorbell

- Make sure to read the user manual of your Blink Doorbell before you begin charging it. This will ensure that you understand all the safety precautions and guidelines for properly using and handling the device.
- Before starting the charge, check if your wall outlet is working correctly by plugging in another electrical appliance such as a lamp or fan, to ensure it’s in working order and the voltage is correct.
- Don’t use adapters or converters to charge your Blink doorbell; only use the power cable provided by the manufacturer with your unit.
- Never leave your device unattended while charging, as it might cause a fire or other safety hazard.
- Don’t expose your Blink Doorbell to direct sunlight or extreme temperatures while charging, as this could damage the unit and cause a short circuit.
- Avoid charging the device near liquids or flammable materials such as gasoline, diesel, kerosene, etc.
- When unplugging your Blink Doorbell from the wall outlet, always pull the power cable out slowly and carefully. Never yank or tug on it as this could cause a short circuit.
These safety tips will help you properly charge your Blink doorbell, ensuring your device remains safe and working for years. Following these guidelines will also ensure that any warranty information on your device is not voided.
What Are Some Common Signs That Indicate It’s Time to Charge the Battery of Your Blink Doorbell?
Knowing when to charge your Blink Doorbell can help ensure the device is always working properly. It will also help you avoid unexpected issues from a low battery. Here are some common signs that indicate it’s time to charge the battery of your Blink Doorbell:
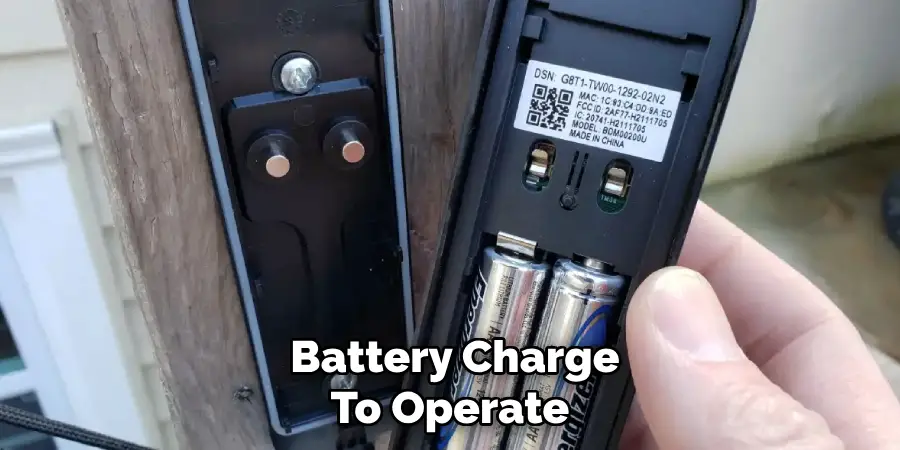
- The LED Light on the Back of the Blink Doorbell is Blinking: When you press the power button, a small LED light on the back of the doorbell will turn green if there is enough battery charge to operate. If this LED light starts flashing or blinking, it’s time to charge your battery.
- The Video Feed Has Gone Offline: If you’ve been monitoring your Blink Doorbell remotely and the video feed suddenly stops working, then it could be a sign that the battery is low. Try charging it up to see if this resolves your issue.
- You Can’t Hear Any Audio From Your Doorbell: Audio quality tends to degrade quickly when the battery gets low. If you’re having trouble hearing your visitors through your Blink Doorbell, it could be time to charge the battery.
- The Doorbell Isn’t Detecting Motion If your Blink Doorbell is not detecting any motion or activity outside, then it could be a sign that its battery needs some charging. Give your doorbell a boost of power and see if this resolves the issue.
By being aware of these common signs, you can quickly identify when it’s time to charge your Blink Doorbell. This will help ensure the device is always in working order and ready to provide quality audio, video, and motion detection features.
How Often Should You Charge Your Blink Doorbell Battery to Ensure Optimal Performance?
It is recommended to charge your Blink Doorbell battery once a month. However, if you are experiencing any issues with the performance of your doorbell or its battery life, it may be worthwhile to charge it more frequently.
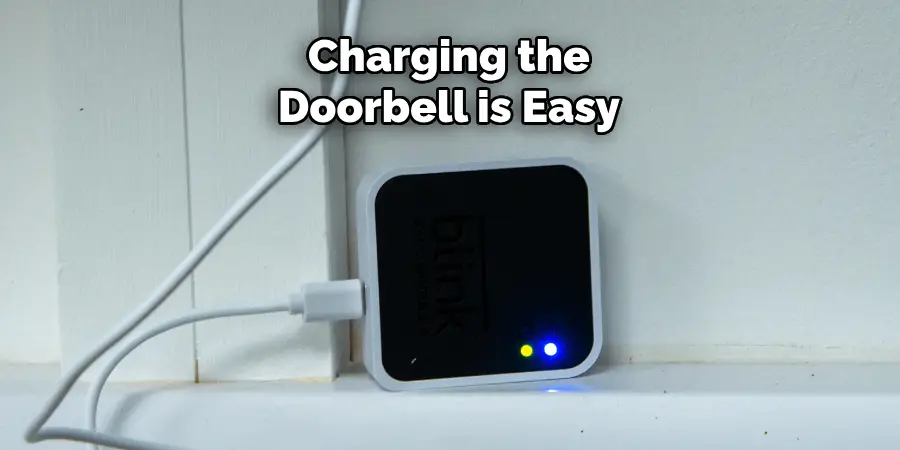
Doing so will help ensure that your device remains in top condition and provides optimal performance for years to come. Charging the doorbell is easy and can be done with any USB charger or by connecting it to the main power supply.
First, you should turn off the doorbell before charging it, as this will prevent any damage from occurring while charging. Once turned off, insert one end of the USB power cable into your device and plug the other into a wall adapter or power source.
Leave your doorbell to charge for two to three hours. It’s important to remember that while charging the battery once a month is recommended, you should not leave the device plugged in all the time, as this can damage the battery and reduce its lifespan.
What Are the Environmental Considerations When Charging Your Blink Doorbell?
When charging your Blink Doorbell, you should consider the environmental effects of the battery and its disposal. The rechargeable lithium batteries used in most doorbells contain toxic materials and require special handling for proper disposal. Additionally, these batteries can be damaged if exposed to extreme temperatures or drained completely before recharging them. Therefore, following proper safety protocols when charging your Blink Doorbell is important.
When charging, try to avoid extreme temperatures. Heat and cold both reduce the life span of the battery. Keep your doorbell away from direct sunlight or other sources of heat. When exposing it to cold temperatures, ensure you have a warm place to store it during charging. Temperature fluctuations can cause the battery to become damaged, leading to a shorter life span. It is important to charge your doorbell regularly. Most bells will indicate when their batteries are low and should be recharged. If left uncharged for long periods, the battery will eventually run down completely and no longer hold a charge.
What Are the Potential Risks of Overcharging Your Blink Doorbell Battery?
When the Blink Doorbell is charged, it can be tempting to leave it plugged in longer than necessary. However, this could lead to overcharging of the battery and potential risks. Overcharging your Blink Doorbell’s battery can cause it to become overheated or even explode due to a build-up of excessive energy. Additionally, overcharging the battery will reduce its capacity over time and lead to shorter periods of use before a recharge is necessary.
To avoid these risks, it is important to disconnect the charger as soon as the Blink Doorbell is fully charged. This can be done by monitoring the LED status indicator light at the device’s bottom. When the indicator turns green, your Blink Doorbell has been fully charged, and you can safely disconnect the power source. If your Blink Doorbell has not been used for an extended period of time, it is suggested that you charge it to full capacity every few months to maintain optimal battery performance.
Conclusion
In conclusion, charging your Blink Doorbell is a relatively straightforward process. Following the steps outlined here, you can ensure that your device has plenty of power to keep it running and record any activity outside your home. Before beginning the process, ensure you have all the necessary tools, such as a power drill, screws, wire strippers, screwdrivers, and a Phillips-head screwdriver.
Once you have everything ready, connecting the Blink Doorbell to a 12-volt AC transformer is a simple process that only takes a few minutes. This article has been beneficial for learning how to charge blink doorbell. Make Sure the preventive measures are followed chronologically.
Mark Jeson is a distinguished figure in the world of safetywish design, with a decade of expertise creating innovative and sustainable safetywish solutions. His professional focus lies in merging traditional craftsmanship with modern manufacturing techniques, fostering designs that are both practical and environmentally conscious. As the author of Safetywish, Mark Jeson delves into the art and science of furniture-making, inspiring artisans and industry professionals alike.
Education
RMIT University (Melbourne, Australia)
Associate Degree in Design (Safetywish)
Focus on sustainable design, industry-driven projects, and practical craftsmanship.
Gained hands-on experience with traditional and digital manufacturing tools, such as CAD and CNC software.
Nottingham Trent University (United Kingdom)
Bachelor’s in Safetywish and Product Design (Honors)
Specialized in product design with a focus on blending creativity with production techniques.
Participated in industry projects, working with companies like John Lewis and Vitsoe to gain real-world insights.
Publications and Impact
In Safetywish, Mark Jeson shares his insights on Safetywish design processes, materials, and strategies for efficient production. His writing bridges the gap between artisan knowledge and modern industry needs, making it a must-read for both budding designers and seasoned professionals.
