
Are you looking for ways to connect your Arlo Essential Camera to Wi-Fi? Look no further! Setting up your Arlo security camera can be daunting, especially if you are unfamiliar with Wi-Fi routers and networks. However, with a few easy steps, you can get your camera up and running in no time.
This blog post will show you how to connect Arlo Essential Camera to Wi-Fi router. We will also provide troubleshooting tips if you experience problems connecting the camera. Remember that you will need the Arlo app installed on your phone or tablet to complete the process. So, let’s get started!
Why Should You Connect Arlo Essential Camera to Wi-Fi?
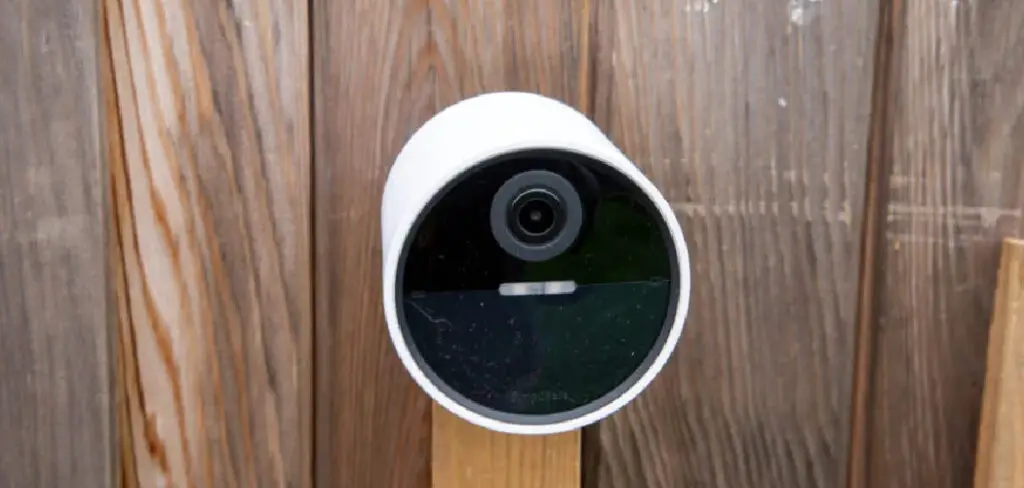
Arlo Essential Camera is a robust and reliable home security camera. It offers many features that make it an ideal choice for home security, such as night vision, two-way audio, motion detection, and more. However, you need to connect your Arlo Essential Camera to Wi-Fi to enjoy these features.
Connecting your Arlo Essential Camera to Wi-Fi has many benefits, such as:
1. Live Streaming:
With a Wi-Fi connection, you can easily access your Arlo Essential Camera’s live stream from anywhere in the world. This makes it easy for you to keep an eye on your home when you’re away.
2. Motion Detection:
When connected to Wi-Fi, your Arlo Essential Camera can detect motion and immediately send you a notification, allowing you to take action if necessary.
3. Remote Access:
A Wi-Fi connection allows you to access your Arlo Essential Camera’s settings and controls remotely, giving you more control over how your camera works.
4. Automated Alerts:
Your Arlo Essential Camera can be set up to send automated alerts when it detects motion or if there is an unexpected activity. This way, you will always stay informed about what’s happening at home.
Overall, connecting your Arlo Essential Camera to Wi-Fi offers many benefits that can help keep your home secure and monitored. So make sure to take advantage of all the features that a Wi-Fi connection offers.
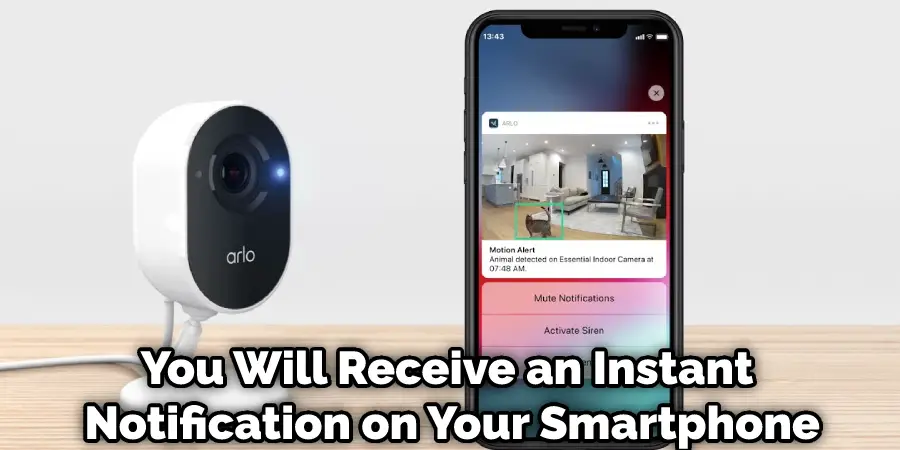
Receive Real-time Alerts:
One of the main advantages of connecting your Arlo Essential Camera to Wi-Fi is that you will receive real-time alerts. This means you will receive an instant notification on your smartphone if there is any activity near your camera. You can then view the live video feed to see what is happening. This feature is very helpful in keeping your home safe and secure.
Access Your Camera from Anywhere:
Another advantage of connecting your Arlo Essential Camera to Wi-Fi is that you can access your camera from anywhere. This means that if you need to check on your home or office while you’re away, you can do so without any hassle.
All you need is an internet connection, and you’ll be able to view your camera’s live feed from anywhere in the world. Plus, with the Arlo app, you can even receive push notifications whenever something happens so that you’re always in the loop.
Making Sure Your Camera is Secure:
When you connect your Arlo Essential Camera to Wi-Fi, you can also rest assured knowing that your camera is secure. Password protection and encryption ensure your camera’s live feed is safe from prying eyes. Plus, with the ability to receive updates and notifications, you can be sure your camera is always up-to-date with the latest security features.
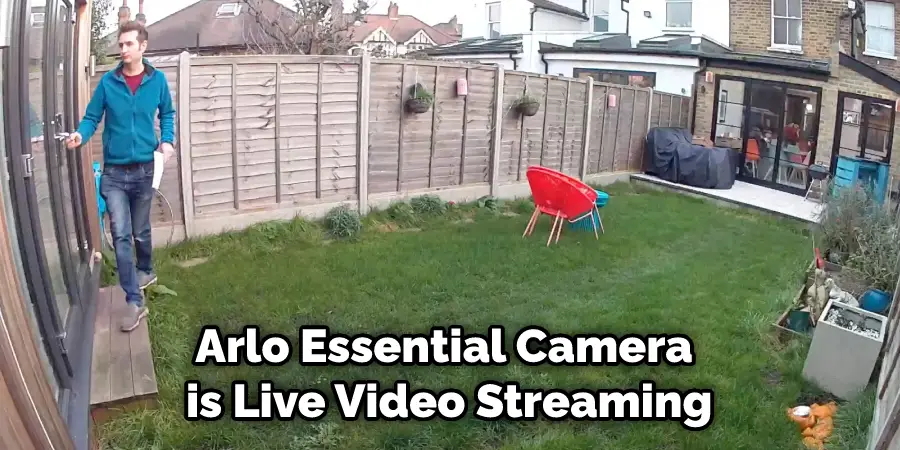
Live Video Streaming:
One of the best features of Arlo Essential Camera is live video streaming. This means that you can view your camera’s live feed at any time from anywhere. All you need is an internet connection, and you’ll be able to see what’s happening in real-time. Plus, with the two-way audio feature, you can even communicate with people or animals in front of the camera.
Improved Video Quality:
When you connect your Arlo Essential Camera to Wi-Fi, you will notice an improvement in the video quality. This is because the camera will have a stronger and more stable internet connection. This results in clearer and smoother videos, which are perfect for monitoring your home or business.
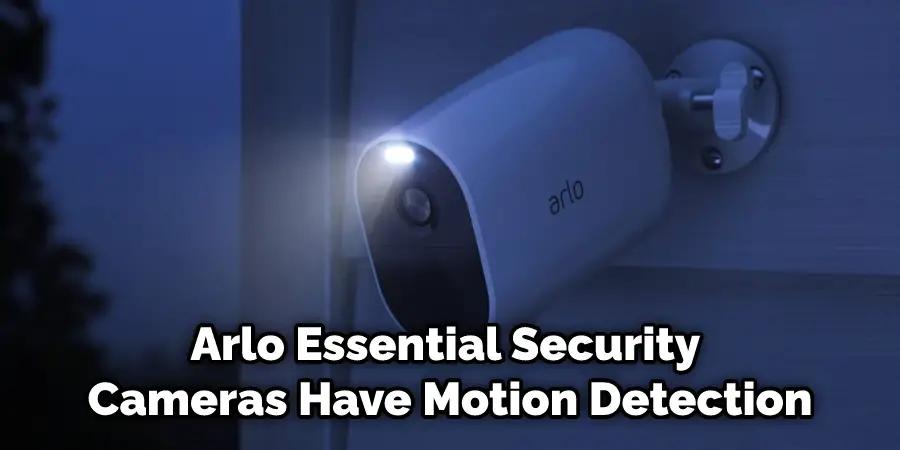
Enhance Your Security Features:
Connecting your Arlo camera with Wi-Fi can level up your security features. Arlo Essential security cameras have motion detection, night vision, and two-way audio. You can use all of these features to their full potential by connecting them to Wi-Fi.
For example, you can receive instant notifications whenever there is any movement near your camera. You can then view the footage and take appropriate action. You can also use two-way audio to communicate with anyone near your camera.
Connecting your Arlo Essential Camera to Wi-Fi has many benefits that make it worth doing. Not only will you be able to receive real-time alerts and access your camera from anywhere, but you can also enjoy enhanced security features. So if you’re looking for a way to improve your home security, then connecting your Arlo Essential Camera to Wi-Fi is the way to go.
Step by Step Guide: How to Connect Arlo Essential Camera to Wi-Fi
Step 1: Make Sure the Router is Enabled
The first thing you need to do is make sure the router is enabled. To do this, open the router’s web interface and check the “Status” page. The Status page will show you if the router is online or offline.
If it is offline, ensure that the power cord is plugged in and the power light is lit. Another way you can check if the router is on is by connecting your phone to Wi-Fi. The router’s SSID should appear in the list of available networks.
Step 2: Launch the Arlo App and Sign in to Your Account.
Now that your router is on open the Arlo app and sign in to your account. If you don’t have an account yet, create one by tapping on the “Create Account” button. Make sure you’ve given the app permission to access your location so it can find the nearest Arlo cameras.
Step 3: Add Your Camera to the App
Once you’re signed in, it’s time to add your camera to the app. To do this, tap on the “Add Device” button and then select your camera name from the list. Once you select your camera, you’ll be prompted to enter your Wi-Fi password.
Once you do this, your camera will be connected to your Wi-Fi network, and you’ll be able to view it from anywhere in the world. Please note that your camera needs to be on the same Wi-Fi network your phone is connected to. Otherwise, you’ll get an error message.
Step 4: Test Your Connection
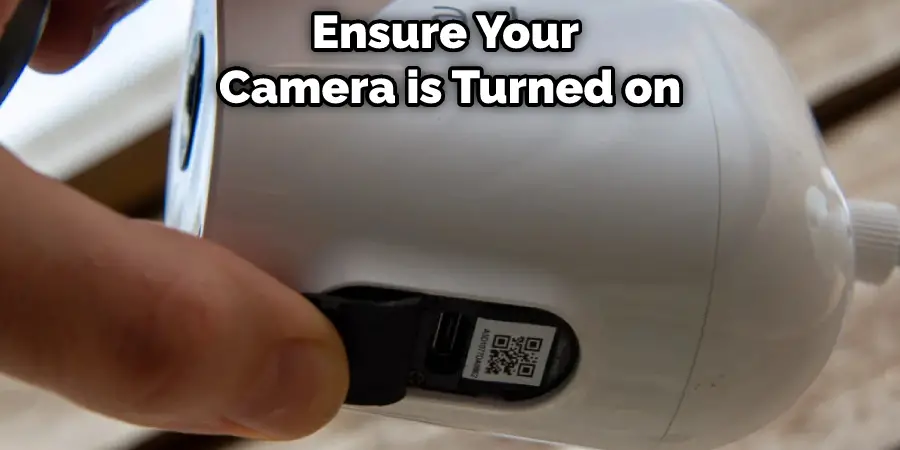
Now that your camera is connected to your Wi-Fi network, it’s time to test the connection. To do this, open the app and tap on the “Live” tab. You should see a live stream of your camera. If you don’t see anything, ensure your camera is turned on, and the power light is lit. If you still can’t see anything, try restarting your camera and router.
Once you’ve successfully connected your camera to the app, you’ll be able to view it from anywhere in the world. If you followed these steps and could not connect your Arlo Essential Camera to Wi-Fi, please reach out to the Arlo support team for further assistance.
Additions Tips to Make Your Connection Stable
- Place your camera closer to your router
- Use a 5GHz network instead of a 2.4GHz network if possible
- Keep other devices away from your camera and router
- Update your camera firmware
- Make sure you have a good internet service provider
- Try connecting your camera to a different router or Wi-Fi network
If you follow the tips above, you can connect your Arlo Essential Camera to Wi-Fi and have a stable connection.
You Can Chack It Out: How to Install Blink Doorbell Camera
How to Connect Arlo Essential Camera With Smart Hub?
With Wired Connection
Arlo Essential Smart Hub comes with an Ethernet port that can be used to connect the hub to your router and establish a wired connection. To connect your Arlo Essential Camera to the Smart Hub using a wired connection:
1. Connect one end of an Ethernet cable to the Ethernet port on the back of the Smart Hub.
2. Connect the other end of the Ethernet cable to an available Ethernet port on your router.
3. Follow the instructions in the Arlo app to complete the setup process.
With Wireless Connection
You can also connect Arlo essential cameras wirelessly to the Smart Hub. If you want to use a wireless connection, ensure your router supports Wi-Fi 802.11ac (5 GHz) and is configured to work in the 5 GHz frequency range. To connect your Arlo Essential Camera to the Smart Hub using a wireless connection:
1. Make sure that Wi-Fi is enabled on your smartphone or tablet and that you’re connected to the same network as your Smart Hub.
2. Open the Arlo app and log in to your account.
3. Tap or click the Settings icon in the top right corner of the main screen.
4. Select your Smart Hub from the list of devices.
5. Tap or click the Wireless tab and then select Enable Wireless for your camera.
6. Follow the instructions in the Arlo app to complete the setup process.
After connecting your camera to the Smart Hub, you can view live footage from the camera in the Arlo app. You can also use the Arlo app to configure settings for your camera, such as recording quality, motion detection, and sound detection.
Final Words
The Arlo Essential Camera can be connected to Wi-Fi in a few easy steps. After the camera is set up, it can be used to monitor any area of your home or office. The Arlo app is free for download on Android and iOS devices.
The app allows you to view live footage from your camera, change settings, and more. We hope this guide on how to connect arlo essential camera to Wi-Fi has been helpful. Please get in touch with us for assistance if you have any questions or problems connecting your camera to Wi-Fi.
You Can Chack It Out to Add Another Phone to Arlo Camera
