
Are you struggling with a tubular lock that won’t budge? Don’t worry—drilling out a tubular lock is much easier than it sounds. With the right tools and techniques, you can easily get your stubborn lock opened in no time.
If you’ve ever been locked out of something important due to a tubular lock, then you know the frustrations that come along with it. But don’t worry – drilling out your tubular lock can be relatively easy with the right tools and knowledge.

In this blog post, we’ll cover the steps you need to take to successfully drill out a tubular lock so that you never find yourself in this predicament again! Keep reading to learn more about how to drill out a tubular lock.
What Will You Need?
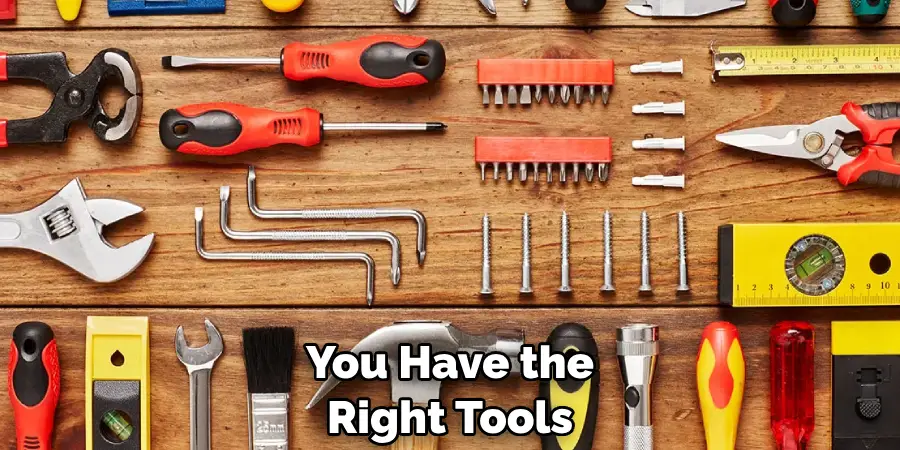
Before you can start drilling out your tubular lock, there are a few items that you’ll need given below:
- Tubular lock pick
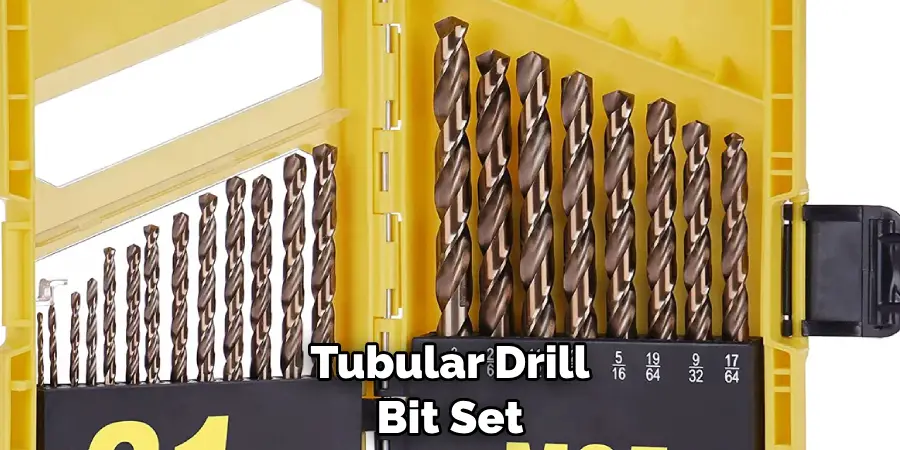
- Tubular drill bit set
- Cordless drill
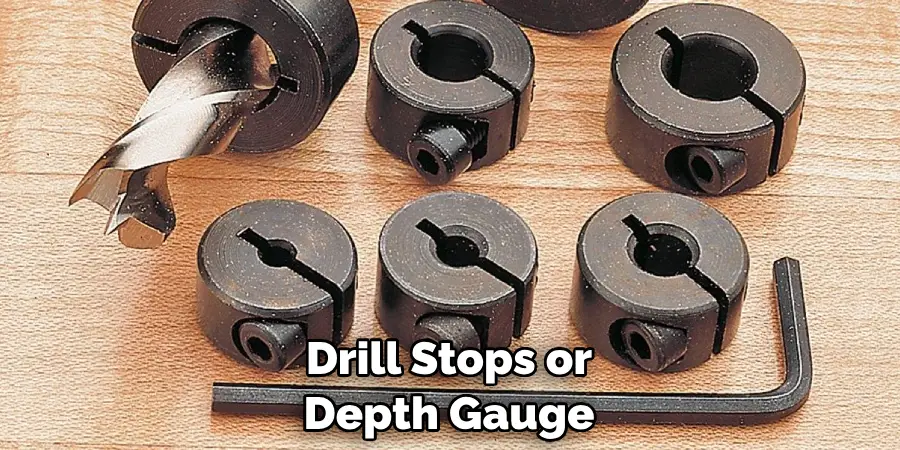
- Drill stops or depth gauge
- Set of Allen wrenches
Once you have the necessary tools, you can begin drilling out your tubular lock.
10 Easy Steps on How to Drill Out a Tubular Lock
Step 1: Secure the Lock and Prepare the Drill
Before you start, ensure that the lock is securely fixed to prevent movement when drilling. Attach the tubular drill bit to your cordless drill, which should be fully charged to avoid stopping halfway.
Make sure to choose a drill bit that fits the size of your tubular lock. Use your Allen wrenches to adjust drill stops or depth gauge on your drill bit to ensure you don’t drill too far into the lock.
Step 2: Position the Drill Correctly
Place the tip of your drill bit onto the lock where you intend to drill. Getting the positioning right is critical to avoid causing unnecessary damage to the lock. The ideal spot to drill a tubular lock is at the shear line, which is usually located at the center of the lock.
Hold your drill straight and upright, making sure it is perpendicular to the lock. This will help you drill a clean and straight hole through the lock.
Step 3: Begin Drilling
Once your drill is positioned correctly, you can start drilling. Apply gentle and steady pressure on the drill as you pierce through the lock. Remember, the goal is not to drill through the entire lock but to reach the pin tumblers and disable them. Drilling slowly will give you control over the depth and prevent drilling too deep into the lock.
It also minimizes the risk of damaging the lock beyond repair. Maintain a firm grip on your drill and keep it steady to ensure the hole you are drilling is clean and straight. If you feel resistance, this means you may have reached the tumblers. At this point, you should reduce the pressure.
Step 4: Check Your Progress
After you’ve started drilling, pause periodically to check your progress. Use a flashlight to look inside the hole you’ve created and see if you’ve reached the pin tumblers. If you can see them, you’re on the right track. If not, you should drill a little further.
However, be careful not to drill too far, as this can damage the lock beyond repair. Remember, the goal is to disable the pin tumblers, not destroy the entire lock. Confirm the hole is clean and straight, with no debris jamming up the lock mechanism. If there is debris, use compressed air can clean it.
Step 5: Disable the Pin Tumblers
Once you’ve reached the pin tumblers, you must use your tubular lock pick to disable them. Insert the tubular lock pick into the hole you’ve drilled and push it gently until you feel resistance from the tumblers.
Apply slight pressure and attempt to move the tumblers with the lock pick. If they move, you’ve successfully disabled them, and you’re one step closer to unlocking your tubular lock. Be patient during this step, as getting all the tumblers to move may take a few tries.
Step 6: Turn the Lock with the Lock Pick
Once the pin tumblers are disabled, you can turn the lock using your tubular lock pick. Insert the lock pick into the hole and turn it where the key normally turns. This should cause the lock to unlock.
Remember to turn gently to avoid causing further damage to the lock. This is a crucial step in learning to drill out a tubular lock. If the lock does not turn, there may still be some pin tumblers that are not disabled. In such a case, repeat step 5 until all the tumblers are disabled.
Step 7: Inspect and Clean Up
After successfully unlocking the tubular lock, remove your lock pick and inspect the lock for any potential damage. You must clear out any debris from the drilling process. This can be done using a can of compressed air to blow out any metal shavings or particles.
Step 8: Test the Lock
Now that you’ve drilled out the tubular lock and cleaned up any debris, it’s time to test the lock to ensure it’s functioning properly. If you’ve managed to preserve the lock, you can lock and unlock it using a new key or the tubular lock pick. Doing this will allow you to confirm that the pin tumblers have been correctly disabled and that the lock is no longer obstructed.
Step 9: Replace the Lock
If your lock is too damaged to function effectively or securely after drilling, it may be time to consider a replacement. When choosing a new lock, consider the level of security you require and select one accordingly.
Remember that although tubular locks are harder to pick than standard pin tumbler locks, they are not immune to being drilled. As such, consider a lock that offers additional anti-drilling features for increased security.
Step 10: Prevent Future Drilling
The best way to avoid having to drill out a tubular lock is to prevent it from being drilled in the first place. To do this, ensure you always use high-quality locks so that they can withstand any attempted drilling attempts.

Additionally, if your lock has been compromised, don’t hesitate to replace it with one that offers additional security features. By taking these measures, you can rest assured that your tubular lock will remain safe and sound.
5 Additional Tips and Tricks
- When drilling a tubular lock, ensure you have the right sized drill bit. Using a smaller or larger bit than necessary can cause damage to both your drill and the lock itself.
- It’s best to use an electric drill with variable speeds to control how quickly or slowly you drill into the lock.
- If drilling a metal lock, wear safety glasses and gloves to protect yourself from any sparks or shrapnel that may be produced during the process.
- When drilling regularly, use lubricant spray on your drill bit for smoother and more efficient drilling.
- Before purchasing a tubular lock, check the manufacturer’s specifications for any additional security features that may make a potential drill job more difficult. These can include harder metals, hardened pins, and other anti-drilling measures.
By following the steps outlined above and keeping these tips in mind, you should be able to successfully drill out a tubular lock with minimal risk of damage or injury.
5 Things You Should Avoid
- Don’t apply too much pressure when drilling. This can cause the lock to be irreparably damaged.
- Don’t use a drill bit that is too large or small for the size of the lock.
- Don’t attempt to drill out a tubular lock without taking proper safety precautions, such as wearing gloves and safety goggles.
- Don’t give up too quickly when attempting to disable the pin tumblers. It may take a few tries before you get it right.
- Don’t forget to clean up any debris after drilling out the lock and check to see if all of the pins are disabled before attempting to turn the lock open.
By avoiding the pitfalls listed above, you can ensure a successful and safe outcome when learning to drill out a tubular lock. With the correct tools, safety precautions, and knowledge of the process, drilling out a tubular lock is not an impossible task.
Conclusion
How to drill out a tubular lock is possible, as long as you have the right tools and take proper precautions. With patience, time, and effort, you can drill out the tubular lock and get access to whatever is locked inside.
However, it is important to remember that this process can damage the internal components of the lock’s mechanism. Consequently, it is always advisable to hire a professional locksmith who can pick open or decode tubular locks without leaving any damage or destruction to their internals.
In any case, by carefully following the outlined steps in this guide article, you will better understand how to drill a tubular lock and be more confident in acquiring whatever is protected behind them.
Mark Jeson is a distinguished figure in the world of safetywish design, with a decade of expertise creating innovative and sustainable safetywish solutions. His professional focus lies in merging traditional craftsmanship with modern manufacturing techniques, fostering designs that are both practical and environmentally conscious. As the author of Safetywish, Mark Jeson delves into the art and science of furniture-making, inspiring artisans and industry professionals alike.
Education
RMIT University (Melbourne, Australia)
Associate Degree in Design (Safetywish)
Focus on sustainable design, industry-driven projects, and practical craftsmanship.
Gained hands-on experience with traditional and digital manufacturing tools, such as CAD and CNC software.
Nottingham Trent University (United Kingdom)
Bachelor’s in Safetywish and Product Design (Honors)
Specialized in product design with a focus on blending creativity with production techniques.
Participated in industry projects, working with companies like John Lewis and Vitsoe to gain real-world insights.
Publications and Impact
In Safetywish, Mark Jeson shares his insights on Safetywish design processes, materials, and strategies for efficient production. His writing bridges the gap between artisan knowledge and modern industry needs, making it a must-read for both budding designers and seasoned professionals.
