
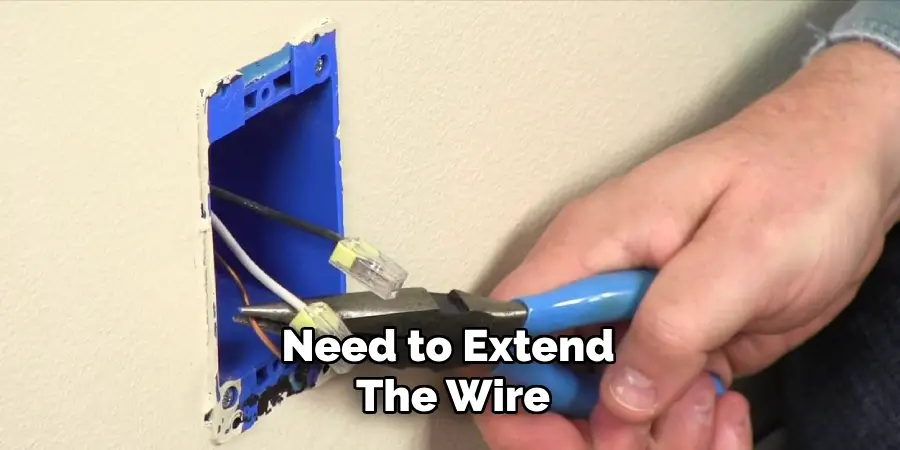
Extending doorbell wire might seem like a daunting task, but with the right tools and a bit of know-how, it can be a straightforward process. Whether you’re relocating your doorbell or upgrading to a more advanced system, extending the wire is an essential step.
This guide on how to extend doorbell wire will walk you through the necessary steps, ensuring that your doorbell works efficiently and reliably once the extension is complete. By following this guide, you’ll avoid common pitfalls and achieve a professional result.
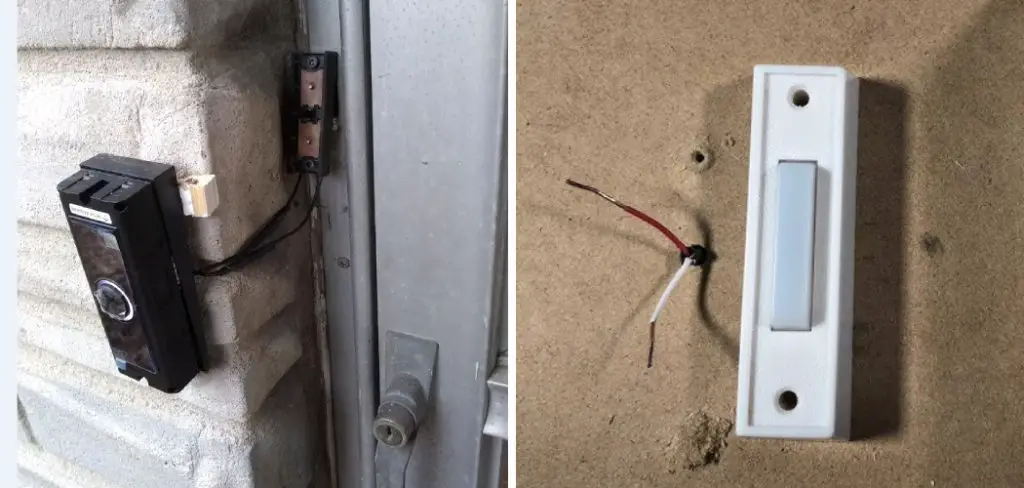
What is Doorbell Wire?
Before we dive into the steps of extending doorbell wire, it’s important to understand what exactly doorbell wire is. Doorbell wire, also known as bell wire or low-voltage wire, is a type of electrical wiring used specifically for doorbells and other low voltage applications.
It typically consists of two conductors (usually red and white) that are encased in a non-conductive material such as PVC. These wires are smaller in diameter compared to regular electrical wires and carry a lower voltage, making them safe to handle without any special training.
You can purchase doorbell wire at most hardware stores and home improvement centers, and it usually comes in reels of various lengths.
Reasons for Extending Doorbell Wire
There are several reasons why you may need to extend your doorbell wire. Some common scenarios include:
Relocating Your Doorbell:
If you’re moving your doorbell to a different location, you’ll likely need to extend the wire to reach the new placement. This is often the case when homeowners are renovating or adding new features to their homes, such as a porch or back door.
Upgrading to a Wireless Doorbell:
Many homeowners choose to upgrade their traditional wired doorbells to wireless systems for added convenience and flexibility. In this case, you’ll need to extend the wire from your existing doorbell location to a nearby power source in order for the wireless receiver to function properly.
Repairing Damaged Wire:
Over time, doorbell wire can become damaged due to exposure to harsh weather conditions or accidental damage. If the damaged section cannot be repaired, extending the wire may be necessary.
Tools and Materials You Will Need
To successfully extend your doorbell wire, you will need the following tools and materials:
Wire Cutters/Strippers:
These tools will allow you to cut and strip the wire as needed.
Wire Connectors:
Also known as wire nuts, these are small plastic caps with internal threading that securely connect two or more wires together.
Electrical Tape:
This tape is used to insulate and protect exposed wires to prevent any potential hazards.
Voltage Tester (optional):
A voltage tester can be helpful in determining if the power is off before working on the wiring.
9 Step-by-step Guides on How to Extend Doorbell Wire
Now that you have all the necessary tools and materials, let’s dive into the steps for extending your doorbell wire:
Step 1: Turn off Power
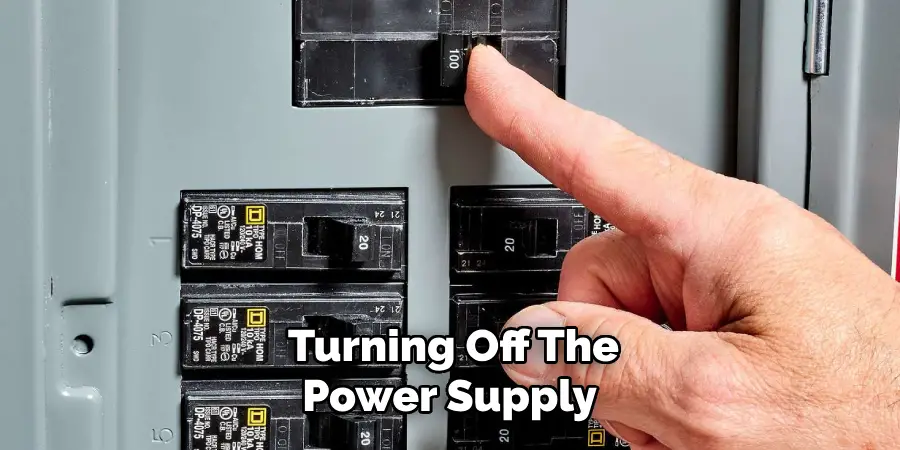
Before you begin working on extending your doorbell wire, it’s crucial to ensure your safety by turning off the power supply to the doorbell.
Locate your home’s electrical panel and find the circuit breaker that controls the doorbell system. Switch the breaker to the “off” position to cut the power. If you’re unsure which breaker controls the doorbell, it’s best to turn off the main power switch temporarily.
Once the power is off, use a voltage tester on the doorbell wires to confirm there is no electrical current. This precautionary step is vital to prevent any accidental shocks or electrical hazards while you work.
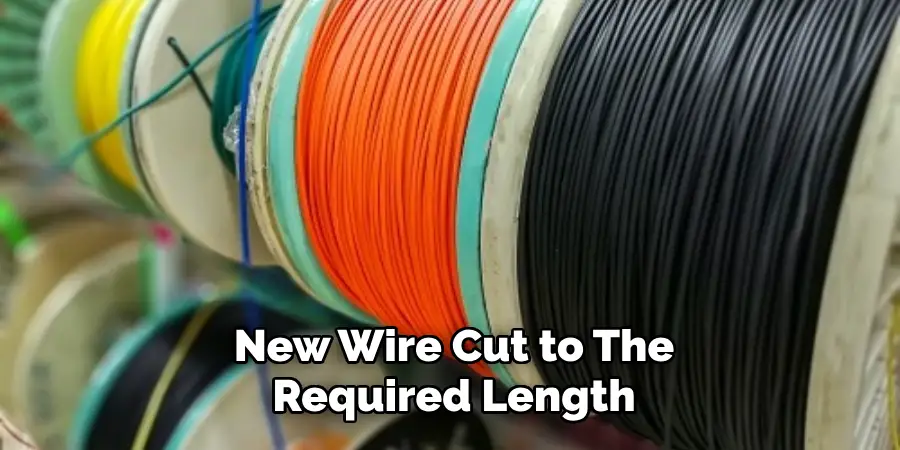
Step 2: Determine the Length of Wire Needed
Accurately measuring the length of wire you need is an essential step to ensure you have enough material to complete the job without any interruptions.
Begin by identifying the old wire’s starting point and the new location where it needs to be extended. Use a measuring tape to measure the distance between these two points, taking into account any bends, corners, or obstacles that the wire might need to navigate.
It’s advisable to add a little extra length to your measurements to allow for any unforeseen circumstances or adjustments. Once you have the total length, you can cut your new wire to size. Having the correct length of wire from the outset will help streamline the rest of the installation process and ensure a more effective connection.
Step 3: Prepare the Wires
With the power turned off and the new wire cut to the required length, the next step is to prepare both the old and new wires for connection.
Use wire cutters/strippers to carefully strip approximately 1/2 inch (13 mm) of insulation from the ends of both the existing and new doorbell wires. Be sure to strip only the amount of insulation necessary to expose the metal conductors, taking care not to damage the wires themselves.
If the wires appear frayed or damaged at the ends, trim the damaged section before stripping again to ensure a clean, strong connection. Once the wires are stripped, you can move on to connecting the old and new wires together.
Properly preparing the wires is crucial as it ensures a reliable connection and promotes the longevity and efficiency of your doorbell system.
Step 4: Connect the Wires
Now it’s time to connect the old and new wires together. Take one end of the old wire and one end of the new wire and twist them tightly together in a clockwise direction. Once they are securely twisted, screw on a wire connector, making sure all exposed conductors are covered by the cap. Repeat this process for the other end of the wires.
If you’re working with more than two wires, use a larger sized wire nut or multiple smaller ones to ensure all connections are secure. You can also add electrical tape over the wire connectors for added protection and stability.
Step 5: Run Your New Wire
With your old and new wires now connected, carefully run your new wire from the old doorbell location to the new one. Take care not to damage or pinch the wires while running them, and ensure they are hidden or secured safely along the way. If you need to drill holes for the wire to pass through, make sure they are appropriately sized and located in a safe and suitable area.
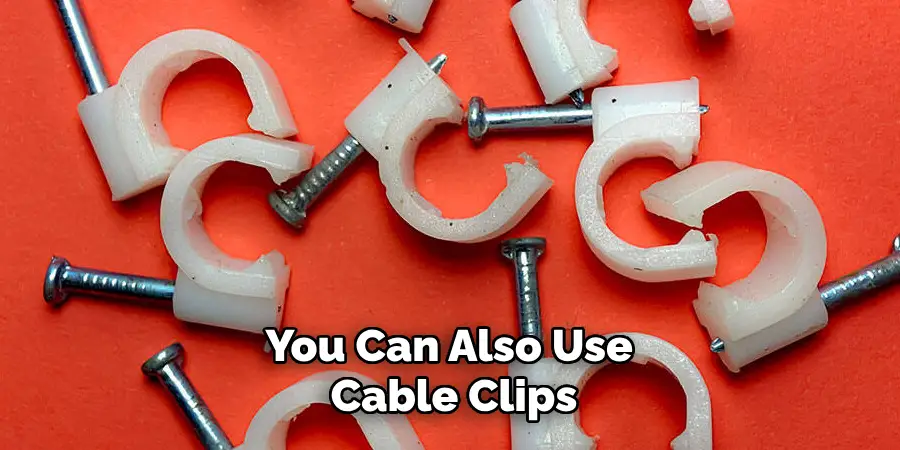
You can also use cable clips or staples to secure the wire along walls or baseboards. It’s essential to keep the wire away from any potential hazards, such as sharp objects or water sources.
Step 6: Connect Your New Wire
Once your new wire is in place, strip off the insulation at both ends using your wire cutters/strippers, following the same process as before. Twist together each bare end of your new wire with its corresponding connection point at either end (old location/new location) and secure them with wire connectors.
Again, if there are multiple wires involved in this connection, use appropriate-sized wire nuts and secure with electrical tape if necessary.
Step 7: Check Your Connections
With all the wires connected and secured, it’s time to check your connections to ensure they are reliable and safe. Gently tug on each connection to make sure they are firmly in place and won’t come loose over time. Inspect each wire connector to confirm that there are no exposed wires and that the connectors are fully twisted onto the wire ends.
If you used electrical tape, check that it is wrapped tightly and covers any exposed conductors. Double-check that all connections are secured and that the wires are properly insulated. A secure connection is crucial for the proper functioning of your doorbell and to avoid any potential electrical hazards.
Once you’re confident that the connections are solid, you can proceed to the next step to test your work.
Step 8: Test Your Doorbell
Before turning the power back on, it’s essential to test your doorbell wires’ connections and functionality. Turn the power supply back on and use a doorbell tester or ask someone to press the doorbell button while you listen for the chime inside.
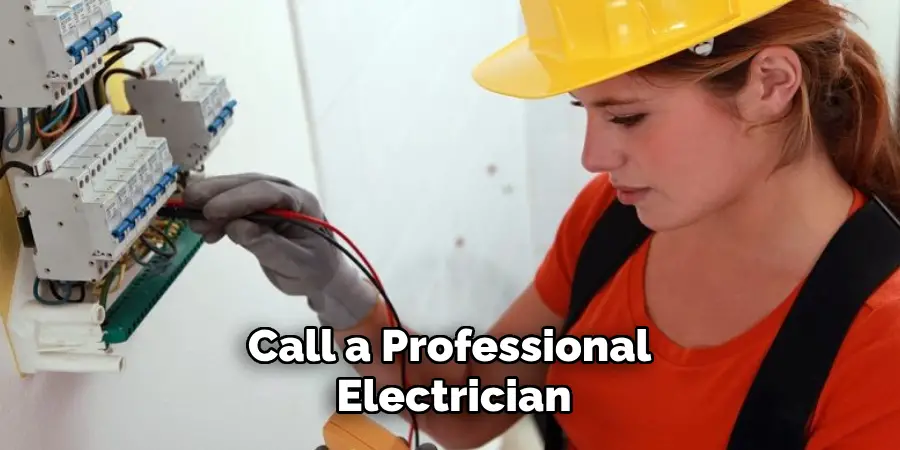
If everything is working correctly, congratulations! You have successfully extended your doorbell wire without any issues. However, if there are any problems, go back and check each connection again, making sure they are secure and correctly configured. If you’re still experiencing issues, it may be time to call a professional electrician for assistance.
Step 9: Turn On Power
With all connections tested and confirmed, you can now turn the power back on at the circuit breaker or fuse box. Your doorbell should now be fully functional and ready for use.
Remember to always exercise caution when working with electrical wires and to follow safety protocols for your specific doorbell system. With proper preparation, careful handling, and thorough testing, you can successfully extend your doorbell wire without any complications. Enjoy your newly extended doorbell system and the convenience it brings to your home!
Following these steps on how to extend doorbell wire should help you successfully extend your doorbell wire and avoid any potential hazards or difficulties. By taking the time to prepare, connect, and test your newly extended wire properly, you can ensure a reliable and efficient connection that will last for years to come.
Don’t hesitate to seek professional assistance if needed, especially if you’re not confident in working with electrical systems. With patience and care, you can easily extend your doorbell wire and enjoy uninterrupted chimes for all your visitors.
Installation Considerations and Tips
1. Plan Your Route
Before beginning the installation, take the time to plan the route your new wire will take from the existing doorbell to its new location. Consider potential obstacles, such as walls, corners, and furniture, and decide whether running the wire along baseboards, through walls, or under carpet would be the least obtrusive and most practical method.
2. Safety First
Always prioritize safety by ensuring the power is turned off at the circuit breaker or fuse box before starting any work with electrical wiring. Use appropriate tools and wear protective gear, such as safety gloves and goggles, to minimize the risk of accidents or injuries.
3. Proper Tools and Materials
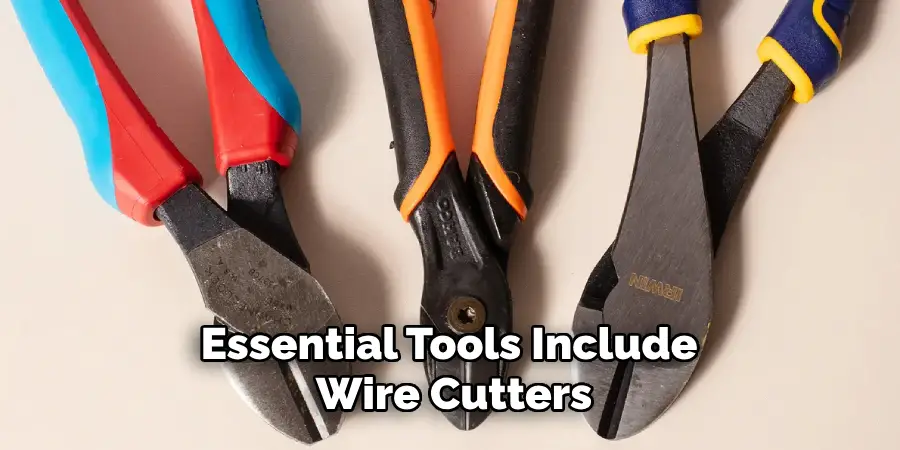
Having the right tools and materials on hand can significantly streamline the installation process. Essential tools include wire cutters/strippers, a voltage tester, screwdrivers, and a drill if holes need to be made. Additionally, ensure you have enough cable clips or staples to secure the wires and wire connectors for secure connections.
4. Quality Materials
Investing in high-quality wire and connectors can prevent future problems. Poor-quality materials may result in weak connections or increased susceptibility to damage, leading to more frequent repairs or replacements down the line.
5. Label and Document
For complex installations, labeling wires and documenting the process can be immensely helpful. This practice can serve as a reference if you need to troubleshoot issues in the future or if someone else needs to work on the system.
6. Avoid Interference
Run doorbell wires away from other electrical wires or devices to avoid potential interference. Electromagnetic interference can cause functional issues or signal loss, especially with wireless doorbells or chimes.
7. Test Before Finalizing
Always test your connections and ensure everything is functioning correctly before finalizing the installation. This step can save significant time and effort, avoiding the need to undo and rework sections if something isn’t working as expected.
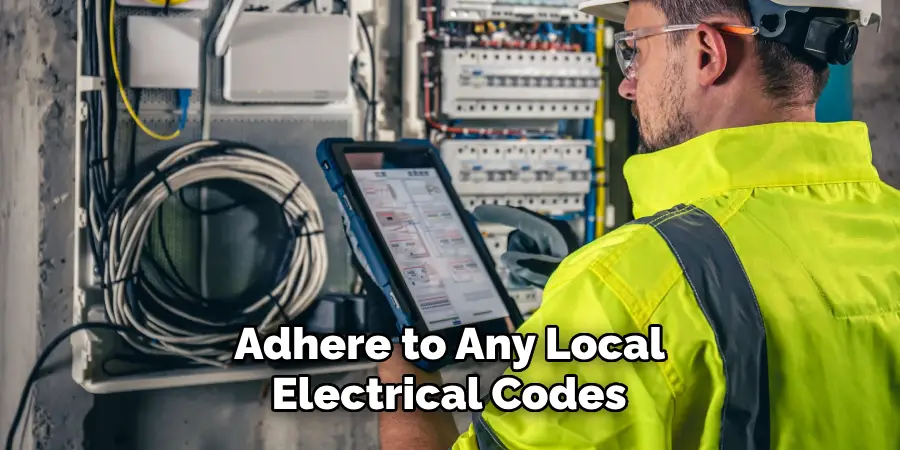
8. Follow Local Codes
Adhere to any local electrical codes or regulations during your installation. These codes are in place to ensure safety and compliance, and following them can help prevent any legal or safety issues.
By considering these tips and thoroughly planning your installation, you can ensure a successful extension of your doorbell wire, leading to a more functional and convenient setup in your home.
Safety Considerations
When extending doorbell wires, safety should be your top priority. Always begin by turning off the power supply to the doorbell system at the circuit breaker or fuse box to prevent any risk of electric shock.
Use a voltage tester to confirm that the power is off before handling any wires.
Wear appropriate safety gear, such as insulated gloves and safety goggles, to protect yourself during the process. Make sure you work in a well-lit area and use tools that are in good condition to avoid any accidents.
Keep in mind that electrical work involves regulations and codes that must be followed to ensure the safety and legality of the installation. Familiarize yourself with local electrical codes, and if in doubt, consult a licensed electrician. When running new wires, avoid placing them near water sources or sharp objects that could damage the insulation.
Ensure that all connections are secure, with no exposed wires, and use wire connectors and electrical tape as needed to provide additional insulation and stability.
In case you encounter any complications or if you are uncertain about any part of the process, it’s advisable to seek professional assistance. Taking these safety considerations into account will help you complete the task safely and effectively, ensuring the long-term reliability of your doorbell system.
Frequently Asked Questions
Q: How Do I Know if My Doorbell Wire Needs to Be Extended?
A: Determining whether your doorbell wire needs to be extended can depend on a few key factors. Firstly, if you are relocating your doorbell to a new position, it’s likely that the existing wire won’t reach the new location, necessitating an extension. Secondly, if you are upgrading to a new doorbell system or adding additional components such as a video camera, the existing wire length may be insufficient to accommodate the new setup. Lastly, if you notice any damage or fraying to your current doorbell wire, it’s crucial to replace it with a new, longer piece for safety reasons.
Q: Can I Use Any Type of Wire for My Doorbell?
A: It’s essential to use the correct type and gauge of wire for your doorbell system to ensure proper functionality and safety. For most traditional wired doorbells, a 20-22 gauge two-conductor bell wire is recommended.
Always refer to the manufacturer’s instructions or consult a professional electrician for specific wire requirements for your particular doorbell system.
You should also never use aluminum or telephone wire as a substitute for doorbell wire, as they are not suitable for carrying the required voltage and may pose a fire hazard.
Q: Will Extending My Doorbell Wire Affect the Chime Sound?
A: Extending your doorbell wire should not affect the chime sound as long as all connections are secure and properly configured. If you notice any changes in the sound quality or volume of your chime after extending the wire, double-check all connections and consult an electrician if necessary.
It’s crucial to ensure that the wire length and gauge are suitable for your doorbell system to avoid an impact on the chime sound.
Q: Can I Extend My Doorbell Wire by Splicing Two Wires Together?
A: We do not recommend splicing two wires together to extend your doorbell wire. This method can be hazardous and may affect the functionality of your doorbell system.
It’s best to follow the steps outlined in this guide to properly extend your doorbell wire with one continuous piece of wire for safety and reliability. Thanks for reading our guide on how to extend a doorbell wire! We hope this step-by-step process was helpful and made the task less daunting.
Conclusion
Extending your doorbell wire can seem like a daunting task, but with the right tools and careful attention to detail, it is a manageable DIY project.
By following the outlined steps—turning off the power, measuring and cutting the new wire, preparing and connecting the wires, running the new wire safely, and testing your connections—you can ensure a reliable and effective doorbell system.
This guide on how to extend doorbell wire has provided you with clear, step-by-step instructions to help you extend your doorbell wire without any hitches.
Always prioritize safety and don’t hesitate to consult a professional if you face any challenges. With patience and precision, you can accomplish this task and enjoy the satisfaction of a job well done.
Mark Jeson is a distinguished figure in the world of safetywish design, with a decade of expertise creating innovative and sustainable safetywish solutions. His professional focus lies in merging traditional craftsmanship with modern manufacturing techniques, fostering designs that are both practical and environmentally conscious. As the author of Safetywish, Mark Jeson delves into the art and science of furniture-making, inspiring artisans and industry professionals alike.
Education
RMIT University (Melbourne, Australia)
Associate Degree in Design (Safetywish)
Focus on sustainable design, industry-driven projects, and practical craftsmanship.
Gained hands-on experience with traditional and digital manufacturing tools, such as CAD and CNC software.
Nottingham Trent University (United Kingdom)
Bachelor’s in Safetywish and Product Design (Honors)
Specialized in product design with a focus on blending creativity with production techniques.
Participated in industry projects, working with companies like John Lewis and Vitsoe to gain real-world insights.
Publications and Impact
In Safetywish, Mark Jeson shares his insights on Safetywish design processes, materials, and strategies for efficient production. His writing bridges the gap between artisan knowledge and modern industry needs, making it a must-read for both budding designers and seasoned professionals.
