
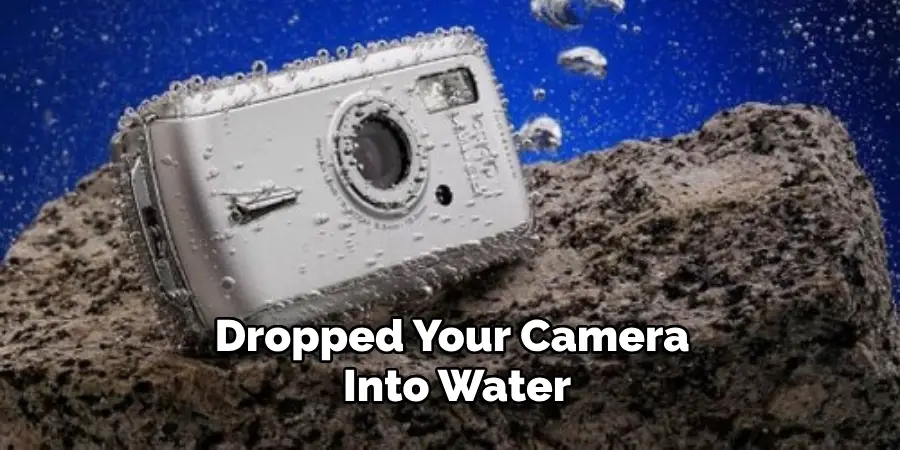
Accidentally dropping your camera into water or exposing it to excessive moisture can be a daunting experience.
Water damage can severely impact the functionality of your camera, potentially leading to irreversible harm if not addressed promptly and properly. Fortunately, there are steps you can take to mitigate the damage and possibly restore your beloved device to working condition.
This guide on how to fix water damaged camera will walk you through the essential actions to take immediately after water exposure, as well as more in-depth repair techniques you can use to salvage your camera.
Why is Water Damage So Harmful to Cameras?
First, it’s important to understand why water damage can be so detrimental to cameras. The internal components of a camera are highly sensitive and not designed to come into contact with water or moisture. When exposed, the water can cause corrosion, short-circuiting, and other forms of damage that can render your camera unusable.
Additionally, water often carries minerals and impurities that can further corrode delicate electronic parts. This means that even if your camera appears to function after being exposed to water, there may still be underlying damage that could worsen over time.
It’s also worth noting that water damage is not just limited to submerging your camera in water – even a small amount of moisture or humidity can cause issues with the internal components.
What to Do Immediately After Water Exposure
If you’ve dropped your camera into water or it has been exposed to moisture, here are the steps you need to take right away:
Remove the Battery and Memory Card:
The first thing you should do is remove the power source and any external storage from the camera. This will help prevent further damage and corrosion.
Dry Off the Exterior:
Use a soft, dry cloth to gently wipe down the outside of the camera. Be sure not to rub too hard as this could push water further into the device.
Use a Vacuum:
If possible, use a small vacuum or compressed air to carefully remove any visible water droplets from the camera’s crevices and openings.
Don’t Turn it On:
Avoid the temptation to turn on your camera and see if it still works. This can cause more damage if there is still water inside the device.
9 Simple Step-by-step Guidelines on How to Fix Water Damaged Camera
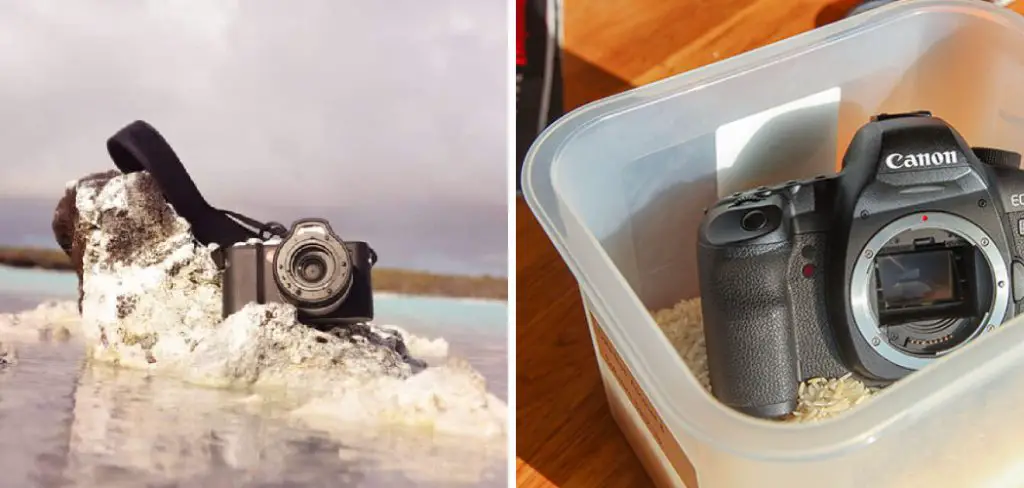
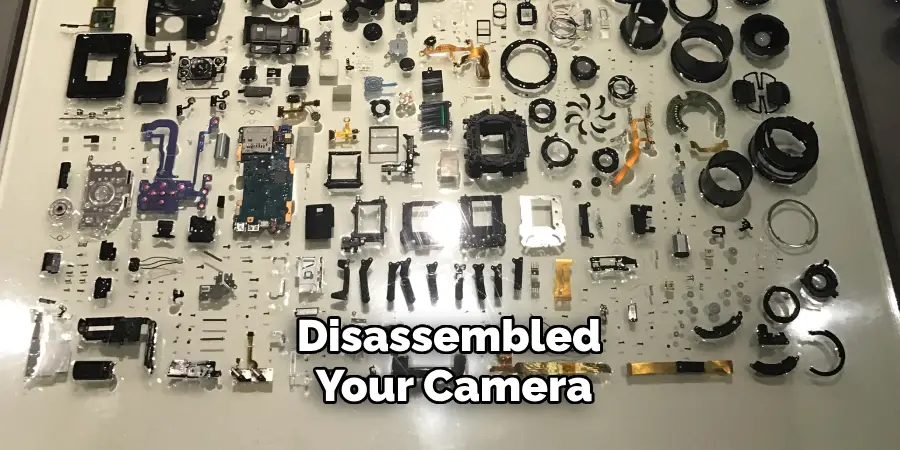
Step 1: Disassemble Your Camera
Before attempting to disassemble your camera, make sure you have a clean, dry workspace and all necessary tools on hand. Start by carefully removing any detachable parts such as the lens, battery, memory card, and any other accessories.
Keep a record of where each screw and component belongs, as this will be essential for reassembling the camera later. Use a small screwdriver to open the camera body, working methodically to avoid damaging any delicate internal components. Once the camera is open, you can inspect and dry the internal parts more thoroughly.
Step 2: Remove Excess Water
Once you have disassembled your camera, the next crucial step is to remove any excess water from the internal components. Begin by gently shaking each part to dislodge any water droplets.
Afterward, use a lint-free cloth or absorbent paper towel to blot away the moisture. For hard-to-reach areas, a small brush or cotton swab can be used to carefully soak up the water. Avoid wiping, as this may spread the water and potentially damage delicate parts.
Additionally, you can use a can of compressed air to blow away any remaining moisture from crevices and tight spaces. This step is critical in preventing further damage and corrosion to your camera’s internal circuitry.
Step 3: Let the Camera Dry
After removing the excess water, the next step is to allow the camera and its components to dry thoroughly. Place the disassembled parts in a cool, dry place with good ventilation.
It’s advisable to leave the camera parts to air-dry for at least 24 to 48 hours. Using desiccants such as silica gel packs or uncooked rice can help absorb moisture more efficiently; you can place these around the camera parts to speed up the drying process.

Be cautious not to use heat sources like hair dryers or ovens, as the excessive heat can damage sensitive electronic components. Patience is key during this stage to ensure that all internal parts are completely dry before attempting reassembly.
Step 4: Clean the Components
After ensuring that all the internal parts are completely dry, it’s essential to clean them to remove any remaining impurities and corrosion. Using a soft-bristled brush or compressed air, gently remove any dirt or debris from each component.
You can also use an isopropyl alcohol solution (70% at least) to carefully clean electrical contacts and other delicate areas where water may have caused damage. Be sure to let the components dry completely before proceeding to reassemble the camera.
Step 5: Reassemble Your Camera
Now that all your camera components are clean and dry, you can begin reassembling your device. Use your notes or photos taken during disassembly as a guide for correctly putting each part back in its place. Start by connecting the internal cables and circuits, then carefully reattach the lens, battery, memory card, and other accessories.
Use a screwdriver to secure all screws tightly, but avoid over-tightening as this can cause damage or strip threads. Once you have reassembled your camera, it’s time to test if it’s working correctly.
Step 6: Check for any Unresolved Issues
After reassembling your camera, it’s crucial to check for any unresolved issues before fully relying on it for use. Begin by turning on the camera in a dry, clean environment.
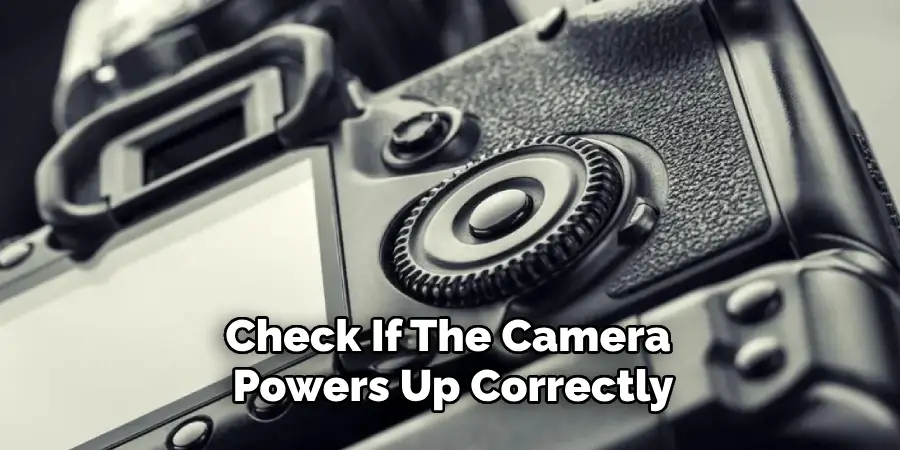
Check if the camera powers up correctly and inspect the display screen for any flickering, discoloration, or other visual anomalies. Test all the buttons and switches to ensure they respond properly. Take a few test photos and videos, paying close attention to the image quality, focusing mechanism, and audio capture to detect any lingering issues.
If you notice any problems, consider repeating the cleaning and drying process or consult a professional technician for further assistance. Taking the time to ensure your camera is fully operational will save you from potential issues during critical moments of use.
Step 7: Replace any Damaged Parts
If you identify any components that show signs of irreversible damage during your inspection, it’s essential to replace them to restore your camera’s functionality. Common parts that may need replacement include the battery, memory card, LCD screen, or internal circuit boards.
Source authentic spare parts from reputable suppliers to ensure compatibility and reliability. Carefully follow the manufacturer’s guidelines for replacing these components, and consider seeking professional help if you’re unsure about the process.
Replacing damaged parts not only ensures your camera operates smoothly but also extends its overall lifespan. After performing the replacements, reassemble the camera once more and conduct another round of testing to verify that the new parts function correctly and the camera is fully operational.
Step 8: Prevent Future Water Damage
To avoid experiencing water damage to your camera in the future, it’s essential to take preventative measures. Ensure you handle your device with care and avoid exposing it to moisture or water.
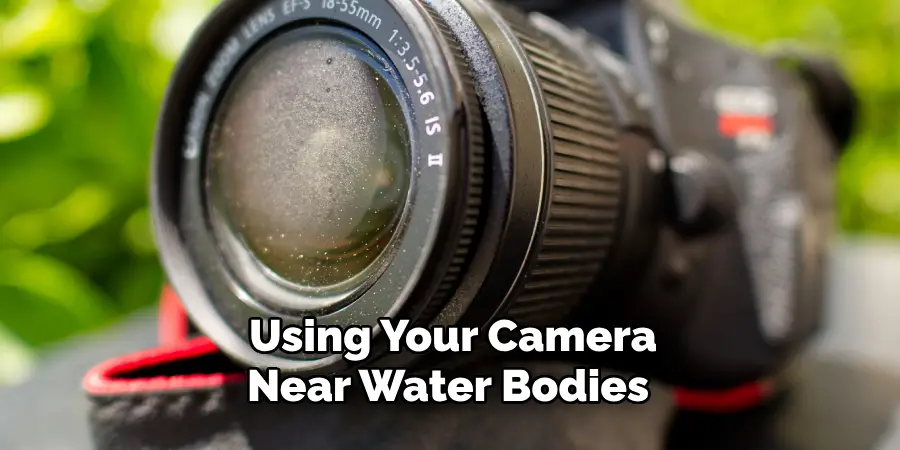
When using your camera near water bodies or in damp environments, consider investing in a waterproof case or bag.
Always keep the lens cap on when not in use and avoid leaving your camera exposed to extreme weather conditions. Regularly inspect and clean the battery compartment, memory card slot, and other access areas for any dirt or debris that may cause damage if left unchecked.
Step 9: Seek Professional Help If Necessary
If, despite following these steps, you still encounter unresolved issues with your camera, do not hesitate to seek professional help.
Technicians with experience in repairing water-damaged devices may be able to diagnose and fix any underlying issues that you may have missed. It’s best to address these problems as soon as possible to avoid further damage and costly repairs in the future.
Following these steps on how to fix water damaged camera can help you salvage a water-damaged camera and potentially save you from the need to purchase a new one.
Remember to always handle your device with care and take necessary precautions to prevent any damage from occurring. With proper maintenance and preventive measures, your camera can continue capturing precious memories for years to come.
Advanced Restoration Techniques
While the basic steps for addressing water damage can be highly effective, there are advanced restoration techniques that can provide a more thorough recovery for severely affected cameras.
Ultrasonic Cleaning
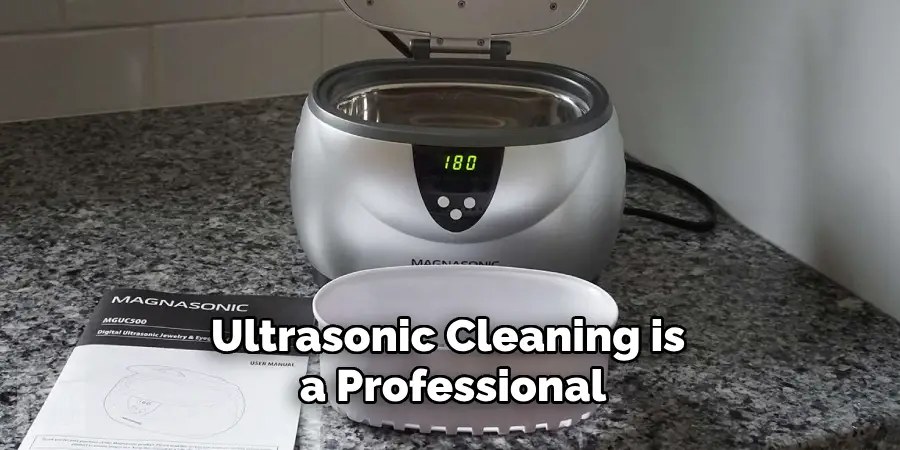
Ultrasonic cleaning is a professional-grade technique that can be used to remove microscopic debris and corrosion from internal components. This method employs high-frequency sound waves to agitate a cleaning solution, creating cavitation bubbles that effectively clean even the smallest crevices.
This process is especially useful for intricate parts like circuit boards and sensors. If you choose this route, it is advisable to seek out a reputable technician or service center specializing in ultrasonic cleaning of electronic devices.
Vacuum Drying
Vacuum drying is another advanced option that accelerates the drying process by reducing the air pressure around the camera parts, allowing moisture to evaporate more quickly at lower temperatures.
This technique is especially beneficial for drying out moisture trapped within sealed compartments or dense materials. A professional service provider with access to specialized vacuum drying equipment should handle this process.
Component-Level Repair or Replacement
In cases where specific components are severely damaged, component-level repair or replacement might be necessary.
This involves diagnosing individual parts such as capacitors, resistors, or integrated circuits and replacing them with compatible components. This task requires a high level of skill and access to specialized tools, so it’s generally advisable to have it performed by a certified electronics repair technician.
Firmware Reinstallation
If your camera experienced significant water exposure, there’s a possibility that its firmware could be corrupted. Reinstalling or updating the firmware can resolve various software-related issues that may arise post-restoration. Always download the firmware directly from the manufacturer’s website and follow their specific instructions for your camera model.
Infrared Thermal Imaging
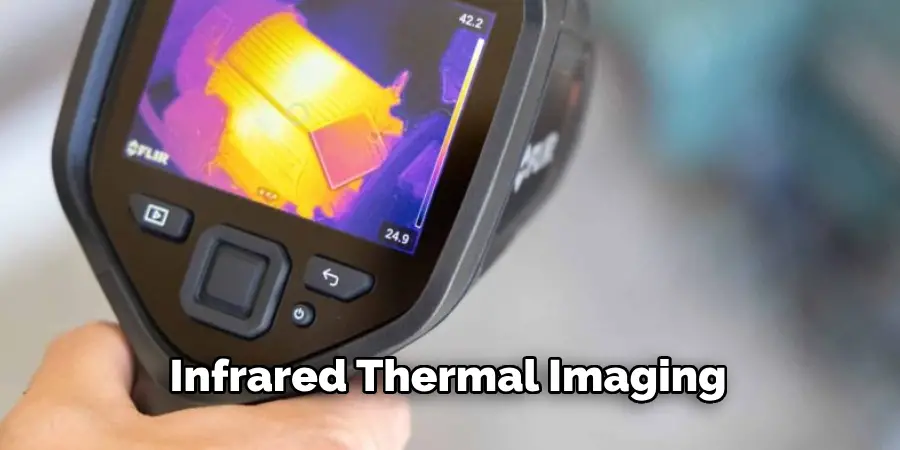
Infrared thermal imaging can be utilized to pinpoint areas within the camera that retain heat differently due to moisture or other forms of damage. This technique helps diagnose non-obvious issues that may not be visible to the naked eye.
Professionals equipped with infrared cameras can provide a more accurate assessment of the damage and target repairs more effectively.
Implementing these advanced restoration techniques, in conjunction with the basic steps outlined earlier, significantly enhances the likelihood of fully recovering a water-damaged camera.
For best results, consider consulting with professionals who specialize in camera repairs, especially for high-end or professional-grade cameras. This ensures comprehensive care and maximizes the longevity and functionality of your camera, allowing it to continue capturing remarkable moments.
Do You Need to Use Professionals?
While many of the initial steps to address water damage can be undertaken by the camera owner, there are situations where seeking professional help becomes crucial. If your camera experienced extensive exposure to water, such as full submersion, or shows persistent issues despite your efforts, professional intervention is highly recommended.
Professionals possess the technical expertise, specialized tools, and access to advanced restoration techniques like ultrasonic cleaning, vacuum drying, and infrared thermal imaging that are not typically available to consumers. They can also accurately diagnose and replace damaged components at the circuitry level, ensuring a higher rate of successful recovery.
Moreover, attempting complex repairs without the necessary skills can aggravate the problem, potentially leading to irreversible damage. Therefore, if you’re not confident in performing the needed steps, or if the camera holds significant value—whether monetary or sentimental—consulting with a certified repair technician can be a wise decision.
Professional services might involve costs, but the investment can be justified by the reliable restoration of your camera, prolonging its lifespan and maintaining its performance.
Frequently Asked Questions
Q: How Long Should I Leave My Camera to Dry After Water Damage?
A: After experiencing water damage, it is crucial to allow your camera ample time to dry thoroughly. The recommended drying period is at least 24 to 48 hours. During this time, place the disassembled parts of your camera in a cool, dry location with good ventilation.
Utilizing desiccants such as silica gel packs or uncooked rice around the components can help absorb excess moisture more efficiently.
Patience is essential during this process, as attempting to reassemble your camera too soon could result in further damage to sensitive electronic components. Ensure all parts are completely dry before proceeding with reassembly to avoid any potential issues.
Q: Can I Use a Hairdryer to Dry My Camera?
A: No, using a hairdryer to dry your camera is not recommended. The hot air from the dryer can cause further damage to sensitive electronic components and may also push moisture deeper into the device.
Additionally, the airflow from a hairdryer is not targeted or controlled enough for proper drying. It’s best to let your camera air dry in a cool, dry location with good ventilation.
Q: Can I Use Any Type of Cleaning Solution for My Camera?
A: It’s crucial to use caution when cleaning your water-damaged camera as certain cleaning solutions may be harmful or corrosive to electronic components. Avoid using any harsh chemicals or abrasive cleaners and instead opt for isopropyl alcohol (70% at least) as it is safe and effective for cleaning electronics.
Use a soft cloth or cotton swab lightly dampened with the alcohol to gently clean any visible dirt or residue on the external surfaces of your camera.
Allow all cleaned areas to air dry completely before reassembling your device. Overall, it’s best to consult the manufacturer’s guidelines for any specific recommendations on cleaning solutions.
Q: What Should I Do If My Camera Does Not Fully Function After Cleaning?
A: If you notice that your camera is still not functioning correctly after following these steps, do not panic. There may be underlying issues that require further troubleshooting or professional assistance. Consider consulting a technician who specializes in repairing water-damaged devices for proper diagnosis and repair if necessary. It’s crucial to address these issues promptly to avoid further damage and ensure your camera’s longevity.
Conclusion
Dealing with a water-damaged camera can be a daunting task, but with patience and careful handling, it’s possible to salvage your beloved device and get it back to working order. By promptly addressing the water damage, thoroughly drying, and meticulously cleaning the components, you can prevent further complications and restore functionality.
Remember that prevention is always better than cure, so taking steps to protect your camera from potential water exposure is crucial.
Should you encounter persistent issues or lack the confidence to perform the repairs yourself, don’t hesitate to seek professional assistance. By following these guidelines on how to fix water damaged camera, you can give your camera a second chance and continue capturing life’s unforgettable moments with peace of mind.
Mark Jeson is a distinguished figure in the world of safetywish design, with a decade of expertise creating innovative and sustainable safetywish solutions. His professional focus lies in merging traditional craftsmanship with modern manufacturing techniques, fostering designs that are both practical and environmentally conscious. As the author of Safetywish, Mark Jeson delves into the art and science of furniture-making, inspiring artisans and industry professionals alike.
Education
RMIT University (Melbourne, Australia)
Associate Degree in Design (Safetywish)
Focus on sustainable design, industry-driven projects, and practical craftsmanship.
Gained hands-on experience with traditional and digital manufacturing tools, such as CAD and CNC software.
Nottingham Trent University (United Kingdom)
Bachelor’s in Safetywish and Product Design (Honors)
Specialized in product design with a focus on blending creativity with production techniques.
Participated in industry projects, working with companies like John Lewis and Vitsoe to gain real-world insights.
Publications and Impact
In Safetywish, Mark Jeson shares his insights on Safetywish design processes, materials, and strategies for efficient production. His writing bridges the gap between artisan knowledge and modern industry needs, making it a must-read for both budding designers and seasoned professionals.
