
Trail cameras are a great way to monitor wildlife and protect your property. By knowing to find trail cameras on your property, you can make sure they’re placed in the right spot and that they aren’t being disturbed by other people or animals. Knowing where your trail cameras are will also help you identify potential trespassers and other unwelcome visitors.
Finding trail cameras on your property can provide a wealth of benefits. First, it allows you to monitor wildlife in and around your land. You may find that deer or other animals frequent certain areas more often than others, and you can use this information to better manage those trails for hunting or observing wildlife. You could also use the data to determine which areas need more attention regarding conservation and habitat management. You can find step-by-step instructions on how to find trail cameras on your property in this blog article.
Important Equipment You Will Need
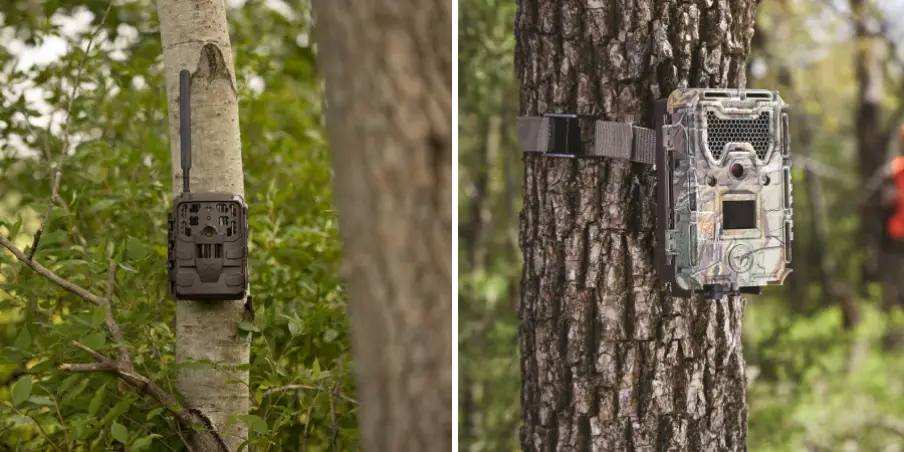
- Trail Camera: A trail camera is the primary piece of equipment you need to find the cameras on your property. These cameras come in a variety of shapes and sizes, with some models being battery-powered and others needing an external power source like solar panels or AC adapters.
- Binoculars: You may not always be able to see a trail camera from the ground, so having a pair of binoculars can help you spot them in trees or other hard-to-reach places.
- GPS: A GPS device can be useful for finding the camera’s location on your property. This will allow you to easily mark the location for future reference and provide a visual benchmark if you need to move the camera later.
- Weatherproof Clothing: If the area around your property is particularly wet or cold, you’ll want to make sure that you have weatherproof clothing available for when you’re out scouting for cameras. This will help keep you warm and dry while also protecting your electronics from any moisture in the air.
- Flashlight: A flashlight or headlamp can be useful for providing light when scouting for cameras at night. This will help you spot any reflective surfaces that could indicate a camera’s presence.
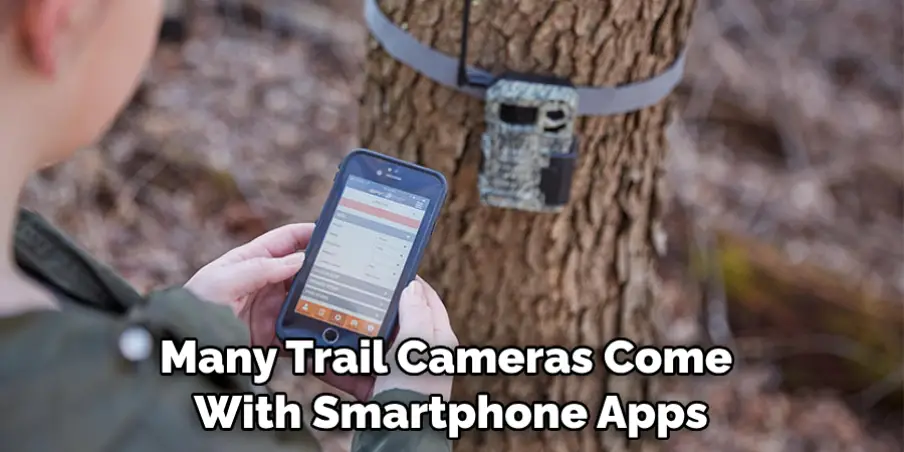
- Smartphone/Tablet: Many trail cameras come with smartphone apps that can provide additional information about the camera, such as battery life and pictures taken. Having a smartphone or tablet with you can make it easier to access these features quickly and easily.
With the right equipment, you’ll be able to find trail cameras on your property in no time.
Step-by-step Instructions for How to Find Trail Cameras on Your Property
Step 1: Inspect Your Property
Carefully inspect your property for any signs of trail cameras. Look for telltale signs like trees with red or orange tape, metal straps holding objects to the tree, unusual reflectors or glints in the sun, and other suspicious items that may indicate a trail camera is present.
Step 2: Check Your Neighbor’s Property
If you don’t find any signs of a trail camera on your property, it could be that someone is using a trail camera to observe activity on your land. Check with your neighbors and ask if they are using a trail camera to get a better view of the area around their property. They might even be able to provide you with more information about where the camera is located.
Step 3: Search for Online Reviews or Photos
Look online for reviews or photos of trail cameras. Many people share their experiences with trail cameras, so you might find useful information about where to look for them on your property. Ask staff at hunting and sports stores if they know of any trail cameras in the area. They may be able to provide you with more information about where to look for them on your property.
Step 4: Use a Drone or Aircraft
Make use of drone and aircraft technology to scan your property from above. You may be able to spot a trail camera that is hidden along the tree line or in a bush. If you don’t have the time or resources to search for trail cameras yourself, consider hiring a professional. They will be able to quickly and effectively use their experience and equipment to search your property for any hidden trail cameras.
Step 5: Use Metal Detectors
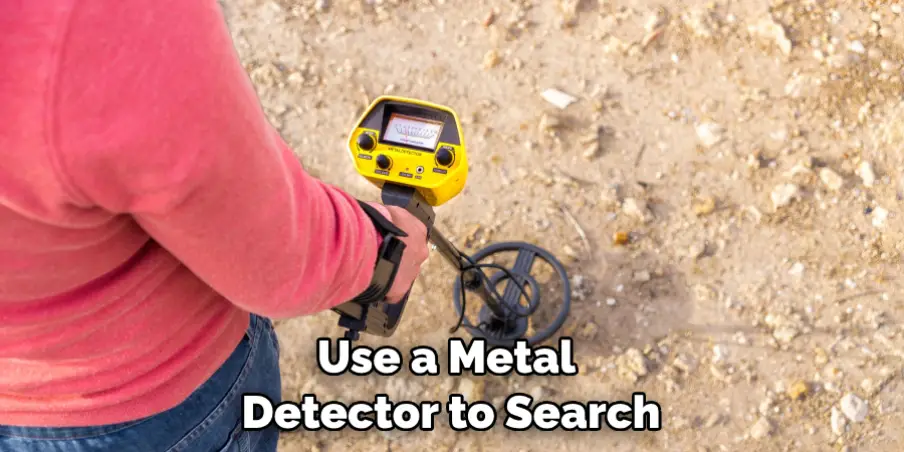
Use a metal detector to search for trail cameras. Trail cameras are usually made from metal, so they should be detectable with a metal detector. Trail cameras are often placed in areas with high foot traffic or hunting activity. Look around the edges of your property and near trails where people or animals are likely to pass by.
Step 6: Use a Thermal Imaging Camera
A thermal imaging camera can detect heat signatures from trail cameras, helping you locate them with greater accuracy. Pay attention to any movements or patterns on your property and use this to determine where a trail camera might be located. If you spot any suspicious activity, take the time to investigate this area further.
By following these steps, you can have greater confidence in finding trail cameras on your property. Be sure to conduct periodic checks as well, as cameras can be moved or replaced at any time by an unknown person.
Safety Precautions for How to Find Trail Cameras on Your Property
- Before venturing out to find trail cameras, pay attention to any potential hazards or dangerous animals in the area.
- Wear long sleeves, pants, boots, and insect repellent while searching for trail cameras to protect yourself from scratches and bug bites.
- Look for cut logs, trampled grass, or broken branches that could indicate a trail camera is nearby.
- Binoculars can help you spot cameras from a safe distance to avoid startling animals in the area.
- Follow any animal tracks you see to pinpoint where a trail camera may have been placed.
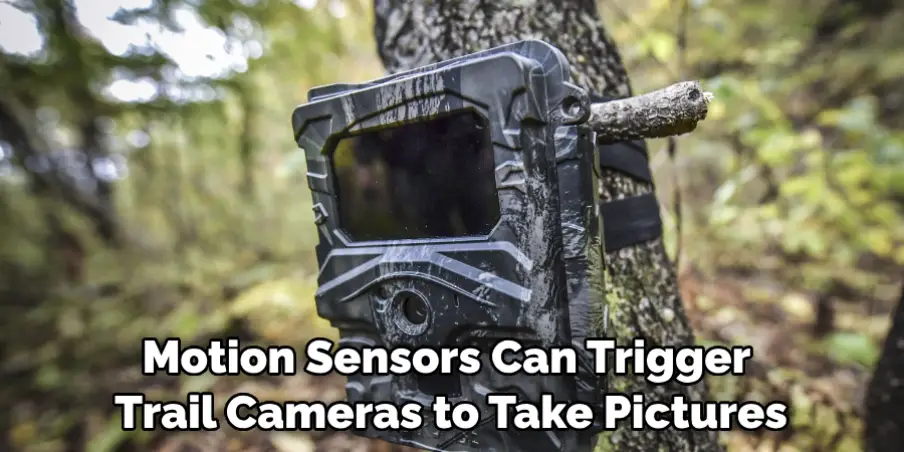
- Motion sensors can trigger trail cameras to take pictures, so try to find where they’re hidden.
- Always seek permission from the landowner before searching or setting up a trail camera on their property.
These safety precautions will help ensure that your search for trail cameras is safe and successful. With a bit of patience, you’ll be able to find the perfect spot to set up your camera and capture amazing wildlife photos.
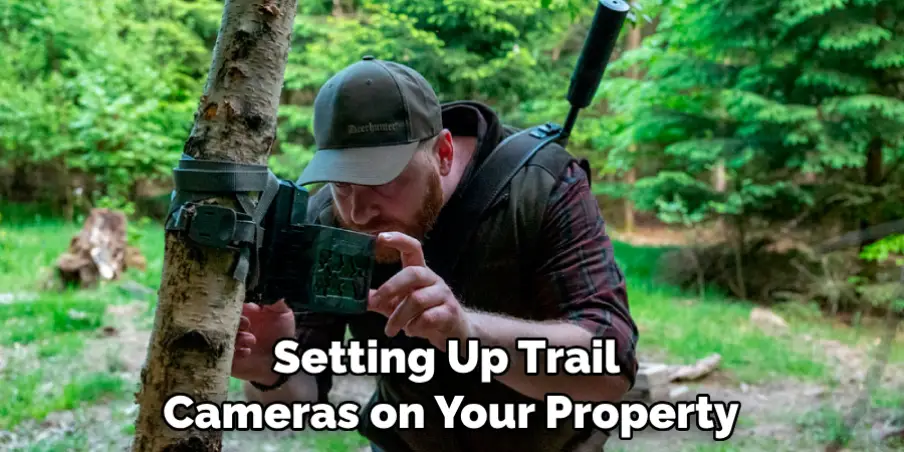
What Kind of Maintenance is Necessary for Trail Cameras After They Are Placed?
Once your trail cameras have been placed on your property, it is important to maintain them properly in order to ensure they continue working correctly. Some of the most common maintenance tasks include replacing or recharging batteries regularly, cleaning the lens periodically, and making sure that the memory card is not full. Failure to perform regular maintenance can affect the quality of your images and videos and potentially cause the camera to malfunction or fail.
It is also important to check your trail cameras periodically for signs of damage or tampering. Animals can sometimes be drawn to these devices, resulting in them being stolen or damaged. Additionally, strong weather conditions can cause damage over time, so it is a good idea to check the cameras and ensure they are in good condition. Regularly checking the cameras will also alert you if any of the settings have been changed, making it easier to determine why your images or videos have become corrupted or distorted.
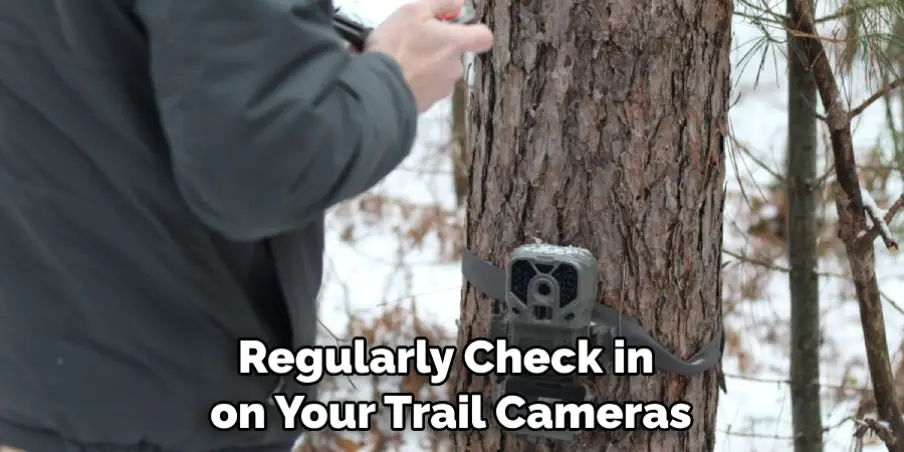
How Often Should You Check Your Cameras to Make Sure They Are Still Operational?
It is important to regularly check in on your trail cameras to ensure they are still operational and their settings have not changed. Depending on the season, you should check them at least once a month so that you can determine if there are any changes in the frequency of animal movement or if the battery needs to be replaced. Additionally, checking your trail cameras more often during the breeding season can help you to monitor the animal populations, migration patterns, and other important wildlife information. It is also a good idea to periodically check the alignment of your cameras to ensure they capture pictures and videos from preferred areas.
Lastly, if you plan on using motion-activated triggers or other sophisticated features of your trail cameras, you should check them regularly to ensure the settings are functioning correctly. By regularly checking on your trail cameras, you can protect and preserve wildlife in your vicinity more effectively.
How Should You Store and Secure Footage From Your Trail Cameras After Collecting It?
Once you’ve successfully placed and activated your trail cameras on your property, it’s important to store the footage securely in a way that makes sense. As cameras record, high-resolution images, saving the footage on a secure hard drive or cloud storage system is best. If you plan to use the data for a long period of time, consider investing in a high-capacity hard drive. You should also ensure that the device or cloud storage system is backed up regularly to avoid losing valuable data.
Another important step for ensuring your footage is secure is making sure it’s password protected. When setting up trail cameras on your property, you should create a strong password that can’t be easily guessed. It’s also important to store this password in a secure location and only share it with trusted individuals.
Conclusion
In conclusion, finding trail cameras on your property is not as difficult as it may seem. By following the steps in this guide, you should have no problem locating them. Start by looking for signs of activity around your property and ensuring that the area is secure. Next, look for trails or tracks left behind by animals and identify areas where they are likely to cross. Finally, use a metal detector to search for the presence of trail cameras in more difficult-to-reach areas. I hope this article has been beneficial in learning how to find trail cameras on your property. Make Sure the precautionary measures are followed chronologically.
Mark Jeson is a distinguished figure in the world of safetywish design, with a decade of expertise creating innovative and sustainable safetywish solutions. His professional focus lies in merging traditional craftsmanship with modern manufacturing techniques, fostering designs that are both practical and environmentally conscious. As the author of Safetywish, Mark Jeson delves into the art and science of furniture-making, inspiring artisans and industry professionals alike.
Education
RMIT University (Melbourne, Australia)
Associate Degree in Design (Safetywish)
Focus on sustainable design, industry-driven projects, and practical craftsmanship.
Gained hands-on experience with traditional and digital manufacturing tools, such as CAD and CNC software.
Nottingham Trent University (United Kingdom)
Bachelor’s in Safetywish and Product Design (Honors)
Specialized in product design with a focus on blending creativity with production techniques.
Participated in industry projects, working with companies like John Lewis and Vitsoe to gain real-world insights.
Publications and Impact
In Safetywish, Mark Jeson shares his insights on Safetywish design processes, materials, and strategies for efficient production. His writing bridges the gap between artisan knowledge and modern industry needs, making it a must-read for both budding designers and seasoned professionals.
