
If you’re looking for an easy way to enhance your home security, installing a video doorbell is a great place to start. With the Google Doorbell, you’ll be able to see who’s at your door and keep an eye on your home whenever you want.
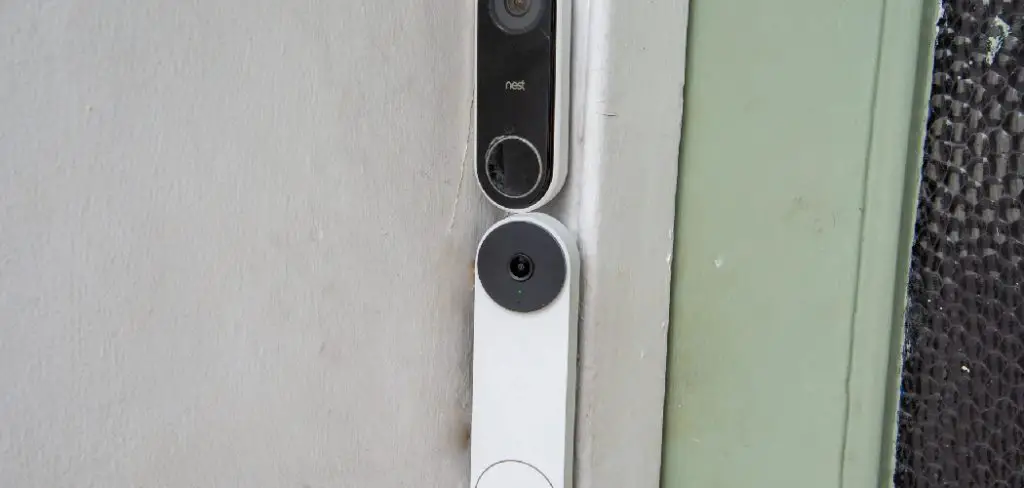
Plus, it’s wire-free and easy to install! In this blog post, we’ll provide a step-by-step guide on how to install google doorbell battery and get it up and running in no time.
Can You Install Google Doorbell Battery?
It’s a question that many homeowners are likely asking themselves as they attempt to upgrade their home security systems: Can you install a Google doorbell battery? The good news is that the answer is a resounding Yes! Not only is it possible to install a battery-powered Google doorbell, but it’s also a relatively easy process that won’t take up too much of your time.
Simply follow the manufacturer’s instructions, and before you know it, you’ll have a high-quality doorbell that will help keep you and your loved ones safe and sound. So go ahead and take that step towards greater home security today!
A Step-by-Step Guide on How to Install Google Doorbell Battery
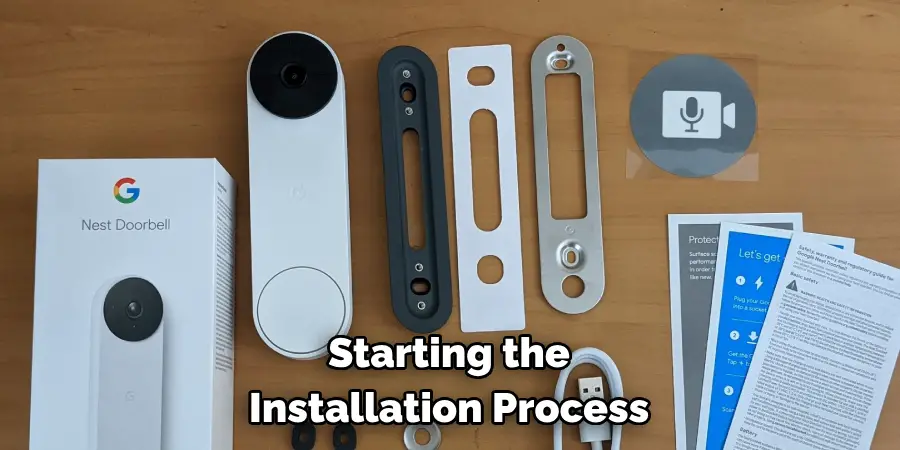
Step One: Charge the Battery
Before starting the installation process, make sure the battery is fully charged. Remove the battery from the packaging and connect it to the USB charger with the doorbell. Wait until the battery is fully charged before proceeding.
Step Two: Download the Google Home App
The Google Doorbell requires the Google Home app to function. Download the app on your smartphone or tablet, and sign in with your Google account. Follow the app’s instructions to set up your device.
Step Three: Install the Mounting Bracket
The next step is to install the mounting bracket. Hold the bracket against the wall or doorframe at the desired location and use the provided screws to secure it. Make sure the bracket is level before tightening the screws completely.
Step Four: Attach the Doorbell to the Bracket
Now that you’ve installed the mounting bracket, it’s time to attach the doorbell to it. Line up the doorbell with the bracket’s grooves and slide it down until it clicks into place. Make sure the doorbell is securely attached to the bracket.
Step Five: Insert the Battery
Once the doorbell is in place, insert the charged battery. To do this, open the back cover of the doorbell and carefully slide in the battery. Make sure it’s seated properly before closing the cover.
Step Six: Connect to Wi-Fi
Connect your device to your home Wi-Fi network by going to the Wi-Fi settings in the Google Home app. Follow the instructions on the screen to finish setting up your device and connecting it to your home network.
Step Seven: Enjoy!
Your Google doorbell is now ready for use! Test it by ringing the bell or using voice commands with Google Assistant. With a few simple steps, you can now enjoy the convenience of a Google Doorbell in your home.
That’s it! You’ve now learned how to install google doorbell battery. Enjoy the added security and convenience of having this device in your home.
5 Considerations Things When You Need to Install Google Doorbell Battery
1. Power Requirements
One of the first things you must consider when installing a Google doorbell battery is the power requirements. The battery must provide enough power to run the doorbell and its associated components. If you are unsure how much power your doorbell requires, you can check the manufacturer’s website or the documentation that came with the doorbell.
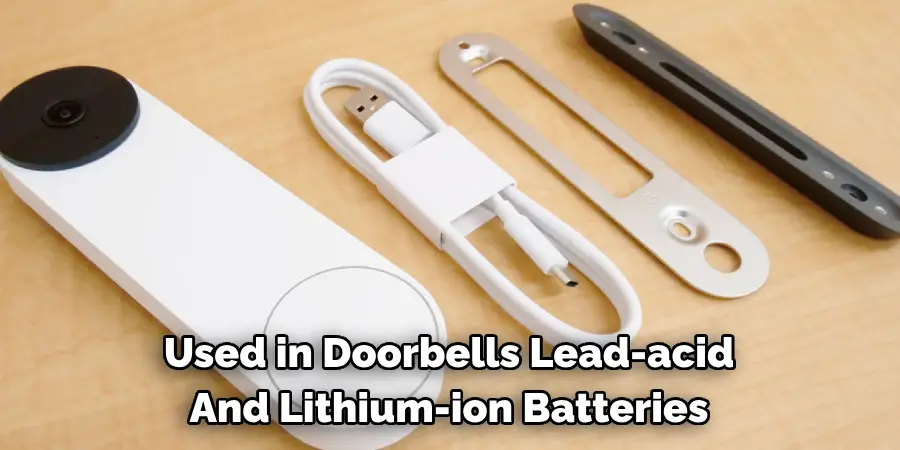
2. Battery Type
Another thing to consider is the type of battery you will need. Two main types of batteries are used in doorbells: lead-acid and lithium-ion batteries. Lead-acid batteries are cheaper and have a longer life but are also heavier and more difficult to install. Lithium-ion batteries are more expensive but lighter and easier to install.
3. Battery Life
You must also consider the battery life when choosing a Google doorbell battery. Most batteries will last several years, but some may only last a few months. If you want a long-lasting battery, you should choose a lead-acid battery. If you want a shorter-lived battery, you can choose a lithium-ion battery.
4. Installation Location
Another thing to consider is where you will install the battery. Most batteries can be installed inside or outside the doorbell, but some may need to be installed in a specific location to work properly. You should check the manufacturer’s website or the documentation with the doorbell to see where the battery should be installed.
5. Price
Finally, it would be best to consider the price when choosing a Google doorbell battery. Lead-acid batteries are typically cheaper than lithium-ion batteries but may not last as long. Lithium-ion batteries are more expensive but will last longer and are easier to install.
3 Benefits of Install Google Doorbell Battery
1. Google Doorbell Battery is Easy to Install
One of the primary benefits of the Google Doorbell Battery is that it is easy to install. The battery can be installed in just a few minutes and does not require any special tools or knowledge. Additionally, the battery has clear instructions that make it easy to follow.
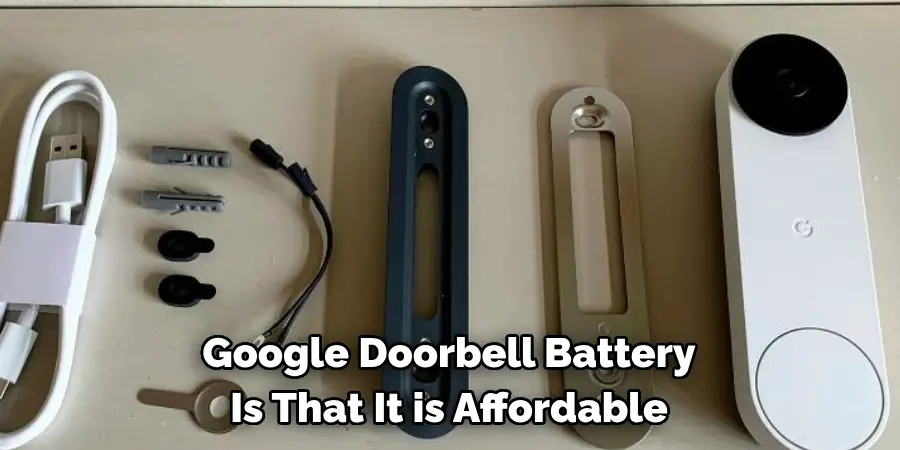
2. Google Doorbell Battery is Affordable
Another benefit of the Google Doorbell Battery is that it is affordable. The battery is priced at just $49, which makes it a great option for those on a budget. Additionally, the battery comes with a one-year warranty, so you can be sure it will last for a long time.
3. Google Doorbell Battery Has a Long lifespan
A final benefit of the Google Doorbell Battery is that it has a long lifespan. The battery is designed to last up to five years, so you will not have to replace it very often. Additionally, the battery is rechargeable, so you can use it repeatedly without buying new batteries. This can help you save money in the long run.
Installing a Google doorbell battery is an easy and affordable way to make your home smarter and more secure. With these five considerations, you can find the perfect battery and install it quickly and easily.
6 Common Mistakes People Make When Trying to Install Google Doorbell Battery
1. Not Checking the Doorbell’s Battery
One of the most common mistakes people make when installing a Google doorbell battery is not checking the doorbell’s battery. The doorbell’s battery powers the device, so it’s important to ensure it has enough power before trying to install it. Otherwise, the doorbell may not work properly or may not work at all.
2. Not Following the Instructions
Another common mistake people make when installing a Google doorbell battery is not following the instructions. The instructions with the doorbell are there for a reason, so it’s important to read them carefully and follow them step-by-step. Skipping steps or doing something out of order can result in an installation that doesn’t work properly.
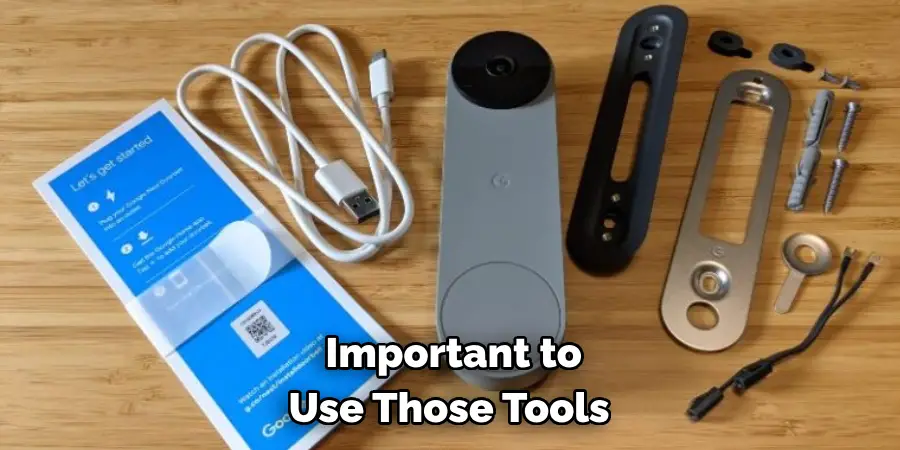
3. Not Using the Right Tools
Another mistake people make when installing a Google doorbell battery is not using the right tools. The doorbell comes with a specific set of tools designed for the installation, so it’s important to use those tools and not try to substitute other tools you may have around the house. Using the wrong tools can damage the doorbell or make installation difficult.
4. Not Leveling the Doorbell
The doorbell needs to be leveled to work properly, so it’s important to take the time to level it before proceeding with the installation. An easy way to level the doorbell is by using a spirit level or bubble level.
5. Not Connecting the Wires Properly
The wires need to be connected correctly for the doorbell to work, so it’s important to take your time and double-check that they are connected correctly before moving on. Incorrectly connected wires can cause many problems, including preventing the doorbell from working altogether.
6. Not Testing the Doorbell Before Installing It
One final mistake people make when installing a Google doorbell battery is not testing the doorbell before installing it. It’s always a good idea to test the doorbell before permanently installing it to ensure everything works correctly. Once you’ve tested it and everything seems to be working fine, you can permanently install it.
What Is the Expected Life Span of A Google Doorbell Battery?
A Google doorbell battery can provide convenience and security to any household. It enables you to monitor your doorstep anytime and anywhere without hassle. However, like any other battery-powered device, it is normal to question its lifespan. So, what is the expected life span of a Google doorbell battery? The answer may vary depending on usage and conditions. On average, a fully charged battery can last up to 6 months before needing a recharge. It is important to consider the weather and frequency of use when checking your device’s battery life. Nonetheless, with its convenience, investing in a Google doorbell is undoubtedly a wise choice.
Conclusion
By following these simple steps, you can install the Google Doorbell battery in no time. With its wire-free design, you won’t need to worry about complicated wiring or hiring an electrician.
Plus, with the added convenience of the Google Home app, you can access your doorbell’s footage from anywhere, anytime. Enjoy the peace of mind that comes with knowing your home is secure, all with the help of the Google Doorbell. Thanks for reading our post about how to install google doorbell battery.
Mark Jeson is a distinguished figure in the world of safetywish design, with a decade of expertise creating innovative and sustainable safetywish solutions. His professional focus lies in merging traditional craftsmanship with modern manufacturing techniques, fostering designs that are both practical and environmentally conscious. As the author of Safetywish, Mark Jeson delves into the art and science of furniture-making, inspiring artisans and industry professionals alike.
Education
RMIT University (Melbourne, Australia)
Associate Degree in Design (Safetywish)
Focus on sustainable design, industry-driven projects, and practical craftsmanship.
Gained hands-on experience with traditional and digital manufacturing tools, such as CAD and CNC software.
Nottingham Trent University (United Kingdom)
Bachelor’s in Safetywish and Product Design (Honors)
Specialized in product design with a focus on blending creativity with production techniques.
Participated in industry projects, working with companies like John Lewis and Vitsoe to gain real-world insights.
Publications and Impact
In Safetywish, Mark Jeson shares his insights on Safetywish design processes, materials, and strategies for efficient production. His writing bridges the gap between artisan knowledge and modern industry needs, making it a must-read for both budding designers and seasoned professionals.
