
Installing a Hornbill Smart Lock is easy and can make your home much more secure. With its advanced security features, you can monitor who enters your home and when. The lock will alert you if anyone tries to gain access without permission. And with remote access from your phone or tablet, you’ll have complete control of who enters and leaves your home no matter where you are.
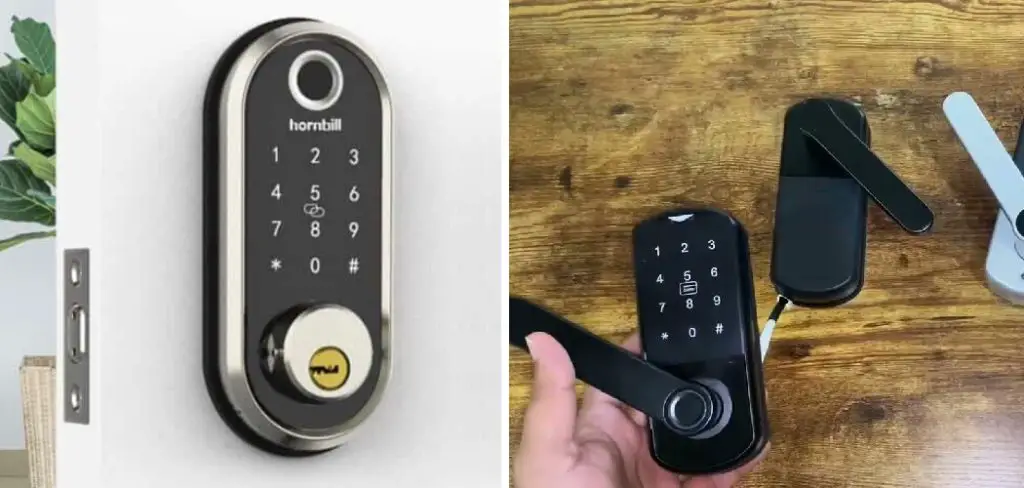
Installing a Hornbill Smart Lock has many advantages. You’ll be able to lock and unlock your home from anywhere, receive notifications when someone enters or exits, remotely share access with others, and even set up geofencing so that the locks automatically lock when you leave a certain area. You can find step-by-step instructions on how to install hornbill smart lock in this blog article.
Step-by-step Instructions for How to Install Hornbill Smart Lock
Step 1: Inspect the Smart Lock
Before installation, ensure everything is in working order. Ensure all the smart lock components are included in the kit. Also, check that all parts are undamaged and free from defects.
Step 2: Remove Existing Lock
Using a Phillips head screwdriver, remove the existing lockset from the door. Use a drill to remove any lingering screws or bolts on the door if needed. Starting with the strike plate, mark the position of its screws on the doorjamb.
Predrill pilot holes into the doorjamb about 1/8 inch deep, then affix it with two Phillips head wood screws. Next, insert your key cylinder into the strike plate and tighten the set screw to secure it in place.
Step 3: Install the Latch Assembly

Position the latch assembly on the hole in the door left by your old lockset, then mark and drill pilot holes for three wood screws into its edge. Secure it on the door with these screws, ensuring all components are properly fitted and aligned. Place the lock body on the door edge and mark two pilot holes for wood screws. Pre-drill these holes, then affix it onto the latch assembly with two Phillips head wood screws.
Step 4: Connect Wiring to Lock the Body
Connect wiring to lock body according to the instructions provided. Make sure all connections are secure and properly insulated. Insert your lock cylinder into the lock body, ensuring you line up its key slots with the two tumblers inside. Then, tighten the setscrew to secure it in place.
Step 5: Install the Faceplate
Align and position the faceplate on the door. Then, mark two pilot holes for wood screws about 1/8 inch deep into its edges. Pre-drill these holes, then affix it onto the lock body with two Phillips head wood screws. Follow the instructions provided to program the desired settings for your smart lock.
Step 6: Test Smart Lock Performance
Once all steps have been completed, test out the lock’s performance. Ensure it is functioning properly and that all components are securely in place. If you encounter any issues, refer to the troubleshooting section of the user manual.
Tips for How to Install Hornbill Smart Lock
- Make sure to read the instructions that come with your Hornbill Smart Lock carefully before you begin installation.
- Ensure that the power source is properly working and compatible with the locking system installed on your door before connecting it with your smart lock.
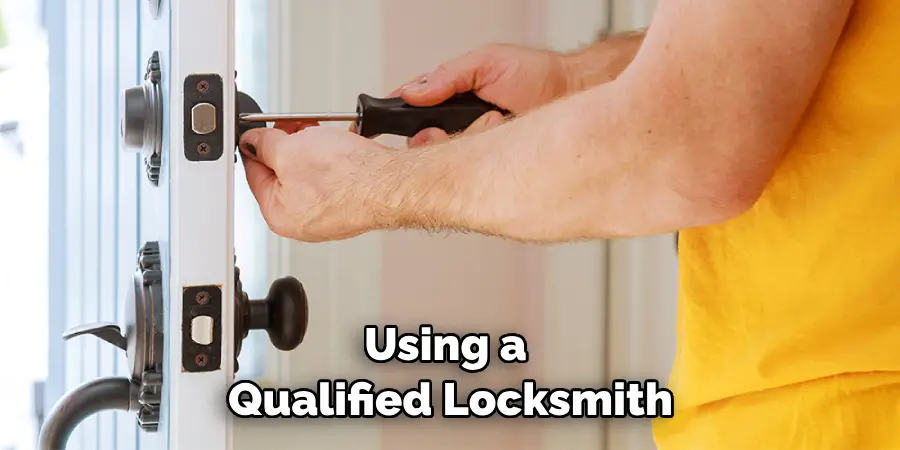
- Using a qualified locksmith for any complex work related to installing or fixing a Hornbill Smart Lock is recommended.
- Make sure to check all the components of your smart lock system for any signs of damage before beginning installation.
- Double-check that all wires and cables are firmly connected with the locking system during installation.
- Test your Hornbill Smart Lock regularly to ensure it functions properly and securely.
Ensure that you have all the necessary tools and accessories mentioned in the Hornbill Smart Lock installation instruction manual. This will ensure that your door is locked properly and securely without any issues.
How Long Will It Take to Install the Hornbill Smart Lock?
The installation time for a Hornbill Smart Lock depends on the type of door you are installing it in, its complexity and your skill level. Generally speaking, a basic installation process should take anywhere from 30 minutes to 1 hour.
For more complex installations or if you are unfamiliar with such technology, it may take up to 2 hours or more for the entire process. It is also important to note that if you are using a qualified locksmith, they may take additional time to properly secure your door and ensure that the Hornbill Smart Lock is working as intended.
Benefits of Installing a Hornbill Smart Lock
- Increased Security: The Hornbill Smart Lock uses advanced technology such as biometric scanners, digital keys, and encrypted codes to lock and unlock the door securely. This ensures that no unauthorized person can gain access to your property.
- Remote Monitoring: With a Hornbill Smart Lock, you can monitor who enters and exits your property remotely from anywhere.
- Easy Installation: The Hornbill Smart Lock is designed for easy installation and can be done by a qualified locksmith or DIY enthusiasts.
- Cost-Effective: Hornbill Smart Lock is a cost-effective way to secure your home without investing in expensive security systems or personnel.
- One-Touch Access: With the Hornbill Smart Lock, you can access your property with just one touch of a button.
- Long Battery Life: The Hornbill Smart Lock has a long battery life and is designed to last up to 1 year without recharging.
- Smartphone Compatible: The Hornbill Smart Lock is compatible with Android and iPhone devices so that you can control it remotely from anywhere.

By installing a Hornbill Smart Lock, you can enjoy the convenience of modern technology and increased security for your home or business. It is highly recommended to use qualified locksmiths for any complex installation work related to the smart lock system.
Is It Possible to Control Access to Your House With a Hornbill Smart Lock?
Yes, you can control access to your home with a Hornbill Smart Lock. The Hornbill Smart Lock allows you to easily grant and revoke access rights for up to 100 users in seconds. You can also set up automated rules that lock or unlock doors at certain times of the day. It is ideal for homeowners who want total control over their door security without worrying about losing or forgetting keys.
You will need a power drill and screwdriver to install your Hornbill Smart Lock. Begin by drilling four holes into the doorjamb where you want the lock installed. Place the lock body into those holes and secure it with screws. Connect the two wires from the lock to an outlet using a power drill. Finally, connect the lock to the Hornbill app using Bluetooth and follow the instructions in the app to set up your access rules.
How Do You Troubleshoot if Your Hornbill Smart Lock Isn’t Working Properly?
If your Hornbill Smart Lock isn’t functioning correctly, there are a few steps you can take to troubleshoot the problem.
- Confirm that all lock components are securely installed and that no hardware pieces have been dislodged from their proper positions. Check each mounting surface to ensure everything is properly in place and secured.
- Check the batteries to ensure they are at full power, and the contacts have not become corroded or blocked with dust, dirt, grime, etc.
- Ensure your smartphone is updated with the latest software updates so you can access the Hornbill Smart Lock app.
- Ensure that Bluetooth is enabled on your phone.
- If you need help solving these steps, contact Hornbill customer service for technical assistance. The team ensures you get the most out of your Smart Lock experience.
Knowing how to install and troubleshoot your Hornbill Smart Lock will ensure it functions properly and provides a secure access point into your home or office building. With all the features and benefits of the Hornbill Smart Lock, you can have peace of mind knowing your home is secure.
Is There Any Special Maintenance You Should Be Aware of for Your Hornbill Smart Lock?
Yes, you should take certain maintenance steps to ensure your Hornbill Smart Lock functions properly. Here are some tips for maintaining your Hornbill Smart Lock:

- Replace the battery every six months or as needed and ensure all connections remain secure.
- Regularly check the mounting surface to ensure it is clean of dirt, grime, etc.
- Make sure the mounting screws are tight and secure in place.
- Wipe down the keypad of your Smart Lock with a damp cloth to remove any dust particles or other debris that may have accumulated over time.
- Keep an eye on the app for software updates, as these will ensure your Hornbill Smart Lock is up-to-date with the latest security features.
- Make sure you back up your data regularly – this will help protect your account information in case of an emergency or system outage.
- If you notice any strange noises, vibrations, or other odd behavior coming from the lock, contact Hornbill customer service to have it looked at.
By taking the necessary steps to maintain your Hornbill Smart Lock, you can ensure it’ll provide secure and reliable access for a long time.
Conclusion
In conclusion, installing a Hornbill Smart Lock is an easy and intuitive process that can bring peace of mind to any homeowner. Whether seeking extra security or wanting the latest technology, a Hornbill Smart Lock can provide the best of both worlds.
In addition to providing convenience and reliability, these locks are backed by industry-leading customer service, ensuring you get help with any issue. With a wide range of models to choose from, Hornbill has something for everyone. This article has been beneficial in learning how to install hornbill smart lock. Make Sure the preventive measures are followed chronologically.
Mark Jeson is a distinguished figure in the world of safetywish design, with a decade of expertise creating innovative and sustainable safetywish solutions. His professional focus lies in merging traditional craftsmanship with modern manufacturing techniques, fostering designs that are both practical and environmentally conscious. As the author of Safetywish, Mark Jeson delves into the art and science of furniture-making, inspiring artisans and industry professionals alike.
Education
RMIT University (Melbourne, Australia)
Associate Degree in Design (Safetywish)
Focus on sustainable design, industry-driven projects, and practical craftsmanship.
Gained hands-on experience with traditional and digital manufacturing tools, such as CAD and CNC software.
Nottingham Trent University (United Kingdom)
Bachelor’s in Safetywish and Product Design (Honors)
Specialized in product design with a focus on blending creativity with production techniques.
Participated in industry projects, working with companies like John Lewis and Vitsoe to gain real-world insights.
Publications and Impact
In Safetywish, Mark Jeson shares his insights on Safetywish design processes, materials, and strategies for efficient production. His writing bridges the gap between artisan knowledge and modern industry needs, making it a must-read for both budding designers and seasoned professionals.
