
Installing a Nest Doorbell (Battery) is a simple process that enhances the security and convenience of your home. This guide on how to install nest doorbell battery will walk you through the steps needed to successfully install your new doorbell, whether you’re replacing an existing one or setting it up for the first time.
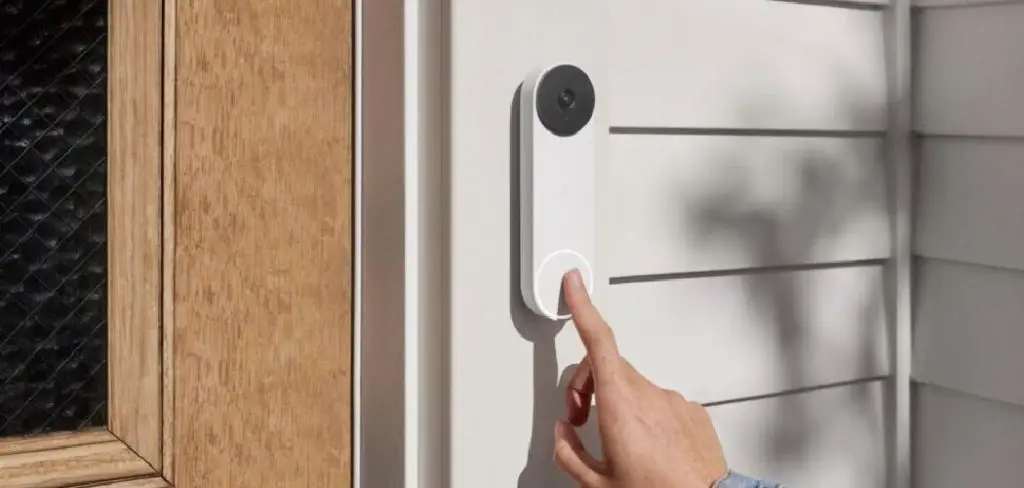
With just a few tools and a bit of time, you’ll have your Nest Doorbell configured and ready to go, providing you with reliable video monitoring and seamless integration with your smart home system.
What’s Included in the Box?
When you unbox your Nest Doorbell (Battery), you’ll find everything you need to get started with the installation process. Here’s what’s included in the package:
Nest Doorbell (Battery):
The main device is equipped with video monitoring capabilities.
Mounting Bracket:
Used to securely attach the doorbell to your wall or door frame.
Release Tool:
A small, key-like tool for detaching the doorbell when needed.
Wall Screws and Anchors:
Essential hardware for installation, suitable for different wall materials.
USB Charging Cable:
For charging the doorbell before use.
Quick Start Guide:
A helpful instruction manual to get you set up quickly and easily.
Ensure you inspect the box to verify that all items are included before starting the installation process. If anything is missing, contact Nest support promptly for assistance.
Tools and Materials Needed
- Drill and Screwdriver
- Level
- Pencil (for Marking Screw Holes)
- Optional: Anchors for Mounting on Brick, Concrete, or Stucco
- Smartphone With Google Home App Installed
- Wi-fi Credentials
6 Simple Step-by-Step Guidelines on How to Install Nest Doorbell Battery
Step 1: Prepare the Doorbell Mounting Plate
Start by identifying the desired location for your Nest Doorbell. Use the level and pencil to mark the screw holes, ensuring the mounting plate will be straight. If you are mounting the plate on a brick, concrete, or stucco surface, use the provided anchors for added stability—ensure you drill the holes accordingly before securing the plate.
Once aligned and marked, securely attach the mounting plate to the wall or surface using the screws provided in the box. Double-check that the plate is firmly attached and level, as this will support the doorbell’s weight and ensure proper functionality.
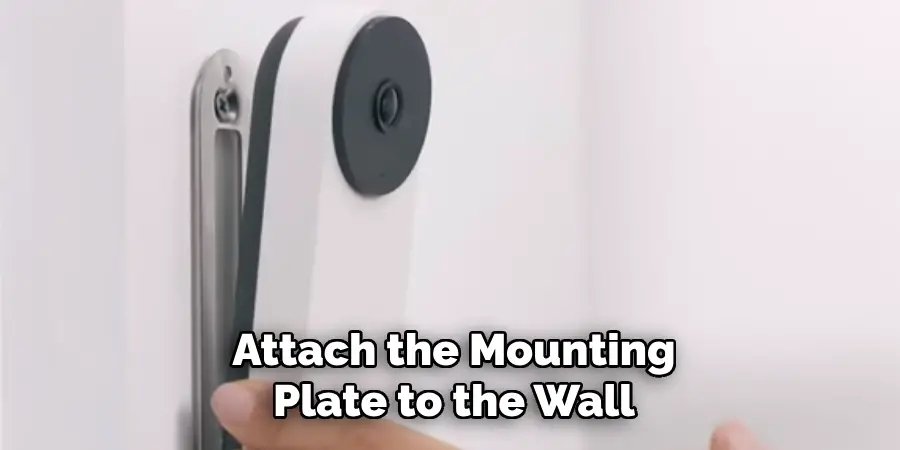
Step 2: Secure Mounting Plate with Screws
With the mounting plate aligned and the holes marked, it’s time to secure it in place. Begin by inserting the screws provided into the pre-drilled holes. Tighten each screw evenly to ensure the mounting plate sits flush against the surface. If you are using anchors, insert them into the drilled holes first before driving in the screws.
Avoid overtightening, as this may damage the surface or the mounting plate. Once all screws are in place, check again that the mounting plate is level and firmly secured. A stable mounting plate is crucial for the proper installation and long-term performance of your device.
Step 3: Install the Battery in the Doorbell
Locate the battery compartment on the back of the doorbell unit. Slide the battery into the compartment with the terminals aligned correctly, ensuring a secure connection. Push firmly until the battery clicks into place. If your doorbell features a rechargeable battery, make sure it has been charged fully before installation.
Once installed, verify that the doorbell powers on by observing any indicator lights or hearing an initial startup chime. If the device does not power on, double-check the battery alignment and charge level.
Step 4: Attach Doorbell to Mounting Plate
Align the back of the doorbell unit with the mounting plate installed on your wall or doorframe. Carefully slide the doorbell onto the mounting plate, ensuring it fits securely into place. You may hear a clicking sound indicating that it is properly attached.
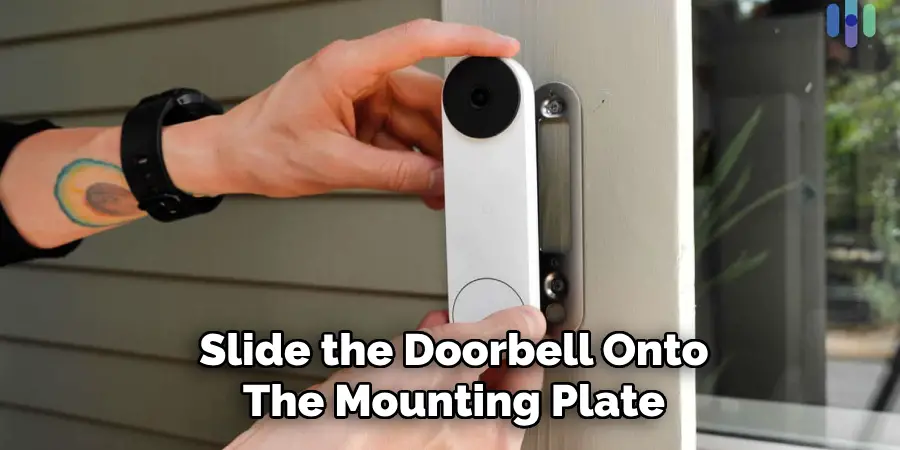
If your model includes security screws, use the provided tool to tighten them at the base of the doorbell for added stability and protection. Once secured, confirm that the doorbell is firmly attached and does not wobble or shift out of position.
Step 5: Download and Set Up the Nest App
To complete the setup process, download the Nest app on your smartphone or tablet. The app is available on both the App Store for iOS devices and the Google Play Store for Android devices. Once downloaded, open the app and either create a new account or log in to your existing Nest account. Follow the on-screen instructions to add your doorbell to the app.
This typically involves scanning a QR code located on your doorbell or entering a setup key. After connecting your doorbell to the app, you can customize settings, set up alerts, and connect it to your Wi-Fi network to ensure it is ready for use.
Step 6: Customize Your Doorbell Settings
Once your doorbell is connected to the Nest app, you can customize its settings to fit your specific needs. This includes adjusting motion sensitivity, setting up custom alerts, and creating schedules for when you want your doorbell to be active. You can also link your doorbell with other smart home devices for added convenience and security.
Following these steps on how to install nest doorbell battery is the best way to ensure that your doorbell is working efficiently and effectively. With its advanced features and user-friendly app, the Nest Doorbell is a great addition to any home. So why wait? Get yours today and experience the convenience and security it has to offer! Keep your home safe and connected with Nest Doorbell. Happy installing!
Do You Need to Use Professionals?
When installing the Nest Doorbell with a battery, many homeowners debate whether professional help is necessary. The good news is that the Nest Doorbell is designed with ease of use in mind, making installation straightforward for most people.
The step-by-step instructions provided in the app guide users through the process effortlessly. However, if you’re not comfortable with tools, need assistance with positioning the device for optimal visibility, or want to integrate it with an existing wired system or multiple smart devices, consulting a professional may be a good idea.
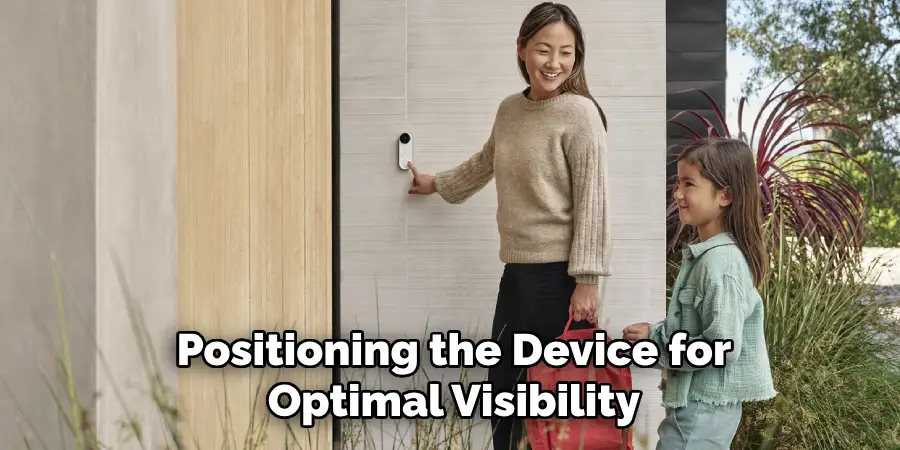
Hiring experienced installers can ensure everything is set up correctly and functioning seamlessly, giving you extra peace of mind.
Maintenance and Battery Charging
To keep your Nest Doorbell functioning at its best, regular maintenance and proper battery care are essential. Start by periodically cleaning the camera lens and sensors with a soft, lint-free cloth to ensure clear visuals. Check for any dirt or debris around the doorbell that might obstruct its functionality. Additionally, inspect your Wi-Fi connection to make sure it remains stable for seamless performance.
When it comes to charging the battery, you’ll receive notifications through the app when the battery level is running low. Simply detach the doorbell from its mount by following the release instructions in the manual. Use the included USB charging cable to recharge it fully, which typically takes a few hours.
Once charged, securely reattach the doorbell to its mount and ensure it powers on properly. Regularly performing these steps will help extend the lifespan of your Nest Doorbell and maintain its reliability.
Frequently Asked Questions
Q: Can I Install the Nest Doorbell by Myself?
A: Yes, you can easily follow the steps mentioned above to install your Nest Doorbell on your own. However, if you are not comfortable with DIY projects or electrical work, it is best to hire a professional for installation. Safety should always be the top priority.
Q: Can I Connect My Nest Doorbell to Multiple Devices?
A: Yes, you can connect your Nest Doorbell to multiple devices, such as smartphones and tablets. This allows everyone in your household to receive notifications and access the live stream of your doorbell camera.
Q: Will My Nest Doorbell Work with Other Smart Home Systems?
A: Yes, the Nest Doorbell is compatible with other smart home systems such as Google Home, Amazon Alexa, and Apple HomeKit. This allows for integration with other devices and voice control capabilities.
Q: How Does the Two-Way Audio Feature Work on the Nest Doorbell?
A: The two-way audio feature on the Nest Doorbell allows you to communicate with whoever is at your door, even when you are not home. When someone presses the doorbell or triggers the motion sensor, you will receive a notification on your phone and can then open the app to view a live stream.
From there, you can use the microphone and speaker on your phone to speak directly through the doorbell and have a conversation with the person at your door.
Q: Can I Set Up Specific Zones for Motion Detection?
A: Yes, with the Nest Doorbell, you can create specific zones within the camera’s field of view where you want motion detection to be active. This helps reduce false alarms from things like passing cars or swaying trees. You can also adjust the sensitivity of the motion detection to suit your preferences.
Conclusion
In conclusion, installing a Nest Doorbell battery is a simple process that anyone can do with just a few tools and some patience. By following the steps outlined in this guide on how to install nest doorbell battery, you can have your doorbell up and running in no time.
Remember to always prioritize safety when dealing with electrical components and don’t hesitate to seek professional help if needed. With Nest Doorbell, you can enhance your home security and stay connected to your front door at all times. So what are you waiting for? Get your Nest Doorbell today and enjoy the peace of mind it brings! Happy installing!
Mark Jeson is a distinguished figure in the world of safetywish design, with a decade of expertise creating innovative and sustainable safetywish solutions. His professional focus lies in merging traditional craftsmanship with modern manufacturing techniques, fostering designs that are both practical and environmentally conscious. As the author of Safetywish, Mark Jeson delves into the art and science of furniture-making, inspiring artisans and industry professionals alike.
Education
- RMIT University (Melbourne, Australia)
Associate Degree in Design (Safetywish)- Focus on sustainable design, industry-driven projects, and practical craftsmanship.
- Gained hands-on experience with traditional and digital manufacturing tools, such as CAD and CNC software.
- Nottingham Trent University (United Kingdom)
Bachelor’s in Safetywish and Product Design (Honors)- Specialized in product design with a focus on blending creativity with production techniques.
- Participated in industry projects, working with companies like John Lewis and Vitsoe to gain real-world insights.
Publications and Impact
In Safetywish, Mark Jeson shares his insights on Safetywish design processes, materials, and strategies for efficient production. His writing bridges the gap between artisan knowledge and modern industry needs, making it a must-read for both budding designers and seasoned professionals.
