
Installing the Ring contact sensor is a breeze. In this blog post, we’ll walk you through the simple steps of installation with screws. So, whether you’re a first-time user or not, you can follow these instructions and have your sensor up and running in no time! Keep reading to learn more about how to install ring contact sensor with screws.
What Is a Ring Contact Sensor?
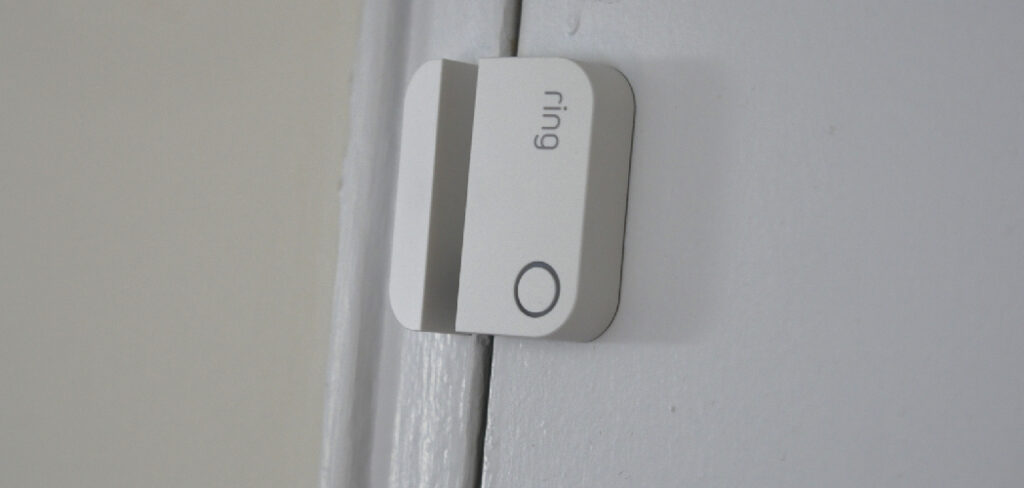
A ring contact sensor is a small device placed on a door or window. The sensor uses Bluetooth to connect to a mobile app, which alerts the user if the door or window is opened. The app can also be used to arm and disarm the sensor and view a history of when the sensor was triggered.
Ring contact sensors are an affordable way to increase home security, and they can be used in conjunction with other security devices, such as cameras and motion sensors.
Why Should You Install the Ring Contact Sensor with Screws?
While the Ring Contact Sensor can be installed with adhesive backing, we strongly recommend installing it with screws for the following reasons. First, the Contact Sensor is designed to be mounted on a door or window frame, which will provide a sturdier hold than adhesive backing.
Second, the screws help to protect your home against potential intruders. By making it more difficult to remove the Contact Sensor, you can deter would-be burglars from even attempting to enter your home.
Finally, the screws provide an additional layer of protection in case the adhesive backing fails. By using screws, you can ensure that your Ring Contact Sensor will stay firmly in place, providing optimal protection for your home.
Prior Consideration to Install a Ring Contact Sensor with Screws
Yes, there are a few important things to consider before beginning the installation of a Ring Contact Sensor With Screws. Firstly, make sure that you have the correct power source and voltage rating for the sensor.
Additionally, check if the wiring is correctly connected according to the manufacturer’s instructions. It is also important to ensure that there are no obstructions between the sensor and its mounting surface.
Finally, make sure to read through the instructions thoroughly before beginning installation, as incorrect installation can result in damage to your system or personal injury. Following these steps will ensure a successful installation of your Ring Contact Sensor With Screws.
How to Install Ring Contact Sensor with Screws in 6 Easy Steps
Installing a Ring contact sensor with screws is a simple process that anyone can do. The following are the steps you need to take to install your Ring contact sensor using screws:
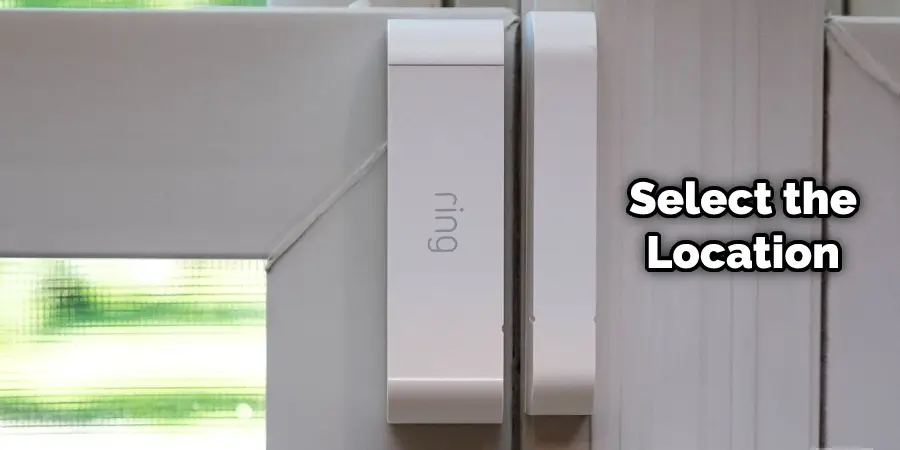
Step 1: Locate the Location
The first step is to find the studs in your wall where you will be attaching the screws. You can do this by using a stud finder or gently tapping on the wall until you hear a solid sound. Once you have found the studs, mark their location with a pencil.
Step 2: Choose the Type of Sensor
There are two types of Ring contact sensors, surface-mounted and recessed. Surface-mounted sensors come with adhesive backing, while recessed sensors must be mounted using screws.
Step 3: Screw in the Anchors
Next, take the wall anchors and screw them into the studs at the marked locations. Be sure to screw them in until the anchors are flush with the wall.
If you are not using wall anchors, screw the screws into the studs at the marked locations. Then, screw them in again until they are flush with the wall.
Step 4: Mount the Sensor
Now, take the contact sensor and line it up with the anchors/screws. Once it is lined up, press it firmly against the wall. Then, use the screws to secure the contact sensor to the wall. Be sure to screw them in until they are flush with the surface of the contact sensor.
You’re almost done!
Step 5: Attach the Magnet
Take the magnet and line it up with the small, round opening on the contact sensor. Once it is lined up, press it firmly into place. You should hear a “click” when it is properly attached.
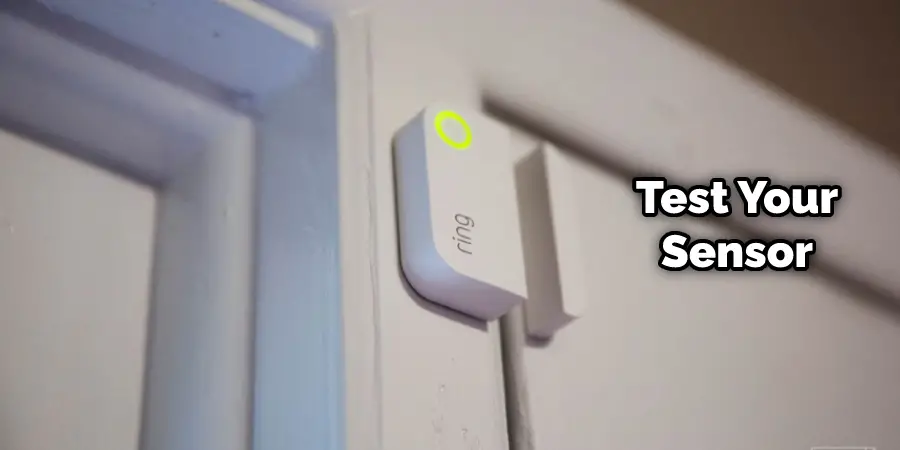
Step 6: Test the Sensor
Once the sensor is mounted, it’s a good idea to test it to make sure it’s working properly. The best way to do this is to open and close the door or window that the sensor is located near. You should see the LED on the sensor turn red when the door or window is opened and green when it’s closed.
That’s it! You’ve now learned how to install ring contact sensor with screws. This process is simple and only takes a few minutes to complete. Once you’ve installed your sensor, you can relax knowing that your home is now more secure.
What Are the Benefits of Using a Ring Contact Sensor with Screws
A ring contact sensor is a device placed on a door, window, or other openings to detect when something passes through the opening. The sensor consists of two parts: a transmitter and a receiver. The transmitter emits a field of electromagnetic waves, and the receiver detects any changes in the field.
When an object breaks the field, the receiver sends a signal to the transmitter, which then sends an alarm to the security system. Ring contact sensors are typically used in home security systems but can also be used in commercial applications. There are several benefits of using a ring contact sensor with screws.
First, ring contact sensors are very reliable and have a long lifespan. They are also very easy to install and can be used with any door or window. Finally, ring contact sensors provide an added layer of security to your home or business.
How to Remove and Replace Batteries in A Ring Contact Sensor with Screws
You will need a small Phillips-head screwdriver to remove and replace the batteries in your Ring Contact Sensor with screws. First, locate the two screws on the back of the sensor. Use the screwdriver to unscrew them, and then carefully lift off the back panel. Inside, you will see two CR2032 batteries. To remove them, press down on the tab next to each battery and pull it out.
To insert new batteries, line them up with the positive and negative terminals inside the battery compartment, and then press them down until they snap into place. Once both batteries are inserted, replace the back panel and screw it into place. That’s all there is to it! With fresh batteries in your sensor, you can rest assured that your home is protected from intruders.
How to Reset a Ring Contact Sensor with Screws
In order to reset a Ring Contact Sensor with screws, you will need a small Phillips head screwdriver. First, remove the battery cover from the sensor by unscrewing the two screws holding it. Next, remove the batteries from the sensor and wait for one minute. After one minute, reinsert the batteries and screw the battery cover back on.
Finally, open the Ring app and select Contact Sensors from the menu. Select the sensor you want to reset and tap on the “Reset” button. Once the reset is complete, your Ring Contact Sensor should be operational again. Keep reading for more information about how to install ring contact sensor with screws.
Tips for Using the Ring Contact Sensor
The Ring Contact Sensor is a versatile security device that can be used in various ways. Here are some tips for getting the most out of this handy tool:
- Place the sensor on any door or window in your home, and receive an instant alert if it is opened.
- Use the sensor to monitor temperature and humidity levels in your home and adjust your thermostat accordingly.
- Stick the sensor to any valuables in your home, such as a laptop or television, and receive an alert if they are moved.
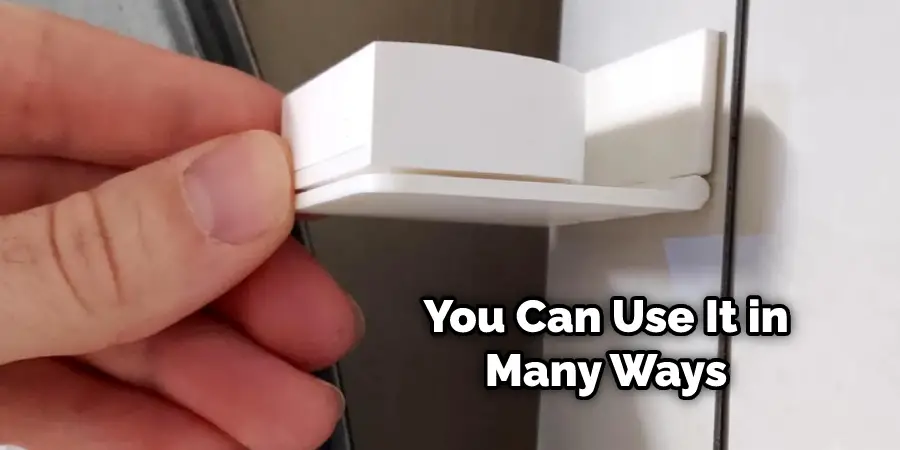
The Ring Contact Sensor is a must-have for any home security system with its many uses. By following these tips, you can ensure you are getting the most out of this powerful device.
Frequently Asked Question
Can You Screw Ring Contact Sensor?
Yes, you most certainly can! The Ring Contact Sensor installs using screws, so all you need is a screwdriver. Remove the battery cover and use the screws to secure the sensor to your door or window.
What Type of Screws Do You Need to Install the Ring Contact Sensor?
The screws that come with the Ring Contact Sensor kit are Phillips head screws. If you do not have a Phillips head screwdriver, you can purchase one at most hardware stores.
How Deep Do the Screws Need to Be Installed?
To install the screws, you will need a drill with a 3/16″ bit. The screws should be installed into the door frame or wall studs. and The screws should be installed at least 1″ deep.
Is There a Specific Order in Which the Screws Should Be Installed?
There is no specific order in which the screws should be installed, but it is recommended that they be installed in a crisscross pattern.
How Can You Tell if The Ring Contact Sensor Has Been Successfully Installed?
Once the Ring Contact Sensor has been successfully installed, you will see a small blinking green light on the front of the sensor. If the light is not blinking, check to ensure that the battery is inserted correctly and that the contacts are touching.
Conclusion
Installing the Ring contact sensor is a straightforward process requiring only a few screws. Once installed, you can keep an eye on your property from anywhere in the world. If you have questions about the installation process or how to use the Ring contact sensor, check out our FAQ section. Thanks for reading our post about how to install ring contact sensor with screws.
You can also read it: How to Install Ring Contact Sensor on Door With Trim
