
Are you tired of worrying about the security of your garage door? Do you need to add an extra layer of protection for your home and belongings? It’s easier than ever before to install a t-handle garage door lock yourself!
Not only will it give peace of mind, but it’s also incredibly straightforward – no special tools are needed. In this blog post, we’ll talk you through the step-by-step process of how to install t-handle garage door lock.
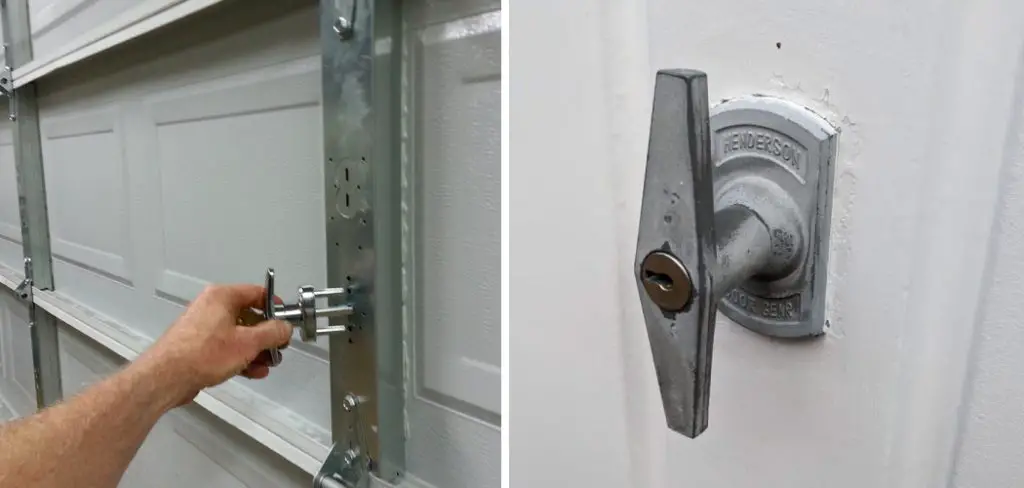
If the security of your home is a top priority, you should consider installing a t-handle garage door lock. This type of lock provides an extra layer of protection for your property by providing physical reinforcement to the regular locking mechanism on your garage door.
Installing a t-handle lock can seem like a complicated task, but with this comprehensive guide, we’ll walk you through each step in the process so that you can have peace of mind knowing that your garage is securely locked at all times.
Why May You Want to Install T-handle Garage Door Lock?
1 . To Secure Your Home
This is probably the most important reason to install a T-handle garage door lock. By adding this extra layer of security, you can ensure that your home is kept safe and secure from possible intruders.
Not only does it provide an additional layer of protection, but it also makes it more difficult for someone to gain access to your property without the necessary access codes or keys.
2 . To Keep Unwanted Animals Out
Another reason for installing a T-handle garage door lock is to keep unwanted animals out of your home. This is especially important if you have a lot of small critters or other animals that could potentially do damage to your property.
The strong, sturdy construction of the lock means that it can withstand any attempts to break in and provide a reliable barrier between you and any unwanted visitors.
3 . To Enhance the Look of Your Home
Installing a T-handle garage door lock can also drastically improve the overall look of your home. Many homeowners choose to install this type of lock for aesthetic reasons as it adds an extra layer of visual appeal to their property.
Whether you’re looking to enhance the exterior of your home, or you simply want a more modern look, this type of lock is sure to provide that extra touch of style.
4 . To Feel More Secure and Protected
Finally, installing a T-handle garage door lock gives homeowners an extra sense of security and protection. Knowing that your home is better safeguarded against intruders can give you peace of mind, allowing you to relax and enjoy your home without worrying about potential security threats. This added protection can make any homeowner feel more secure in their own home.
How to Install T-handle Garage Door Lock in 5 Easy Steps
Installing a T-handle garage door lock is actually much easier than it may sound. In most cases, you can do the job yourself with a few simple tools and a bit of patience.
Here’s what you need to do:
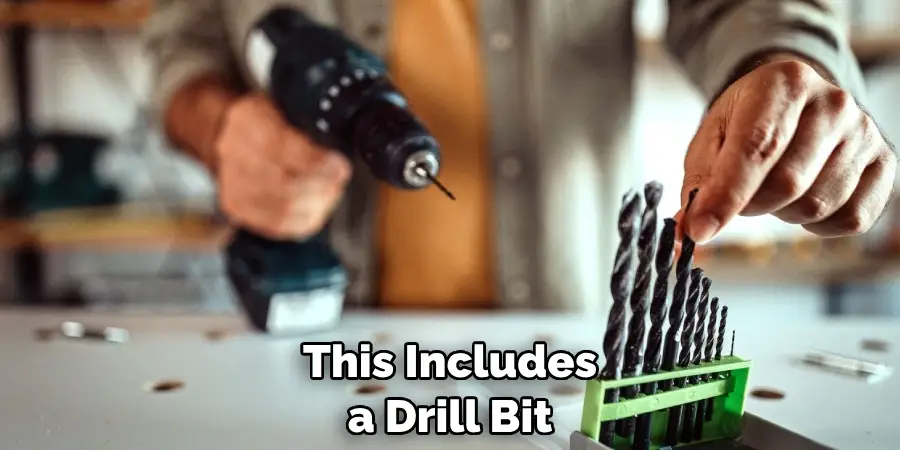
Step 1: Get Your Supplies Ready
Before you start your installation project, it’s important to make sure that you have all the necessary supplies. This includes a drill bit, an electric drill, a screwdriver, and the T-handle garage door lock itself.
Step 2: Mark the Location of Your Lock
The next step is to mark the exact location of your lock. To do this, open your garage door and measure the top from left to right. Make sure that you choose a spot that’s easy for you to access, and remember to leave enough room on either side for the handle.
Step 3: Drill Holes for Your Lock
Once you’ve marked the location of your lock, use an electric drill and a drill bit that is slightly larger than the screws that come with your T-handle. Make sure that you’re careful when drilling, and don’t try to drill too quickly.

Step 4: Insert the Lock
When the holes are drilled, insert your lock into the hole and use a screwdriver to tighten the screws. Make sure that you don’t overtighten and remember to check for any gaps between the lock and wall. If there are any gaps, use a sealant to fill them.
Step 5: Test Your Lock
Once you’ve installed your T-handle garage door lock, it’s important to test it out. Try opening and closing the door several times to make sure that everything is working properly. If there are any issues with your lock, refer to the manufacturer’s instructions for further help.
Some Extra Tips to Install T-handle Garage Door Lock
1 . Do Not Tighten the Mounting Screws Too Much
This is very important. The mounting screws that hold the T-handle lock in place should not be tightened too much, as this can damage or break the door itself. To avoid over-tightening, start by lightly threading all of the mounting screws. Once these are in place, gradually tighten each one with a screwdriver until it’s nice and snug.
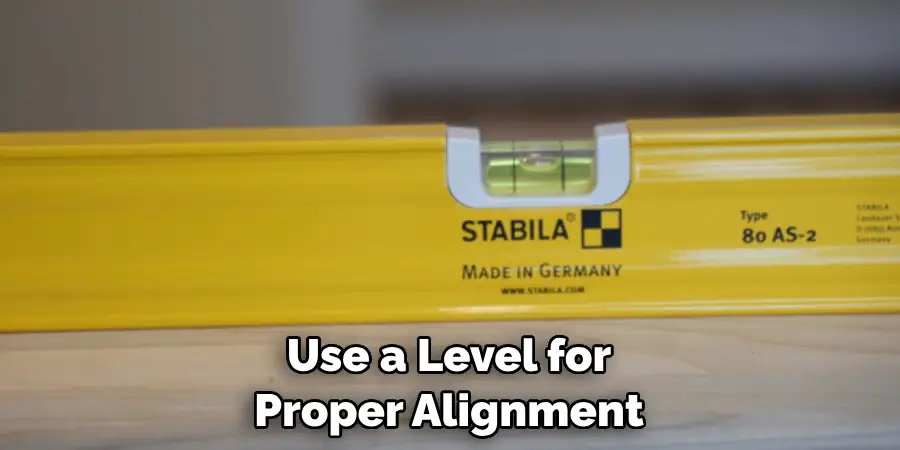
2 . Use a Level for Proper Alignment
It’s important to ensure that the T-handle lock is aligned correctly. To make sure everything is level, use a spirit or bubble level during installation. This will help you to get the door perfectly balanced for optimal performance and reliability.
3 . Check for Clearance Before Finalizing Installation
Before finalizing the installation process check that the door is able to open and close freely. Ensure there’s enough clearance around the T-handle lock so that it doesn’t impede movement in any way. If necessary, make some adjustments to the alignment or try a different mounting location. This will help ensure your garage door operates smoothly and safely.
4 . Test the Lock After Installation
Once you have completed the installation of your T-handle lock, be sure to test it out. Make sure that the locking mechanism is working correctly and that the door can open and close without any issues. If everything looks good then you’ll know you’ve successfully installed your new locking system!
5 . Be Sure to Maintain Your Lock Regularly
Like all parts of the garage door system, the T-handle lock should be routinely inspected and maintained. This will help to ensure that it’s working properly and provide peace of mind when using your garage. If you notice any problems or irregularities it’s best to get them looked at right away so they can be addressed before becoming worse.
By following these simple tips, you’ll have no trouble installing your new T-handle garage door lock. With a few simple steps and some basic tools, you’ll be able to quickly get your system up and running. Be sure to use caution when tightening the mounting screws and make sure that everything is level and has enough clearance before finalizing the installation.
Frequently Asked Questions
What Precautions Should I Take When Installing a T-handle Garage Door Lock?
It is important to take the necessary safety precautions when installing a new T-handle garage door lock. First, always wear protective eyewear and gloves when working with tools.
Second, be sure to follow all of the instructions provided in your owner’s manual or other guide for installation. Third, make sure you have all the necessary tools and hardware needed for installation. Finally, double-check to make sure everything is secure before testing out your new lock.
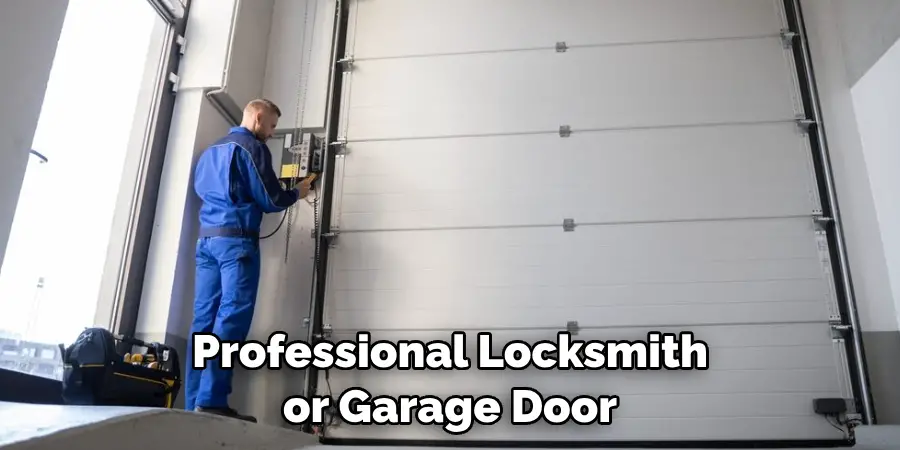
If you feel uncomfortable performing the installation yourself, it is best to hire a professional locksmith or garage door service technician who can provide expert guidance and assistance.
How Long Does It Take To Install?
The amount of time it takes to install a T-handle garage door lock can vary depending on the complexity of the installation. Generally speaking, it usually takes about an hour or two for an experienced DIYer with basic tools and knowledge. If you are hiring a professional locksmith or garage door service technician, then they should be able to get the job done in less than 30 minutes.
What Tools Are Needed To Install a T-handle Garage Door Lock?
The tools you’ll need to install a T-handle garage door lock will depend on the specific model and type of installation, but generally speaking, you’ll need a screwdriver or drill/driver, pliers, level, tape measure, utility knife and possibly other tools specific to the job. Make sure you have all of the necessary tools and hardware before starting your installation project.
Conclusion
To recap, installing a t-handle garage door lock is simple and doesn’t require a lot of technical know-how. It requires the right materials and tools, such as the t handle door lock itself, screwdrivers, and some screws.
Additionally, depending on your type of door and its installation hardware, you may also need to purchase additional supplies such as fasteners or an anti-theft bracket.
Now you know how to install t-handle garage door lock! This guide was meant to serve as a basis for any further research or attempt to install a t handles garage door lock yourself. Knowing the information laid out in this guide can save you time and money when seeking out professional or locked-handle services.
Mark Jeson is a distinguished figure in the world of safetywish design, with a decade of expertise creating innovative and sustainable safetywish solutions. His professional focus lies in merging traditional craftsmanship with modern manufacturing techniques, fostering designs that are both practical and environmentally conscious. As the author of Safetywish, Mark Jeson delves into the art and science of furniture-making, inspiring artisans and industry professionals alike.
Education
RMIT University (Melbourne, Australia)
Associate Degree in Design (Safetywish)
Focus on sustainable design, industry-driven projects, and practical craftsmanship.
Gained hands-on experience with traditional and digital manufacturing tools, such as CAD and CNC software.
Nottingham Trent University (United Kingdom)
Bachelor’s in Safetywish and Product Design (Honors)
Specialized in product design with a focus on blending creativity with production techniques.
Participated in industry projects, working with companies like John Lewis and Vitsoe to gain real-world insights.
Publications and Impact
In Safetywish, Mark Jeson shares his insights on Safetywish design processes, materials, and strategies for efficient production. His writing bridges the gap between artisan knowledge and modern industry needs, making it a must-read for both budding designers and seasoned professionals.
