
Do you need a secure, easy-to-use lock? Do you want the freedom to access various areas without using keys? If so, making your barrel lock plunger key might be the perfect solution! This simple DIY project only requires a few materials and can be completed quickly.
Whether you’re looking to secure a storage locker, a tool shed, or even your front door – this guide has you covered. Always remember to take the necessary safety precautions when working with tools.
Once done, you’ll have an effective security system that will keep intruders away from restricted areas. In this blog post, we’ll explain how to make a barrel lock plunger key step by step—so get ready for some hands-on fun!
Is it Safe to Make a Lock Plunger Key?
Yes, it is safe to make your lock plunger key. As long as the materials and tools you use are appropriate for this type of project—this DIY task isn’t dangerous or complicated.
In most cases, all that’s required is basic hand tools such as a drill, a hacksaw, and a file. It’s always best to use the right tools for the job—so double-check that your equipment is suitable before starting.
Making a barrel lock plunger key can be an enjoyable and rewarding experience. Plus, you’ll benefit from the security it provides in the long run—so let’s get started!
What Will You Need?
To make your DIY barrel lock plunger key, you’ll need the following materials:
- Drill and drill bit (size will depend on the size of the hole in your door)
- Glue gun and glue sticks
- Barrel plunger mechanism
- Plunger handle
- Screws/nuts to hold it all together
- Lock (optional)
Once you’ve got all the necessary materials, you can start building your own barrel lock plunger key!
10 Easy Steps on How to Make a Barrel Lock Plunger Key
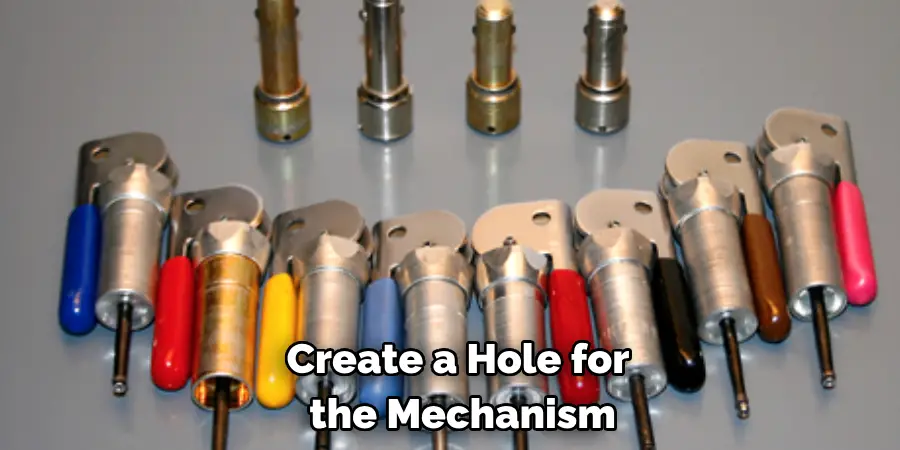
Step 1: Drilling the Hole
The first step in making a barrel lock plunger key is to create a hole for the mechanism. Depending on where you want to place it, this will determine the size of the drill bit that you need.
Start by determining where the barrel plunger will be located in relation to your door or window. Then, measure the size of the hole needed for its installation and select the appropriate drill bit according to this measurement.
Step 2: Applying Glue
Once you’ve drilled the hole for your barrel lock plunger key, it’s time to apply glue. Use a hot glue gun to secure the barrel plunger mechanism in place. Make sure it’s firmly stuck so it doesn’t fall out of your door or window!
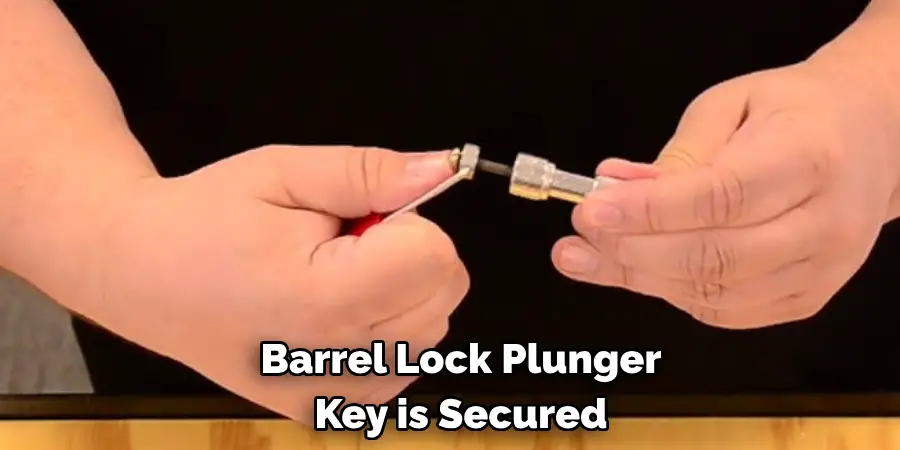
Step 3: Securing with Screws/Bolts
To ensure everything stays in place, use screws or bolts to hold the plunger mechanism in place. Once you’ve secured it, your barrel lock plunger key is ready to use! Be careful not to overtighten the screws/bolts, which could damage the plunger mechanism.
Step 4: Installing Handle
Now that your barrel lock plunger key is secured, you must install a handle. This will allow you to easily turn the plunger and open or close your door or window. The handle should fit snugly into the plunger mechanism but not too tightly.
Step 5: Attaching Lock (Optional)
If you want to add extra security to your barrel lock plunger key, you can install a padlock or other locking mechanism. This will ensure that no one is able to open your door or window without using the key. You can also use additional screws or bolts to secure the plunger mechanism further.
Step 6: Testing It Out
Once your barrel lock plunger key is installed, it’s time to test it out! Insert the handle into the plunger and turn it clockwise until you feel a click—this means the plunger has been engaged. Now, try to open the door or window with your new lock—it should stay securely shut!
Step 7: Adjusting the Tightness
You may need to adjust the tightness of your barrel lock plunger key to ensure that it’s working correctly and that it’s not too loose or tight. You can either tighten or loosen the screws/bolts slightly to do this. Ensure that the plunger mechanism can move freely but remain secure.
Step 8: Painting (Optional)
If you want your barrel lock plunger key to look nice and polished, consider painting it. You can use spray paint or brush-on paint, depending on what type of finish you want. Always remember to keep the area properly ventilated and to wear a mask for safety.
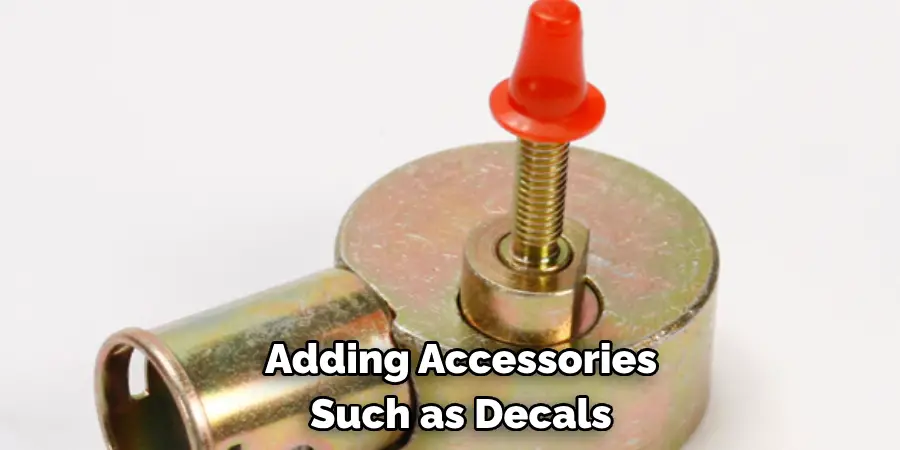
Step 9: Adding Accessories (Optional)
Adding accessories such as decals or stickers makes your barrel lock plunger key stand out! Choose any design that you like—from fun shapes to inspirational quotes, the possibilities are endless. Remember that any accessories you add must be properly secured to avoid them from falling off.
Step 10: Making Copies of Your Key (Optional)
Finally, to ensure you always have a spare key, consider making copies of your barrel lock plunger key. You can get the right size drill bit and drill an extra hole in your door or window frame. Remember to consistently use the same size and type of screws/bolts.
Following this guide, you can easily make your own barrel lock plunger key in no time. This great DIY project requires minimal materials and won’t take up much of your time.
5 Additional Tips and Tricks
- If you have a lock that is difficult to open, try using penetrating oil to help move the plunger.
- When fashioning your barrel lock plunger key, using a template or model from an existing key can be helpful.
- If you need to drill out a hole for your new key, use lubrication when drilling the hole to avoid damaging the barrel.
- If you are having difficulty manipulating the plunger, try using a pair of needle nose pliers or tweezers to assist with gripping and turning it.
- Make sure to test your new key in the lock before installing it, as you may need to adjust depending on how snugly it fits. This will ensure that the lock operates correctly and securely.
With a few simple steps, it’s easy to create your own barrel lock plunger key. Whether you need a replacement or just want to make one for fun, this project is well within the capabilities of most DIYers.
5 Things You Should Avoid
- Avoid using low-quality materials to make your key. They can break easily and potentially damage your lock.
- Do not rush the process. Precision is important when making a barrel lock plunger key to ensure it fits and operates correctly.
- Avoid forcing the key into the lock if it doesn’t fit. This could damage both the key and the lock.
- Do not neglect safety precautions. Always wear safety glasses when drilling and handle sharp tools with care.
- Avoid guesswork. If you need help with a step, seek advice or find reliable guides online to ensure your key works properly.
Avoiding mistakes and following the steps carefully will help you create a barrel lock plunger key that works as intended.
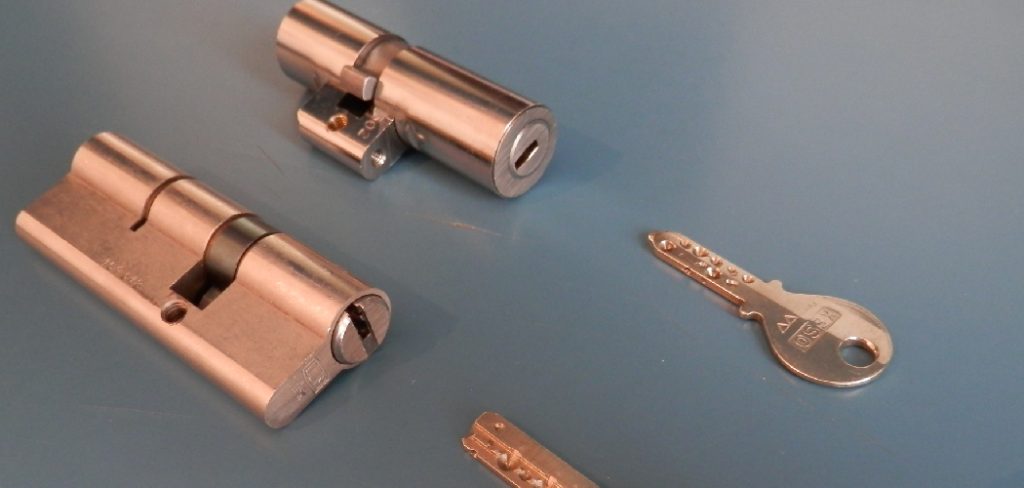
What Are the Different Types of Barrel Lock Keys?
Barrel lock keys come in various shapes and sizes, depending on the type of lock they are designed for. Generally, there are two types of barrel locks: spool-shaped keys and flat keys. Spool-shaped keys feature a cylindrical shape that allows them to fit comfortably in the barrel lock’s hole, while flat keys have a rectangular shape and usually require two separate keyholes in the lock.
In addition to their shape, barrel lock keys also differ based on the type of material they are made from. Common materials include brass, steel, copper, aluminum, and plastic for lighter locks. The type of material used should depend on how secure you want your lock to be – generally, heavier materials provide a higher level of security.
When making your barrel lock plunger key, it’s important first to determine which type and material will best suit the intended purpose. You can create a secure key that works perfectly with the right tools and knowledge.
Can a Barrel Lock Be Picked?
Yes, it is possible to pick a barrel lock. Many locksmiths provide this service for those who have lost or misplaced their keys. However, picking a barrel lock requires skill and experience, as there are several components that must be manipulated to unlock the door.
It’s important to note that picking a barrel lock can damage it, so it’s best to call a locksmith if you need to open one. In addition, picking a lock is illegal in some areas, so check the local laws before attempting it yourself.
Following the right steps and using the correct tools, you can create your barrel lock plunger key without relying on professional locksmiths.
Conclusion
Making a barrel lock plunger key is an alternative to purchasing one and is relatively simple – it just requires some precision, patience, and determination. But with the steps outlined in this blog post, you can easily make your gut key. Not only will this provide a sense of accomplishment to you upon completing the task at hand, but it could also save you money in the long run, as these keys can have high costs.
Remember that this project takes time, accuracy, and know-how, so give yourself ample time and pay attention to each step for the best results. Although the process may seem daunting at first due to its intricate design, it is feasible with diligent effort and work! Overall, this project gives great satisfaction when you get it just right.
Hopefully, this blog post has provided you with enough information on how to make a barrel lock plunger key successfully!
Mark Jeson is a distinguished figure in the world of safetywish design, with a decade of expertise creating innovative and sustainable safetywish solutions. His professional focus lies in merging traditional craftsmanship with modern manufacturing techniques, fostering designs that are both practical and environmentally conscious. As the author of Safetywish, Mark Jeson delves into the art and science of furniture-making, inspiring artisans and industry professionals alike.
Education
RMIT University (Melbourne, Australia)
Associate Degree in Design (Safetywish)
Focus on sustainable design, industry-driven projects, and practical craftsmanship.
Gained hands-on experience with traditional and digital manufacturing tools, such as CAD and CNC software.
Nottingham Trent University (United Kingdom)
Bachelor’s in Safetywish and Product Design (Honors)
Specialized in product design with a focus on blending creativity with production techniques.
Participated in industry projects, working with companies like John Lewis and Vitsoe to gain real-world insights.
Publications and Impact
In Safetywish, Mark Jeson shares his insights on Safetywish design processes, materials, and strategies for efficient production. His writing bridges the gap between artisan knowledge and modern industry needs, making it a must-read for both budding designers and seasoned professionals.
