
Are you having trouble finding the right size latch backset for your door? Don’t worry—you’re not alone. Many people struggle with measuring the backset of their door latch.
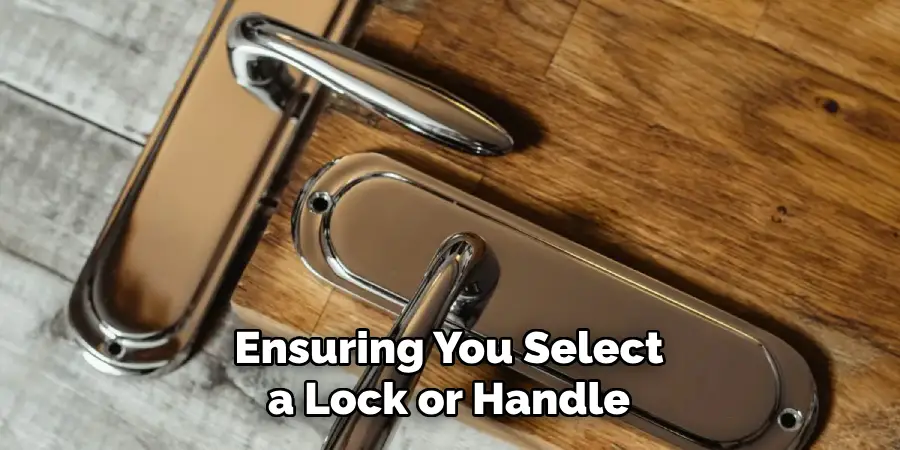
Measuring the latch backset is a critical initial step in the process of installing a new door handle or lock. The backset refers to the distance from the edge of the door to the center of the borehole, where the lock or handle is fitted. This measurement is crucial because it determines the compatibility of your door with various lock mechanisms. Getting this measurement right ensures a seamless installation and optimal functionality of your door hardware.
In this guide, we will walk you through the steps on how to measure latch backset, equipping you with the knowledge to select the appropriate hardware for your doors.
What is a Latch Backset?
Before we discuss the steps for measuring the latch backset, let’s define it. As mentioned earlier, the latch backset refers to the distance from the edge of the door to the center of the borehole. This measurement is typically given in inches and can range from 2-3/8 inches to 2-3/4 inches for residential doors. The backset measurement is crucial because it ensures that the lock or handle can be properly installed and aligned with the door frame.
What are the Benefits of Measuring Latch Backset?
Before we dive into the steps of measuring a latch backset, let’s first understand why it is essential. Here are some benefits of measuring latch backset:
- Ensures Compatibility: As mentioned earlier, measuring the backset ensures you select a lock or handle that fits perfectly with your door.
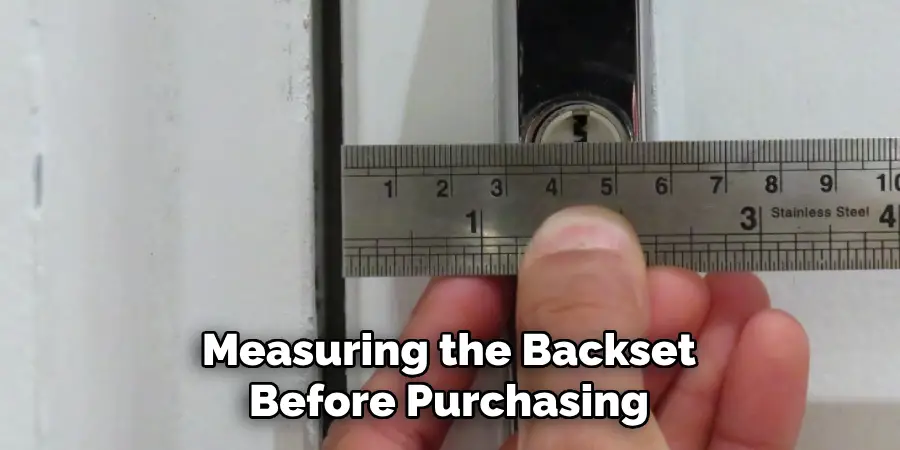
- Saves Time and Effort: Measuring the backset before purchasing a new lock or handle can save you time and effort in having to return incompatible hardware.
- Provides Security: An incorrectly installed door handle or lock can pose a security risk. Measuring the latch backset will ensure that your door is equipped with a secure and functional locking mechanism.
These are just a few reasons why measuring latch backset is crucial. Now, let’s explore the steps to doing it correctly.
What Will You Need?
Before you start measuring the latch backset, make sure you have the following tools:
- Tape Measure: This is the most crucial tool you will need. A retractable tape measure will give you accurate measurements.
- Pencil: You’ll need to mark the measurement points on your door, so a pencil or a marker will come in handy.
- Paper: Having a paper or notebook to write down the measurements will make it easier to refer back to them when needed.
These tools are simple to obtain and can be found in most households. Once you have them, you’re ready to start measuring.
10 Easy Steps on How to Measure Latch Backset
Step 1. Close the Door:
Ensure the door you’re measuring is completely closed before you start. A closed door provides a stable base for accurate measurements, especially when measuring from its edge to the borehole’s center. If the door is open or ajar, it may shift, leading to incorrect measurements and potentially the selection of incompatible hardware. This step is vital for obtaining a precise starting point for your measurements.
Step 2. Identify the Borehole:
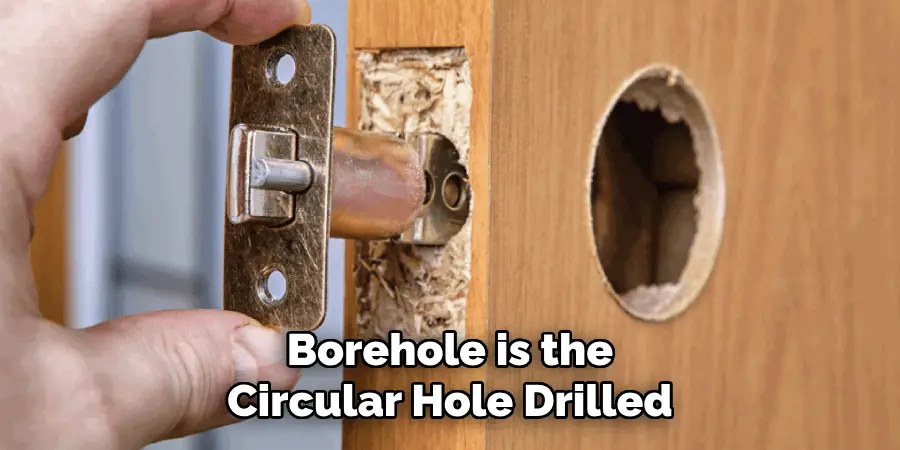
The next step in measuring the latch backset is to locate the borehole on your door. The borehole is the circular hole drilled into the door where the lock or handle mechanism is installed. You will usually find it on the door’s face at about the height of your doorknob or lever handle.
Once identified, visually align the center of the borehole as accurately as possible. This is crucial because your measurement is from the door’s edge to this central point. If your door has multiple boreholes (e.g., for a deadbolt and a handle), ensure you’re focusing on the borehole intended for the lock or handle you’re measuring.
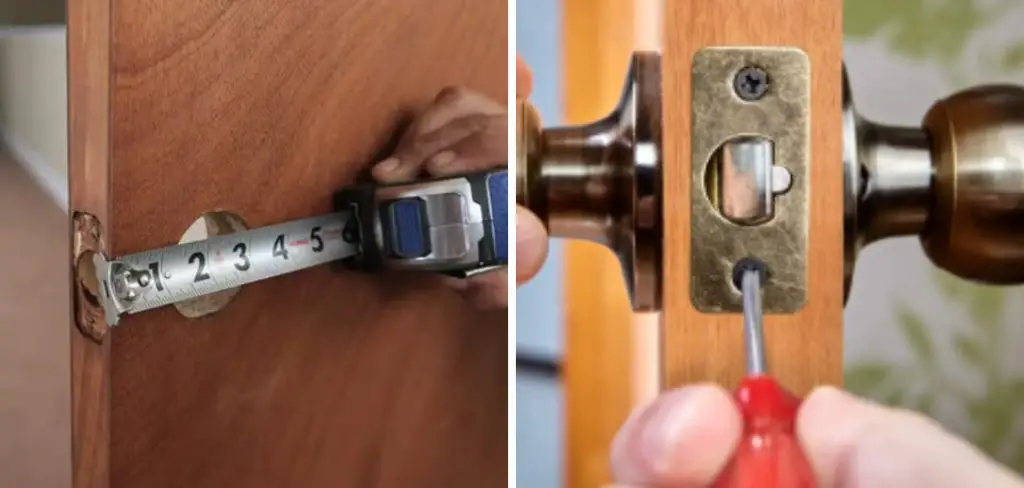
Step 3. Measure from the Door Edge to the Borehole Center:
Take your tape measure and position its end flush against the edge of the door. Extend the tape measure straight across to the center of the borehole that you have identified. It’s important to measure in a straight line for accuracy. Read the measurement carefully at the point where it crosses the center of the borehole.
This distance is your latch backset. Most common backset measurements are either 2 3/8 inches or 2 3/4 inches, but it’s important to record whatever measurement you get, as door hardware can vary. Write this measurement down on your paper to ensure you remember it when selecting a new lock or handle.
Step 4. Double-Check Your Measurement:
Accuracy is key when measuring the latch backset, so it’s a good idea to double-check your measurement. Repeat the process of measuring from the door’s edge to the center of the borehole to confirm your initial measurement.
This ensures that potential errors are mitigated, and you can confidently purchase the correct size hardware. In case of any discrepancies between the two measurements, measure a third time to ascertain the correct backset. Noting the consistent measurement helps in selecting the precise lock or handle, ensuring a perfect fit for your door.
Step 5. Consider Door Thickness:
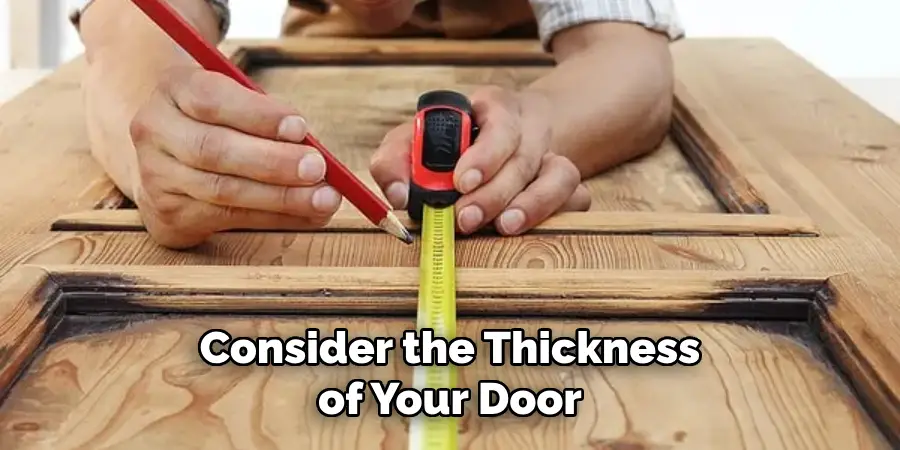
While the backset measurement is crucial, it’s equally important to consider the thickness of your door. Some locks and handles are designed to fit doors of specific thicknesses. Use your tape measure to determine the thickness of the door by measuring it from one wide face to the other, typically at the same height as the borehole.
Standard door thicknesses are usually 1 3/8 inches or 1 3/4 inches, but customized doors may vary. Note down this measurement along with your backset measurement. Knowing both the backset and door thickness will help you select the most compatible and secure hardware for your door, ensuring optimal functionality and security.
Step 6. Research Compatible Hardware:
With your latch backset and door thickness measurements in hand, the next step involves researching hardware that’s compatible with these dimensions. Visit hardware stores, either online or in-person, and look for lock or handle options that match your specific measurements.
Most product descriptions will include the necessary backset and door thickness information, making it easier to find a suitable match. If in doubt, don’t hesitate to reach out to customer service or sales representatives for assistance. Having precise measurements makes this process smoother, ensuring you select a lock or handle that will fit perfectly and function as intended on your door.
Step 7. Make Your Selection Carefully:
Once you have found several locks or handles that match your precise measurements, take the time to evaluate your options carefully. Consider factors such as the security level of the hardware, the material it’s made of, its resistance to environmental damage, and its aesthetic compatibility with your door and home decor.
It’s also advisable to check reviews and ratings from other customers to gauge the reliability and performance of the hardware. Making an informed decision will ensure you choose a lock or handle that fits perfectly and meets all your expectations in terms of functionality, security, and style. Remember, the right hardware can enhance both the safety and the appearance of your door, so choose wisely.
Step 8. Purchase and Prepare for Installation:
With your selected lock or handle in mind, the next step is to proceed with the purchase. Ensure you have all the necessary components included with your chosen hardware, such as screws and installation instructions.
Before beginning the installation process, gather any additional tools you may need, such as a screwdriver, drill, and potentially a chisel, if you need to make adjustments to the door for a perfect fit. Review the installation instructions for your hardware thoroughly to familiarize yourself with the process. This preparatory step is crucial for a smooth installation process, ensuring that your new lock or handle is installed efficiently and securely.
Step 9. Install the New Hardware:
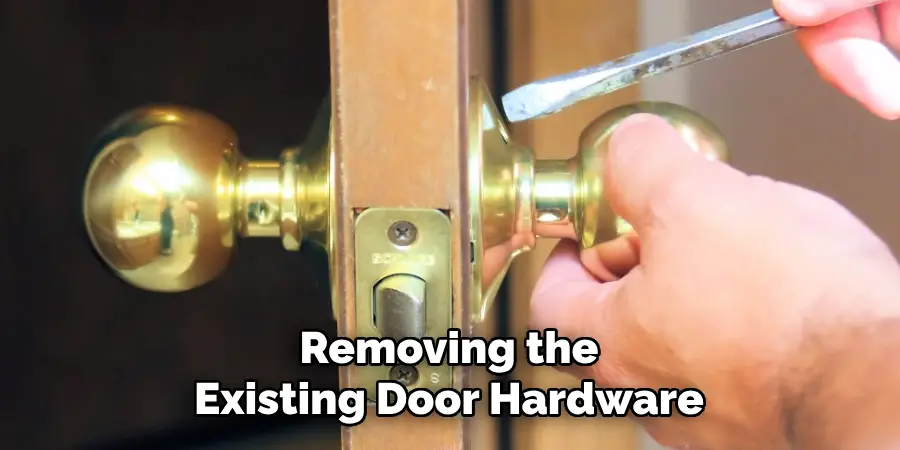
Now that you have all the necessary equipment and your new lock or handle ready, it’s time to begin installation. Start by removing the existing door hardware and keeping track of any components that may be reused.
Next, align your new lock or handle with the borehole and any other necessary points of attachment on the door. If your new hardware requires different placement or additional holes, use a drill to make the necessary adjustments according to the installation instructions.
Securely fasten the hardware in place using the screws provided, making sure it’s tight and properly aligned. Test the lock’s functionality or handle several times to ensure it operates smoothly. Adjust the tightness of the screws if necessary to achieve the perfect functionality. This step is crucial for ensuring that your door operates securely and efficiently with the new hardware installed.
Step 10. Final Checks and Maintenance Tips:
After successfully installing your new lock or handle, perform a series of final checks to confirm that everything is in order. Ensure that the door closes and locks smoothly without any unnecessary force or adjustments. Check from both the inside and outside to ascertain complete functionality.
To maintain the optimal performance of your new hardware, periodically inspect it for signs of wear or damage and tighten any loose screws. Applying a lubricant to the moving parts of the lock or handle can also help in preventing rust and ensure smooth operation.
By following these steps, you can confidently and successfully replace a door lock or handle without any hassle.
5 Additional Tips and Tricks
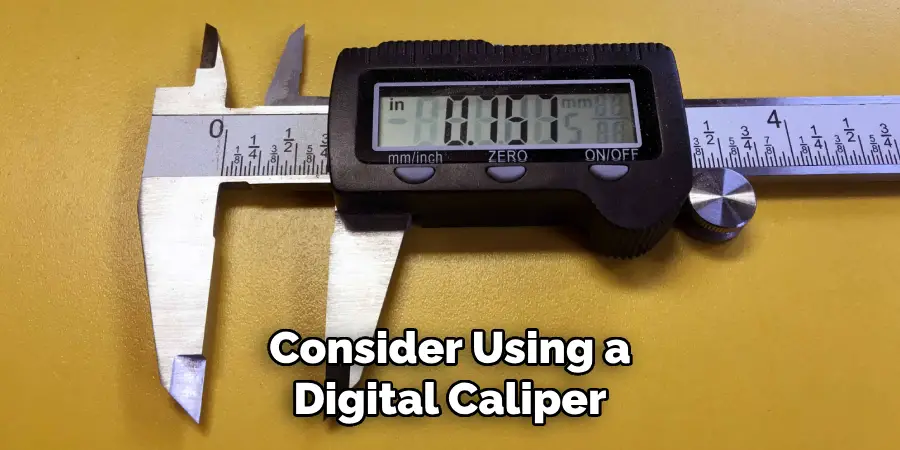
- Use a Digital Caliper: For increased accuracy, consider using a digital caliper instead of a standard tape measure. Digital calipers can provide precise measurements down to the millimeter, ensuring you get the exact backset measurement.
- Remove the Door Knob or Lever First: Before attempting to measure the backset, remove any door knobs, levers, or other hardware attached to the door. This ensures you have clear access to the latch mechanism and can measure from the center of the hole to the door edge without obstruction.
- Check Manufacturer Specifications: If you’re replacing a lock, consult the manufacturer’s specifications for the existing hardware. Often, these documents will list the required backset measurements, saving you time and ensuring compatibility.
- Measure from Both Sides of the Door: To ensure accuracy, measure the backset from both the inside and outside of the door. This double-check can help prevent errors caused by uneven doors or hardware placement.
- Mark with a Pencil for Visual Reference: When measuring, use a pencil to lightly mark the center of the latch hole and the edge of the door on both sides. This visual reference can make it easier to align your measuring tool properly and verify your measurements.
With these additional tips and tricks, you can ensure that your backset measurements are accurate and precise.
5 Things You Should Avoid
- Guessing the Measurement: Never guess the backset measurement based on appearances. Accuracy is crucial when it comes to fitting a lock correctly, and even small discrepancies can lead to significant issues with lock installation or function.
- Ignoring Door Structure: Don’t overlook the specific structure of your door. For example, if your door has beveled edges, this can affect how you measure the backset. Ignoring structural features can lead to incorrect measurements.
- Using Inappropriate Measuring Tools: Avoid using flexible tape measures or rulers that lack precision. These tools can bend or give inaccurate readings, especially over the curved surfaces of a door and door frame.
- Measuring Without Removing Obstructions: Failing to remove all obstructions, such as weather stripping, paint layers, or decorative trim, can impact the accuracy of your backset measurement. Ensure the area is clear before measuring.
- Rushing the Process: Taking your time is vital. Rushing through the measurement process increases the likelihood of errors. Double-check your measurements and take them from several angles to ensure accuracy.
By avoiding these common pitfalls, you can achieve a more precise measurement of the latch backset, facilitating a smoother lock installation process.
What Are the Use Cases of Latch Backset?
The latch backset measurement is primarily used for selecting and installing door locks. However, there are a few other use cases where this measurement may come in handy.
- Purchasing Replacement Locks: When replacing an existing lock, knowing the backset measurement is crucial to ensure compatibility with your door. Purchasing a lock with the incorrect backset can result in a lock that doesn’t fit or function properly.
- Installing New Hardware: In addition to locks, certain types of door hardware, such as hinges and handles, may also require accurate backset measurements for proper installation.
- Renovations or Remodels: If you’re planning on changing the layout of your home or office space, knowing the backset measurement can help determine the placement of doors and door frames. This is particularly important in new constructions or renovations where walls may not yet be built.
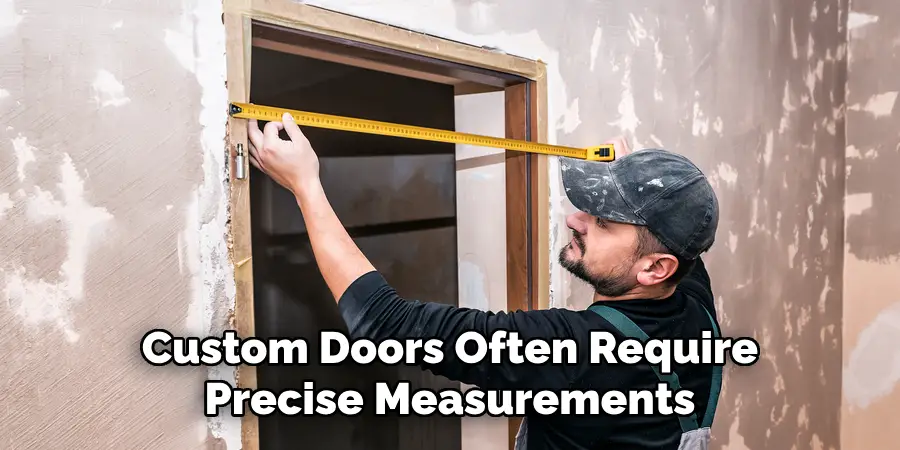
- Custom Door Fabrication: Custom doors often require precise measurements, including the backset, to ensure a perfect fit. If you’re ordering a custom door, make sure to provide accurate backset measurements to your supplier or contractor.
Knowing the latch backset measurement is essential for various home improvement projects, making it a useful skill to have in your DIY arsenal.
What are the Types of Latch Backsets?
There are two main types of latch backsets: standard and drive-in.
- Standard Backset: This type is the most common and features a rounded or square-edged faceplate that is screwed onto the door edge. Standard backsets usually have a measurement of 2⅜ inches or 2¾ inches.
- Drive-In Backset: Drive-in backsets are becoming more popular as they offer a cleaner and more modern appearance. Instead of a faceplate, the latch has an angled edge that can be easily driven into the door edge with a hammer. These backsets typically have a measurement of 2⅜ inches.
When selecting replacement locks or hardware, make sure to check which type of backset your door requires to ensure proper installation. Additionally, some manufacturers may offer custom sizes for specific projects or unique situations.
Conclusion
Measuring the latch backset accurately is a foundational step in ensuring that your door hardware fits and functions as it should. By adhering to the outlined tips and avoiding the common pitfalls, you’re well-equipped to tackle this task with confidence.
Whether you’re replacing old locks, installing new hardware, or undertaking a renovation project, understanding how to correctly measure the backset is key. It ensures that your doors not only secure your space effectively but also align with the aesthetic and functional requirements of your property.
Remember, precision is paramount; a correctly measured backset ensures a smooth installation process and optimal operation of your door hardware. With this knowledge and the right tools at your disposal, measuring the latch backset can be a straightforward, error-free task.
Hopefully, this guide has provided you with the necessary information on how to measure latch backset. Now, it’s time to put your skills into practice and tackle that home improvement project with confidence! Good luck and happy measuring!
Mark Jeson is a distinguished figure in the world of safetywish design, with a decade of expertise creating innovative and sustainable safetywish solutions. His professional focus lies in merging traditional craftsmanship with modern manufacturing techniques, fostering designs that are both practical and environmentally conscious. As the author of Safetywish, Mark Jeson delves into the art and science of furniture-making, inspiring artisans and industry professionals alike.
Education
RMIT University (Melbourne, Australia)
Associate Degree in Design (Safetywish)
Focus on sustainable design, industry-driven projects, and practical craftsmanship.
Gained hands-on experience with traditional and digital manufacturing tools, such as CAD and CNC software.
Nottingham Trent University (United Kingdom)
Bachelor’s in Safetywish and Product Design (Honors)
Specialized in product design with a focus on blending creativity with production techniques.
Participated in industry projects, working with companies like John Lewis and Vitsoe to gain real-world insights.
Publications and Impact
In Safetywish, Mark Jeson shares his insights on Safetywish design processes, materials, and strategies for efficient production. His writing bridges the gap between artisan knowledge and modern industry needs, making it a must-read for both budding designers and seasoned professionals.
