
Blink cameras are smart devices that allow you to monitor your home or business remotely. They offer live view, which lets you see and hear what’s happening in real-time through the Blink app or website. However, there are times when you may want to keep the camera on live continuously, such as when you’re expecting a delivery or monitoring your pets while you’re away.
In this guide, we’ll discuss how to keep your Blink camera on live for an extended period of time. The steps may vary depending on the type of camera and app version you have, so make sure to check for updates before following these instructions.
How to Keep Blink Camera on Live: A Step-By-Step Guide
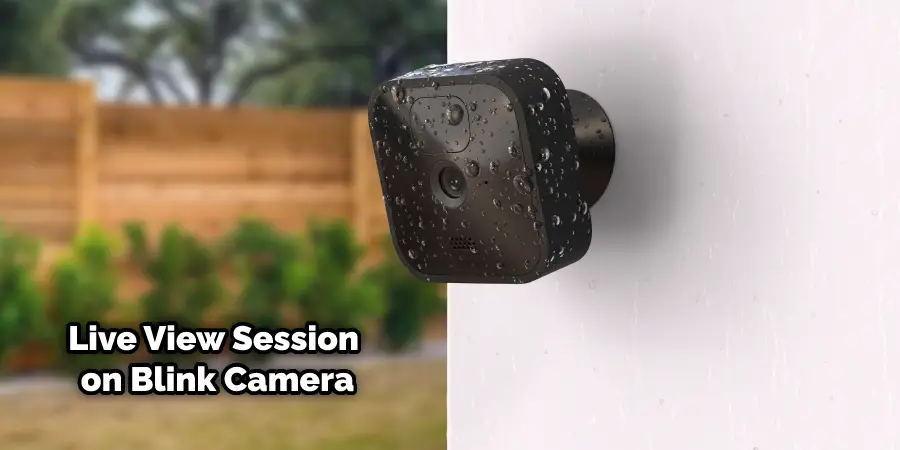
Live View is a feature that allows you to see what your Blink Camera is capturing in real time. You can use Live View to check on your home, pets, or family members anytime you want. Here are the steps to keep Live View on your Blink Camera:
1. Accessing Live View
- Make sure your Blink Camera is powered on and connected to the internet. To access live view, you need to have a stable Wi-Fi connection with at least 2 MB per second upload speed. You can check the status of your camera by opening the Blink app and tapping on the camera icon.
- On the Blink app, tap on the Live View button at the bottom of the screen. This will open a new window where you can see the live video feed from your camera.
- You can use the buttons on the Live View window to control your camera. You can turn the microphone, speaker, or night vision on or off. You can also take a snapshot or record a video clip of the live feed.
- To exit Live View, tap on the X button at the window’s top right corner. This will close the Live View window and return you to the main screen of the Blink app.
- Live view sessions last up to five minutes by default, but you can extend them by tapping on “Continue” when prompted. You can also save live view sessions to cloud storage if you have an active Blink subscription plan or free trial. If your camera has a microphone and speaker, you can use two-way audio to talk and listen through the camera. To do this, tap and hold the talk button on the live view screen of the Blink app.
You have successfully accessed Live View on your Blink Camera. You can use this feature anytime you want to see what’s happening at your home or anywhere else you have a Blink Camera installed.
2. Enabling Extended Live View
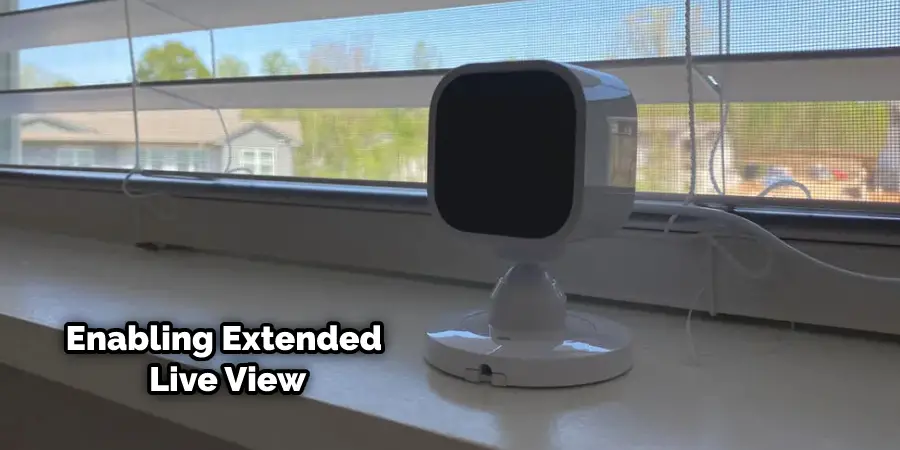
If you want to keep Live View running for longer periods of time, you can enable the Extended Live View feature. This will allow your Blink Camera to remain on live view for up to 24 hours before it automatically turns off. To enable this feature, go to the Blink app’s Settings menu and tap “Extended Live View.” You will then be prompted to activate your Blink subscription plan or start a free trial. Once the subscription is activated, you can select whether you want Extended Live View to run continuously or only when the camera detects motion.
You have successfully enabled Extended Live View on your Blink Camera! Now, you can keep an eye on your home or business for up to 24 hours without having to turn on Live View manually.
How to Use Two-Way Audio on Blink Camera During Live View
Blink cameras have a built-in microphone and speaker that allow you to communicate with people or pets in front of the camera using the Blink app. This feature is called Two-Way Audio, and it can be activated during Live View. Here are the steps to use Two-Way Audio on Blink Camera during Live View:
- Open the Blink app on your smartphone or tablet and tap on the camera icon of the device you want to view.
- Wait for the Live View to load, and then tap on the speaker icon at the bottom of the screen. This will enable the microphone and speaker on your camera, and you will see a blue circle around the speaker icon.
- To talk through the camera, press and hold the speaker icon while speaking. You will see a green circle around the speaker icon when you are transmitting audio. Release the speaker icon when you are done speaking.
- To listen to the audio from the camera, enable the speaker icon and adjust the volume on your device as needed. You will see a yellow circle around the speaker icon when you are receiving audio.
- To end the Two-Way Audio session, tap on the speaker icon again to disable it. You will see a red circle around the speaker icon when it is disabled.
- To exit Live View, tap on the X icon at the top right corner of the screen.
Note: Two-Way Audio is only available on Blink Indoor (gen 2), Blink Outdoor, and Blink Mini cameras. It is not supported on Blink XT2, Blink XT, or Blink Indoor (Gen 1) cameras. Also, Two-Way Audio may not work well in noisy environments or if there is a weak Wi-Fi signal between your camera and your device.
How to Subscribe to A Blink Subscription Plan for Extended Live View
The Extended Live View feature is available on all Blink cameras, but you will need to have an active subscription plan or free trial in order to use it. Here are the steps to subscribe to a Blink Subscription Plan for Extended Live View:
- Open the Blink app on your smartphone or tablet and tap on the Settings icon at the bottom right corner of the screen.
- Tap on Subscriptions and then tap on the Activate button. You will see a list of subscription plans available to choose from.
- Choose the plan that best fits your needs, select your preferred payment method, and then enter your billing information.
- Review all the details of your selected plan and then tap on the Activate button to complete your subscription.
- Once activated, you can now enable Extended Live View in the Settings menu and enjoy 24 hours of continuous live view with your Blink Camera!
With these steps, you have now learned how to use extended Live View on your Blink camera and how to subscribe to a Blink Subscription Plan for added convenience.
How to Save Live View Sessions on Blink Camera
Live View is a feature that allows you to see what your Blink camera is currently capturing and monitor the scene as it happens, rather than viewing a recorded version of the event. However, not all Blink cameras support saving Live View clips. Here are some steps on how to save Live View sessions on Blink cameras that have this capability:
- To access Live View, tap the Live View icon from your Blink app home screen for the camera you would like to view. You can also tap the speaker icon to mute or unmute live audio from the camera’s microphone.
- Live View sessions are not saved to your system’s primary storage location by default. To save a Live View session, you need to press the Save option at the end of the session. You can also enable the “Save all Live Views” option in System Settings, which will automatically save every Live View session without asking you.
- To view a saved Live View clip, go to the Clips screen in your Blink app and select the clip you want to watch. You can also share, download, or delete the clip from there.
- Note that Live View clips are never saved or backed up to Local Storage. This includes Live View sessions accessed from Alexa devices like an Echo Show (no Local Storage option). Also, XT2 camera Live View clips take more storage space than motion clips, so be aware of your 7200-second storage limit. When the limit is reached, your oldest clip will be automatically deleted to make room for the newest one.
How to Troubleshoot Live View Issues on Blink Camera
Live View is a feature that allows you to see live video from your Blink Camera on your smartphone or tablet. However, sometimes, you may encounter issues with Live View, such as not being able to connect, getting a black screen, or experiencing poor video quality. Here are some steps you can take to troubleshoot Live View issues on your Blink Camera:
1. Check Your Internet Connection
Ensure your smartphone or tablet is connected to a reliable Wi-Fi or cellular network. Also, make sure your Blink Camera is within range of your Wi-Fi router and has a strong signal. You can check the signal strength of your camera in the Blink app by tapping on the gear icon next to the camera name and looking at the Wi-Fi icon.
2. Check Your Battery Level
If your Blink Camera is running low on battery, it may not be able to stream live video. You can check your camera’s battery level in the Blink app by tapping on the gear icon next to the camera name and looking at the battery icon. If the battery level is low, replace the batteries with new ones or use a USB-C power cable to recharge your camera.
3. Restart the Blink App and Camera
Close out of the Blink app and reopen it, then try accessing Live View again. If that doesn’t work, you can restart your Blink Camera by pressing the reset button on the back for 10 seconds until the LED ring turns red, then releasing the button and waiting for it to start up again. Once your Blink Camera has restarted, try accessing Live View again.
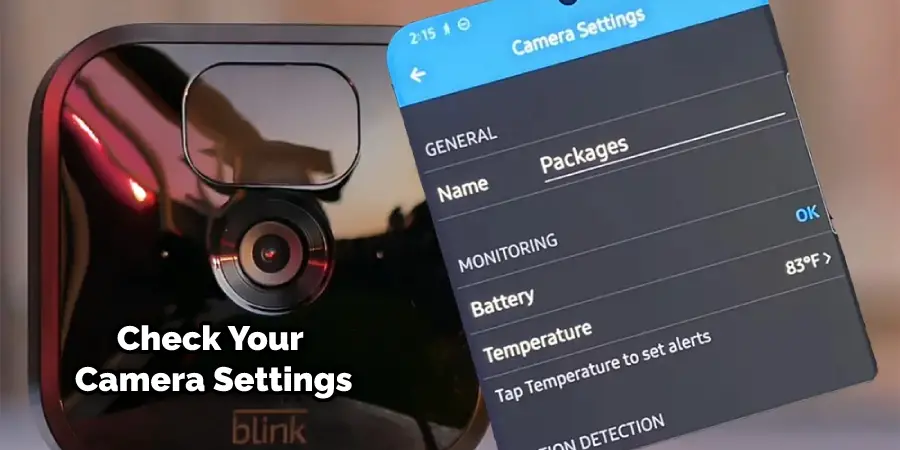
4. Check Your Camera Settings
Ensure that Live View is enabled on your Blink Camera in the Blink app by tapping the gear icon next to the camera name and checking the Live View toggle switch. You can also make sure that motion detection is turned off or set to low, as this will cause your camera to constantly trigger Live View mode, which can drain the battery or cause the video to freeze.
If you’ve tried all of these steps and are still experiencing issues with your Live View session, it may be time to contact Blink Support for further help.
Do You Need to Get Help From Professionals?
In some cases, you may need to seek help from Blink professionals to resolve any issues with your camera or subscription plan. If you are experiencing technical difficulties or have questions about your subscription, you can contact the Blink support team through their website or app for assistance.
Additionally, if your camera is still under warranty and experiencing hardware malfunctions, you may be able to get a replacement camera or have it repaired by contacting Blink support. It is important to keep your contact information updated in the app to ensure that you receive timely support.
By following these steps, you can troubleshoot any Live View issues and make the most out of your Blink Camera subscription plan. Remember to always keep your camera and app up-to-date for optimal performance.
How Much Will It Cost to Hire a Professional for Blink Camera Support?
The cost of hiring a professional for Blink camera support can vary depending on the specific issue and the level of expertise required. Blink offers free technical support for all of its products, including cameras and subscription plans.
If your camera is still under warranty, you may be eligible for a replacement or repair at no cost. However, if the issue is not covered by the warranty or if it occurs after the warranty period has ended, there may be additional fees for repairs or replacements.
It is always best to contact Blink support directly for more information about the cost of professional assistance. They can provide a quote based on your specific issue and guide you through the process of resolving any problems with your camera.
Frequently Asked Questions:
Q: Can I Use Extended Live View Without a Subscription Plan?
A: No, you will need an active Blink Subscription Plan to use Extended Live View. You can subscribe to a plan through the Blink app. The free trial period for the plan will also allow you to use Extended Live View during that time. It is not available for non-subscription plans. You can access Live View without a subscription, but it will be limited to 60 seconds.
Q: Can I Save Live View Clips to Local Storage?
A: No, Live View clips cannot be saved or backed up to local storage. You can only save them within the Blink app and they will not count against your Local Storage limit. However, you can share them with others or download them to your device. But if you want to save Live View clips for longer periods of time, you will need an active Blink Subscription Plan.
Q: Can I Access Live View from Multiple Devices?
A: Yes, you can access Live View from multiple devices as long as they are logged in to the same Blink account. However, only one device can stream live video at a time. If another device is already streaming live video, the second device will not be able to access Live View until the first stream has ended or been stopped.
Q: Can I use an extended live view of Blink Outdoor Cameras?
A: Yes, you can use Extended Live View on all Blink cameras that support it, including Blink Outdoor Cameras. However, keep in mind that using Extended Live View on outdoor cameras may drain the battery quicker due to the constant streaming of live video. Consider using a USB-C power cable or extra batteries for extended use.
Q: Will I Be Notified When a Live View Session is Saved?
A: Yes, you will receive a notification in the Blink app when a Live View session has been saved. You can also access the saved clip from the Clips screen in the app. The notification will include the date and time of the saved session for easy reference. If you have enabled the “Save all Live Views” option in System Settings, you will not receive a notification each time, but you can still access the saved clips from the Clips screen.
Conclusion
Live view is a helpful feature that lets you see and hear what’s happening at your camera location in real-time. You can access it from the Blink app or certain Alexa-enabled devices. You can also extend it by tapping on “Continue” or by enabling extended live view if you have a Blink subscription plan or free trial. We hope this blog post about how to keep the blink camera on live has helped you understand how to keep the blink camera on life and enjoy its benefit.
