
Installing a SimpliSafe door sensor is a straightforward process that enhances the security of your home. These door sensors are designed to alert you whenever a door is opened, providing peace of mind whether you’re at home or away.
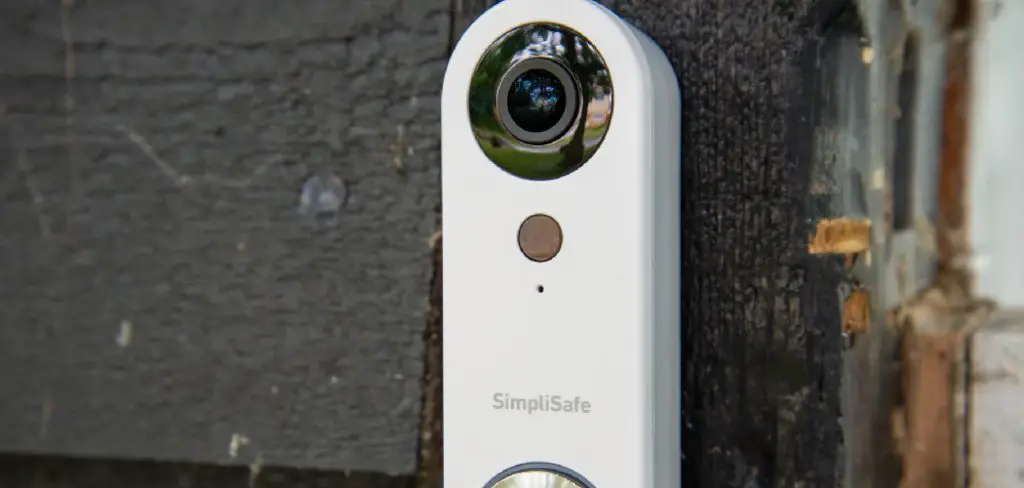
In this guide, we’ll walk you through how to mount simplisafe door sensor, ensuring optimal functionality and reliability. Whether you’re a tech-savvy individual or a beginner in home security systems, this guide will provide you with all the information you need to get started.
Importance of Properly Mounting Door Sensors
Properly mounting door sensors is crucial for the effective operation of your home security system. When installed correctly, these sensors can swiftly and accurately detect any unauthorized entry, ensuring you receive immediate alerts.
Misaligned or improperly mounted sensors, however, may lead to missed alerts or false alarms, compromising the safety and security of your home. Additionally, strategically positioning the sensors helps to optimize their detection range and battery life, reducing the need for frequent maintenance. Proper installation ensures the system functions as intended, providing seamless protection and peace of mind for homeowners.
Understanding SimpliSafe Door Sensors
SimpliSafe door sensors are an integral part of a comprehensive home security system, designed to provide a reliable and user-friendly way to monitor entry points in your home.
These sensors consist of two main parts: a magnet and a sensor body. The magnet is typically attached to the door frame, while the sensor body is placed on the door itself. When the door is closed, the magnet keeps the circuit closed. Opening the door causes the magnet to move away from the sensor body, triggering the circuit to open and sending an alert signal to your security system.
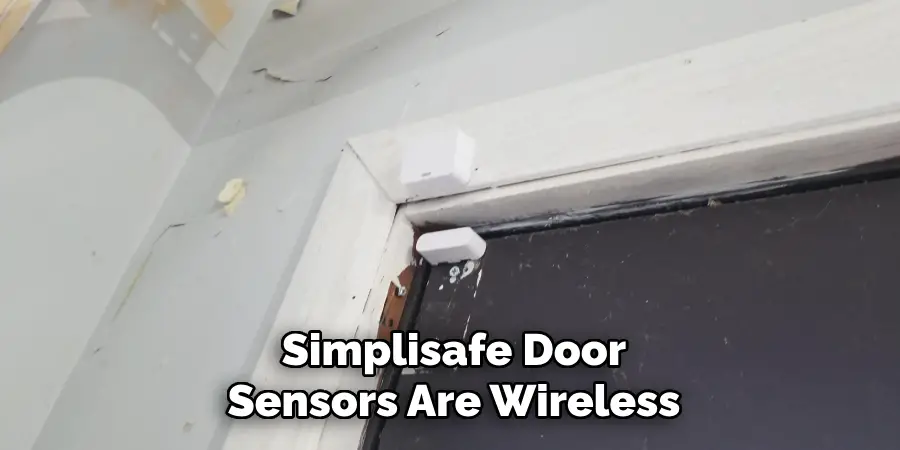
This technology is both efficient and effective, offering a streamlined way to protect your home. Moreover, SimpliSafe door sensors are wireless, making them easy to install without the need for complicated wiring or professional assistance. They are also compatible with other SimpliSafe products, allowing users to create a customized, whole-home security solution.
10 Easy Ways For How to Mount Simplisafe Door Sensor
We get it. Installing a door sensor might not be your idea of a Saturday well spent. But if you want to beef up your home security without calling in the pros (and their hefty invoices), you’re in the right place. SimpliSafe has made it super easy for you to DIY, and we’re here to break it down into ten simple, no-nonsense methods. And by the end of this, your doors will be more secure than Fort Knox.
1. Adhesive Tape Method
For those of you who prefer to avoid drills like the plague, adhesive tape is your best friend. SimpliSafe sensors come with high-strength adhesive strips that make installation a breeze. Just peel and stick. Seriously, it’s like putting up a sticker—except this one protects your home.
Pro Tip: Make sure the surface is clean and dry before sticking. Dirt and moisture are the arch-nemeses of adhesives. And remember, avoid sticking your sensor on metal surfaces, as they might interfere with the signal.
2. Screw Mounting (For the Committed Ones)
Now, if you’re feeling a bit more committed and want something that survives a hurricane, go for screws. Most SimpliSafe sensors come with tiny screw holes for a more permanent setup. Grab a drill, and voila—you’ve got a sensor that’s not going anywhere.
Pro Tip: Drill pilot holes first to avoid splitting the wood. And don’t worry, it’s not as scary as it sounds. Just pretend you’re drilling into a piece of soft cheese.
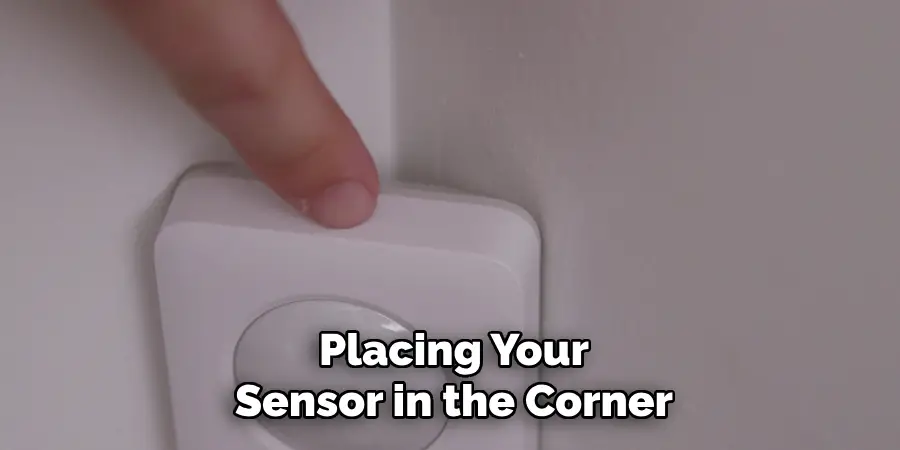
3. Corner Mounting Magic
Corners aren’t just for naughty kids. They’re perfect for mounting sensors too. Placing your sensor in the corner of your door frame gives you a wider range, better coverage, and it’s pretty discreet. Plus, it makes you look like you know what you’re doing.
Pro Tip: Measure twice before sticking or screwing. Because, let’s face it, nobody wants a crooked sensor.
4. Use a Mounting Bracket
No, we’re not talking about some elaborate contraption. A simple mounting bracket can do wonders for odd angles and uneven surfaces. It’s like giving your sensor a little pedestal to shine from.
Pro Tip: Ensure the sensor and magnet align properly. Misalignment means the sensor won’t work, and you’ll be back to square one—or just annoyed.
5. Magnetic Mounting
If you’ve got a metal doorframe and adhesive just won’t cut it, why not go magnetic? There are magnetic mounting kits available that make for a quick and temporary solution. Perfect for renters or those who enjoy rearranging their security setup as often as their furniture.
Pro Tip: Check the magnet’s strength. Not all magnets are created equal, and you don’t want your sensor sliding off at the slightest touch.
6. Velcro Strips for the Indecisive
Commitment issues? No problem. Velcro strips offer the flexibility to change your mind without any fuss. Stick one side to the sensor, the other to the door, and press together. When you decide the sensor really belongs on the other side of the door (or on another door entirely), just rip it off and go.
Pro Tip: Opt for heavy-duty Velcro intended for outdoor use for a stronger hold.
7. Angled Mounting for Odd Doors
Not all doors are straightforward, and some entryways have angles that make mounting a traditional sensor a nightmare. Using angled mounting blocks or using screws can help position your sensor perfectly, no matter the tilt of your frames.
Pro Tip: Make sure the angle doesn’t obstruct the sensor’s view. You want full coverage—not a blind spot.
8. Blend with Door Paint
If you can’t stand your sensor looking obvious, paint it to match your door. This method doesn’t involve different mounting but makes your sensor practically invisible to guests (and potential intruders).

Pro Tip: Lightly sand the surface before painting and use a primer designed for plastic. And maybe don’t get too carried away with artistic flourishes.
9. Command Strips for Rental Homes
Command strips are a renter’s dream. They hold strong, come off cleanly, and won’t leave you with a damage deposit deduction. Perfect for when walls or door frames just can’t be altered.
Pro Tip: Follow the strip’s weight recommendation and press down firmly when applying. Patience, my friend, patience.
10. Hidden Behind Door Decor
Lastly, if you’re crafty, consider hiding the sensor behind a decorative object like a wreath or door sign. It’s a sneaky way to add security while keeping your aesthetic on point.
Pro Tip: Ensure the decor doesn’t interfere with the sensor’s signal. You want security, not just a pretty door.
Things to Consider When Mounting Your Door Sensor
Before you dive headfirst into sensor installation, there are a few things you might want to mull over—unless you’re aiming for a modern art piece of crooked sensors and weak signals. First off, think about the placement. It needs to be accessible yet out of reach from potential intruders looking to give your sensor a not-so-friendly pat. It’s also golden to check for obstructions.
Nothing kills a security vibe faster than a flower arrangement that blocks your sensor, making it more of a floral guard than a security guard. Next, don’t forget about the aesthetics. While functionality is key, you still want your doors looking good without your sensor being the star of the show.
Common Mistakes to Avoid
Ah, the thrill of DIY! But hold your horses, because jumping into sensor installation without a bit of guidance can lead to some common blunders. First up, placing sensors too close to metal objects can mess with their signals faster than a cat swatting at a dangling string.
Aim to keep them at arm’s length from metallic chaos. Another classic oopsie is not aligning the sensor and magnet properly—think of these guys as the peanut butter and jelly of security setups. If they’re not in sync, it’s a no-go. Avoid mounting the sensor too high or too low; think about Goldilocks and get it just right for optimal effectiveness.
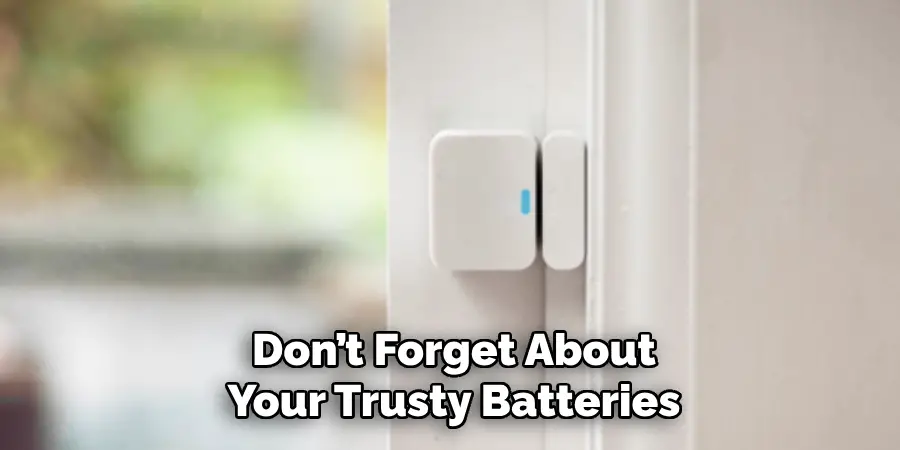
And remember to test before finalizing the position; it’s always a wise move to make sure things are functioning as intended before settling in for the long haul. Finally, don’t forget about your trusty batteries—those sensors need juice to function!
Conclusion
So there you have it—a complete rundown on how to become a home security guru without breaking a sweat (or the bank). With these tips and tricks, installing your door sensor can be a seamless process, almost as satisfying as that first sip of morning coffee.
Remember, whether you’re using screws, magnets, or an artistic paint job, the goal is a secure yet stylish entrance. Thanks for reading our blog post on how to mount simplisafe door sensor! We hope you found it helpful and informative.
Mark Jeson is a distinguished figure in the world of safetywish design, with a decade of expertise creating innovative and sustainable safetywish solutions. His professional focus lies in merging traditional craftsmanship with modern manufacturing techniques, fostering designs that are both practical and environmentally conscious. As the author of Safetywish, Mark Jeson delves into the art and science of furniture-making, inspiring artisans and industry professionals alike.
Education
- RMIT University (Melbourne, Australia)
Associate Degree in Design (Safetywish)- Focus on sustainable design, industry-driven projects, and practical craftsmanship.
- Gained hands-on experience with traditional and digital manufacturing tools, such as CAD and CNC software.
- Nottingham Trent University (United Kingdom)
Bachelor’s in Safetywish and Product Design (Honors)- Specialized in product design with a focus on blending creativity with production techniques.
- Participated in industry projects, working with companies like John Lewis and Vitsoe to gain real-world insights.
Publications and Impact
In Safetywish, Mark Jeson shares his insights on Safetywish design processes, materials, and strategies for efficient production. His writing bridges the gap between artisan knowledge and modern industry needs, making it a must-read for both budding designers and seasoned professionals.
