
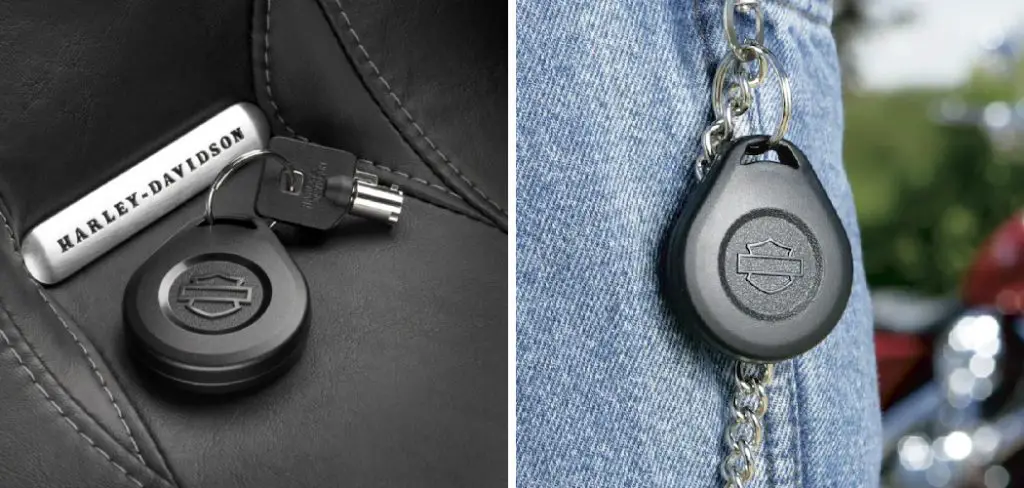
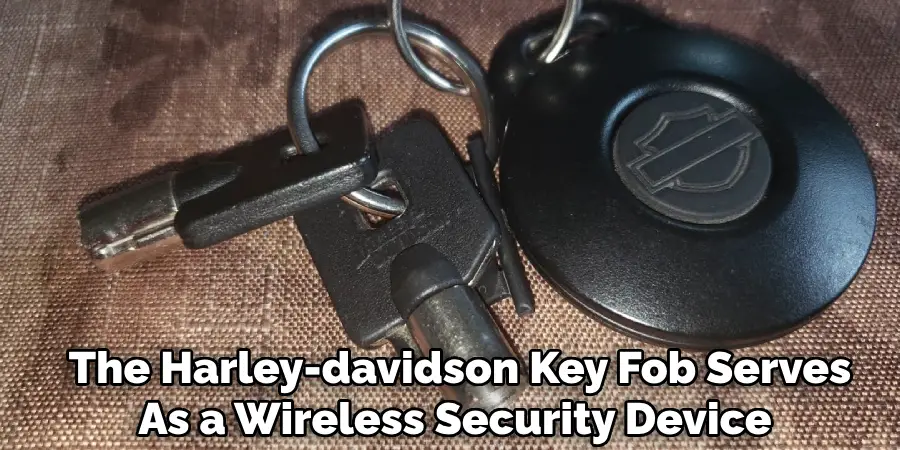
The Harley key fob is an essential component of the motorcycle’s security system, allowing riders to start their bikes conveniently and securely.
At times, you may need to open the key fob, whether to replace the battery or perform maintenance. Knowing how to properly open the key fob ensures you avoid damage and keep it functioning effectively. This guide will walk you through the steps of how to open harley key fob.
Why You Might Need to Open a Harley Key Fob
There are several reasons why you might need to open your Harley key fob. One of the most common reasons is to replace the battery. Over time, the battery in your key fob can lose its charge, resulting in decreased functionality or an inability to start your motorcycle.
Regular battery replacement ensures that your key fob remains reliable. Additionally, you may need to open the key fob to inspect for any internal damage or to clean out debris that could interfere with its operation. Proper maintenance of your key fob protects its longevity and ensures that it stays in optimal working condition.
Tools Needed to Open a Harley Key Fob
To safely and effectively open a Harley key fob, you will need a few basic tools. Having the right tools on hand ensures you can access the internal components without causing damage. Here’s what you’ll need:
- Small Phillips Head Screwdriver – Used for removing any screws securing the key fob casing.
- Plastic Pry Tool – To gently separate the casing without scratching or cracking the material.
- Tweezers – Handy for removing and replacing the battery or handling small internal components.
- Soft Cloth – To protect the fob’s surface while working on it and to clean any debris from the components.
- Fresh Battery – Ensure you have the correct replacement battery for your key fob model. Check the owner’s manual for specifications.
These tools will help you efficiently open and maintain your Harley key fob while minimizing the risk of damage.
10 Methods How to Open Harley Key Fob
1. Understand the Purpose and Design of the Harley Key Fob
Before attempting to open a Harley key fob, it’s crucial to understand its purpose and construction. Harley-Davidson key fobs are compact wireless devices used for keyless ignition and security system control.
Designed for durability, they typically include a small circuit board and battery encased in a hard plastic shell. Knowing that the key fob houses sensitive electronics will encourage you to approach the opening process with care and precision, using proper tools and techniques to avoid damage.
2. Identify the Exact Model of Your Harley Key Fob
Different Harley-Davidson models may use slightly varied key fob styles, even if the overall appearance is similar. Identifying your specific model, whether it’s from a Sportster, Softail, or Touring series, ensures that you follow the correct method for opening the device.
Some models use snap-together cases, while others may incorporate a small screw for added security. Consult your owner’s manual or look up the key fob by its part number to verify its structure before proceeding.
3. Examine the Seam or Groove Around the Key Fob’s Edge
Carefully inspect the edge of the key fob to find the seam where the two halves of the casing meet. This seam is the most common point of access and is usually located around the outer edge. Use a magnifying glass or a well-lit workspace if necessary. The groove may be very fine, especially if it’s designed to be water-resistant. Identifying the seam is essential to opening the key fob cleanly without forcing it apart incorrectly.
4. Use a Plastic Pry Tool or Guitar Pick for Safe Separation
To prevent damaging the key fob’s plastic casing, use a plastic pry tool, guitar pick, or similarly soft but firm tool to separate the halves. Avoid metal tools such as screwdrivers unless necessary, as they can mar or crack the casing.
Gently insert the tool into the seam and twist or apply slight leverage to create an opening. Work your way around the edge slowly and evenly, applying gentle pressure until the casing starts to separate. Patience and light-handed technique are key during this method.
5. Try the Coin Method for Key Fobs with a Slot
Some Harley key fobs include a small slot along the edge specifically designed to accommodate a coin or flat object. Insert a coin, such as a U.S. quarter or nickel, into the slot and twist it slightly to pop open the casing.
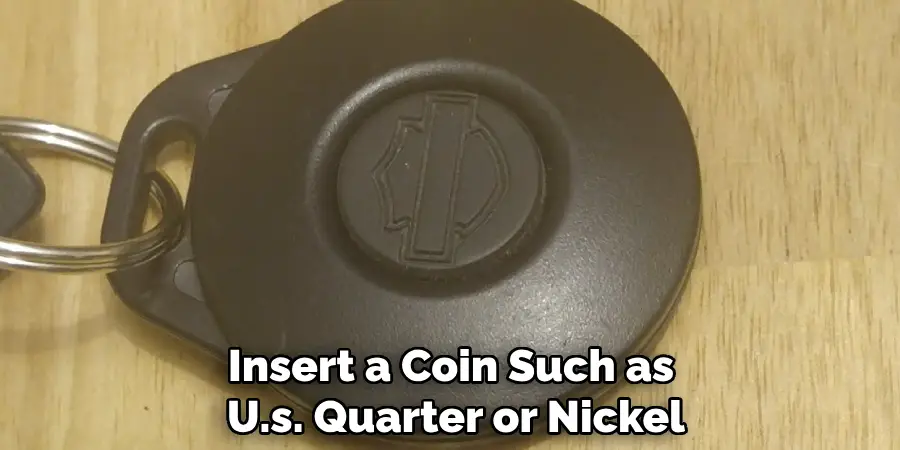
This method is particularly useful for models that do not have an adhesive seal or hidden screws. Always apply pressure gradually to avoid snapping internal tabs or damaging the plastic shell.
6. Locate and Remove Any Small Screws if Present
Certain Harley key fobs, especially aftermarket versions or older models, may be secured with tiny screws, often hidden under a label or rubber seal.
Look closely for any signs of screw heads, and if found, use a precision screwdriver, such as a #00 Phillips or a jeweler’s screwdriver, to remove them. Be sure to place the screws in a secure container so they don’t get lost. Once the screws are out, gently pry open the casing as described earlier.
7. Use Gentle Heat to Soften Adhesive if the Fob is Glued
In some cases, the key fob halves are sealed together with light adhesive for added durability. If you encounter resistance after prying, try using gentle heat to soften the glue.
Use a hair dryer set to low heat and wave it back and forth over the edges of the fob for 20 to 30 seconds. Once the adhesive is pliable, resume prying the casing apart. Do not use open flames or high heat sources, as they could damage the electronics inside.
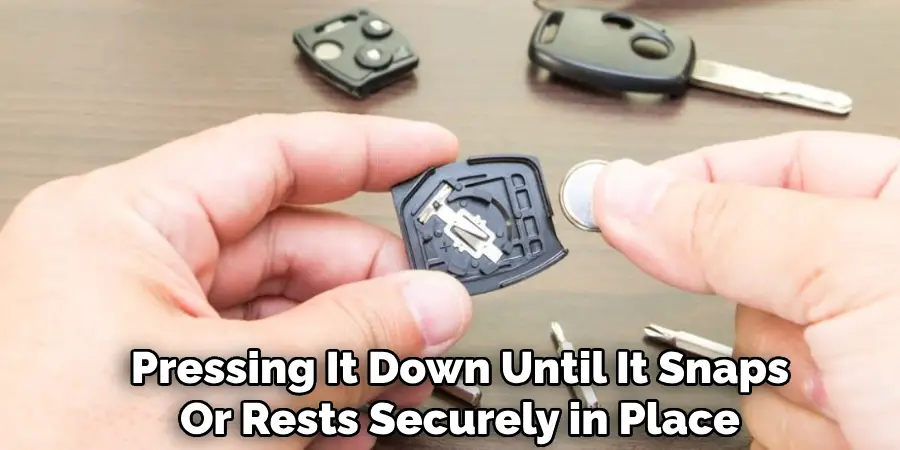
8. Replace the Battery Carefully Without Touching Circuitry
Once the fob is open, you will likely see a small lithium battery—commonly a CR2032—secured in place. Use a non-metallic tool to carefully lift the battery out of its holder.
Avoid touching the circuitry or internal components with your fingers, as oil or static discharge can damage them. If you’re only opening the fob to change the battery, insert the new one in the correct polarity direction, then proceed to reseal the casing.
9. Reassemble the Key Fob Securely and Test It
After replacing the battery or inspecting the internal components, carefully align the two halves of the fob’s casing and press them back together. If your key fob included screws, reinsert and tighten them without over-torquing.
For snap-fit cases, press around the edges firmly until you hear a series of clicks, indicating a secure closure. Test the fob by standing near your motorcycle and activating the security system to ensure it still functions correctly.
10. Practice Preventative Maintenance to Avoid Future Damage
Opening a Harley key fob should be a rare occurrence, ideally only done when replacing the battery or addressing internal issues. To extend the life of your key fob, store it in a dry place, avoid dropping it, and replace the battery at regular intervals before it runs out completely.
Keeping the key fob clean and protected from moisture will reduce the need to open it frequently and minimize the risk of damaging its components during disassembly.
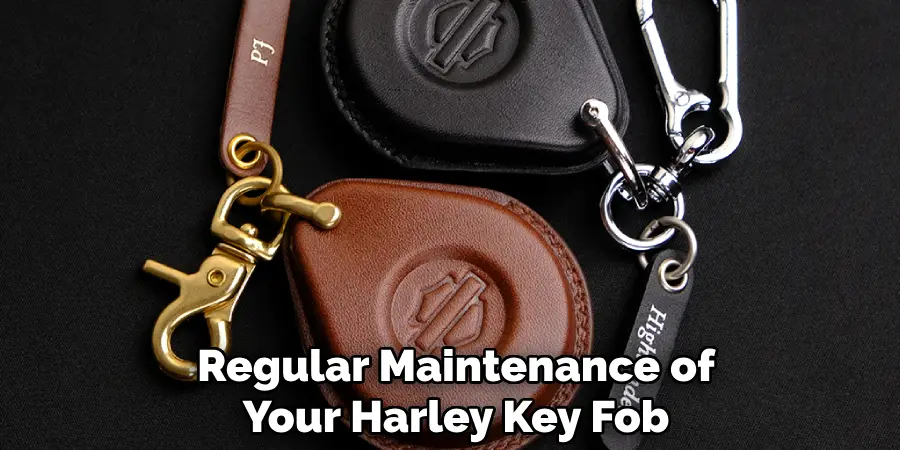
Maintenance and Upkeep
Regular maintenance of your Harley key fob ensures it remains in optimal working condition. Start by periodically inspecting the key fob for signs of wear or damage, such as cracks in the casing or worn buttons. Clean the exterior with a soft, lint-free cloth to keep dust and debris from accumulating.
Additionally, monitor the battery life and replace it promptly at the first sign of reduced performance, ensuring that you use the correct battery type recommended by the manufacturer. Avoid exposing the key fob to extreme temperatures, as this can affect its functionality. By following these simple upkeep practices, you can prolong the lifespan of your key fob and ensure it is always ready to perform when needed.
Troubleshooting Common Issues
If your key fob stops working, there are a few common issues to check before seeking professional assistance. First, verify that the battery is not depleted. A weak or dead battery is the most frequent cause of malfunction and can be easily resolved by replacing it with a new one. If the problem persists after replacing the battery, ensure that the battery is correctly seated and that there is no corrosion on the contacts.
Next, check for any physical damage to the key fob, such as cracks or water exposure, which can interfere with its internal components. Another potential issue could be signal interference; try using the key fob closer to your vehicle to rule out this possibility. If none of these steps resolve the issue, it may be necessary to reprogram the key fob or consult your vehicle manufacturer or a qualified technician for further assistance.
Conclusion
Opening a Harley key fob may seem intimidating due to its compact, sealed design and the presence of delicate internal electronics. However, by following the correct steps—starting with identification and visual inspection, using the appropriate prying tools, and applying gentle force—you can open it safely without damage.
Whether replacing a battery, cleaning internal components, or simply inspecting its structure, these ten elaborated methods guide you through the process with care, clarity, and confidence. Be sure to follow all instructions on how to open harley key fob carefully, and always consult an expert when in doubt.
Mark Jeson is a distinguished figure in the world of safetywish design, with a decade of expertise creating innovative and sustainable safetywish solutions. His professional focus lies in merging traditional craftsmanship with modern manufacturing techniques, fostering designs that are both practical and environmentally conscious. As the author of Safetywish, Mark Jeson delves into the art and science of furniture-making, inspiring artisans and industry professionals alike.
Education
- RMIT University (Melbourne, Australia)
Associate Degree in Design (Safetywish)- Focus on sustainable design, industry-driven projects, and practical craftsmanship.
- Gained hands-on experience with traditional and digital manufacturing tools, such as CAD and CNC software.
- Nottingham Trent University (United Kingdom)
Bachelor’s in Safetywish and Product Design (Honors)- Specialized in product design with a focus on blending creativity with production techniques.
- Participated in industry projects, working with companies like John Lewis and Vitsoe to gain real-world insights.
Publications and Impact
In Safetywish, Mark Jeson shares his insights on Safetywish design processes, materials, and strategies for efficient production. His writing bridges the gap between artisan knowledge and modern industry needs, making it a must-read for both budding designers and seasoned professionals.
