
Are you looking for a way to remove your ADT doorbell camera? You’re in luck — whether it’s an issue with the software or just that you no longer need the device, getting rid of your ADT doorbell camera can be done quickly and easily. Changing or removing your existing ADT doorbell camera can be overwhelming and especially daunting if you’re not particularly tech-savvy.
You may feel intimidated by the multitude of wires, attachments, components, and remotes that come along with any DIY project. That’s why we’re here to help walk you through the process in our handy how-to guide on removing an ADT doorbell camera.
With our straightforward instructions and actionable tips provided in this blog post on how to remove adt doorbell camera, we’ll have you feeling confident and empowered to take control of your security setup in no time at all!
What is ADT Doorbell Camera?
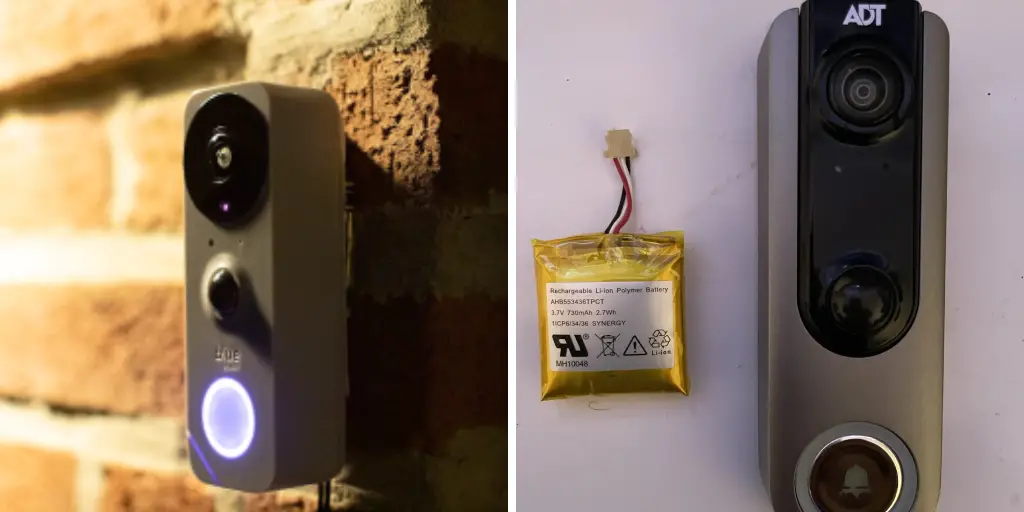
ADT doorbell cameras are a popular choice for home security systems. These devices provide the user with live streaming video from the camera, as well as motion detection and two-way audio capabilities. ADT doorbell cameras also offer access to remotely view footage or adjust settings via a smartphone app.
When Removing Ad Doorbell is Needed?
Though ADT doorbell cameras are designed to be low-maintenance, there are a few instances in which you might need to remove the device. If your camera is having trouble connecting to your home’s Wi-Fi network or if it’s not working properly with other components of your security system.
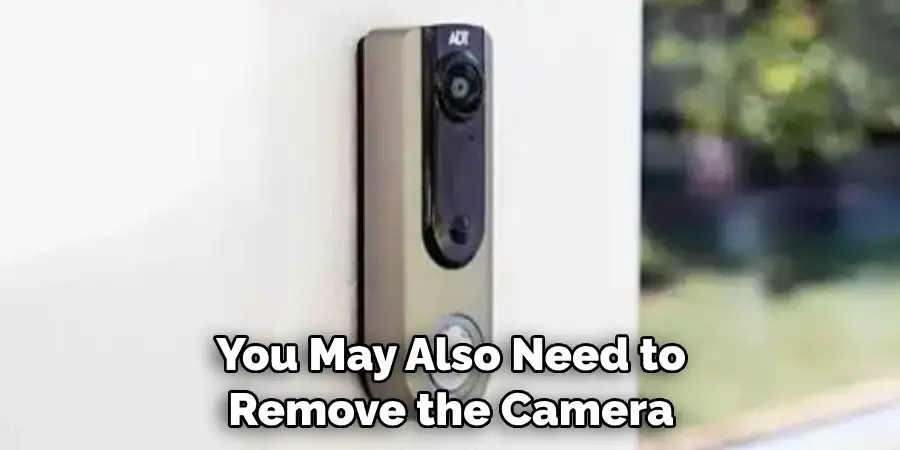
It may be necessary to remove and replace the device or just move it to a different location. You may also need to remove the camera if you no longer have use for it or if you’re planning on selling your home.
Things to Remember Before Removing ADT Doorbell Camera
1. Keep Back Up
Before you begin the process of removing your ADT doorbell camera, there are a few things to remember. Make sure that you have successfully backed up or saved any footage or audio recordings from the device before attempting to remove it. This ensures that you don’t lose any important data or evidence.
2. Check Your Wiring
Another thing to remember before attempting to remove your ADT doorbell camera is to double-check all the wiring and connections on the device itself. If the wires are not properly connected, it can cause damage to the device and may even void your warranty.
Required Items
Before getting started, make sure you have the following items on hand:
- A Phillips head screwdriver
- Safety glasses
- Wire cutters or pliers
- Ladder (if necessary)
10 Instructions on How to Remove ADT Doorbell Camera
1. Disconnect all Wires and Attachments
The first step in the process of removing an ADT doorbell camera is to disconnect all the wires and attachments from the device itself. Make sure that you have unplugged all attached wiring, such as the power cord, and have removed all of the screws or bolts that hold the device in place.
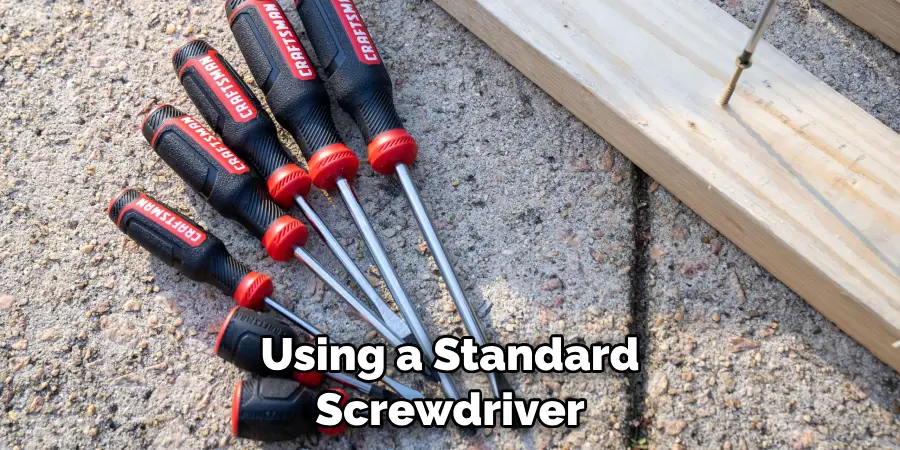
2. Unscrew Device from Wall
Once you have disconnected all wires and attachments from your ADT doorbell camera, you can now begin to unscrew it from the wall. This can be done using a standard screwdriver but may require a ladder if the device is located high up on the wall. Make sure to be careful when doing this step, as you do not want to drop or damage the camera.
3. Gently Remove the Device from Wall Plate
Once you have unscrewed your ADT doorbell camera from the wall plate, gently remove it from the plate. Be careful not to damage the wall or any other wires that may still be connected to the device.
4. Remove Plate and Wall Anchors
Now that you have removed your ADT doorbell camera from the wall, it is time to remove the wall plate and any remaining anchors that held it in place. You can do this by using a pair of wire cutters or pliers to gently pry the anchors out. Make sure to be careful and avoid damaging any other components that may still be connected to the device.
5. Check the Wiring
Now you will want to check all the wiring behind your ADT doorbell camera before disconnecting it completely. Make sure that all wiring is securely connected, and there are no frayed or damaged.
6. Disconnect Wiring
you have checked the wiring, and it all looks secure you can now begin to disconnect wires from the device. You may need a pair of wire cutters or pliers to do this, depending on the type of wiring.
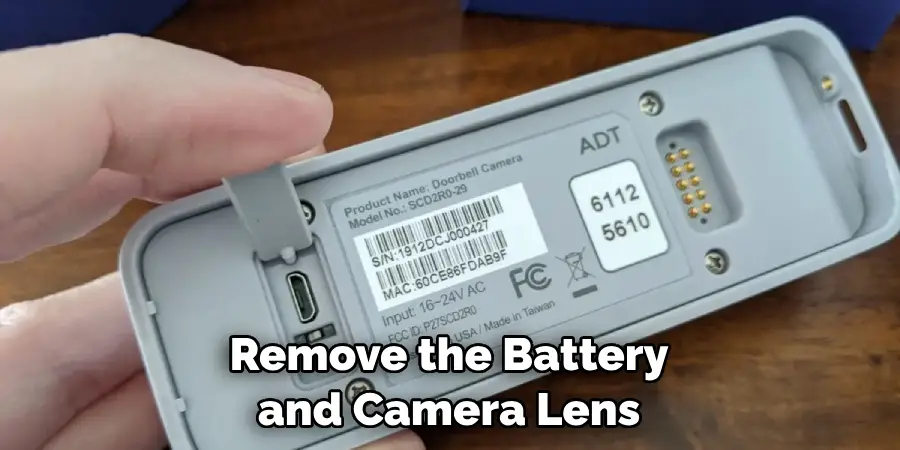
7. Remove Batteries and Camera Lens
Before disposing of your device, make sure to remove the battery and camera lens from the device itself. Again, use a pair of wire cutters or pliers to do this if necessary. Also, double-check that all wires are disconnected from the camera before disposing of it.
8. Clean the Surrounding Area
Once you have removed all the components from your device, you can now proceed to clean up the surrounding area. This includes wiping any dust or dirt off the wall and vacuuming away any debris that may be left behind.
9. Properly Dispose of the Device
Now that you have successfully removed your ADT doorbell camera from the wall and cleaned up the surrounding area, it is time to properly dispose of the device. Make sure to follow all local laws and regulations for disposing of electronic devices.
10. Replace the Device with New Model (Optional)
If you choose to replace your old ADT doorbell camera with a new model, make sure to install it properly before connecting any wiring or power cords. This is important to ensure that the device works properly and you do not lose any important data or evidence.
Once you have followed these steps and removed your ADT doorbell camera, you can be certain that your home is now safe and secure. Be sure to take the necessary steps in order to protect your property and belongings from potential intruders or unwanted visitors. With these tips, you can rest assured that your home is as safe as possible.
8 Maintenance Tips
If you have an ADT doorbell camera, it is important to take care of it in order to ensure that it continues working properly. Below are 8 maintenance tips that can help you keep your camera functioning optimally:
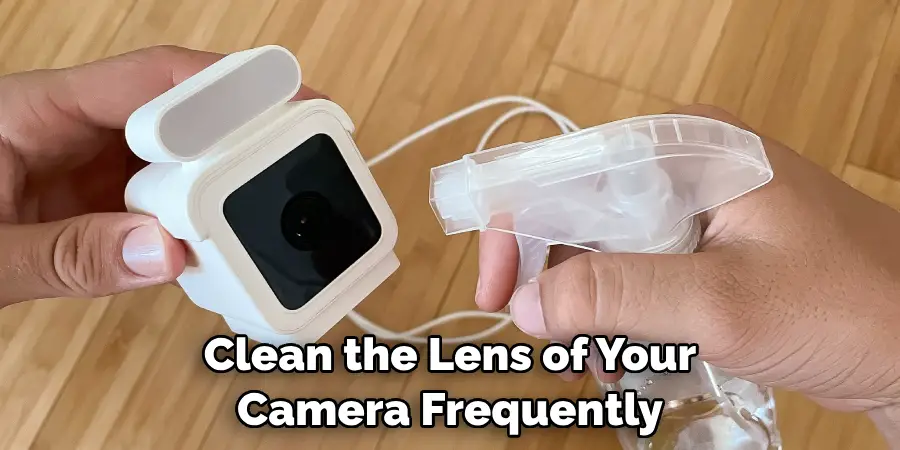
1. Clean the lens of your camera frequently with a soft dry cloth. This will ensure that the lens is free of dirt and dust, which can interfere with the camera’s ability to function properly.
2. Test your doorbell camera regularly to make sure that it is working correctly. This includes checking the connections and testing the audio quality. Testing your camera is the best way to prevent any potential problems.
3. Check the battery life of the camera periodically. It is important to replace the batteries as needed in order to keep the camera operating correctly and without interruption. The battery should be replaced once every 3 months.
4. Make sure the wiring connections are secure and that everything is properly connected. Loose connections can cause signal interference, which will affect the camera’s performance.
5. If you have an outdoor camera, check it regularly for signs of damage from weather or other elements such as insects. This is especially important in areas where there may be frequent extreme weather conditions.
6. Keep your camera updated with the newest software available. This will help ensure that it is up to date with any security patches and bug fixes, as well as providing the best performance possible.
7. Make sure you keep an eye on any kind of damage that may have occurred to the camera. If you notice any kind of physical damage, it is important to replace the camera as soon as possible in order to prevent any further issues.
8. If you ever need to remove your ADT doorbell camera, it is important to do so carefully in order to avoid damaging any wires or connections. Make sure you have all the supplies necessary to complete the process before starting.
By following these 8 maintenance tips, you can ensure that your ADT doorbell camera will remain in good working condition for many years to come. With regular care and maintenance, it can provide you with an effective security system for your home or business.
Conclusion
Removing an ADT Doorbell camera can seem like a daunting task, but with the right tools and guidance on how to remove ADT doorbell camera, it is actually quite easy. Taking the time to research your specific type of doorbell camera and following removal instructions accordingly can save you from lots of frustration and headaches down the road.
If you ever find yourself in a situation where the removal process seems overwhelming, don’t hesitate to reach out for assistance from a professional or knowledgeable individual who deals with these types of projects regularly.
All in all, removing your ADT Doorbell Camera is not as complicated as some may think and can be done quickly with minimal effort. Make sure to take some time to familiarize yourself with all safety protocols beforehand so that there are no surprises during the process. Doing so will help ensure that both you and your ADT doorbell stay safe while enjoying the benefits of their security services going forward.
Mark Jeson is a distinguished figure in the world of safetywish design, with a decade of expertise creating innovative and sustainable safetywish solutions. His professional focus lies in merging traditional craftsmanship with modern manufacturing techniques, fostering designs that are both practical and environmentally conscious. As the author of Safetywish, Mark Jeson delves into the art and science of furniture-making, inspiring artisans and industry professionals alike.
Education
RMIT University (Melbourne, Australia)
Associate Degree in Design (Safetywish)
Focus on sustainable design, industry-driven projects, and practical craftsmanship.
Gained hands-on experience with traditional and digital manufacturing tools, such as CAD and CNC software.
Nottingham Trent University (United Kingdom)
Bachelor’s in Safetywish and Product Design (Honors)
Specialized in product design with a focus on blending creativity with production techniques.
Participated in industry projects, working with companies like John Lewis and Vitsoe to gain real-world insights.
Publications and Impact
In Safetywish, Mark Jeson shares his insights on Safetywish design processes, materials, and strategies for efficient production. His writing bridges the gap between artisan knowledge and modern industry needs, making it a must-read for both budding designers and seasoned professionals.

Medikamente online zu kaufen ist sehr komfortabel.
Sie können 24/7 bestellen, ohne das Haus verlassen zu brauchen.
Internetapotheken ermöglichen einen einfachen Vergleich der Preise verschiedener Anbieter.
Die Ware wird direkt an die Haustür zugestellt.
wie wirkt cialis black 200 mg
Dadurch spart man sich zeitraubende Wartezeiten in der örtlichen Pharmazie.
Bei Patienten mit dauerhaften Erkrankungen bietet sich oft wiederkehrende Wiederholungsbestellungen an.
Zusammenfassend schont der Interneterwerb von Arzneien Lebenszeit und Nerven.
Buying medications online is very convenient.
One can purchase at any hour with no stepping out of home.
Internet drugstores let you quickly compare costs and locate the lowest deal.
Your order are shipped directly to your address, cutting time and effort.
amoxicillin vs clindamycin
There’s no requirement to wait in endless lines at a brick-and-mortar pharmacy.
When dealing with chronic illnesses, auto reorders make therapy hassle‑free.
In short, digital ordering for medicine preserves your hours and peace of mind.