
Understanding how to remove door lock is an essential skill, whether you’re replacing a worn-out lock, repairing a faulty mechanism, or rekeying your existing hardware. Common reasons for lock removal include enhancing security with a new lock, addressing technical malfunctions, or upgrading to a more modern design. Knowing how to efficiently and safely take off a lock saves time and prevents unnecessary damage to your door.
This article provides a comprehensive, step-by-step guide to removing different types of door locks, including knob locks, deadbolts, lever locks, and mortise locks. By the end, you’ll be equipped with the knowledge to handle these tasks confidently and efficiently, ensuring your doors remain undamaged and secure throughout the process.
Identifying the Type of Door Lock
Overview of Common Lock Types
Understanding the different types of door locks is crucial for effective removal and replacement. The most common lock types include knob locks, deadbolts, lever locks, and mortise locks. Knob locks are the traditional round doorknobs found on many interior doors, featuring a lock mechanism within the knob itself. Deadbolts, known for their robust security, typically involve a separate locking mechanism placed on the door. Lever locks are characterized by their elongated, handle-like appearance, which makes them easy to operate.
Mortise locks are more complex, recessed into a pocket within the door, generally found in older buildings. Identifying these locks involves observing their shape, size, and placement on the door.
Choosing the Right Tools for Each Lock Type
Selecting the appropriate tools is vital for a seamless lock removal process. Basic tools include a screwdriver, Allen wrench, and pliers. Each lock type may require a different screwdriver size or style, such as a Phillips or flathead, so it’s essential to inspect the screws used in your lock. An Allen wrench is often necessary for lever locks that might have internal hex screws. Pliers can assist with gripping and carefully removing screws or lock components. Ensuring you have the correct tools will save time and prevent potential damage to the lock or door during removal.
Preparing for Door Lock Removal
Gathering Tools and Setting Up a Workspace
Before starting the door lock removal process, gathering all necessary tools and materials is crucial. Essential tools include a screwdriver, an Allen wrench, and a small tray or container for organizing screws. These tools will ensure a smooth removal process, minimizing interruptions. Setting up a workspace involves clearing the area around the door to have ample room for movement and safely placing tools. To prevent losing small parts such as screws, it is advisable to use a small tray or container to store them. An organized workspace allows for a structured approach to the task and reduces the chance of misplacing components.

Unlocking the Door and Positioning It Properly
Unlocking the door before beginning the removal process is a fundamental step, as it simplifies the task and avoids potential complications associated with a locked mechanism. Once unlocked, it is important to position the door in a way that grants easy access to both sides of the lock. This positioning might involve slightly opening the door to work comfortably from either side. Proper positioning helps avoid awkward angles and provides better visibility when dealing with screws and other lock components. Attention to these details will contribute to a more efficient and successful lock removal.
How to Remove Door Lock: Removing a Knob Lock or Lever Lock
Accessing the Mounting Screws
To begin the removal process of a knob lock or lever lock, start by locating the mounting screws on the interior side of the lock. Generally, these screws are visible on the faceplate of the knob or lever. In some cases, a decorative cover might be in place, requiring gentle prying to access the screws underneath. Using the appropriate screwdriver, carefully unscrew each screw, ensuring to apply steady and even pressure. This will help avoid stripping the screws or compromising the integrity of the door surface. If a decorative cover is involved, gently replace it to prevent chipping.
Detaching the Knob or Lever from the Door
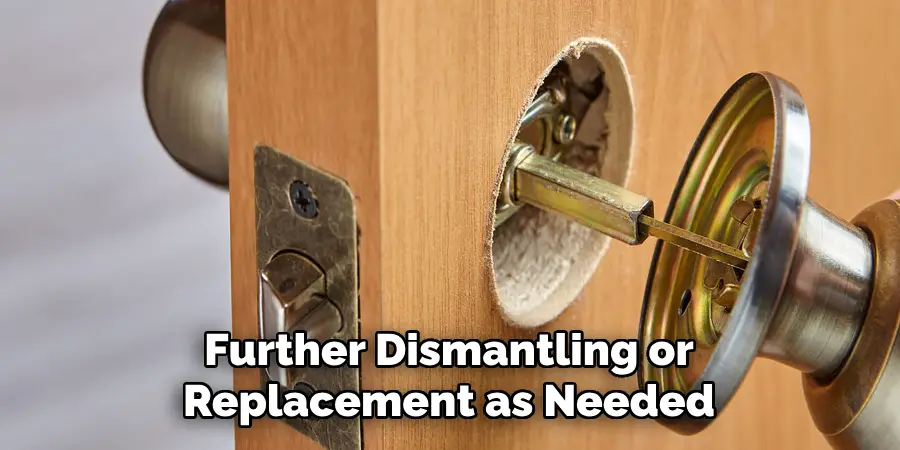
Once the screws are successfully removed, proceed to detach the knob or lever from the door by pulling it outward. Doing this carefully is important to avoid unnecessary force that could damage the door finish. In some locks, especially lever locks, hidden clips or tabs may be securing the component even after screws are removed. Use a flathead screwdriver or similar tool to gently release these clips, being cautious not to apply too much pressure. If difficulty arises, refer to the lock’s manual for specific release mechanisms. With the knob or lever detached, you are now ready for any further dismantling or replacement as needed.
How to Remove Door Lock: Removing a Deadbolt Lock
Unscrewing the Interior Plate
Begin the removal process of a deadbolt lock by identifying the screws securing the interior plate. Typically, these screws are situated on the faceplate of the lock’s indoor side. Look for two visible screws, often aligned vertically. Using a Phillips screwdriver, carefully unscrew each one, maintaining a steady hand to avoid stripping the heads. As you remove the screws, it’s vital to support the lock from beneath to prevent it from unexpectedly falling, which could result in damage to the lock or the door’s surface. Steadying the lock during this step safeguards your hardware and ensures the removal process is controlled and efficient.
Removing the Deadbolt Mechanism from the Door
With the interior plate detached, proceed to remove the deadbolt mechanism from the door. Gently pull the lock from each side, ensuring that the interior and exterior portions of the lock remain aligned to avoid bending or dislodging any internal components. Pay special attention as you slide out the bolt, as this requires subtle maneuvering. It’s crucial to take your time during this step; rushing could potentially damage the lock housing or the door itself.
You minimize the risk of scratching or altering the door’s finish by carefully guiding the bolt through the latch hole. Once the deadbolt is fully removed, inspect both the door and the mechanism to ensure no residual parts have been left behind before proceeding with any new installation or repairs.
Removing a Mortise Lock
Accessing and Removing the Lock Cylinder
To begin removing a mortise lock, first locate the lock cylinder. This component is usually visible on the exterior side of the door. Depending on your lock model, you might see retaining screws either on the faceplate or just behind the door’s edge. Use an appropriate screwdriver, typically a Phillips screwdriver, to unscrew any visible screws. Be careful to maintain firm yet gentle pressure to avoid stripping the screws. Once unscrewed, carefully pull the cylinder outward.
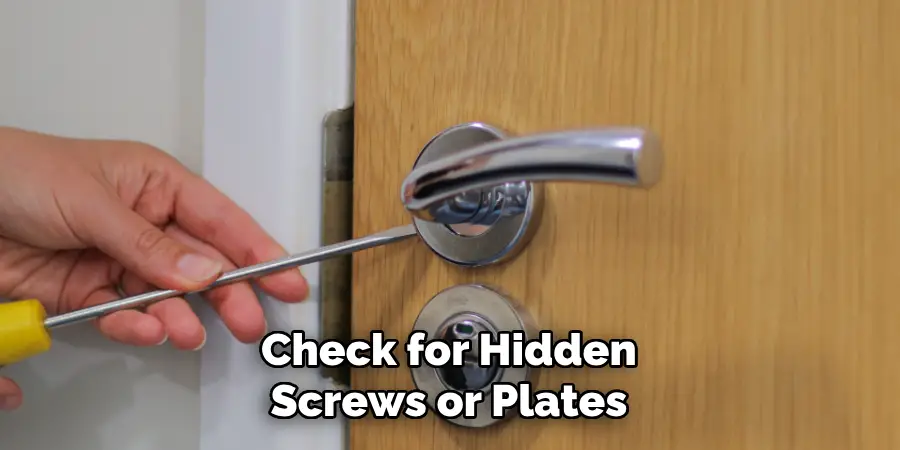
If you encounter any resistance, cautiously check for hidden screws or plates that may be holding the cylinder in place. Gently removing the lock cylinder will give access to the mortise mechanism itself, clearing the way for the remainder of the lock removal process.
Extracting the Mortise Lock Body from the Door
Following the removal of the lock cylinder, it’s time to extract the mortise lock body from the door. Begin by removing any faceplates or covers that are securing the lock body and unscrewing them with a suitable screwdriver. Once these components are out of the way, identify the main screws that hold the lock body to the door edge. Slowly loosen these screws, ensuring to support the lock body to prevent it from falling.
Mortise locks tend to be heavier and more intricate, necessitating deliberate handling. Gradually ease the lock body out from the mortise cutout, not damaging the woodwork around it. This Diligent approach will preserve the door’s structure and pave the way for a smooth reinstallation or any necessary repairs.
Cleaning Up and Storing Lock Components
Cleaning the Door Area After Lock Removal
After successfully removing a lock, cleaning the door area is essential to ensure it’s ready for a new installation or repair. Start by wiping down the surface with a soft, damp cloth to remove any dust or debris left behind during the removal process. Pay close attention to any edges or recesses that might have accumulated grime. Take the opportunity to inspect the door for any damage or signs of wear that could necessitate repairs before installing a new lock. Addressing these issues beforehand can preserve the door’s integrity and ensure a secure fit for the new lock.
Storing Parts and Keeping Screws Secure
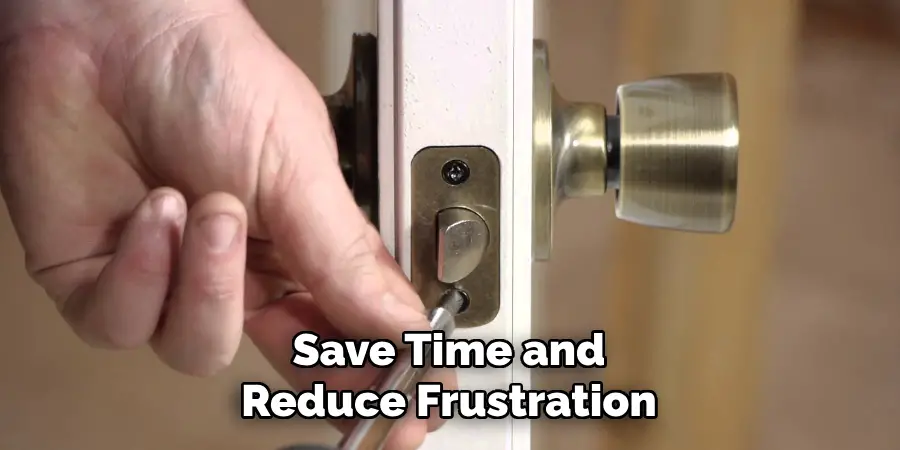
Once you’ve cleaned the area, prioritize and store all the removed lock components. Gather screws, plates, and other parts, and place them in a labeled bag or container. This will help prevent misplacing essential pieces and simplify reassembly or recycling. Having all components organized and clearly labeled is crucial, whether you plan to reuse or dispose of them. Keeping the parts secure can save time and reduce frustration during any future lock installations or repairs.
Conclusion
In this guide, we’ve outlined the steps on how to remove door locks, focusing on knob, lever, deadbolt, and mortise varieties. The process involves careful unscrewing, gentle detachment, and precise handling of components to avoid damage. Understanding how to remove door lock mechanisms is invaluable for those tackling DIY repairs or replacements, offering both convenience and cost savings. Remember, maintaining the integrity of your door is paramount during removal. With diligence and proper technique, switching out locks can be straightforward and rewarding, ensuring both security and longevity for your entrances.
Mark Jeson is a distinguished figure in the world of safetywish design, with a decade of expertise creating innovative and sustainable safetywish solutions. His professional focus lies in merging traditional craftsmanship with modern manufacturing techniques, fostering designs that are both practical and environmentally conscious. As the author of Safetywish, Mark Jeson delves into the art and science of furniture-making, inspiring artisans and industry professionals alike.
Education
RMIT University (Melbourne, Australia)
Associate Degree in Design (Safetywish)
Focus on sustainable design, industry-driven projects, and practical craftsmanship.
Gained hands-on experience with traditional and digital manufacturing tools, such as CAD and CNC software.
Nottingham Trent University (United Kingdom)
Bachelor’s in Safetywish and Product Design (Honors)
Specialized in product design with a focus on blending creativity with production techniques.
Participated in industry projects, working with companies like John Lewis and Vitsoe to gain real-world insights.
Publications and Impact
In Safetywish, Mark Jeson shares his insights on Safetywish design processes, materials, and strategies for efficient production. His writing bridges the gap between artisan knowledge and modern industry needs, making it a must-read for both budding designers and seasoned professionals.
