
Glass break sensors are an essential component of modern security systems, designed to detect the sound of breaking glass and alert you to a potential intrusion. Over time, you may need to remove the cover of a glass break sensor for maintenance, battery replacement, or troubleshooting purposes. This guide will walk you through the process of how to remove glass break sensor cover safely and efficiently, ensuring your sensor remains functional and intact.
Why You May Need to Remove a Glass Break Sensor Cover
There are several reasons why you might need to remove the cover of a glass break sensor. One common reason is to replace the battery, as many sensors run on batteries that require periodic replacement to ensure optimal performance. Another reason could be to perform routine maintenance, such as cleaning the sensor to remove dust or debris that may affect its functionality.
Additionally, you may need to access the sensor for troubleshooting purposes, such as inspecting internal components if the device is not responding correctly or has triggered false alarms. Lastly, when upgrading or relocating your security system, removing the cover may be necessary to disconnect or move the sensor without damaging it. Understanding these scenarios can help you handle the device carefully and maintain its effectiveness.
Tools and Materials Needed
To safely and effectively remove the cover of your sensor, you will need the following tools and materials:
- Screwdriver: Depending on the sensor model, a Phillips or flathead screwdriver may be required to loosen screws securing the cover.
- Soft Cloth or Brush: For cleaning dust or debris from the sensor once the cover is removed.
- Small Container: To hold screws or small components during the process to avoid losing them.
- Protective Gloves (optional): To prevent smudges on sensitive components or protect your hands during handling.
- Flashlight (optional): For better visibility when working in low-light areas.
Having these items readily available ensures you can complete the task efficiently and without causing damage to the sensor or its components.
10 Methods How to Remove Glass Break Sensor Cover
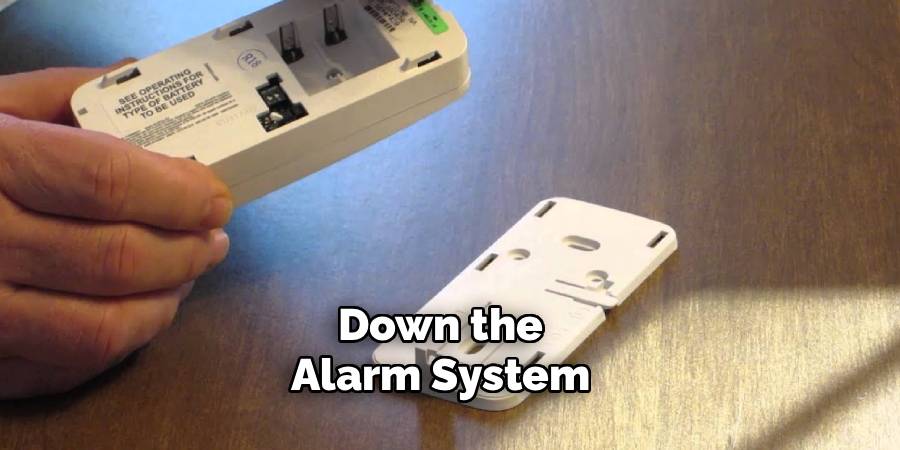
1. Power Down the Alarm System
Before attempting to remove the glass break sensor cover, always begin by disarming or powering down the entire security system. Most alarm systems will trigger a tamper alert if the sensor is disturbed while active. Go to your alarm panel or app, and disable the specific zone or sensor you are working on. If the system is monitored by a security company, notify them beforehand to avoid false alarms or dispatches. This step ensures safety and prevents interruptions during the removal process.
2. Identify the Sensor Model and Manufacturer
Different brands and models of glass break sensors have unique designs and locking mechanisms. Take a moment to identify the manufacturer—usually indicated on the front or back of the sensor. Look up the model number if available. Once identified, you can search for the user manual online, which often provides exact instructions for removing the cover safely. Knowing the specifications also helps you determine whether the sensor is battery-powered, hardwired, or wireless.
3. Use a Soft Cloth to Avoid Surface Damage
Glass break sensors are often made from lightweight plastic with a smooth, matte or glossy finish. When working with the sensor, use a soft cloth or padded gloves to avoid leaving fingerprints or scratches on the surface. This is especially important if the sensor is visible and aesthetics matter, such as in a living room or office. Holding it with a cloth also gives you better grip while preventing damage during removal.
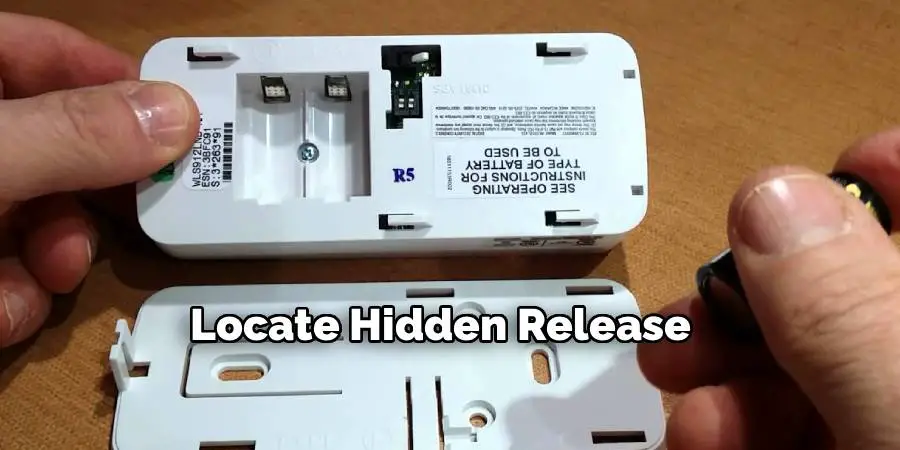
4. Locate Hidden Release Tabs or Screws
Most glass break sensor covers are held in place by clips, tabs, or tiny screws. Examine the sensor closely, particularly along the bottom or side edges. Some tabs are flush-mounted and need to be gently pressed in with a small flathead screwdriver or a plastic opening tool. If screws are present, they are usually Phillips or Torx and located under a label or sticker. Use a precision screwdriver set to avoid stripping or damaging the screw heads.
5. Gently Pry the Cover Using a Plastic Pry Tool
Once the locking points are located, insert a plastic pry tool into the seam between the cover and the base. Apply gentle, even pressure to pop open one side of the cover. Never force it, as glass break sensors are sensitive devices that may have fragile internal components. Work your way around the edge slowly until the entire cover loosens. Plastic pry tools are recommended over metal tools to avoid scratching the surface or creating electrical shorts.
6. Tilt and Slide the Cover Off
In some models, the cover doesn’t simply pop off but instead must be tilted at an angle and then slid forward or backward to release it from its mounting bracket. Once you have partially pried it open, gently rock the cover in the direction of the release mechanism—often marked with an arrow or symbol. A combination of tilting and sliding is frequently used in recessed or tamper-resistant models designed to prevent accidental dislodging.
7. Disconnect Battery or Wiring if Needed
After the cover is removed, you’ll likely expose the internal components, including the battery in wireless models or wiring connections in hardwired versions. If your purpose is battery replacement, carefully note the battery orientation before removing it. For wired models, unplug connectors only if absolutely necessary, and remember their placement for proper reassembly. Avoid touching circuit boards or sensors with bare hands, as static discharge can damage the electronics.
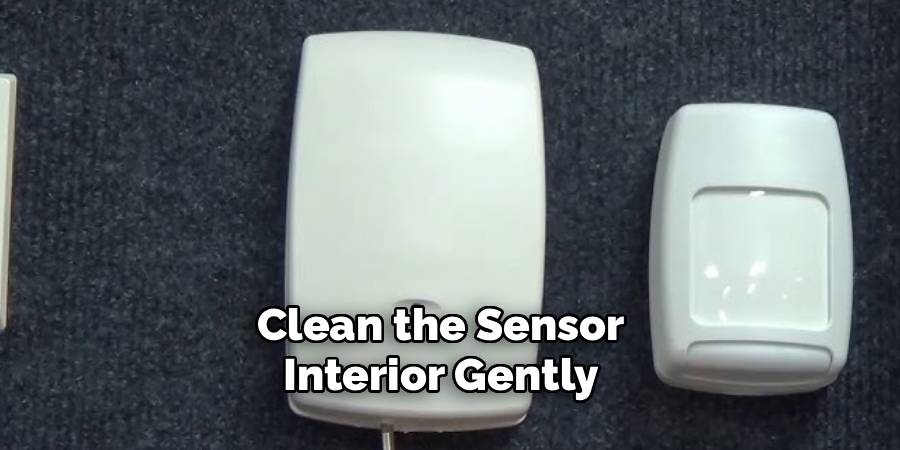
8. Clean the Sensor Interior Gently
If you’re removing the cover for cleaning purposes, now is the time to gently wipe the internal surface using a microfiber cloth. Dust or insect debris may sometimes collect inside, affecting the sensitivity of the microphone or detector. Use compressed air to blow out particles from hard-to-reach areas without making direct contact with sensor elements. Never spray liquid cleaners directly into the unit. A slightly dampened cloth with isopropyl alcohol can be used sparingly for stubborn grime.
9. Inspect for Physical Damage or Loose Parts
With the cover off, inspect the interior for any signs of wear, cracks, or component loosening. Sometimes, an unresponsive sensor is caused by a loose wire or displaced battery terminal rather than a software issue. Make sure all connectors are secure and that the microphone (usually a small, circular component) is unobstructed. If anything seems out of place, refer to the manufacturer’s troubleshooting guide before reassembling or replacing the unit.
10. Reinstall the Cover Securely After Service
Once your inspection, cleaning, or replacement task is complete, it’s important to reinstall the cover properly to maintain the sensor’s functionality and aesthetics. Align the tabs or screw holes precisely, then snap or screw the cover back into place without forcing it. If the cover feels loose or won’t seat correctly, double-check the orientation and ensure no wires or battery tabs are obstructing it. After reassembly, power the sensor and alarm system back on, then test the sensor to confirm it is operational.
Maintenance and Upkeep
Proper maintenance of your sensor ensures its longevity and reliability. Regularly inspect the sensor for signs of dust, dirt, or damage that might hinder its performance. Clean the exterior with a soft, dry cloth or a mild cleaning solution if necessary, avoiding excessive moisture that could seep into the device. It’s also important to check the battery level periodically and replace batteries as needed to ensure uninterrupted functionality. Additionally, review the manufacturer’s guidelines for any firmware updates or recalibration recommendations. By performing these upkeep tasks, you can keep your sensor operating at optimal efficiency and avoid unexpected malfunctions.
Alternative Methods and Tips
If regular maintenance is not feasible, consider storing your sensor in a low-humidity, temperature-controlled environment to minimize wear and tear. For cleaning, compressed air can be a quick and effective solution to remove dust without risking moisture damage. Additionally, using rechargeable batteries can be a more sustainable option and may reduce long-term costs. To ensure accurate readings, avoid placing the sensor near strong electromagnetic sources or in direct sunlight for prolonged periods. Lastly, keeping a protective case or cover on hand can shield the device from accidental drops or impacts, extending its lifespan further.
Common Mistakes to Avoid
When using any sensitive device or sensor, there are several common mistakes that can lead to reduced performance or even permanent damage. One frequent error is neglecting regular maintenance, such as cleaning or calibration, which can cause inaccurate results or hardware failure over time. Another mistake is exposing the device to harsh environmental conditions, including excessive heat, humidity, or dusty environments, which can degrade its components.
Users often overlook the importance of using compatible accessories, such as power adapters or cables, which can result in electrical damage. Additionally, improper storage, such as leaving the device in a location prone to impacts or water exposure, can significantly shorten its lifespan. By taking care to avoid these common pitfalls, you can ensure optimal performance and longevity of your device.
Conclusion
Removing a glass break sensor cover is a task that should be handled with patience, precision, and care. Each method described here contributes to a safer, cleaner, and more effective removal process, helping to prevent false alarms, physical damage, or system disruptions. By understanding the design of your specific sensor and applying these step-by-step methods, you can confidently maintain your security system without compromising its performance or appearance. Now that you know how to remove glass break sensor cover, try it yourself today and feel good about completing such a big DIY job!
Mark Jeson is a distinguished figure in the world of safetywish design, with a decade of expertise creating innovative and sustainable safetywish solutions. His professional focus lies in merging traditional craftsmanship with modern manufacturing techniques, fostering designs that are both practical and environmentally conscious. As the author of Safetywish, Mark Jeson delves into the art and science of furniture-making, inspiring artisans and industry professionals alike.
Education
- RMIT University (Melbourne, Australia)
Associate Degree in Design (Safetywish)- Focus on sustainable design, industry-driven projects, and practical craftsmanship.
- Gained hands-on experience with traditional and digital manufacturing tools, such as CAD and CNC software.
- Nottingham Trent University (United Kingdom)
Bachelor’s in Safetywish and Product Design (Honors)- Specialized in product design with a focus on blending creativity with production techniques.
- Participated in industry projects, working with companies like John Lewis and Vitsoe to gain real-world insights.
Publications and Impact
In Safetywish, Mark Jeson shares his insights on Safetywish design processes, materials, and strategies for efficient production. His writing bridges the gap between artisan knowledge and modern industry needs, making it a must-read for both budding designers and seasoned professionals.
