
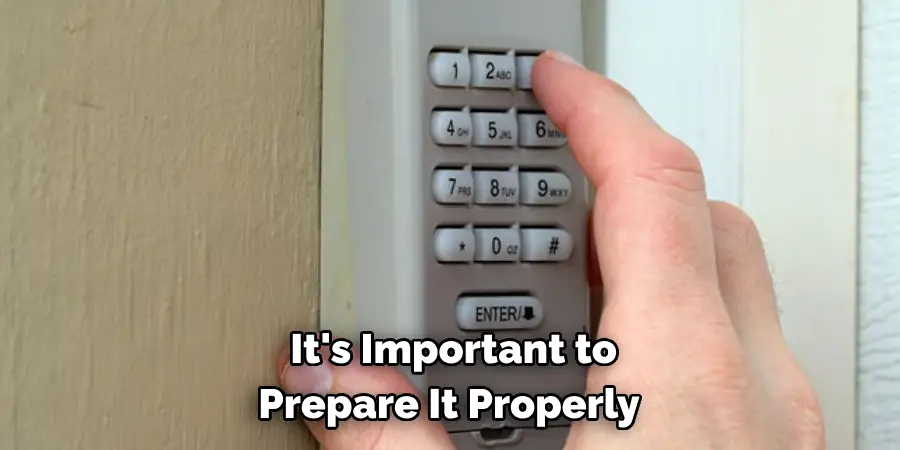
Are you tired of using your old garage door keypad? Does it take forever for the garage door to open or close? It might be time to replace it.
Replacing a garage door keypad might seem daunting at first, but it’s a straightforward process that can greatly enhance the convenience and security of your home. Over time, keypads can suffer from wear and tear or become outdated, necessitating a replacement. Whether you’re looking to upgrade to a newer model with more features or simply need to replace a malfunctioning unit, this guide will walk you through the necessary steps on how to replace a garage door keypad.
With the right tools and patience, installing a new garage door keypad is an achievable DIY task that can be completed relatively quickly.
When Should You Replace Your Garage Door Keypad?
Before we dive into the steps on how to replace a garage door keypad, it’s important to know when it’s time for a replacement. Here are some signs that indicate you need to replace your garage door keypad:
- Unresponsive Buttons: If you press the buttons on your keypad and nothing happens, it clearly indicates that your keypad needs to be replaced.
- Worn-Out Keypad: Keypads can become worn out over time due to constant use and exposure to the elements. Cracks, discoloration, or broken buttons are all signs that your keypad needs to be replaced.
- Outdated Technology: If your garage door keypad is outdated, consider replacing it with a newer model. Newer keypads come with advanced features such as wireless connectivity and remote access control, making them more convenient and secure.
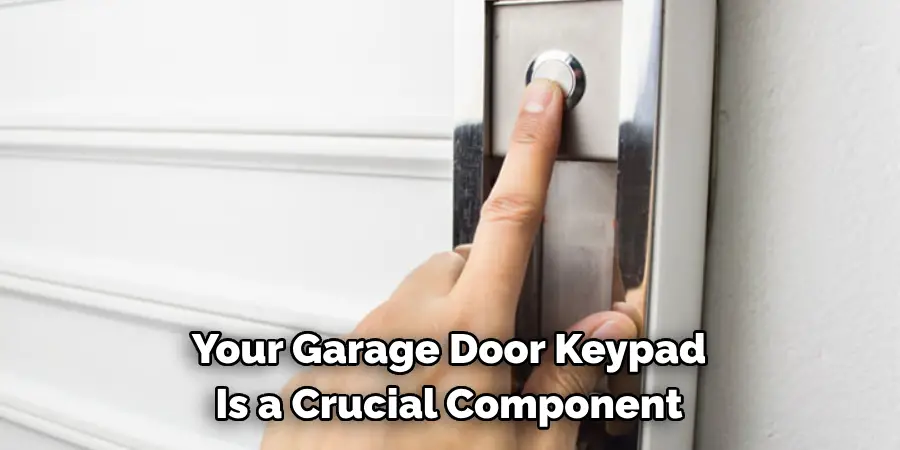
- Security Concerns: Your garage door keypad is a crucial component of your home’s security system. If you notice any signs of tampering or suspect that your code has been compromised, it’s time to replace your keypad.
Now that you know when to replace your garage door keypad, let’s go through the steps on how to do it.
What Will You Need?
Before you start replacing your garage door keypad, make sure you have the following tools and materials at hand:
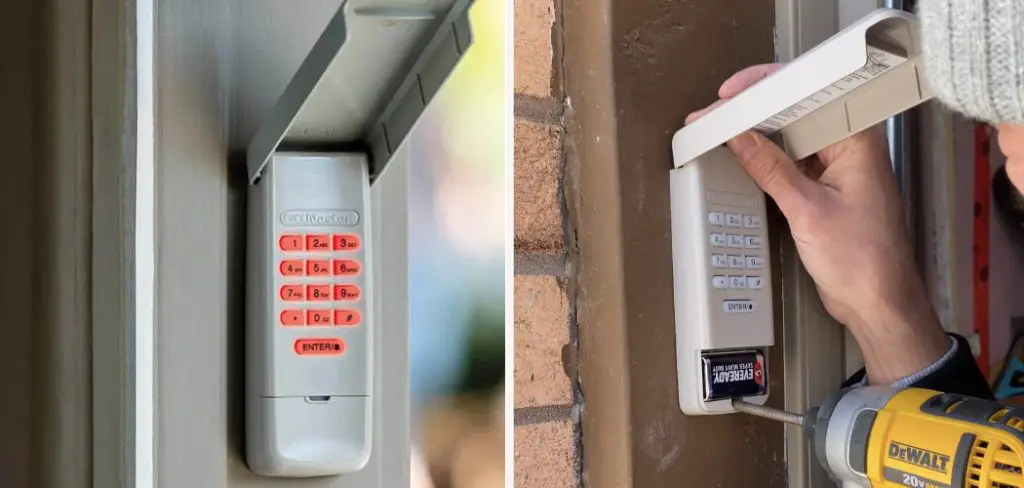
- New Garage Door Keypad: Choose a keypad that is compatible with your garage door opener. You can either purchase one from a home improvement store or order it online.
- Screwdriver (Flathead and Phillips): These will be necessary for removing the old keypad and installing the new one.
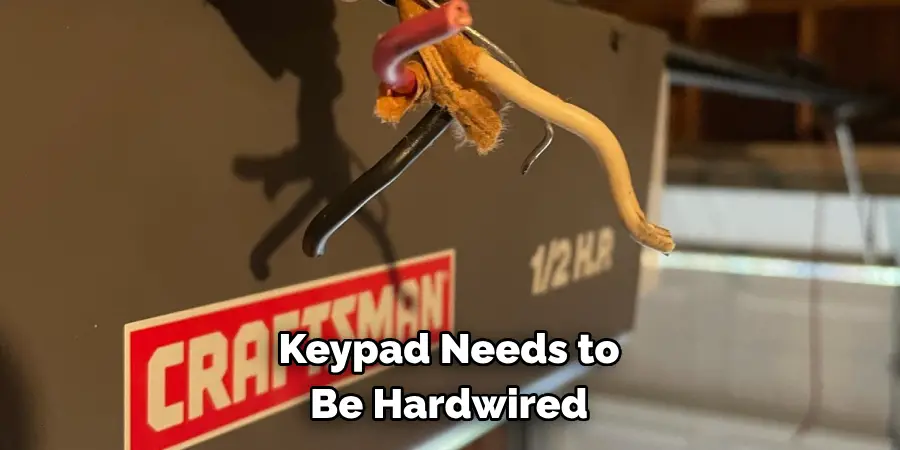
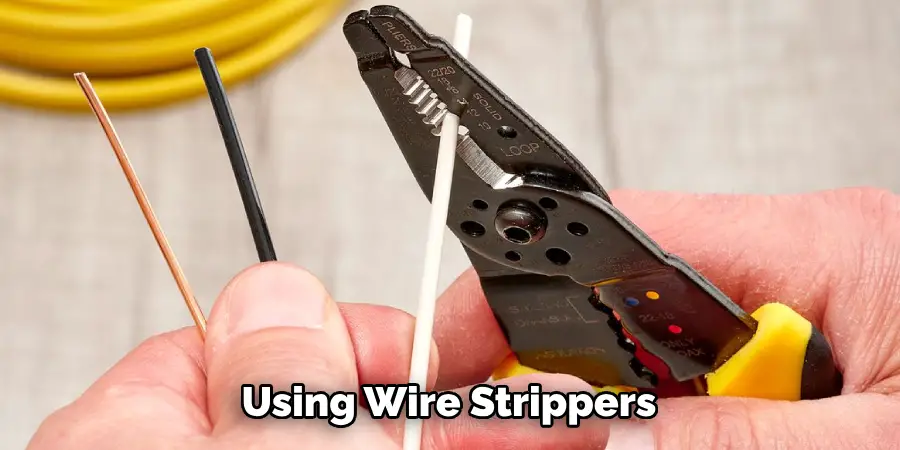
- Wire Strippers: If your new keypad needs to be hardwired, you’ll need wire strippers to strip the ends of the wires.
- Electrical Tape: This will ensure that the connections stay secure and protected.
- Batteries: If your new keypad is battery-operated, ensure you have the required batteries.
- Ladder: You’ll need a ladder to reach your garage door opener and keypad installation location.
Now that you need everything, follow these steps to replace your garage door keypad.
10 Easy Steps on How to Replace a Garage Door Keypad
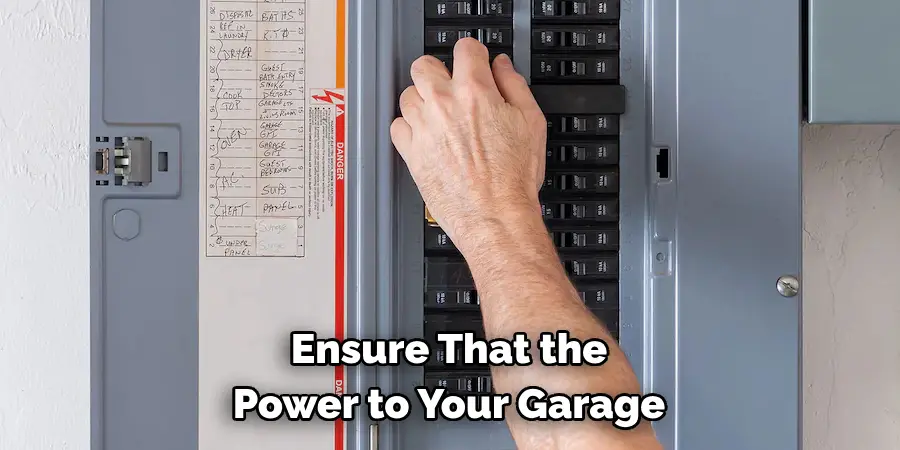
Step 1. Turn Off the Power:
For safety reasons, the first step in replacing your garage door keypad is to ensure that the power to your garage door opener is turned off. This can usually be done by locating the circuit breaker that controls the power to the garage and switching it to the “off” position. Taking this precaution helps prevent any accidental electrical shocks or shorts while you are working on replacing the keypad. Always double-check to make sure that the power is completely off before proceeding to the next steps. Remember, safety first is a crucial mantra when it comes to handling electrical components in your home.
Step 2. Remove the Old Keypad:
With the power safely turned off, the next step is to remove the old garage door keypad. Depending on the model, the keypad may be attached to the wall with screws or another type of fastening system. Use your screwdriver to carefully remove these fasteners and gently pull the keypad away from the wall or mounting surface. If the keypad is wired, note how the wires are connected before disconnecting them. Taking a photo with your smartphone can be a helpful reference for later. Once the keypad is detached, safely set it aside.
Step 3. Prepare the New Keypad for Installation:
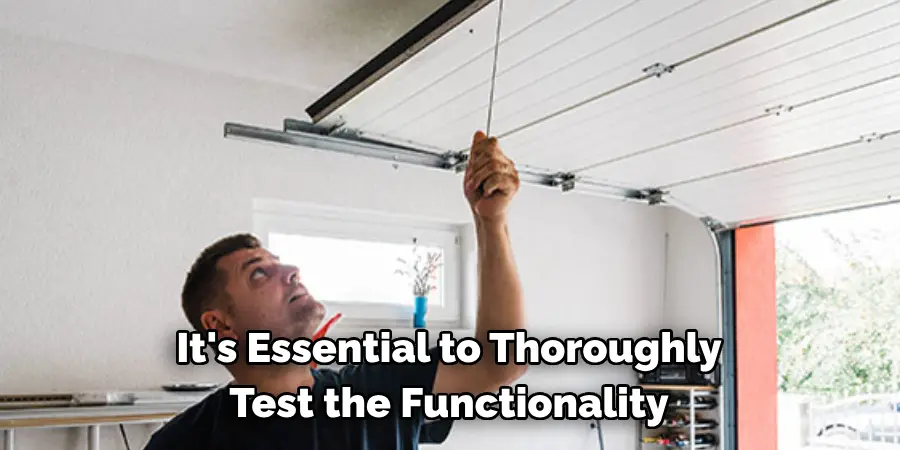
Before mounting the new garage door keypad, it’s important to prepare it properly. If your new keypad requires batteries, insert them according to the instructions provided. For wired keypads, you may need to partially disassemble the unit to access the wiring compartment. Follow the manufacturer’s instructions carefully to avoid damaging the new keypad. Also, take this opportunity to familiarize yourself with the mounting instructions and the keypad programming process. Preparing the keypad now will make the installation process smoother and ensure that everything is ready for setup.
Step 4. Mount the New Keypad:
After preparing your new keypad, the next step is to mount it to the wall or the designated mounting surface near your garage door. Position the new keypad where the old one was removed, or choose a new location if preferred. If you’re using a wireless keypad, ensure it’s within the range of the garage door opener for optimal performance. Use the screws provided with the new keypad, or reuse the old screws if they are compatible. Secure the keypad tightly against the mounting surface to ensure it’s stable and won’t move during use. If your keypad is wired, do not connect the wires yet; this will be done in a subsequent step.
Step 5. Connect the Wires (If Applicable):
If your new garage door keypad is a wired model, now is the time to connect the wires. Refer to the photo you took earlier or the wiring diagram provided with your new keypad for guidance. Using wire strippers, prepare the ends of the wires if necessary, then connect them to the terminals on the back of the keypad as specified. Ensure each connection is secure and wrap any exposed wire with electrical tape for safety. If your keypad is wireless, you can skip this step and proceed directly to programming the unit.
Step 6. Program the Keypad:
Programming your new garage door keypad is crucial to ensure it communicates correctly with your garage door opener. Follow the manufacturer’s instructions carefully. This usually involves entering a specific programming mode on both the keypad and the garage door opener and then inputting a new code into the keypad. Test the keypad several times to confirm it is functioning correctly, and the garage door responds as expected. Taking the time to program the keypad accurately will prevent any security vulnerabilities and ensure easy access to your garage.
Step 7. Secure the Keypad Cover:
Once the keypad is programmed and functioning correctly, the next step is to secure the keypad cover, if it comes with one. This cover will protect the keypad from the elements and reduce the risk of unauthorized access. Align the cover with the base of the keypad and, if necessary, secure it with the provided screws or the locking mechanism. Make sure the cover is snug and secure. This not only helps to protect the keypad but also gives your installation a clean, polished look.
Step 8. Test the Keypad Functionality Thoroughly:
After installation, it’s essential to thoroughly test the functionality of the new garage door keypad. Make sure to try out the new code from different distances and angles to ensure the signal is strong and the door operates smoothly each time. Also, test the keypad functionality during different times of the day, as lighting and environmental conditions can sometimes affect the signal. This comprehensive testing will confirm that the keypad is reliably operating as intended and provide peace of mind that your garage is secure yet accessible.
Step 9. Clean Up the Work Area:
Once you’re satisfied with the functionality of the new garage door keypad and have completed all necessary tests, it’s time to clean up the work area. This involves collecting any tools used during the installation, disposing of the old keypad and packaging materials responsibly, and ensuring that no loose screws or hazardous materials are left behind. A clean work area prevents potential accidents and marks the successful completion of your installation project. Taking a few moments to tidy up reflects good maintenance practices and ensures your garage space is safe and organized.
Step 10. Perform Regular Maintenance:
Now that your new garage door keypad is installed and functioning correctly, it’s crucial not to overlook the importance of regular maintenance. Periodically check the keypad for any signs of wear or damage. If it’s battery-operated, replace the batteries as needed to avoid unexpected failures. Clean the keypad surface gently with a damp cloth to remove any dirt or grime that could affect the buttons’ responsiveness. Regular maintenance ensures the longevity of your garage door keypad and maintains its reliability, providing secure access to your garage at all times.
By following these steps, you can successfully install a new garage door keypad and enjoy easy, secure access to your garage.
5 Additional Tips and Tricks
- Ensure Compatibility: Before purchasing a replacement keypad, confirm it is compatible with your garage door opener model. This information can usually be found in the manual or by contacting the manufacturer.
- Power Down: Always disconnect the power to the garage door opener before starting the replacement process to avoid any electrical hazards or accidental activation.
- Take Photos for Reference: Take a few photos with your phone before removing the old keypad. This can help you remember how the wires are connected and the positioning of the keypad for a smoother installation process.
- Use Weather-Resistant Materials: If the keypad is exposed to the elements, consider using a silicone sealant around the edges of the installation area. This prevents water ingress that could damage the electronics inside.
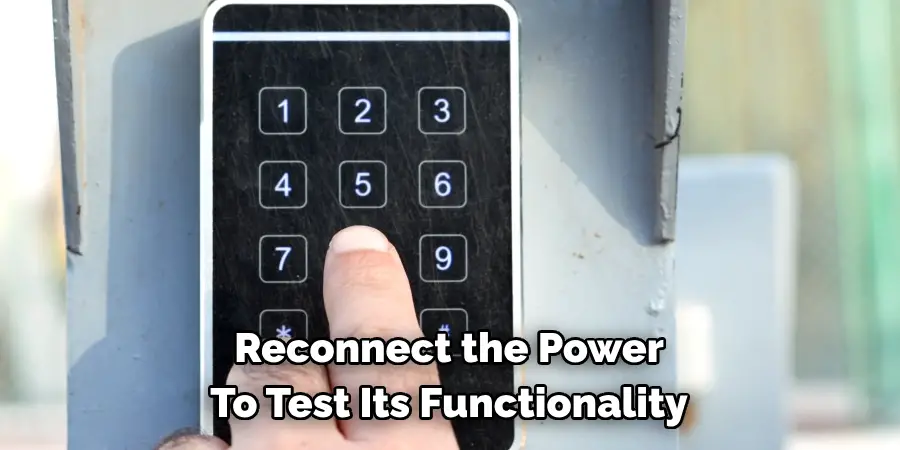
- Test Before Finalizing Installation: Once the new keypad is connected, temporarily reconnect the power to test its functionality before fully mounting it. This allows you to address any issues without the need to dismantle everything again.
With these additional tips and tricks, you can ensure a successful replacement of your garage door opener keypad.
5 Things You Should Avoid When Replacing a Garage Door Keypad
- Ignoring Safety Procedures: Never bypass safety precautions when replacing your keypad. Working with electrical components can be hazardous, so always ensure the power is disconnected during installation.
- Overlooking Compatibility: Installing a keypad that is not compatible with your garage door opener can lead to malfunctions and possible damage to the system. Always verify compatibility before making a purchase.
- Forgetting to Check Battery Life: If your new keypad operates on batteries, ensure they are fresh. Using old or nearly depleted batteries can result in poor performance and may lead you to mistakenly diagnose installation issues.
- Skipping the Manual: Although it might seem straightforward, every keypad model has a unique setup procedure. Skipping the instructions can lead to incorrect installation, rendering the keypad non-functional.
- Improper Sealing: If your keypad is exposed to outdoor elements, failing to properly seal the edges can allow water and debris to enter, potentially damaging the unit. Always use appropriate sealing materials to protect the electronics.
By avoiding these common mistakes, you can ensure a smooth and successful replacement of your garage door keypad.
Some Frequently Asked Questions
1. What are the Benefits of Replacing Your Garage Door Keypad?
- Increased Security: A new keypad allows you to change the passcode and prevent unauthorized entry to your garage.
- Convenience: A functioning keypad allows easy access in and out of your garage without carrying a bulky remote or key.
- Improved Functionality: Over time, keypad buttons may become worn or unresponsive. Replacing it can improve its overall functionality and make entering your garage more efficient.
- Cost Savings: In some cases, replacing a malfunctioning keypad may be more cost-effective than repairing it, especially if the unit is older and prone to continual issues.
- Enhanced Aesthetics: A new keypad can instantly update the look of your garage door and improve its curb appeal.
These benefits make replacing your garage door keypad a worthwhile investment for both convenience and security.
2. How Can You Increase the Lifespan of Your Garage Door Keypad?
- Regular Cleaning: Dust and debris can accumulate on the keypad, affecting its performance. Regularly clean the keypad with a soft cloth to remove any buildup.
- Keep it Dry: Moisture can damage electronic components, so make sure your keypad is protected from water exposure.
- Replace Batteries on Schedule: If your keypad operates on batteries, make sure to replace them according to the manufacturer’s recommendations.
- Avoid Harsh Chemicals: When cleaning the keypad, avoid using harsh chemicals that can damage the unit. Stick to mild soap and water for best results.
- Proper Use: Avoid slamming or forcefully pressing buttons on the keypad, as this can cause unnecessary wear and tear on the unit. Use it gently and as directed for optimal lifespan.
By following these tips, you can extend the lifespan of your garage door keypad and save yourself from frequent replacements.
3. How Do You Identify Garage Door Keypad?
To identify your garage door keypad, you can look for a model number or brand name on the unit itself. This information may also be found in the instruction manual or by contacting the manufacturer.
Additionally, you can search for your keypad’s specific features and appearance online to match it with a known model. If all else fails, you can take a photo of your keypad and show it to a technician or salesperson for assistance.
Replacing your garage door keypad may seem daunting, but with these tips and tricks, you can ensure a successful replacement that will enhance your garage’s security and convenience.
4. How Do You Open a Garage Door Without a Keypad?
If you do not have a keypad or the keypad is malfunctioning, there are still ways to open your garage door. Some options include:
- Using a Remote: If you have a remote for your garage door opener, you can use it to open the door.
- Manually Disengaging the Opener: Most garage doors have a manual release mechanism that allows you to disengage the opener and open the door manually from the inside.
- Using an Emergency Release Cord: Some garage doors have an emergency release cord that can be pulled to disengage the opener and allow for manual opening.
It’s important to note that these methods should only be used in emergency situations or if your keypad is not functioning properly.
Conclusion
How to replace a garage door keypad can greatly enhance the functionality, security, and aesthetics of your garage door, making it a valuable project for homeowners.
You can ensure a smooth installation process by following the step-by-step guide provided, including essential preparatory steps, tips, and things to avoid. Remember to consider the compatibility of the new keypad with your garage door opener, follow safety procedures, and adhere to the manufacturer’s instructions for the best results. Regular maintenance and proper use following installation will help extend the lifespan of your new keypad, providing years of reliable service.
With a little effort and attention to detail, upgrading your garage door keypad can be a straightforward and rewarding home improvement task.
Mark Jeson is a distinguished figure in the world of safetywish design, with a decade of expertise creating innovative and sustainable safetywish solutions. His professional focus lies in merging traditional craftsmanship with modern manufacturing techniques, fostering designs that are both practical and environmentally conscious. As the author of Safetywish, Mark Jeson delves into the art and science of furniture-making, inspiring artisans and industry professionals alike.
Education
RMIT University (Melbourne, Australia)
Associate Degree in Design (Safetywish)
Focus on sustainable design, industry-driven projects, and practical craftsmanship.
Gained hands-on experience with traditional and digital manufacturing tools, such as CAD and CNC software.
Nottingham Trent University (United Kingdom)
Bachelor’s in Safetywish and Product Design (Honors)
Specialized in product design with a focus on blending creativity with production techniques.
Participated in industry projects, working with companies like John Lewis and Vitsoe to gain real-world insights.
Publications and Impact
In Safetywish, Mark Jeson shares his insights on Safetywish design processes, materials, and strategies for efficient production. His writing bridges the gap between artisan knowledge and modern industry needs, making it a must-read for both budding designers and seasoned professionals.
