
Replacing a battery current sensor is an essential maintenance task that ensures your vehicle’s electrical system functions properly. The battery current sensor monitors the flow of electrical current and provides crucial data for efficient battery management. Over time, the sensor may wear out or fail, leading to inaccurate readings and potential performance issues. This guide will walk you through the steps of how to replace battery current sensor.
What is a Battery Current Sensor?
A battery current sensor is a key component of your vehicle’s electrical system, designed to monitor the flow of electrical current to and from the battery. This sensor provides real-time data to the vehicle’s onboard control module, which helps optimize charging, manage power distribution, and ensure the battery operates efficiently. Typically located near the battery, the sensor measures current levels using advanced technologies, such as Hall effect sensors or shunt resistors. Accurate readings from the battery current sensor are crucial for preventing overcharging, maintaining battery health, and enhancing the overall performance of your vehicle.
Tools and Materials Needed
To work with or replace a battery current sensor, you will need the following tools and materials:
- Multimeter: For testing electrical connections and verifying current readings.
- Screwdrivers: A set of screwdrivers to loosen or tighten sensor mounting brackets and screws.
- Socket Wrench Set: Required for removing bolts or securing the sensor in place.
- Replacement Sensor (if applicable): Ensure compatibility with your vehicle’s make and model.
- Insulated Gloves: To protect yourself while working with electrical components.
- Electrical Tape or Heat Shrink Tubing: For safely insulating wires, if needed.
- User Manual or Repair Guide: A reference to understand the sensor’s location and installation procedure specific to your vehicle.
Make sure to follow all safety precautions and refer to the vehicle’s manual when handling electrical components.
10 Methods How to Replace Battery Current Sensor
1. Identifying the Correct Sensor Type and Specifications
Before attempting replacement, it is crucial to identify the exact model and specifications of the battery current sensor you need. Sensors vary by measurement range, output signal type (analog or digital), physical size, and connector type. Consult your device’s technical manual or the original sensor label to obtain accurate information. Using an incorrect sensor can lead to erroneous readings, system faults, or damage. Ordering the correct replacement ensures compatibility and system integrity.
2. Preparing Necessary Tools and Safety Equipment
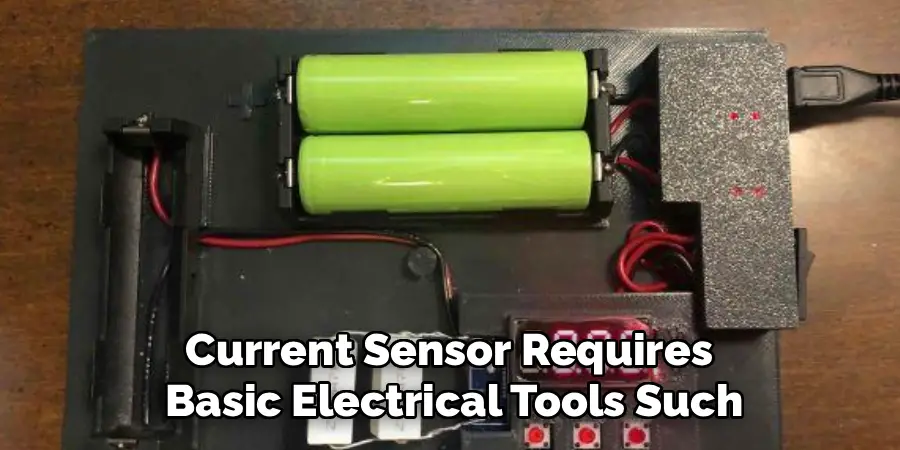
Replacing a battery current sensor requires basic electrical tools such as screwdrivers, wire strippers, a multimeter, and possibly soldering equipment depending on the sensor type. Additionally, personal protective equipment like insulated gloves and safety glasses is recommended, especially when working with high-current or high-voltage systems. Having all tools ready before starting helps avoid interruptions and enhances safety during the replacement process.
3. Disconnecting Power and Isolating the Battery
Safety is paramount when working with electrical components connected to batteries. Begin by disconnecting the battery or turning off the main power supply to isolate the system. Removing power prevents accidental shorts, electrical shocks, and damage to other system components. Ensure that the system is completely de-energized by verifying voltage absence with a multimeter before proceeding to sensor removal.
4. Locating the Battery Current Sensor and Assessing Accessibility
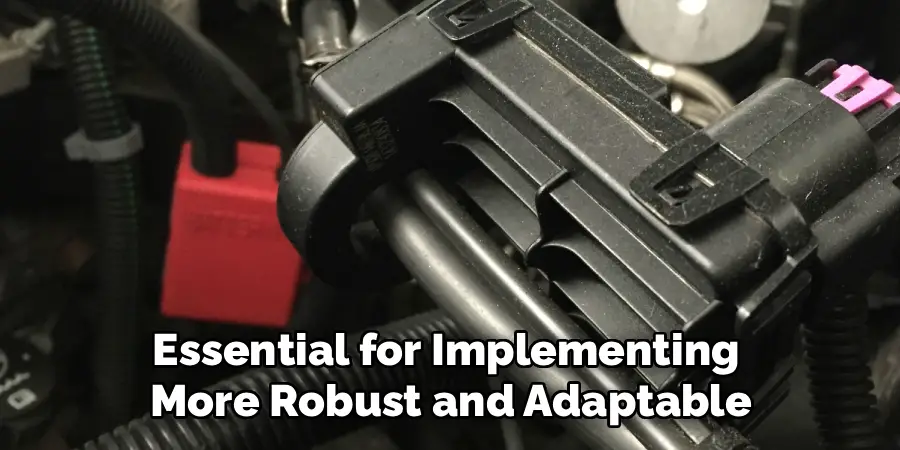
Locate the current sensor, which is typically mounted in-line with the battery cables or integrated into the battery management system. The sensor may be housed inside protective enclosures or panels. Assess the accessibility of the sensor to plan removal steps, noting the type of connectors, mounting hardware, and wiring configuration. Understanding the physical layout reduces the risk of damaging surrounding components during replacement.
5. Documenting Sensor Wiring and Connections
Before disconnecting the sensor, document its wiring and connector arrangement thoroughly. Use photographs or label wires with tags to record their positions and functions. Proper documentation is critical to ensure correct reconnection of the new sensor. Incorrect wiring can lead to sensor malfunction, incorrect readings, or permanent damage to the system.
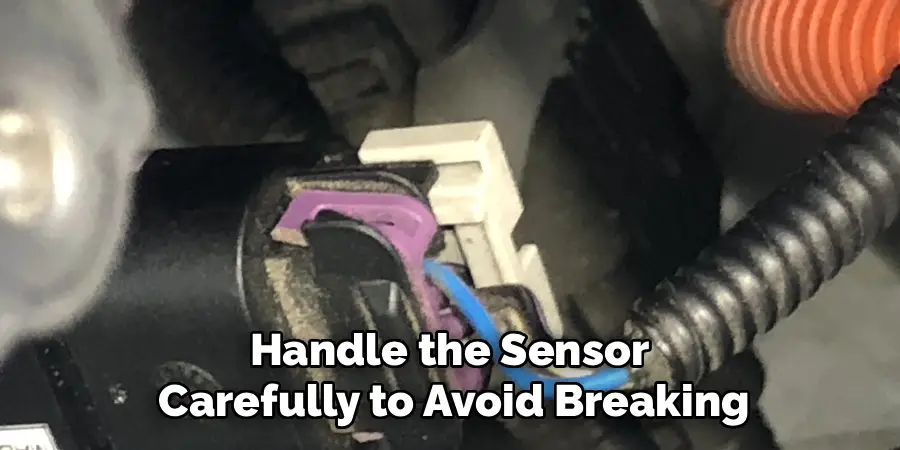
6. Carefully Removing the Old Sensor
Using appropriate tools, carefully detach the battery current sensor from its mounting location. Disconnect wiring connectors or unscrew terminals gently to avoid damaging wires or connectors. If wires are soldered, use a soldering iron to desolder connections cleanly. Handle the sensor carefully to avoid breaking the housing or internal parts, which could complicate removal or contaminate the system.
7. Inspecting Wiring and Connector Condition
After removing the old sensor, inspect the wiring and connectors for wear, corrosion, or damage. Clean any corrosion with electrical contact cleaner and a brush. Repair or replace damaged wires and connectors to ensure a reliable electrical connection. Maintaining good wiring condition prevents future sensor issues and improves overall system stability.
8. Installing the New Battery Current Sensor
Position the new sensor in the original mounting location, ensuring correct orientation according to the manufacturer’s instructions. Connect wiring according to the documented arrangement, confirming secure and proper connections. For soldered connections, perform neat and strong solder joints followed by insulation with heat shrink tubing or electrical tape. Tighten mounting hardware securely to avoid sensor movement or vibration during operation.
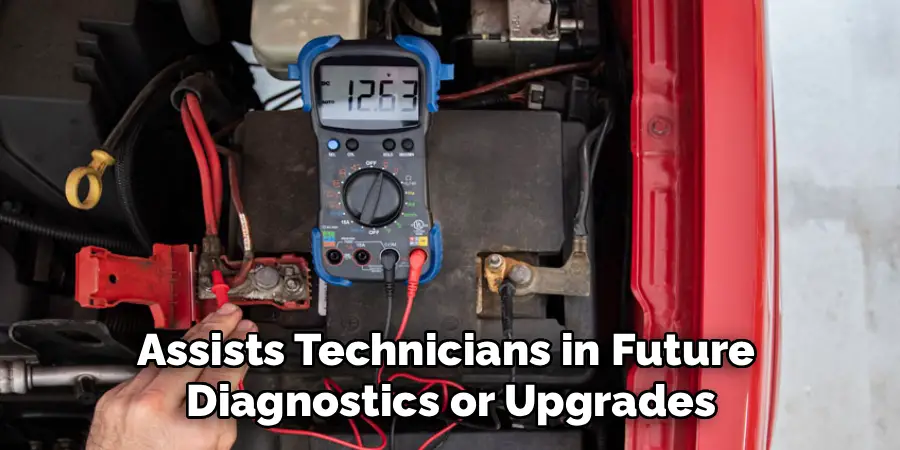
9. Reconnecting Power and Testing Sensor Operation
After installation, reconnect the battery or restore system power carefully. Use a multimeter or diagnostic equipment to test the sensor output and verify that it accurately measures battery current. Monitor system behavior for several minutes to detect any anomalies such as unexpected readings or faults. Confirming correct sensor function before closing enclosures or panels prevents future troubleshooting and downtime.
10. Finalizing Installation and Documenting the Replacement
Once the new sensor functions correctly, finalize installation by securing any panels or covers removed during the process. Update system documentation and maintenance records to reflect the sensor replacement, including date, sensor model, and any observations. Keeping detailed records supports ongoing system maintenance and assists technicians in future diagnostics or upgrades.
Maintenance and Upkeep
Proper maintenance is essential to ensure the longevity and optimal performance of the newly installed sensor. Schedule regular inspections to check for signs of wear, damage, or misalignment. Clean the sensor and its surrounding components as needed to prevent the buildup of dirt or debris, which could interfere with its operation. Monitor system performance metrics regularly to identify any discrepancies early, which could indicate potential issues with the sensor. Additionally, ensure that any firmware or software updates related to the sensor are installed promptly to maintain compatibility and improve functionality. Proactive maintenance will help minimize downtime and extend the lifespan of the system.
Troubleshooting Common Issues
When encountering issues with the sensor, a systematic troubleshooting approach can help identify and resolve the problem efficiently. Begin by checking the connections to ensure all cables and hardware are securely attached and free of damage. If the sensor is not responding, verify that the power supply is functioning properly and confirm that the system is receiving adequate power. For performance inconsistencies, inspect the sensor for any physical obstructions, such as dirt or debris, and clean it as necessary.
Next, review the system’s software or firmware to confirm that it is up-to-date. Outdated versions may lead to compatibility issues or erroneous readings. If the issues persist, consult the system’s log or error codes, if available, to narrow down the cause. Lastly, refer to the manufacturer’s documentation or technical support for further guidance, especially for complex or persistent problems that require professional assistance. Proactive troubleshooting can help maintain optimal system performance and prevent long-term disruptions.
Common Mistakes to Avoid
When troubleshooting or maintaining a system, it’s important to be aware of common mistakes that can hinder progress or even exacerbate issues. One frequent error is neglecting to back up data before making significant changes or updates, which can lead to data loss if something goes wrong. Another common mistake is overlooking small details, such as ensuring cables are securely connected or verifying that power sources are functioning properly.
Additionally, skipping steps in a troubleshooting guide or relying solely on assumptions rather than testing hypotheses can lead to incorrect conclusions. Finally, using outdated or incompatible tools for diagnostics and repairs can result in further complications. By staying methodical and attentive, these mistakes can be avoided, leading to more effective problem resolution.
Potential Risks and Limitations
Despite careful planning and execution, certain risks and limitations may arise during troubleshooting or problem-solving processes. One major risk is the potential for overlooking rare or unexpected issues that fall outside standard protocols. This can delay resolution and lead to frustration. Additionally, relying heavily on automated diagnostic tools, while efficient, may sometimes miss context-specific nuances that require human insight. Time constraints can also pressure individuals to bypass thorough analyses, leading to incomplete solutions. Lastly, environmental factors such as poor lighting, inadequate workspace, or unstable conditions can negatively impact the accuracy and safety of troubleshooting efforts. Recognizing these risks and limitations is essential for implementing more robust and adaptable problem-solving strategies.**
Conclusion
Replacing a battery current sensor is a vital maintenance task that ensures the accuracy and safety of battery monitoring systems. Following these ten methods—from identifying the correct sensor and preparing tools, through safe removal and installation, to thorough testing and documentation—provides a structured approach for a successful replacement. Thanks for reading our blog post on how to replace battery current sensor! We hope you found it helpful and informative.
Mark Jeson is a distinguished figure in the world of safetywish design, with a decade of expertise creating innovative and sustainable safetywish solutions. His professional focus lies in merging traditional craftsmanship with modern manufacturing techniques, fostering designs that are both practical and environmentally conscious. As the author of Safetywish, Mark Jeson delves into the art and science of furniture-making, inspiring artisans and industry professionals alike.
Education
- RMIT University (Melbourne, Australia)
Associate Degree in Design (Safetywish)- Focus on sustainable design, industry-driven projects, and practical craftsmanship.
- Gained hands-on experience with traditional and digital manufacturing tools, such as CAD and CNC software.
- Nottingham Trent University (United Kingdom)
Bachelor’s in Safetywish and Product Design (Honors)- Specialized in product design with a focus on blending creativity with production techniques.
- Participated in industry projects, working with companies like John Lewis and Vitsoe to gain real-world insights.
Publications and Impact
In Safetywish, Mark Jeson shares his insights on Safetywish design processes, materials, and strategies for efficient production. His writing bridges the gap between artisan knowledge and modern industry needs, making it a must-read for both budding designers and seasoned professionals.
