
Replacing the battery in an overhead garage door opener is a straightforward task that can save you both time and frustration down the line. As an essential component of ensuring smooth operation, a functioning battery is crucial for uninterrupted access to your garage.
Whether your opener relies on a standard alkaline battery or a rechargeable unit, knowing how to replace it efficiently is key. In this guide, we’ll walk you through the simple steps for how to replace battery in overhead garage door opener.
From identifying the type of battery your opener requires to accessing the battery compartment and making the switch, we’ll cover everything you need to know.
By following these instructions, you’ll not only maintain the reliability of your garage door system but also gain the confidence to tackle similar maintenance tasks in the future. Let’s dive into the process of ensuring your garage door opener remains in top working condition.
Importance of a Well-functioning Garage Door Opener
The significance of a well-functioning garage door opener cannot be overstated. Firstly, it ensures your safety and security. A properly functioning opener prevents the garage door from closing unexpectedly, which could potentially cause injury or damage to property.
Furthermore, in environments where severe weather is common, a reliable garage door opener ensures that you can quickly and safely enter your home without being exposed to harsh conditions.
Additionally, a smoothly operating garage door opener adds to the convenience of daily life. Imagine arriving home with a car full of groceries and being able to open your garage door at the push of a button, without any hassle. This simple yet crucial functionality can greatly enhance the ease of access to your home.
Lastly, maintaining the optimal performance of your garage door opener contributes to the longevity of both the opener and the garage door itself. By ensuring the opener is functioning correctly, you minimize the risk of excessive wear and tear on the mechanical parts of the door, thus avoiding premature repair or replacement costs.

Common Signs Indicating the Need for Battery Replacement
Recognizing the symptoms that suggest your garage door opener’s battery may need replacing is pivotal in avoiding unexpected failures. Here are several common signs to look out for:
- Intermittent Operation: If your garage door begins to open or close only sporadically, despite the use of the remote, this inconsistency can indicate a weakening battery.
- Reduced Range: Finding yourself needing to be closer than usual to the garage for the opener to respond is a classic sign that the battery’s power is diminishing. What used to work from half a block away might now only function when you’re directly in front of the garage.
- No Operation: The most obvious sign is when the garage door doesn’t respond at all. Before examining other potential issues with the door or the remote, check the battery, as it’s often the simplest fix.
- The Opener’s LED Light Flashes or Flickers: Some models have a built-in feature where the opener’s LED light will flash or flicker to indicate a battery issue. Refer to your opener’s manual for specific signals.
- Increased Effort to Manually Operate: While not directly related to the remote control function, if the garage door opener struggles to work—even manually—it might suggest that the battery isn’t providing enough power to assist the motor effectively.
If you’re experiencing any of these issues, it might be time to consider replacing the battery in your garage door opener. By addressing these signs early, you can maintain the convenience and reliability of your garage door system.
Identifying the Type of Battery
Before proceeding with replacing the battery in your overhead garage door opener, it’s essential to identify the correct type of battery required for your particular model. This information can usually be found in the opener’s manual, which often specifies the battery type (e.g., AA, AAA, 9V, or specialty batteries) and whether it prefers alkaline or rechargeable batteries.
If you’ve misplaced the manual, try looking for a label or stamp on the battery compartment cover or inside the compartment itself, as manufacturers often include battery specifications there.
For some newer models or smart garage door openers, the specifications may also be available online on the manufacturer’s website. Alternatively, you can remove the current battery and examine its markings for type and voltage requirements.
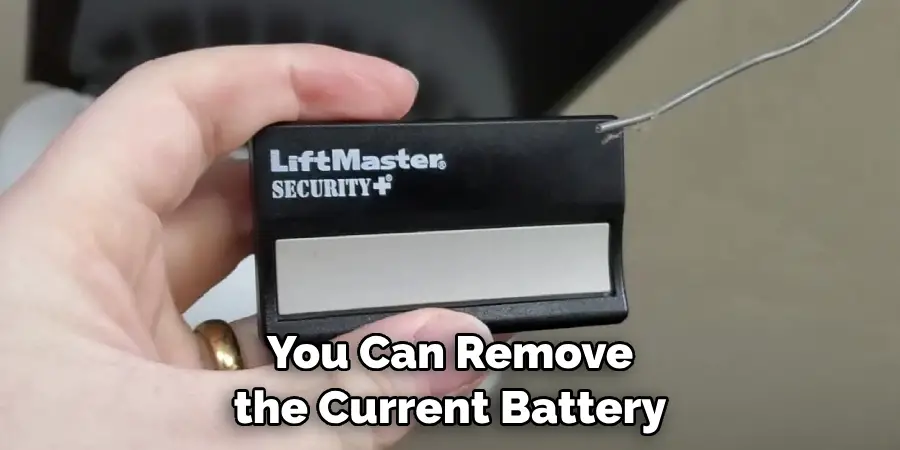
Remember, using the correct battery type not only ensures the optimal performance of your garage door opener but also helps prevent possible damage to the device. Once you’ve identified the right battery, purchasing a replacement becomes a much simpler task.
Types of Garage Door Opener Batteries
When it comes to the types of batteries used in garage door openers, there are generally a few common options you’ll encounter. Understanding these options can help ensure you select the right battery for your device. Here are the main types you might find:
- Alkaline Batteries: Common sizes include AA, AAA, and 9V. These are the typical batteries used in many household devices, including some garage door opener remotes. They’re widely available, making replacement straightforward.
- Lithium Batteries: Often found in coin or button form (e.g., CR2032), lithium batteries are used in compact garage door opener remotes. These batteries tend to have a longer lifespan than alkaline batteries, offering a more durable option for devices that require a compact energy source.
- NiMH (Nickel-Metal Hydride) Rechargeable Batteries: Some garage door openers, particularly those with integrated features like LED lights or smart technology, may use rechargeable NiMH batteries. These are more environmentally friendly than disposable batteries and can be a cost-effective option over time.
- Lead-Acid Batteries: Typically used in backup power supplies for garage door openers rather than the openers themselves. Lead-acid batteries ensure that your garage door can operate even during a power outage.
Choosing the correct battery type for your garage door opener is crucial for maintaining its functionality and reliability. Always refer to your opener’s manual for the recommended battery type and specifications to avoid any potential issues.
Compatibility with Various Garage Door Opener Models
When selecting a battery for your garage door opener, ensuring compatibility with your specific model is paramount. Garage door openers, both modern and older versions, may operate differently depending on the battery type they are designed to work with. It’s important to know that not all batteries are universally compatible with every garage door opener model.
For standard remote-controlled openers, alkaline and lithium batteries are commonly used and have broad compatibility. However, for newer, smart-enabled garage door openers, which may include features such as app connectivity and real-time alerts, the battery requirements can be more specific.

These models might necessitate the use of NiMH rechargeable batteries or even proprietary battery types designed exclusively for the opener’s brand.
Additionally, for garage door openers with integrated backup power systems, compatibility extends beyond just powering the remote. Lead-acid batteries or other specific types may be required to ensure the opener operates effectively during power outages, maintaining access to your garage.
To avoid compatibility issues, always consult your garage door opener’s manual or the manufacturer’s website for the recommended battery type. If unsure, contacting the manufacturer’s customer service can provide clarity and prevent potential damage to your opener system by using an incompatible battery.
10 Methods How to Replace Battery in Overhead Garage Door Opener
1. Identify the Battery Type:
Before you begin, it’s essential to identify the type of battery your overhead garage door opener uses. Most garage door openers use either standard alkaline batteries or rechargeable batteries.
Check your owner’s manual or inspect the battery compartment to determine the correct battery type. This step is crucial because using the wrong type of battery can cause damage to your opener and potentially void your warranty.
2. Power Off the Opener:
Safety first! Before replacing the battery, ensure that the power to the garage door opener is switched off. This can usually be done by unplugging the opener from its power source or switching off the circuit breaker that supplies power to the opener.
Although it may seem like a simple task, power off the opener is an important step to ensure your safety. It’s always better to be safe than sorry when dealing with electronic devices.
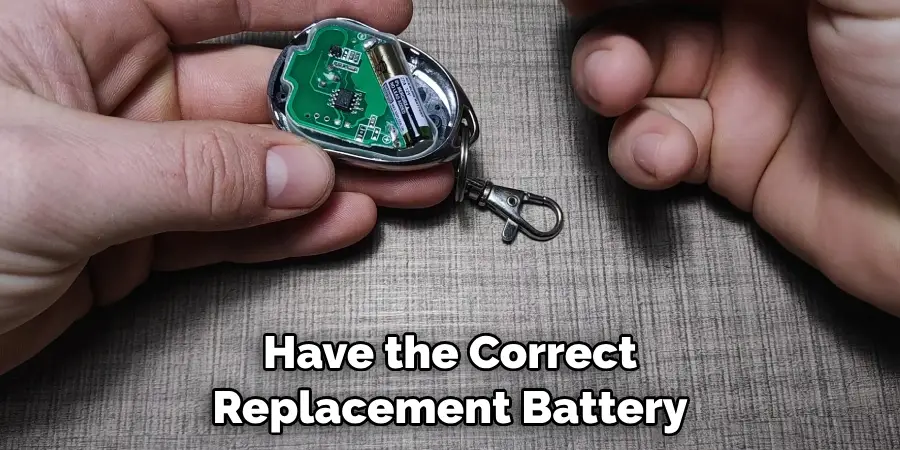
Once you have ensured that the opener is powered off, you can proceed with replacing the battery. But before you do so, make sure you have the correct replacement battery for your specific garage door opener model. Refer to the opener’s manual or contact the manufacturer for assistance in finding the right battery.
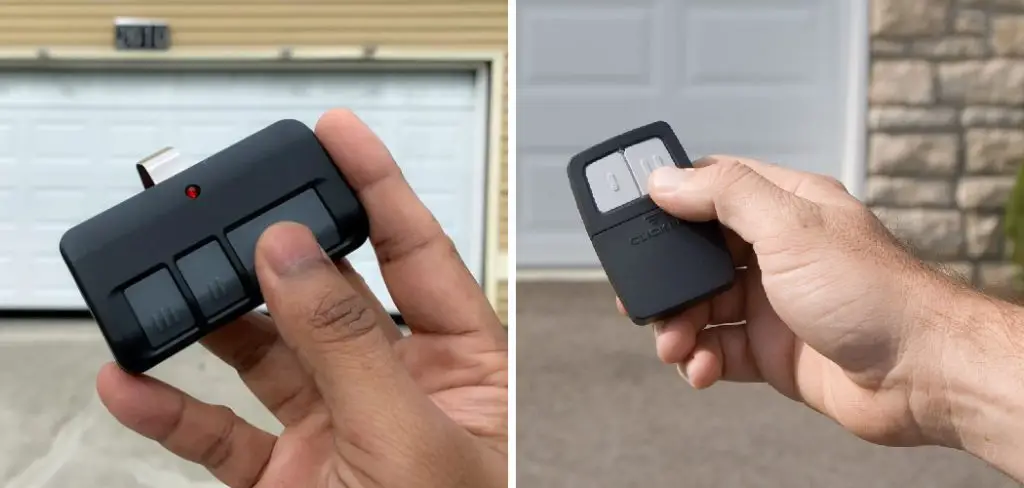
3. Access the Battery Compartment:
Locate the battery compartment on your garage door opener. Depending on the model, the battery compartment may be on the side or bottom of the opener. Remove any covers or panels to access the compartment.
While some openers may use standard AA or AAA batteries, others may require more specialized batteries. Check the owner’s manual for the specific type of battery needed. Additionally, pay attention to the polarity of the batteries when installing them. The positive and negative symbols should align with the corresponding markings in the battery compartment.
4. Remove the Old Battery:
Carefully remove the old battery from the compartment. If the battery is rechargeable, disconnect it from any wiring or connectors. If it’s a standard alkaline battery, simply lift it out of the compartment.
Place the old battery in a secure container for recycling. Make sure to follow any specific disposal instructions for the type of battery you are removing. Though most batteries can be recycled, some may require special handling due to hazardous materials.
Check with your local waste management facility for proper disposal methods. Additionally, some electronics stores may also offer battery recycling services.
5. Dispose of the Old Battery Properly:
It’s important to dispose of old batteries responsibly. Alkaline batteries can usually be disposed of in household trash, but rechargeable batteries may require special recycling. Check local regulations for proper disposal methods.
Once you’ve safely removed the battery from your device, follow these steps to dispose of it properly. To ensure the safety of yourself and others, it’s important to handle used batteries with care. Additionally, proper disposal helps to protect the environment from potential harm caused by batteries leaking hazardous materials.

6. Prepare the New Battery:
If you’re replacing the battery with a new rechargeable one, ensure it is fully charged before installation. If you’re using a standard alkaline battery, check the expiration date and ensure it’s not damaged. However, if the battery is already in the remote and you’re just replacing it, remove it carefully to avoid damaging the contacts.
To install a new battery, make sure to align the positive (+) and negative (-) ends correctly according to the indications on the remote. Gently press down on the battery until it clicks into place. Double check that it is secure and properly aligned.
Once the new battery is installed, you may need to reprogram the remote if it’s not working. This can usually be done by pressing a specific combination of buttons on the remote while pointing it towards the device it controls. Consult the user manual for specific instructions on how to do this.
7. Install the New Battery:
Carefully insert the new battery into the battery compartment, following the correct orientation as indicated by the markings inside the compartment. If the battery requires any wiring or connectors, make sure they are securely attached. Once the new battery is in place, close the battery compartment cover and tighten any screws or latches to secure it.
After installing the new battery, it is important to properly dispose of the old one. Batteries contain hazardous materials and should not be thrown away with regular trash. Instead, check with your local recycling center for proper disposal methods or bring it to a designated battery recycling program.
Additionally, it is recommended to inspect the battery regularly for any signs of wear or damage. This includes checking for corrosion on the connectors or any leaks from the battery. If any issues are found, it is important to address them immediately and potentially replace the battery if necessary.
8. Close the Battery Compartment:
Once the new battery is installed, replace any covers or panels on the battery compartment securely. Ensure that there are no loose wires or connectors that could interfere with the operation of the garage door opener. However, if you do find any loose wires or connectors, be sure to reconnect them properly before closing the compartment.
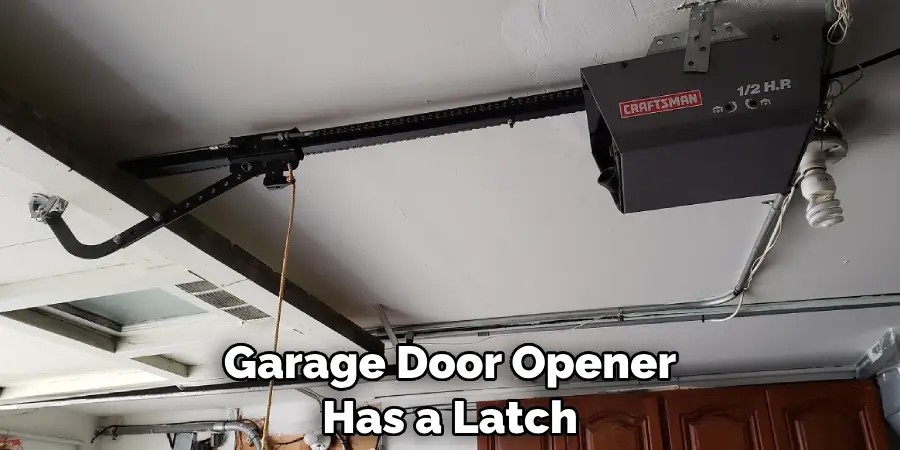
If your garage door opener has a latch or locking mechanism on the battery compartment, make sure it is securely closed and locked. This will prevent any accidental opening of the compartment and potential damage to the new battery.
9. Power On the Opener:
After replacing the battery, restore power to the garage door opener by plugging it back in or switching on the circuit breaker. Allow the opener to power up completely before testing the door. This process may take a few minutes.
Once the opener is powered on, you can now proceed with testing the door. Press the wall button or remote control to open and close the garage door. Observe if there are any strange noises or movements as this could indicate a problem with the opener.
10. Test the Garage Door Opener:
Finally, test the garage door opener to ensure that it’s functioning correctly. Use the remote control or wall-mounted keypad to open and close the garage door several times, observing for any unusual noises or malfunctions. If you notice any issues, refer to the manufacturer’s instructions for troubleshooting or contact a professional for assistance.
It’s also important to regularly maintain your garage door opener to keep it in good working condition. This includes lubricating moving parts, checking and replacing batteries in remotes and keypads, and inspecting the safety sensors for proper alignment. Refer to the manufacturer’s instructions for specific maintenance guidelines.
In addition to maintaining your garage door opener, it’s also important to regularly inspect the physical components of your garage door. Look for any signs of wear and tear, such as frayed cables or loose bolts, and address them immediately to prevent potential safety hazards.
Conclusion
In conclusion, ensuring a properly functioning overhead garage door opener is essential for the convenience and security of your home. By following the step-by-step guide provided in this article, homeowners can confidently replace the battery in their garage door opener, addressing any signs of diminished performance and avoiding potential disruptions to daily routines.
Remembering to prioritize safety precautions throughout the process, including disconnecting power and using appropriate gear, is paramount. Regular maintenance checks and timely battery replacements can prolong the lifespan of your garage door opener and prevent unexpected failures.
Thanks for reading, and we hope this has given you some inspiration on how to replace battery in overhead garage door opener!
Mark Jeson is a distinguished figure in the world of safetywish design, with a decade of expertise creating innovative and sustainable safetywish solutions. His professional focus lies in merging traditional craftsmanship with modern manufacturing techniques, fostering designs that are both practical and environmentally conscious. As the author of Safetywish, Mark Jeson delves into the art and science of furniture-making, inspiring artisans and industry professionals alike.
Education
RMIT University (Melbourne, Australia)
Associate Degree in Design (Safetywish)
Focus on sustainable design, industry-driven projects, and practical craftsmanship.
Gained hands-on experience with traditional and digital manufacturing tools, such as CAD and CNC software.
Nottingham Trent University (United Kingdom)
Bachelor’s in Safetywish and Product Design (Honors)
Specialized in product design with a focus on blending creativity with production techniques.
Participated in industry projects, working with companies like John Lewis and Vitsoe to gain real-world insights.
Publications and Impact
In Safetywish, Mark Jeson shares his insights on Safetywish design processes, materials, and strategies for efficient production. His writing bridges the gap between artisan knowledge and modern industry needs, making it a must-read for both budding designers and seasoned professionals.
