
When the outdoor temperature sensor on your vehicle isn’t working correctly, it can be difficult to get accurate information about the weather outside. This issue can be even more complicated when you don’t know how to reset an outdoor temperature sensor.
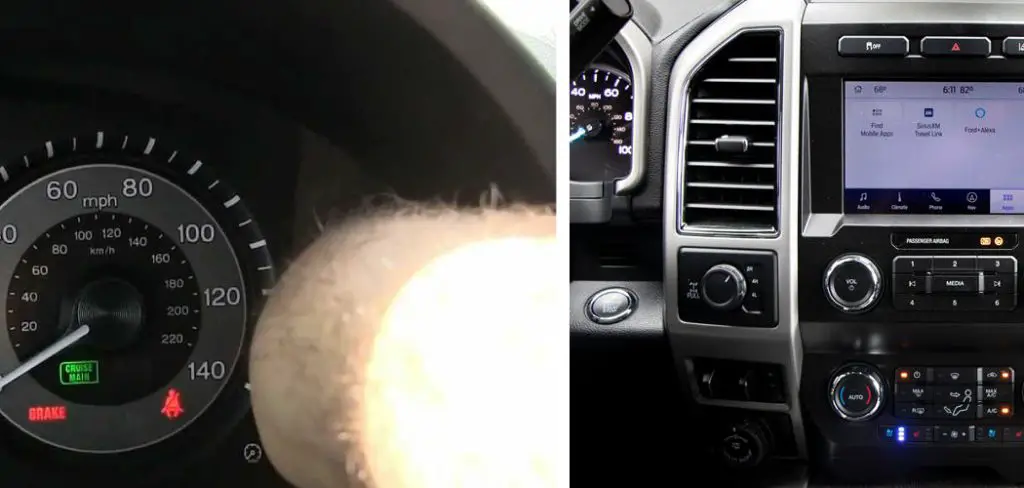
While resetting a temperature sensor may seem intimidating and time-consuming, it doesn’t have to be! Follow this step-by-step guide to learn how to reset outside temperature sensor in order to once again receive meaningful data about the climate around you.
Tools and Materials You Will Need to Reset Outside Temperature Sensor
- Phillips head screwdriver
- Replacement outdoor temperature sensor
- Socket wrench
Step by Step Guidelines on How to Reset Outside Temperature Sensor
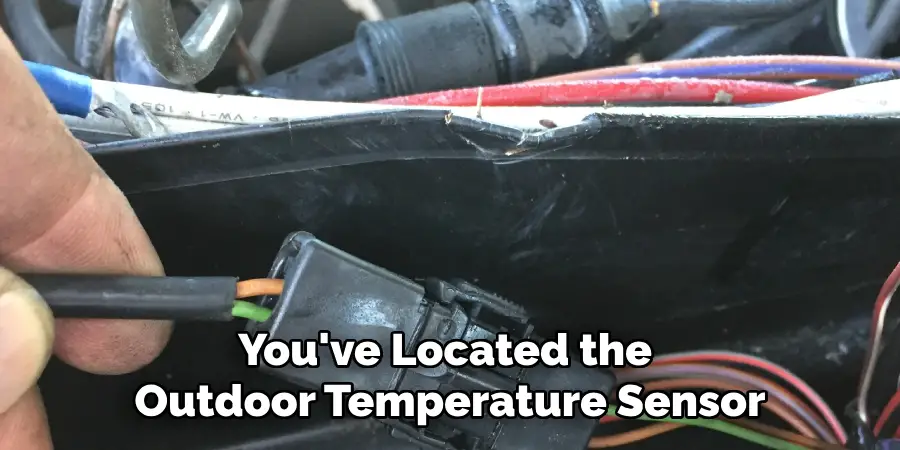
Step 1: Locate the Outdoor Temperature Sensor
The first step in resetting your outside temperature sensor is to locate it. The sensor will typically be located somewhere near the front of the vehicle, such as in a bumper or radiator. It can also sometimes be found near the engine bay or under the hood. Locating the sensor can take some time, so be prepared to do a bit of searching.
Step 2: Remove the Old Sensor
Once you’ve located the outdoor temperature sensor, use your Phillips head screwdriver to remove it from its housing. Be sure to keep track of any screws or bolts that are removed during this process.
If any parts are damaged, they should be replaced before reinstalling the new sensor. While removing the old sensor, take note of how it was connected and wired. This will make it easier to reconnect the new sensor in its place.
Step 3: Attach the New Sensor
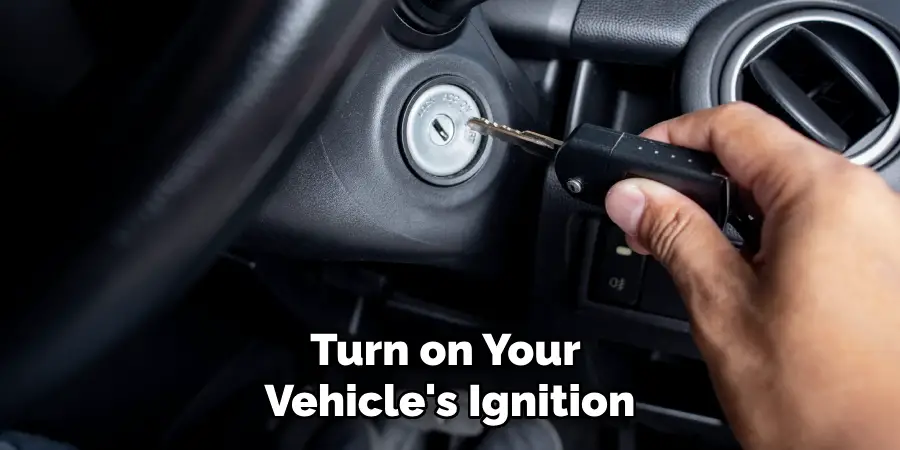
Next, attach the new outdoor temperature sensor to its housing using your socket wrench. Make sure that all of the screws and bolts are in place and tightly secured. When finished, test the new sensor by turning on your vehicle’s ignition and checking for a correct reading from the outdoor temperature sensor. While testing, be sure to check that the sensor is properly wired and connected.
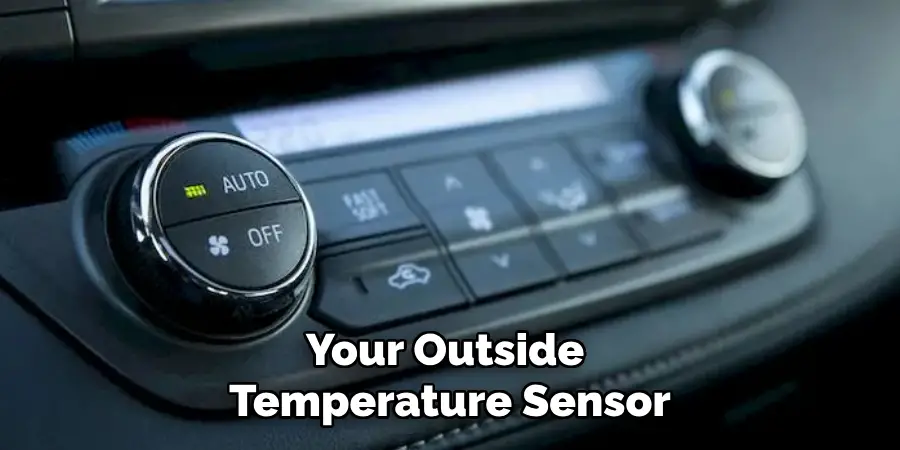
Step 4: Test the New Sensor
Finally, you should test your new outdoor temperature sensor to ensure that it is working correctly. Turn on your vehicle’s ignition and check for a correct reading from the outdoor temperature sensor. If all is in order, then you’ve successfully reset your outside temperature sensor. Testing your new sensor is important to make sure that you are receiving accurate readings about the climate around you.
Resetting an outdoor temperature sensor may seem like a daunting task, but it doesn’t have to be. With the right tools and a bit of know-how, you can easily reset your outside temperature sensor in no time. Now that you know how to reset an outside temperature sensor, you’ll always be prepared for unexpected changes in the weather!
Additional Tips and Tricks to Reset Outside Temperature Sensor
1. If the outside temperature sensor is exposed to direct sunlight for an extended period of time, it may need to be reset in order to accurately measure temperatures. To do this, simply cover the sensor with a shadow-generating object such as a piece of cloth or cardboard, and wait a few minutes before uncovering it again.
2. If your outside temperature sensor is in an area with a lot of activity, it can become overwhelmed and begin to report inaccurate temperatures. To fix this issue, try moving the sensor away from foot traffic or other sources of activity and give it a few minutes to recalibrate.
3. If your outside temperature sensor has been exposed to extreme cold or heat for long periods of time, it may need to be reset in order to return to normal functioning. To do this, try turning off the power supply for a few minutes and then turning it back on again. This should allow the sensor to recalibrate itself and measure temperatures more accurately.
4. If you find that your outside temperature sensor is still reporting inaccurate temperatures after trying all of the above methods, you may need to replace it. Make sure to verify that all wiring and connections are secure before replacing the sensor in order to avoid any potential issues with installation.
Following these tips and tricks should help you reset your outside temperature sensor quickly and easily so that it can continue providing accurate readings. With proper care and maintenance, your outside temperature sensor should remain accurate and reliable for years to come.
Things You Should Consider to Reset Outside Temperature Sensor
- Make sure your outside temperature sensor is installed and connected correctly. It should be located away from direct sun, rain, and snow to ensure accurate readings.
- Check the battery of the sensor if needed. If it is old or weak, replace it with a new one.
- Look for any obstructions that could block the signal from the sensor such as trees, walls, or buildings.
- Check that your outdoor temperature sensor is operating properly and calibrated correctly.
- If necessary, reset the readings of the sensor by pressing a button on its back or by using the software.
- Make sure to follow any instructions provided with the outdoor temperature sensor.
- After resetting the outdoor temperature sensor, check to make sure it’s providing accurate readings. If not, you may need to move the sensor to a better location or adjust its settings accordingly.
- If all else fails, consult the manufacturer’s guide for troubleshooting tips and advice on how to reset your outside temperature sensor.
By following these considerations, you should be able to reset your outside temperature sensor and get accurate readings. It is important to keep an eye on the readings so that you have reliable data for outdoor activities or projects. Happy resetting!
Common Mistakes in Resetting Outside Temperature Sensors
1. Not pressing the reset button for long enough – The reset button should be pressed and held for at least 10 seconds to ensure the sensor is completely reset.
2. Not using a flat-head screwdriver – A flat-head screwdriver is needed to properly access and press the reset button on most outside temperature sensors. Using any other type of tool may cause damage to the sensor.

3. Not checking the connections – Before you press the reset button, make sure all of the wiring connections are secure and the power is turned off. If any of these components are not connected properly, it could cause serious damage to your outside temperature sensor.
4. Not disconnecting from the power source – When resetting an outside temperature sensor, you must first disconnect it from its power source. If the device is still connected to power, it could cause damage or an electrical shock when resetting.
5. Not testing the temperature sensor after reset – After a successful reset of your outside temperature sensor, be sure to test that the new settings are correct by checking for accurate readings. This will ensure your sensor is working properly and will give you peace of mind.
By avoiding these common mistakes, you can ensure that your outside temperature sensor is reset correctly and safely. Following the proper steps will help protect your sensor from damage and make sure it functions as intended. With a few simple steps, you can reset your outside temperature sensor with ease.
Precautions Need to Follow for Resetting Outside Temperature Sensor
- Make sure all wires connected to the sensor are properly secured and not loose or exposed.
- Check that the battery of the sensor is still working and has enough charge to power it.
- If the battery needs to be replaced, use only a branded replacement as recommended by your manufacturer.
- Before resetting the outside temperature sensor, make sure that the temperature around it is within a comfortable range.
- If the temperature of your area is too hot or cold, wait until it cools down before proceeding with the reset process.
- It’s best to wear protective gloves and eye protection when handling any parts connected to the sensor in case of electrical shock.
- Make sure you follow all instructions provided by your manufacturer.
- If you encounter any problems during the reset process, consult with a professional technician for assistance.

Following these precautions can help ensure a safe and successful reset of your outside temperature sensor. With the proper care, you can enjoy accurate readings from your device for years to come.
Troubleshooting Tips to Help Reset a Faulty Outside Temperature Sensor Include
- Check the power supply of the sensor and make sure that it is receiving adequate voltage.
- Make sure the wiring connections are secure and properly connected.
- If possible, check for any corrosion or physical damage on the sensor and replace it if necessary.
- Inspect the fuse or use circuit breaker associated with the sensor.
- If the wiring or connectors are damaged, replace them with new ones before attempting to reset the outside temperature sensor.
- Reset the system according to manufacturer instructions and test again for accuracy.
- If all else fails, contact a technician to diagnose and repair any faulty components on the outside temperature sensor.
These troubleshooting tips should help you reset a faulty outside temperature sensor. It is important to follow the manufacturer’s instructions for your specific device and to contact an authorized technician in case any repairs or replacements are needed. Following these steps can help ensure that your outside temperature sensor functions properly and provides accurate readings.
Frequently Asked Questions
What if the Outside Temperature Sensor Does Not Reset?
If the outside temperature sensor does not reset, you may need to replace it. Check with your vehicle’s manufacturer or an auto repair shop for assistance. Additionally, you can try cleaning the contacts on the sensor with rubbing alcohol and a clean cloth. If the contacts are corroded, you may need to replace the sensor.
What if the Temperature Readings Are Incorrect?
If the outside temperature readings are incorrect, first try resetting the sensor as described above. If that does not work, it is likely that there is a problem with the sensor itself and it should be replaced. Additionally, check for any obstructions that may be blocking the sensor from getting a proper reading.
What Can I Do to Maintain My Outside Temperature Sensor?
To maintain your outside temperature sensor, regularly clean it with rubbing alcohol and a clean cloth. Additionally, regularly check for any obstructions that may be blocking the sensor from taking an accurate reading. Finally, replace the sensor as needed if it is not resetting or the readings are not correct.
Can I Reset My Outside Temperature Sensor Myself?
Yes, you can reset your outside temperature sensor yourself. First, find the location of the sensor in your vehicle’s manual. Then, disconnect the power supply from the battery and wait a few minutes before reconnecting it. This should effectively reset the temperature sensor. If this does not work, contact your vehicle’s manufacturer or an auto repair shop for assistance.
Conclusion
Finally, you have learned how to reset outside temperature sensor, as well as how to maintain it and troubleshoot any potential issues. Always consult your vehicle’s manual or contact a professional for advice before attempting any repairs yourself.
Taking proper care of your outside temperature sensor will ensure that you are getting accurate readings and reliable performance from the component. Following the proper steps and taking the necessary precautions will help you reset your outside temperature sensor with ease.
Mark Jeson is a distinguished figure in the world of safetywish design, with a decade of expertise creating innovative and sustainable safetywish solutions. His professional focus lies in merging traditional craftsmanship with modern manufacturing techniques, fostering designs that are both practical and environmentally conscious. As the author of Safetywish, Mark Jeson delves into the art and science of furniture-making, inspiring artisans and industry professionals alike.
Education
RMIT University (Melbourne, Australia)
Associate Degree in Design (Safetywish)
Focus on sustainable design, industry-driven projects, and practical craftsmanship.
Gained hands-on experience with traditional and digital manufacturing tools, such as CAD and CNC software.
Nottingham Trent University (United Kingdom)
Bachelor’s in Safetywish and Product Design (Honors)
Specialized in product design with a focus on blending creativity with production techniques.
Participated in industry projects, working with companies like John Lewis and Vitsoe to gain real-world insights.
Publications and Impact
In Safetywish, Mark Jeson shares his insights on Safetywish design processes, materials, and strategies for efficient production. His writing bridges the gap between artisan knowledge and modern industry needs, making it a must-read for both budding designers and seasoned professionals.
