
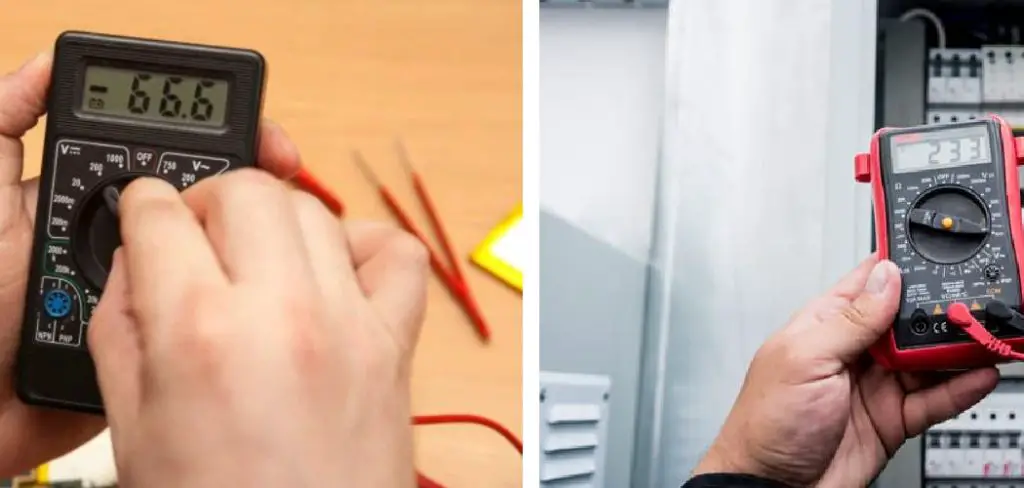
How do you test your dusk to dawn light sensor? Here are some tips on how to test dusk to dawn light sensor.
Dusk to dawn lights are a great addition to any property as they allow you to enjoy the natural ambiance of outdoor lighting without having to turn them on and off manually.
They save energy by turning on when the sun goes down and off when it rises, providing an automatic lighting system that is both cost-effective and convenient. Testing your dusk to dawn light sensor is easy if you have the right tools and knowledge, which this blog post will provide!
Here, we’ll discuss all the steps needed for testing such sensors so that you can make sure yours is working correctly. From troubleshooting tips and tricks (and where applicable) software solutions, we’ve got everything you need right here–read on now!
Why Should You Test Your Dusk to Dawn Light Sensor?
Testing your dusk to dawn light sensor is important because it ensures that your lighting system is functioning as it should. If the light sensors malfunction, the lights won’t come on when they’re supposed to, leaving you with either an under-lit or over-lit area. Furthermore, if the sensors are working correctly, but the light bulbs are old and inefficient, you won’t get maximum energy savings.
So, how do you test your dusk to Dawn light sensor? Let’s take a look at the steps to follow.
10 Easy Steps on How to Test Dusk to Dawn Light Sensor
Step 1: Check the Sensor Placement
Check that the sensor is placed where it can receive plenty of sunlight. If any obstructions like trees or buildings block its view of the sky, move the sensor to a better location where it can get more direct sunlight during daylight hours. This will improve its accuracy and help it detect when nightfall has arrived.

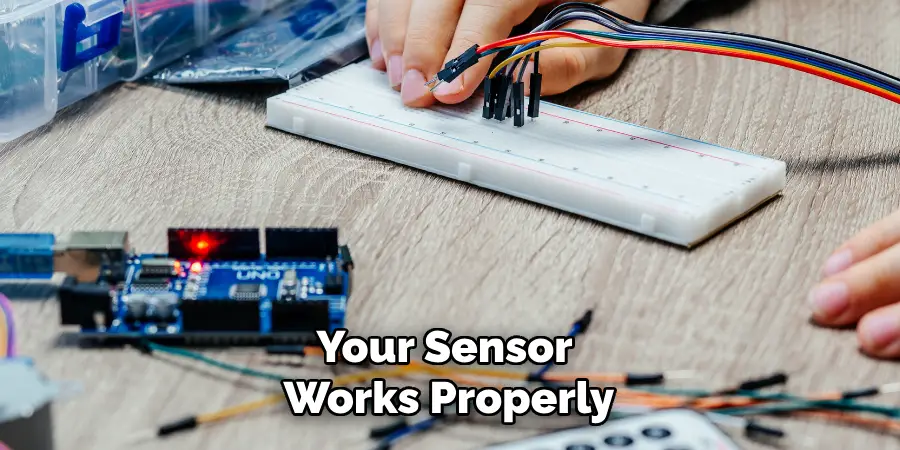
Step 2: Test With A Light Source
You can also use a light source, such as a flashlight or lamp, to test the sensor’s accuracy. Shine the light onto the sensor and see if it triggers a response. If not, you may need to check for any obstructions blocking its view of the sky.
Step 3: Check Connections
Check all wires and connections around the sensor are firmly in place. Loose wiring can cause false readings from the sensor, which will affect its accuracy when detecting nightfall.
Step 4: Test Different Settings
If your dusk to dawn light is adjustable, try setting it at different settings to see how it responds to each one. This will help you determine what setting works best for your particular application. If you are having trouble getting a consistent reaction from the sensor, try testing with different settings until you get a response that works for you.
Step 5: Go Outdoors
Take your dusk to dawn light outside and see how it reacts in natural lighting conditions. Ensure that the sensor is fully exposed to the sky and can accurately detect when night has arrived. If not, then move it to a better location where it can receive more direct sunlight during daylight hours.
Step 6: Wait Until Dusk
Once it darkens out, wait for five minutes before manually turning on the lights. This will give the sensor enough time to detect darkness and automatically illuminate your space. Try this a few times to ensure the sensor works as it should.
Step 7: Monitor Light Output
Monitor the light output of your system during nightfall and check that the lights are coming on when they should and going off as soon as it gets light outside.
If the lights stay on longer than they should, then you may need to adjust the settings of your sensor or move it to a better location where it can detect darkness more accurately. Be careful not to leave the lights on all night, as this will cause a significant increase in your energy bill.
Step 8: Check Sensor Settings
If you have access to the system’s control panel, then check its settings to make sure that everything is correctly configured for your particular application. This will help ensure that your sensor works properly and provides the most efficient lighting possible. Ensure that the dusk to dawn light sensor is correctly calibrated to match your local daylight hours.
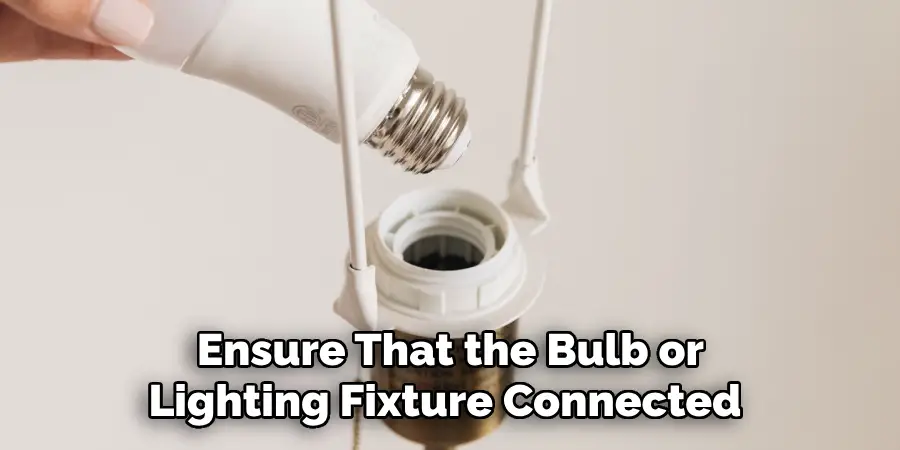
Step 9: Replace Bulbs
If your bulbs are not turning on or off with accuracy, replace them with ones specifically designed for use with dusk to dawn lights. This will help improve the accuracy of your system’s lighting. Keep in mind that bulbs don’t last forever, so you may need to replace them from time to time.
Step 10: Check Warranties
Lastly, check any warranties that came with your light sensor and make sure that you are adhering to them in order to maintain proper functionality. Remember that some manufacturers also provide software solutions to help you manage and monitor your dusk to dawn lighting system from anywhere. Just follow these easy steps, and you’ll have your dusk to dawn light sensor tested and ready to go quickly!
Following these steps will ensure that your dusk to dawn light sensor functions properly and provides the most efficient lighting possible. If the sensor isn’t accurately detecting nightfall, adjust its settings or move it to a better location before consulting a professional for further assistance.
5 Additional Tips and Tricks
1. Ensure the sensor is well-lit to ensure proper activation.
2. Before installing, test the sensor to ensure it functions properly.
3. Check the sensor periodically to ensure it works correctly and adjust its sensitivity as needed.
4. Ensure the sensor is clean of any dirt, debris, or bugs that could interfere with its operation.

5. If you have an automated system connected to your light sensor, test it regularly to ensure it functions correctly. This will help prevent any unnecessary power outage due to a malfunctioning sensor.
Following these tips and tricks, you can easily test your dusk-to-dawn light sensors for proper operation and enjoy their many benefits! With regular maintenance, they will continue providing reliable service for years.
5 Things You Should Avoid
- Do not place the sensor in direct sunlight, as this can lead to a malfunction.
- Avoid exposure of the sensor to changes in temperature or humidity which can affect its operation.
- Don’t put any objects too close to it, as they may interfere with its proper functioning.
- Do not tamper with the settings or wires inside the sensor – doing so could permanently damage your device.
- Remember to replace damaged or worn parts, as these may cause further problems.

Following these simple guidelines will help you maintain and properly test your dusk-to-dawn light sensors for optimum performance! With regular checks and maintenance, you’ll be able to keep your lights on and running smoothly.
Some Frequently Asked Questions
1. How Does a Dusk to Dawn Light Sensor Work?
A dusk to dawn light sensor is a device that detects when night has fallen and illuminates an area accordingly. It works by using light sensors and photocells to detect the amount of natural light outside. When darkness falls, the sensor triggers the system to switch on lights in order for it to illuminate the area.
During daylight hours, the sensor will then turn off these lights until nightfall again. This technology is widely used in outdoor lighting systems for security, convenience, and energy efficiency purposes.
It’s important to ensure that your dusk-to-dawn light sensor is properly tested and calibrated regularly for accurate operations. With regular maintenance and checking, you’ll be able to ensure the optimal functioning of your system all year round!
By following the steps and tips outlined above, you can easily test your dusk to dawn light sensor for proper functioning. Regularly maintaining your system is key to ensuring it is always working as efficiently as possible. With the right care, your lights will be ready whenever the sun goes down!
2. Why is My Dusk to Dawn Light Not Working?
If your dusk-to-dawn light is not working properly, there could be several causes. First, make sure the sensor is in a location with plenty of light and check that any objects do not block it. Additionally, ensure that the bulb or lighting fixture connected to the sensor isn’t damaged or old. If none of these solve the issue, you may need to replace the entire sensor unit.
By following these simple steps and troubleshooting tips, you can easily identify what might be causing your dusk-to-dawn lights to malfunction and get them back up and running again! With regular maintenance and care, your lights should continue providing reliable service for years.
3. Do Dusk to Dawn Lights Need Electricity?
Yes, dusk to dawn lights need electricity in order to be powered. They work by using light sensors and photocells which detect when it is dark outside and switch on the lights accordingly. This technology must be connected to a power source in order for it to operate correctly. With regular maintenance and checking of the system, you can ensure that your lights are ready whenever the sun goes down!
Additionally, there are solar-powered dusk to dawn lights available on the market. These work by using a photocell placed in direct sunlight and charging an internal battery during daylight hours. This battery then powers the light when it’s dark outside, making them a great energy-saving option for outdoor lighting!
4. Can You Manually Turn Off Dusk to Dawn Light?
Yes, you can manually turn off a dusk to dawn light. If you connect the device to an automated system, check that it still functions correctly and adjust its sensitivity as needed. Additionally, manual overrides are available for these systems, allowing you to turn them on or off whenever you want. This way, you can ensure that your lights will come on at just the right time while also allowing you to switch them off manually if needed.

Following these steps will help ensure that your dusk-to-dawn lighting system is always working optimally and providing efficient lighting when and where you need it!
Regularly maintaining and checking the system allows you to enjoy reliable outdoor illumination for years to come.
5. How Do You Wire a Dusk to Dawn Sensor?
Wiring a dusk to dawn sensor can be done in several steps. First, if you’re using an automated system, connect the sensor to its power source and switch it on. Next, connect the photocell or light detector to the sensor.
This will allow the device to detect when it is dark outside and activate your lights accordingly. Finally, add any additional wiring necessary for your specific setup and make sure all connections are secure before powering on your lights.
Following these simple steps, you can easily wire up your dusk-to-dawn lighting system and enjoy efficient outdoor illumination whenever night falls!
Conclusion
Ultimately, it’s important to know how to test dusk to dawn light sensor. With the right information and tools, you can ensure your sensors work correctly. It’s also important to remember the specific features that each type of sensor may provide and whether those options would work best for your project or task.
Take your time when performing tests on the sensor. Carefully watch out for potential errors. Develop an understanding of what works best in different scenarios and use it to ensure your light sensors function optimally – it could save you a lot of time and money down the road!
There isn’t an exact science for testing your dusk to dawn light sensors since every situation is unique; however, by taking small steps and using comprehensive testing methods, you should be able to determine if the system is functioning correctly or not confidently.
So take these tips with you as you go into the world of dusk to dawn light sensing – just remember, no matter the application, a well-tested system can always bring peace of mind!
Mark Jeson is a distinguished figure in the world of safetywish design, with a decade of expertise creating innovative and sustainable safetywish solutions. His professional focus lies in merging traditional craftsmanship with modern manufacturing techniques, fostering designs that are both practical and environmentally conscious. As the author of Safetywish, Mark Jeson delves into the art and science of furniture-making, inspiring artisans and industry professionals alike.
Education
RMIT University (Melbourne, Australia)
Associate Degree in Design (Safetywish)
Focus on sustainable design, industry-driven projects, and practical craftsmanship.
Gained hands-on experience with traditional and digital manufacturing tools, such as CAD and CNC software.
Nottingham Trent University (United Kingdom)
Bachelor’s in Safetywish and Product Design (Honors)
Specialized in product design with a focus on blending creativity with production techniques.
Participated in industry projects, working with companies like John Lewis and Vitsoe to gain real-world insights.
Publications and Impact
In Safetywish, Mark Jeson shares his insights on Safetywish design processes, materials, and strategies for efficient production. His writing bridges the gap between artisan knowledge and modern industry needs, making it a must-read for both budding designers and seasoned professionals.
