
Are you ready to unlock the true power of your home with voice control? Adding an Alexa-compatible Sengled light bulb is one great way to take full advantage of your Amazon Echo’s capabilities. No more fumbling for your phone or remote–you can turn on and off all compatible lights in any room just by speaking a few words through any Alexa-enabled device.
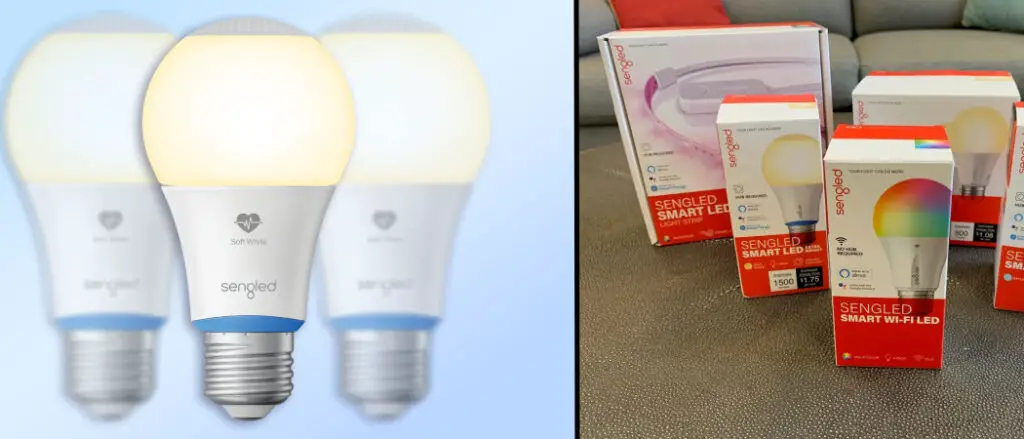
In this blog post, we’ll break down everything you need to know about setting up a Sengled light bulb with Alexa, from understanding hub connections and what devices work together, to troubleshooting common issues–so that you can get your set-up done quickly and easily! So, keep on reading to learn more about how to set up Sengled Light Bulb with Alexa.
Benefits of Having Sengled Light Bulbs with Alexa Set Up
There are several benefits of having Sengled light bulbs with Alexa set up, including:
- Hands-free control: One of the main benefits of using Sengled light bulbs with Alexa is the ability to control them hands-free using voice commands. With Alexa, you can turn your lights on and off, adjust their brightness, and even change their colors without ever having to touch a switch.
- Convenience: Using Sengled light bulbs with Alexa is also very convenient. You can control your lights from anywhere in the room, or even from another room or outside your home, using the Alexa app on your smartphone.
- Energy efficiency: Sengled light bulbs are designed to be energy-efficient, which can help you save money on your energy bills. With Alexa, you can easily turn your lights off when you leave a room or set them to turn on and off automatically based on your schedule or routines.
- Customization: Another benefit of using Sengled light bulbs with Alexa is the ability to customize your lighting. With Alexa, you can change the brightness and color of your lights to create the perfect ambiance for any occasion. You can also set up routines and schedules to automatically adjust your lights based on your preferences.
- Security: Finally, using Sengled light bulbs with Alexa can also enhance your home security. You can set up routines to turn your lights on and off automatically while you’re away from home, giving the impression that someone is still there. You can also control your lights remotely using the Alexa app, giving you peace of mind when you’re away from home.
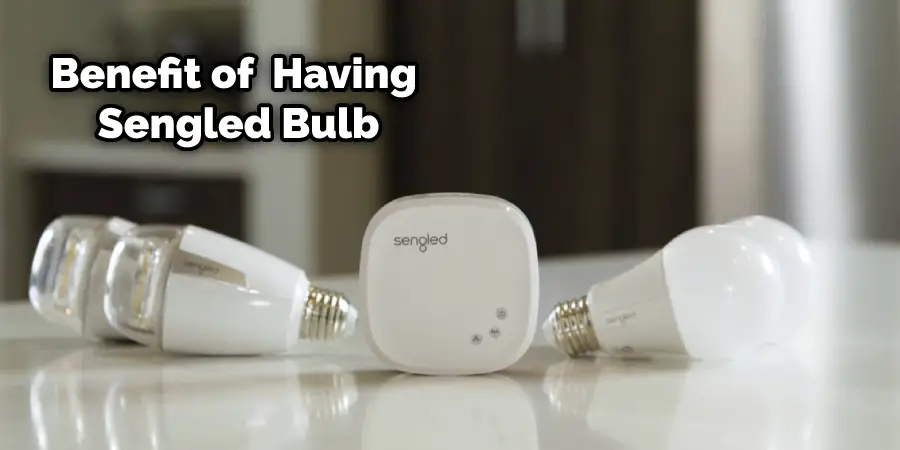
Overall, the benefits of having Sengled light bulbs with Alexa set up include hands-free control, convenience, energy efficiency, customization, and enhanced home security.
Things Need to Do Before Setting up Sengled Light Bulb with Alexa
Before setting up Sengled light bulbs with Alexa, there are a few things you need to do to ensure a smooth and successful setup process. Here are some important steps to take:
Ensure compatibility:
First and foremost, you need to make sure that your Sengled light bulbs are compatible with Alexa. Check the packaging or the Sengled website to ensure that the bulbs are Alexa-enabled or compatible.
Install the Sengled light bulbs:
Install the Sengled light bulbs in the fixtures where you want to use them. Ensure the bulbs are securely screwed in, and the fixtures are turned off before installation.
Then, you need to follow a few steps to set up Alexa with your Sengled Bulb.
Step by Step Guide on How to Set up Sengled Light Bulb with Alexa
Here is a step-by-step guide on how to set up Sengled light bulbs with Alexa:
Step 1: Download and Install the Sengled Home App
First, you need to download and install the Sengled Home app from the App Store or Google Play. The app will walk you through the steps to set up your bulbs with Alexa.
Step 2: Connect Your Bulbs to Wi-Fi
Next, you need to connect your bulbs to a local Wi-Fi network. The app will guide you through this process and help you connect your bulbs to Wi-Fi.

Step 3: Enable Alexa Integration
After connecting your bulbs to Wi-Fi, open the Sengled Home app and select the “Enable Alexa Integration” option. This will allow Alexa to access and control your bulbs.
Step 4: Set Up Alexa Routines
Finally, you can customize your lighting experience by setting up Alexa routines. You can create different schedules and routines to automate the process of controlling your lights with Alexa. For example, you could set a routine that turns off all your Sengled lights at 11 PM every night or a routine that dims the lights when you say, “Alexa, goodnight.”
Once you’ve completed these steps, your Sengled bulbs will be connected and ready to use with Alexa. Enjoy the convenience of voice-controlled lighting!
Troubleshooting Issues on How to Set up Sengled Light Bulb with Alexa
1. Try Resetting Them and Reconnecting Them to The Sengled App:
If you’re having trouble connecting your bulbs, try resetting them and then reconnecting them with the Sengled app.
2. Check the Proximity of Your Router & Alexa to Your Bulbs:
Make sure that your router and Alexa are in close proximity to the Sengled bulbs. This will ensure a reliable connection between all devices.
3. Refer to the Sengled Support Page:
If you have any issues while setting up your Sengled light bulbs with Alexa, refer to the Sengled support page for troubleshooting tips and further assistance.
4. Make Sure That Alexa is Set Up Properly and Connected To Wi-Fi:
Ensure that Alexa is set up properly and connected to Wi-Fi before attempting to connect your Sengled light bulbs.
How to Connect Multiple Sengled Light Bulbs with Alexa
Connecting multiple Sengled light bulbs with Alexa is a straightforward process. Here’s how to do it:

- Install and set up your Sengled light bulbs: First, install and set up your Sengled light bulbs using the Sengled app on your smartphone or tablet. Make sure that each bulb is connected to your home’s Wi-Fi network and that you can control it using the app.
- Discover devices in the Alexa app: Open the Alexa app on your smartphone or tablet, and select “Devices” from the bottom right corner of the screen. Select the “+” icon in the top right corner of the screen and choose “Add Device” to discover your Sengled bulbs.
- Select Sengled from the list of brands: In the “Add Device” screen, select the “Light” option, and then select “Sengled” from the list of brands.
- Follow the prompts to discover devices: Follow the prompts in the Alexa app to discover your Sengled light bulbs. The app will scan your network for any compatible devices, and your Sengled bulbs should appear on the screen.
- Name your bulbs: After discovering your Sengled bulbs, you can give them custom names in the Alexa app. This will make it easier to control them using voice commands.
- Group your bulbs: Finally, you can group your Sengled light bulbs together in the Alexa app. This will allow you to control them all at once using a single voice command. To do this, select “Create Group” in the “Devices” tab of the Alexa app, and choose the Sengled bulbs you want to include in the group.
Once you’ve completed these steps, you should be able to control your multiple Sengled light bulbs using Alexa. Simply use voice commands to turn them on and off, adjust their brightness, and more. You can also create routines and schedules to automate your Sengled bulbs, making it even easier to use them with Alexa.
How to Control Sengled Light Bulb
Controlling your Sengled bulbs with Alexa is easy and convenient. Here’s how to do it:
Turning Your Sengled Bulbs on And Off:
To turn your Sengled bulbs on or off with Alexa, simply say, “Alexa, turn on/off [bulb name].” You can also use more general commands, such as “Alexa, turn on/off the lights.”
Adjusting the Brightness of Your Sengled Bulbs:
To adjust the brightness of your Sengled bulbs using Alexa, say “Alexa, set [bulb name] to [brightness level] percent.” For example, “Alexa, set living room light to 50 percent.” You can also use the command “Alexa, brighten/dim [bulb name]” to adjust the brightness in increments.
Changing the Color of Your Sengled Bulbs:
If you have Sengled bulbs that support color changing, you can use Alexa to change the color. Simply say, “Alexa, set [bulb name] to [color].” For example, “Alexa, set the living room light to red.” You can also use the command “Alexa, change the color of [bulb name] to [color]” to specify the color more precisely.
Creating Scenes and Routines:
With Alexa, you can create scenes and routines that control your Sengled bulbs. For example, you can create a routine that turns off all the lights in your house at a certain time or turns on a specific light when you say, “Alexa, movie time.” To create a routine, open the Alexa app, go to “Routines,” and follow the prompts to set it up.
By using these commands and features, you can control your Sengled bulbs with Alexa, making it easy and convenient to use them in your home.
Create Routines and Schedules
Creating routines and schedules with Sengled light bulbs and Alexa is a great way to automate your lighting and make it more convenient to use. Here’s how to set up routines and schedules:
Creating Routines:
- Open the Alexa app and tap on the “More” tab.
- Select “Routines” and then “Create Routine.”
- Choose the “When this happens” option and select “Schedule.”
- Choose the days and times you want the routine to run.
- Choose “Add action” and then “Smart Home.”
- Choose the Sengled bulbs you want to control and select “Turn on” or “Turn off.”
- Choose “Save” to save your routine.
Now your Sengled bulbs will turn on or off automatically based on the schedule you set up.
Setting up Schedules:
- Open the Sengled app and select the bulb you want to schedule.
- Tap on the “Schedule” button.
- Choose the days and times you want the schedule to run.
- Choose the action you want the bulb to take, such as “Turn on” or “Turn off.”
- Choose “Save” to save your schedule.
Now your Sengled bulb will turn on or off automatically based on the schedule you set up.
You can also set up more complex schedules by using the Alexa app. Here’s how:
- Open the Alexa app and tap on the “More” tab.
- Select “Routines” and then “Create Routine.”
- Choose the “When this happens” option and select “Schedule.”
- Choose the days and times you want the routine to run.
- Choose “Add action” and then “Smart Home.”
- Choose the Sengled bulbs you want to control and select “Set color” or “Adjust the brightness.”
- Choose the color or brightness level you want the bulb to have.
- Choose “Save” to save your routine.
Now your Sengled bulbs will turn on or off automatically based on the schedule you set up, and they’ll also have the right color or brightness level. By setting up routines and schedules, you can make your Sengled light bulbs even more convenient and easy to use with Alexa.
Conclusion
Setting up Sengled light bulbs with Alexa is a simple process that can bring great convenience and functionality to your home. By following the steps outlined in this guide, you can easily connect your Sengled bulbs to your Alexa device and control them using voice commands. With Alexa, you can turn your lights on and off, adjust their brightness, change their colors, and even create routines and schedules to automate your lighting. Whether you’re looking to create a cozy atmosphere, save energy, or just make your life a little easier, setting up Sengled light bulbs with Alexa is a great way to do it. So why wait? Start enjoying the benefits of smart lighting today! Thanks for reading this article about how to set up Sengled Light Bulb with Alexa.
