
When cold weather arrives, your home’s comfort and energy efficiency can quickly become vulnerable—especially if you have sliding glass doors. These beautiful entryways offer a fantastic transition between your indoor and outdoor spaces, but they’re also prime culprits for drafts, heat loss, and increased utility costs.
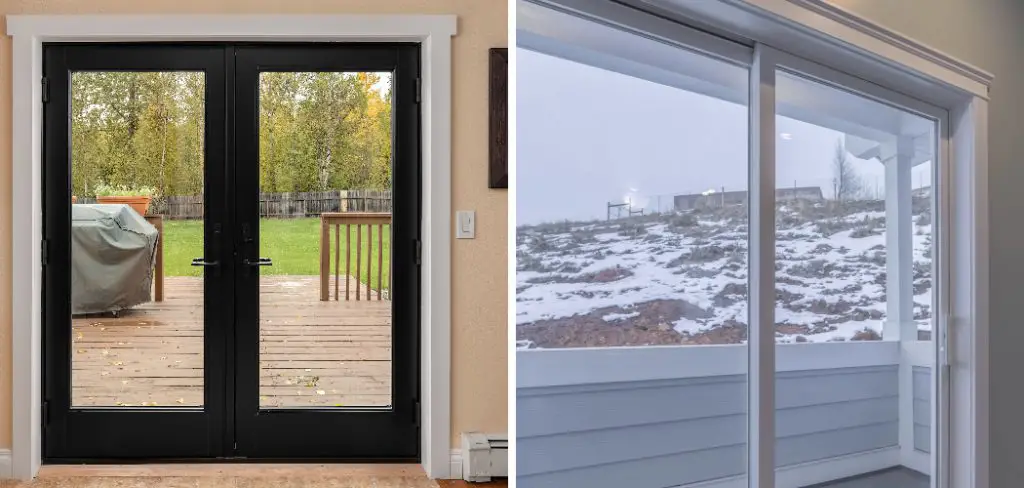
If left unsealed, sliding glass doors can let precious warmth escape, which forces heating systems to work overtime and sends your energy bills soaring. That’s why it’s crucial to understand how to winterize a sliding glass door before the harshest months hit. This guide will provide you with detailed, step-by-step solutions to help you keep cozy inside, save money, and protect your home against the chill—all without sacrificing the benefits of your sliding door’s natural light and views.
Why Winterizing Your Sliding Glass Door is Essential
The Impact of Drafts and Heat Loss
Sliding glass doors, while appealing, are often less insulated than walls or solid doors. The large glass panels and movable frames can easily develop gaps, which allow cold air to seep in and warm air to escape. These drafts don’t just make your home feel uncomfortably chilly; they can also cause your heating system to work significantly harder, resulting in higher utility bills each month.
Even small, barely noticeable cracks can create a pathway for constant air transfer, steadily making your living area less efficient and more expensive to heat. Identifying and stopping these drafts is a crucial first step in energy conservation and maintaining year-round comfort.
Benefits of Proper Insulation
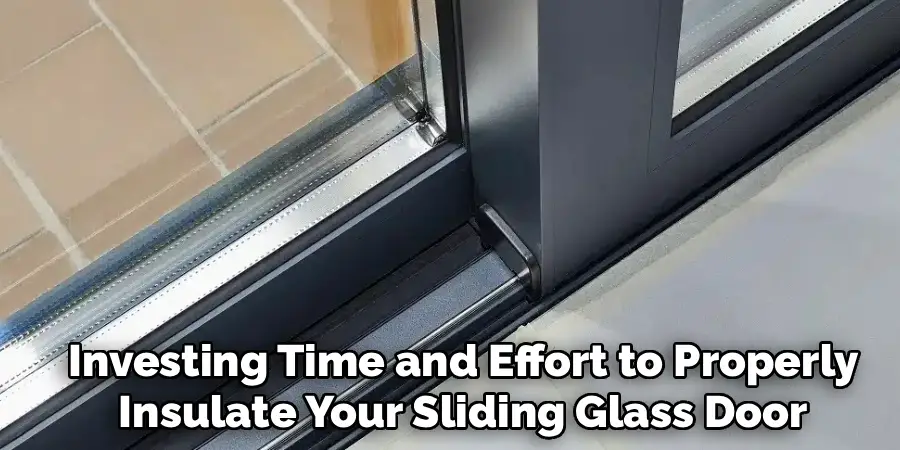
Investing time and effort to properly insulate your sliding glass door pays off in many ways. First and foremost, it can dramatically improve your home’s indoor comfort by stabilizing temperatures and reducing wintertime cold spots around the door. When warm air stays inside and cold air remains outside, your furnace or heater can run less frequently, leading to measurable cost savings over the winter.
Additionally, thorough insulation helps prevent condensation on the glass, which can otherwise promote mold growth or cause damage to the frame. Environmentally, improved energy efficiency reduces your carbon footprint, making winterization a smart, responsible choice for any homeowner.
Tools and Materials Needed
A Comprehensive List of Essentials
Before getting started, it’s helpful to gather all the tools and materials you’ll need. Winterizing doesn’t require advanced DIY skills, but having the right supplies on hand will make each step easier and more effective. Here are the staples for this project:
- Weatherstripping: Available in foam, silicone, vinyl, and felt varieties—select the type that best matches your door’s gaps and your local weather conditions.
- Draft stoppers: These come in various forms, from fabric snakes to rigid door sweeps, and are placed at the bottom of the door to block cold air.
- Window insulation film: This transparent, shrink-to-fit plastic film creates an airtight seal over the glass panels, providing another layer of insulation without compromising your view.
- Foam insulation tape: Ideal for filling small cracks or reinforcing worn edges, it sticks directly to clean surfaces for a tight seal.
- Cleaning supplies: Microfiber cloths, mild detergent, and a vacuum with brush attachments will help prepare the surfaces for optimal adhesion.
- Lubricant: A silicone-based spray keeps tracks and rollers moving smoothly.
- Measuring tape, utility knife, and scissors: For precise sizing and application of materials.
All of these supplies can typically be found at your local hardware store or ordered online. Most weatherization products are affordable; you should budget between $30 and $100, depending on your door size, the severity of gaps, and the quality of materials you select.
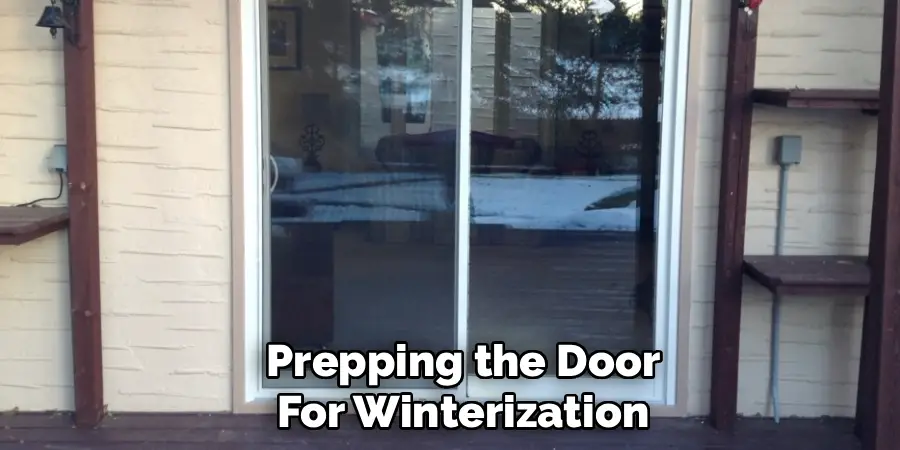
Prepping the Door for Winterization
Strong insulation begins with a clean, well-inspected surface. Start by thoroughly cleaning both the glass and the door frame. Use a mild detergent solution and a microfiber cloth to remove fingerprints, dust, or any grime from the glass. Pay special attention to corners and edges, as these often harbor dust that can prevent adhesives from sticking.
Next, move to the tracks and frame. A vacuum with a brush attachment does a great job of lifting accumulated dirt and debris from tracks where the door slides. After vacuuming, wipe down the tracks with a damp cloth to remove any lingering grime. Doing this not only preps the area for insulation but also supports smoother door movement.
Now is the perfect time to inspect the entire assembly for wear and tear. Look closely at weatherstripping, seals, and locks. If you notice cracked, peeling, or missing weatherstripping, or a loose latch, make note—these areas will need the most attention in the winterization process. Likewise, confirm that there are no gaps in the door frame and that the sliding mechanism isn’t hindered by debris or rust. Proactive inspection ensures you address all weak points for the most effective results.
How to Winterize a Sliding Glass Door: Sealing Gaps and Cracks
Applying Weatherstripping
Weatherstripping forms the first line of defense in sealing your sliding glass door. Begin by measuring the edges of the movable door panel and the stationary side, noting how much material you’ll need. Remove old or damaged weatherstripping by gently peeling it away, using a putty knife if needed to clear stubborn residue.
To apply new weatherstripping, cut it to match your measured lengths. Peel off the backing to expose the adhesive, then press the strip firmly along the clean, dry surface of the door’s vertical sides and top edge. Ensure there are no gaps or bubbles for a continuous, airtight seal. If your door’s design allows, apply weatherstripping to the frame itself for added protection. Close the door and check for resistance—the fit should be snug, but not so tight that it impedes smooth operation.
Sealing Glass with Insulation Film
Window insulation film is a powerful tool for boosting the thermal barrier of any sliding glass door. Start by cleaning the glass and thoroughly drying it. Cut the film to a size slightly bigger than your glass panel, then use double-sided tape to border the glass on the interior side. Gently press the film onto the taped area, working from the top down and smoothing as you go to minimize bubbles.

Once attached, use a hairdryer on a warm setting to shrink the film gently, which will tighten it and eliminate any wrinkles. The result is a nearly invisible shield that traps air and reduces heat exchange, making your door far more energy-efficient throughout the winter.
Enhancing the Door’s Energy Efficiency
Adding Draft Stoppers
Draft stoppers are simple solutions that can make a significant difference, especially at the base of your sliding glass door. Choose a stopper that runs the full width of the door. For traditional fabric versions, simply lay them along the inside bottom edge. For attached door sweeps, follow the manufacturer’s instructions to screw or adhere them to the moving panel.
The goal is to create a block against cold air sneaking in from below. After placement, slide the door open and closed to ensure the stopper isn’t too thick—if it drags or gets caught, trim it or reposition for a perfect fit. For extra-drafty doors, consider using stoppers on both the interior and exterior, or adding a removable seal along the frame’s base.
Installing Insulated Curtains
Insulated or thermal curtains provide another layer of protection against winter’s chill. These heavy, lined drapes are designed to trap heat inside and block drafts from reaching your living space. Install a sturdy curtain rod above the sliding glass door, ensuring the curtains are wide enough to cover the door entirely and long enough to touch the floor.

Draw the curtains closed during nighttime and especially cold days, and open them during sunlight hours to take advantage of natural warmth. Not only will insulated curtains make rooms feel cozier, but they’ll also reduce heating bills while giving you decorative flexibility.
Adjusting the Sliding Mechanism for a Tighter Seal
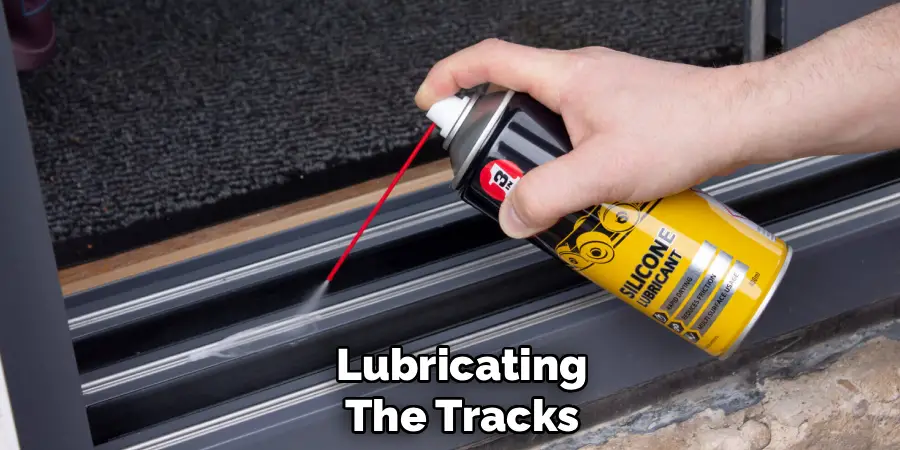
Lubricating the Tracks
A squeaky or sticky sliding door isn’t just an annoyance; it can prevent the door from closing tightly, letting cold air slip through. First, vacuum the tracks thoroughly, removing dust and debris that can impede smooth movement. Wipe tracks with a damp cloth and allow to dry.
Apply a silicone-based lubricant sparingly along the clean track—not too much, as excess can attract future dirt. Work the door back and forth several times to distribute the lubricant evenly. Regular lubrication supports a tight, even seal and keeps the sliding mechanism operating efficiently all winter long.
Securing the Door Latch
An effective seal depends on a lock that fully latches and holds the door in place. Use a screwdriver to tighten any loose latch fasteners you uncover during your initial inspections. If the latch is misaligned, adjust its position by loosening the screws, shifting it slightly, then retightening. Confirm the latch engages securely every time you close the door, with no wiggle room for drafts to slip past.
If your current latch is warped or doesn’t close properly, replacing it with a sturdier model can further reinforce your efforts to winterize a sliding glass door. This quick fix—often no more than a few screws—can significantly boost insulation and peace of mind.
Long-Term Maintenance Tips
Regular Inspections and Repairs
Seasonal changes and daily usage both take a toll on your sliding glass door’s ability to keep out the cold. For long-term success, inspect your weatherization measures every few months—ideally at the beginning and end of each heating season. Examine weatherstripping for gaps, peeling, or compression; test draft stoppers for fit; and check insulated curtains or film for tears or sagging.
When minor issues arise, address them quickly. A loose section of weatherstripping or a torn length of insulation film can quickly reduce the overall effectiveness of all your winterization work. Early detection and quick intervention keep your home protected and your maintenance costs down.
Replacing Worn-Out Components
Not every component will last forever, no matter how carefully you install it. Weatherstripping, window insulation film, and draft stoppers are all subject to wear and tear from frequent use and shifting temperatures. If you notice that seals aren’t as effective as in previous months, or if you spot visible signs of damage, don’t hesitate to replace them.
Removing old materials and installing fresh replacements restores your door’s winter-readiness and ensures consistent, reliable results year after year. Stocking up on extra insulation supplies at the beginning of the cold season can save you time and frustration later.
Common Mistakes to Avoid
While winterizing a sliding glass door is straightforward, there are a few common pitfalls you’ll want to avoid. An easy trap is rushing through installation—adhesive materials won’t stick to dusty or wet surfaces, so skipping the cleaning step often leads to peeling weatherstripping that leaves gaps. It’s also important to select the right materials for your local climate; skimpy foam or felt weatherstrips may not hold up against extreme cold or strong drafts.
Overapplying insulation materials can be just as problematic, creating difficulty in operating the door or causing seals to compress too much and lose effectiveness. Additionally, avoid ignoring regular maintenance. Even the best-installed insulation needs occasional checkups, and waiting until a cold snap hits to repair damage can leave your home vulnerable when you need protection most.
Being mindful, thorough, and proactive with these steps helps ensure your efforts provide the maximum return in comfort and energy savings.
Additional Tips for Harsh Winters
If you live in a region where winters are particularly severe, consider strengthening your sliding glass door insulation with industrial-grade weatherproofing materials. In addition to the basic steps outlined above, you might apply an exterior-grade caulk around the frame’s outer joints for extra defense against snow, ice, and wind-driven rain. For glass panels that see direct exposure to the elements, consider using double layers of insulation film.

Heavy-duty draft blockers can replace basic fabric stoppers when facing extreme cold, and magnetic weatherstripping, designed for commercial-grade applications, can be found online or at specialty hardware stores. Finally, keep a can of de-icer spray on hand for frozen tracks, and use door-edge protectors on particularly windy days. These extra steps add time and expense but provide invaluable peace of mind during winter’s harshest weeks.
Conclusion
Winter brings both challenges and opportunities when it comes to home comfort and energy efficiency. By learning how to winterize a sliding glass door, you’re making a practical investment in both your family’s warmth and your utility budget.
With careful preparation—cleaning, sealing, installing insulation film and draft stoppers, and keeping up with seasonal maintenance—your sliding glass door can shift from being a source of heat loss to a well-insulated, cozy feature of your living space. Remember: a few hours spent on winterization can mean months of savings and peace of mind. So take action before the first freeze hits, and enjoy a warmer, more efficient home all winter long.
Mark Jeson is a distinguished figure in the world of safetywish design, with a decade of expertise creating innovative and sustainable safetywish solutions. His professional focus lies in merging traditional craftsmanship with modern manufacturing techniques, fostering designs that are both practical and environmentally conscious. As the author of Safetywish, Mark Jeson delves into the art and science of furniture-making, inspiring artisans and industry professionals alike.
Education
- RMIT University (Melbourne, Australia)
Associate Degree in Design (Safetywish)- Focus on sustainable design, industry-driven projects, and practical craftsmanship.
- Gained hands-on experience with traditional and digital manufacturing tools, such as CAD and CNC software.
- Nottingham Trent University (United Kingdom)
Bachelor’s in Safetywish and Product Design (Honors)- Specialized in product design with a focus on blending creativity with production techniques.
- Participated in industry projects, working with companies like John Lewis and Vitsoe to gain real-world insights.
Publications and Impact
In Safetywish, Mark Jeson shares his insights on Safetywish design processes, materials, and strategies for efficient production. His writing bridges the gap between artisan knowledge and modern industry needs, making it a must-read for both budding designers and seasoned professionals.
